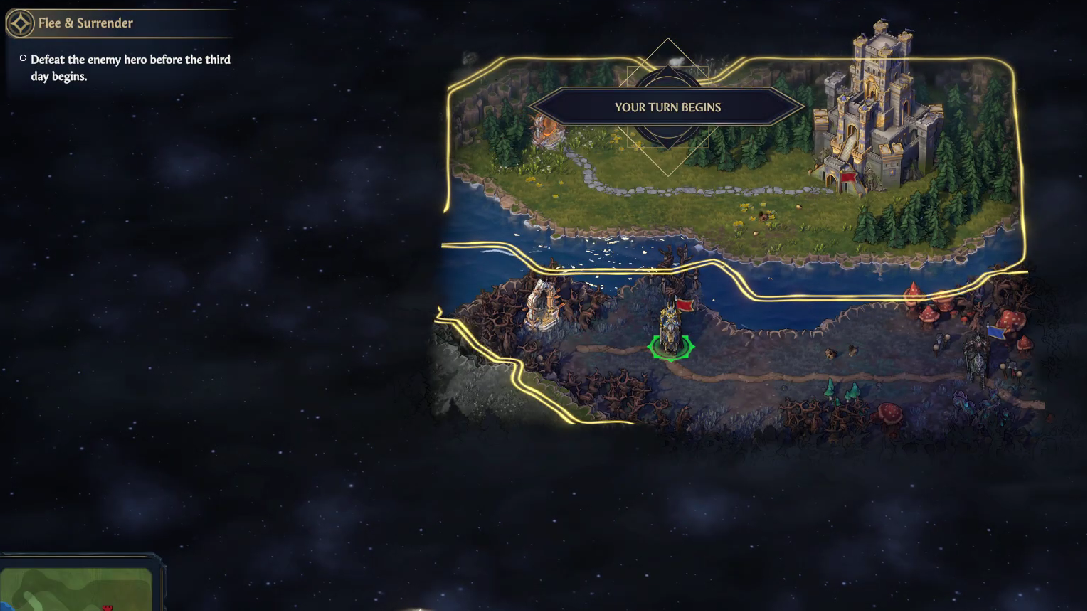
The Flee and Surrender challenge in Heroes of Might and Magic: Olden Era teaches the difference between the two retreat options and asks you to defeat the enemy hero after using both. The map gives you a stack of angels, plenty of starting gold, and a hero whose ability grants six angels after a flee. The trick is to leave the first battle without losing your angels, rebuild in town, and return with overwhelming numbers.
Quick answer: End the first day, surrender the enemy attack to save your angels, rehire the hero in the city, return and flee a second fight to trigger the six free angels passive, then buy all available troops and crush the enemy hero by focusing the leeches and skeleton archers.
Flee vs Surrender in Olden Era
Both options remove you from a battle, but they keep different things. Surrender costs gold and keeps your full army. Flee is free, but you lose every unit, leaving only the hero. On this map you need to use both at least once, so the order matters. Surrender first while you still have the angels, then flee later when the army is expendable.
| Option | Army | Hero | Cost |
|---|---|---|---|
| Surrender | Kept in full | Returned to tavern pool | Gold loan (around 24,000 on this map) |
| Flee | Lost entirely | Returned to tavern pool | Free |
Starting setup and hero pick
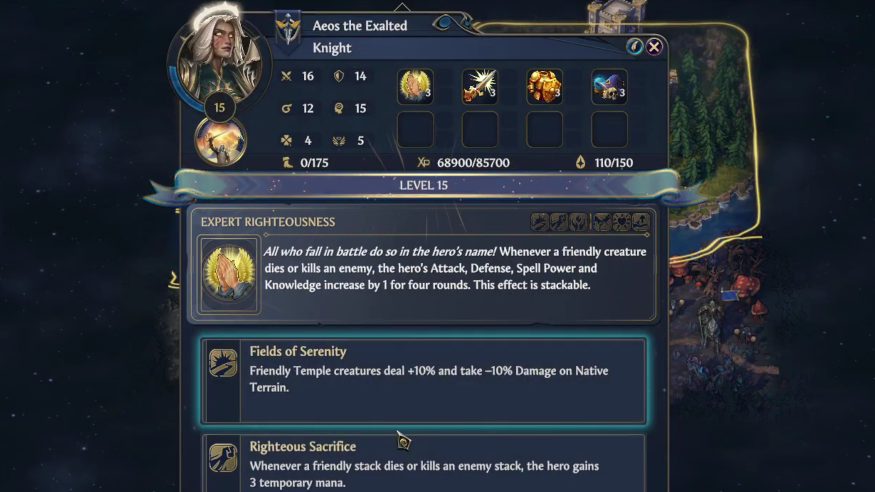
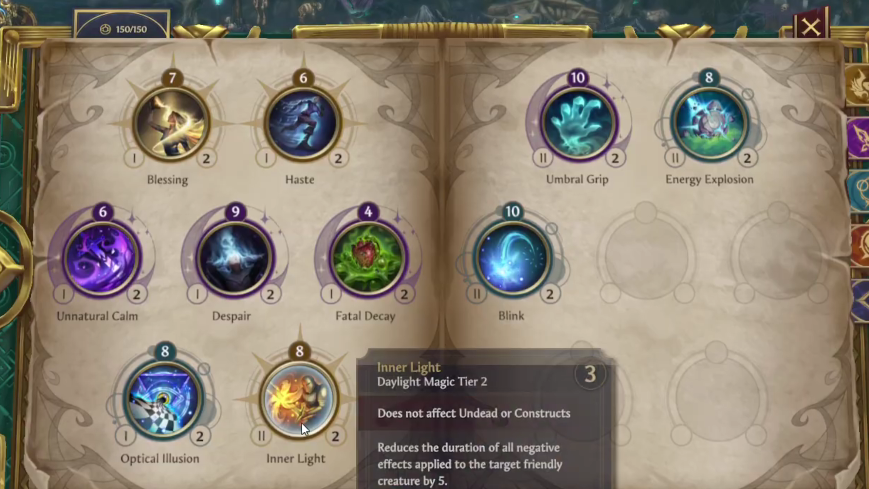
Open with a level-up on your hero before ending the turn. Useful picks are the perk that reduces enemy creature damage, the cooldown reduction on friendly creature abilities, and a free Magic Arrow grant. Picking offensive spells that ignore magic resistance is also valuable because the enemy stack has resistance on several units.
Do not move out to attack on day one. The enemy hero is scripted to march on you, and the goal is to bait the first fight on favorable terms.
Step 1: End the day and take a free shot
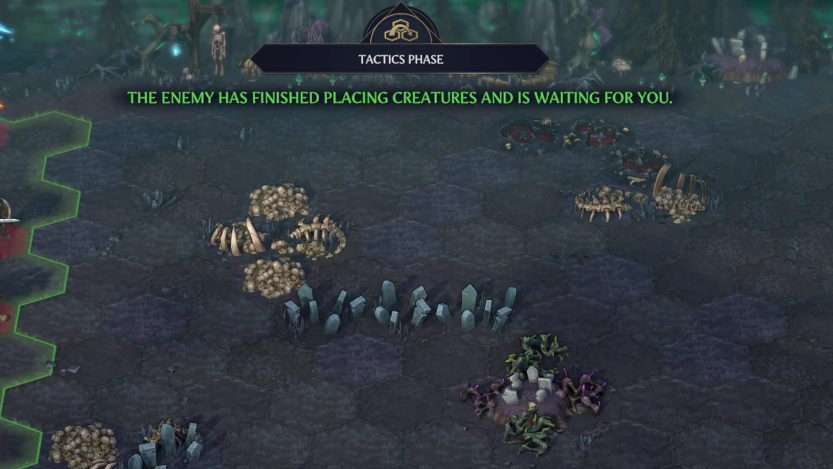
End your turn so the enemy hero closes the distance and initiates combat. When the battle starts, you have one productive action before retreating. Fire Magic Arrow or attack with the angels into the skeleton archer stack to thin it. Removing roughly 18 archers makes the rematch noticeably easier.
Step 2: Surrender to save the angels
After the opening shot, choose Surrender. The cost on this map is around 24,000 gold, which the starting treasury covers. Your angels and any other units survive intact and return to the tavern pool with the hero. Fleeing here would waste the angels, which are the strongest stack you have.
Step 3: Rehire the hero and stage a flee
Back in the city, rehire the hero from the tavern. Move the angels into the garrison, then take a small throwaway force into the field, such as one griffin and one low-tier soldier. Walk back toward the enemy and start a second fight, then immediately Flee. You lose the throwaway stack, which is the point.
Step 4: Rehire again and buy out the city
Return to the city and rehire the hero one more time. The flee passive triggers and gives you six angels at no gold cost beyond the rehire. Combine that stack with the angels you stored in the garrison, and you should be sitting on eleven or twelve angels. Recruit every other available unit in the city as well, including griffins and lower tiers, to round out the army.
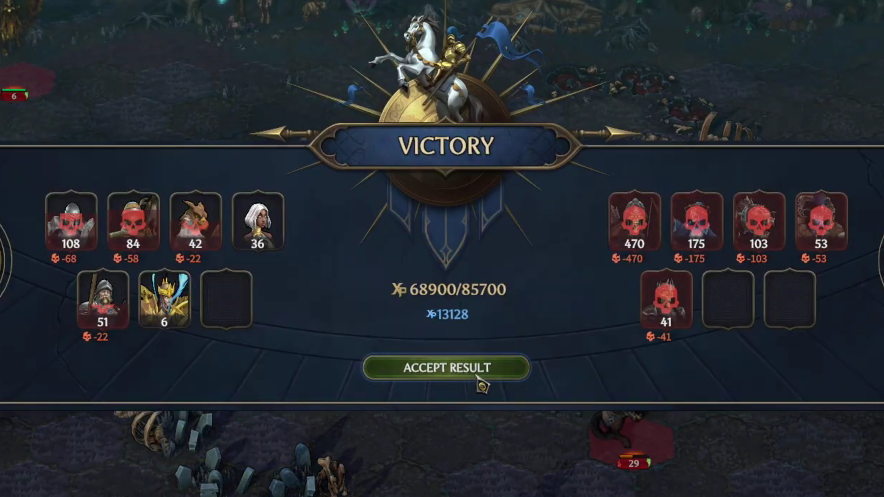
Step 5: Defeat the enemy hero
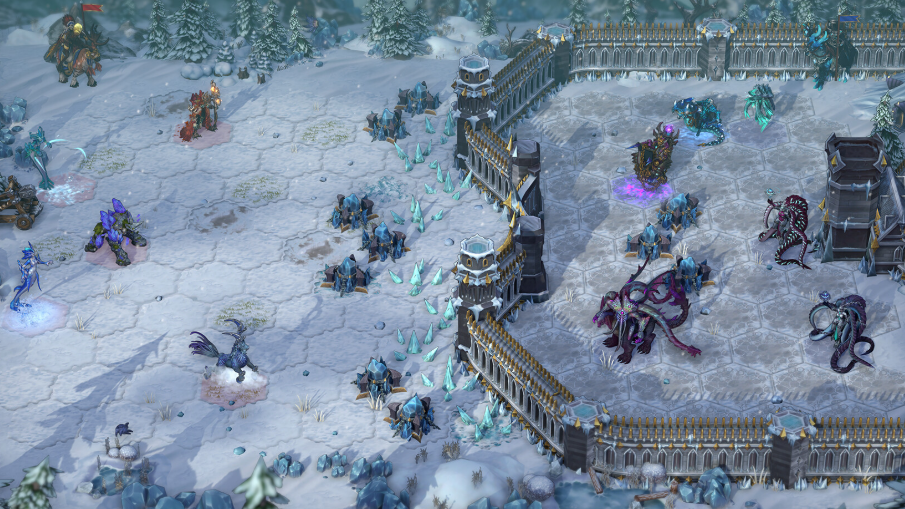
March back out and engage. With the inflated angel count and the archer stack already weakened, the fight is straightforward. Focus the leeches and the skeleton archer stack first, since the leeches drain health from your front line and the archers chip you from range. The remaining stacks fall quickly to angel strikes and any spells you picked up at level-up.
If a necromancer-style stack tries to resurrect downed units, prioritize clearing it in one or two volleys so corpses do not return. Lightning Bolt and direct angel attacks both work for this.
How to confirm completion
The challenge resolves the moment the enemy hero is defeated in the third battle. The map closes out, and the challenge is marked complete on the Challenges menu. Clearing it also counts toward Bachelor of Heroism, which requires all eight tutorial challenges to be finished.
Common reasons the challenge stalls
- Fleeing the first battle instead of surrendering, which loses the angels permanently and leaves you under-strength for the rematch.
- Trying to win the first battle outright. The enemy army is sized to beat your starting force, and the map expects you to retreat.
- Forgetting to move the angels into the city before the flee step, so they vanish with the rest of the throwaway army.
- Skipping the second rehire, which means the six-angel flee bonus never gets added to the final army.
Once the sequence is run cleanly, the rematch tends to end without serious losses, leaving the hero ready for the next entry on the Challenges list.