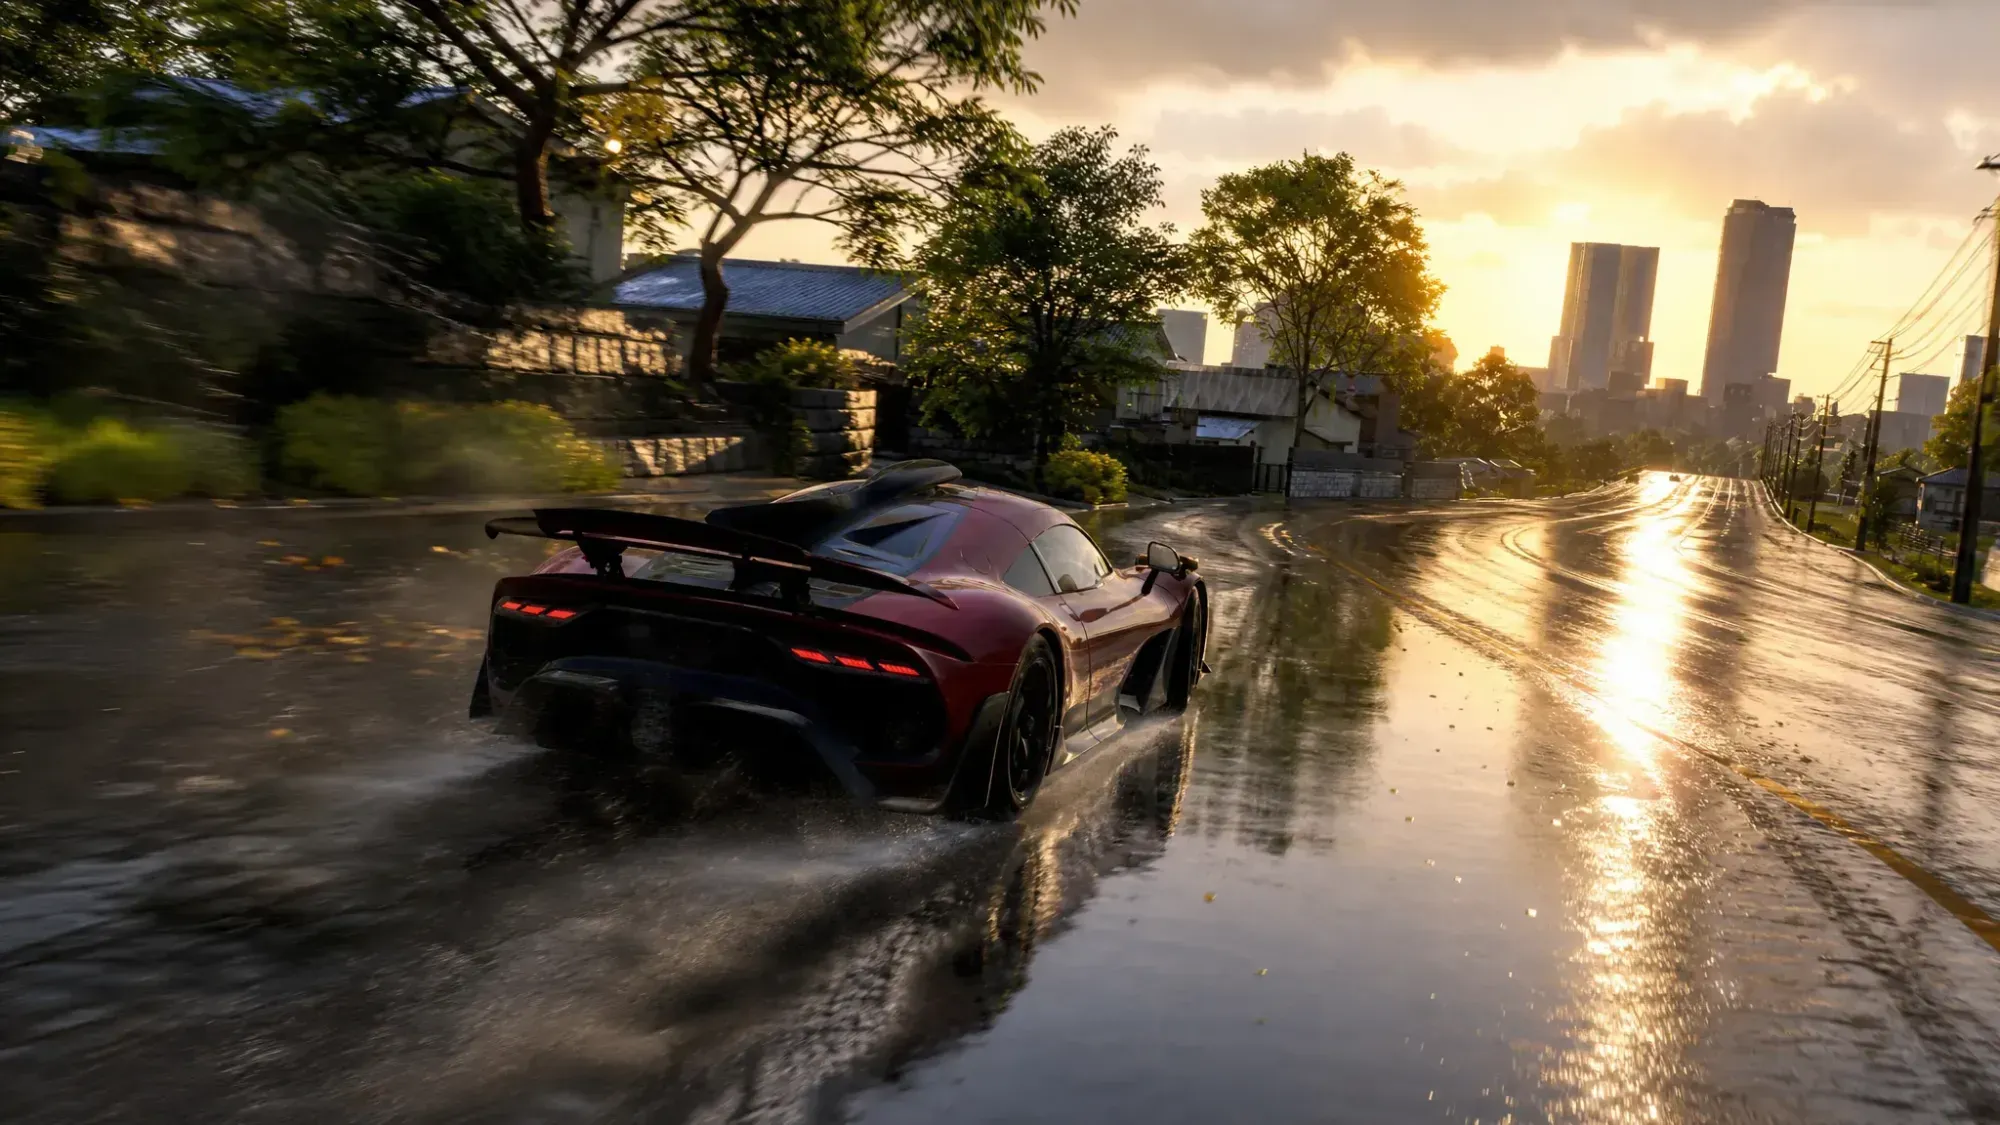
Forza Horizon 6’s photo mode gives you full manual control over aperture, shutter speed, focus, exposure, and the time of day, plus the graphics pipeline that renders the frame in the first place. The difference between a grainy capture and a wallpaper-grade shot comes down to two things: dialing the right slider values for the scene, and making sure your graphics settings are doing the heavy lifting before you ever press the shutter.
Set video and graphics settings before entering photo mode
Photo mode renders whatever your graphics settings allow, so the captured image inherits your in-game video quality. The single most important rule for sharp photos is to shoot at your monitor’s native resolution and turn off any resolution scaling. Upscalers like DLSS, FSR, and XeSS lower the internal render resolution to gain frames, which softens fine detail in a still image.
Anti-aliasing is what smooths the jagged edges on car panels, fences, and distant geometry. If you own an Nvidia card, DLAA gives the cleanest result because it antialiases at native resolution without the temporal blur that standard TAA introduces. AMD owners should use FSR 3.1.5 AA, and Intel Arc users should enable XeSS AA. Avoid AMD FidelityFX CAS entirely, because its sharpening produces jagged edges and visual noise.
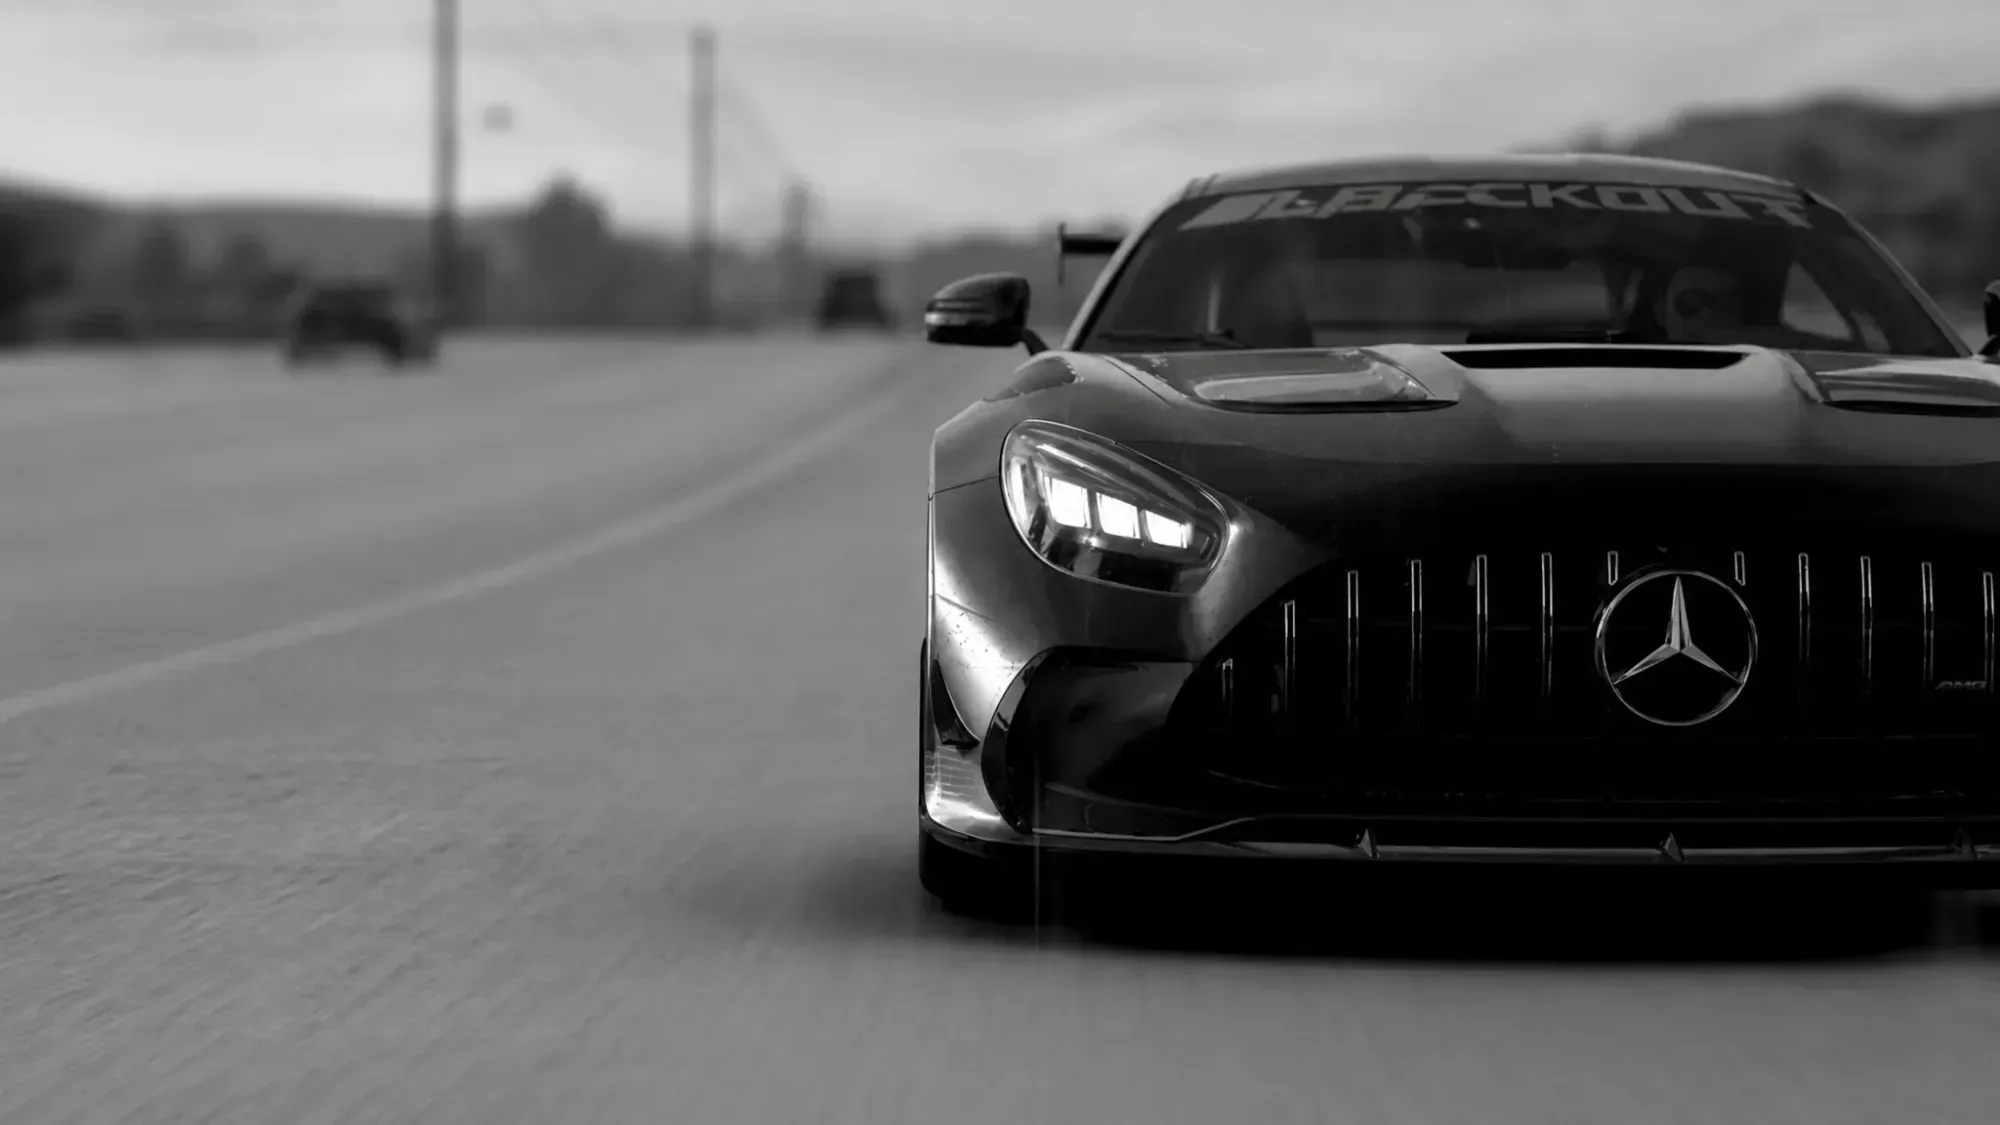
For the graphics tab, push quality as high as your hardware allows when you are staging a shot, even at the cost of frame rate. A High preset already delivers strong results without the diminishing returns of Ultra or Extreme. The settings below hold up well on a mid-range build such as an RTX 3060 with a Ryzen 5 7600X.
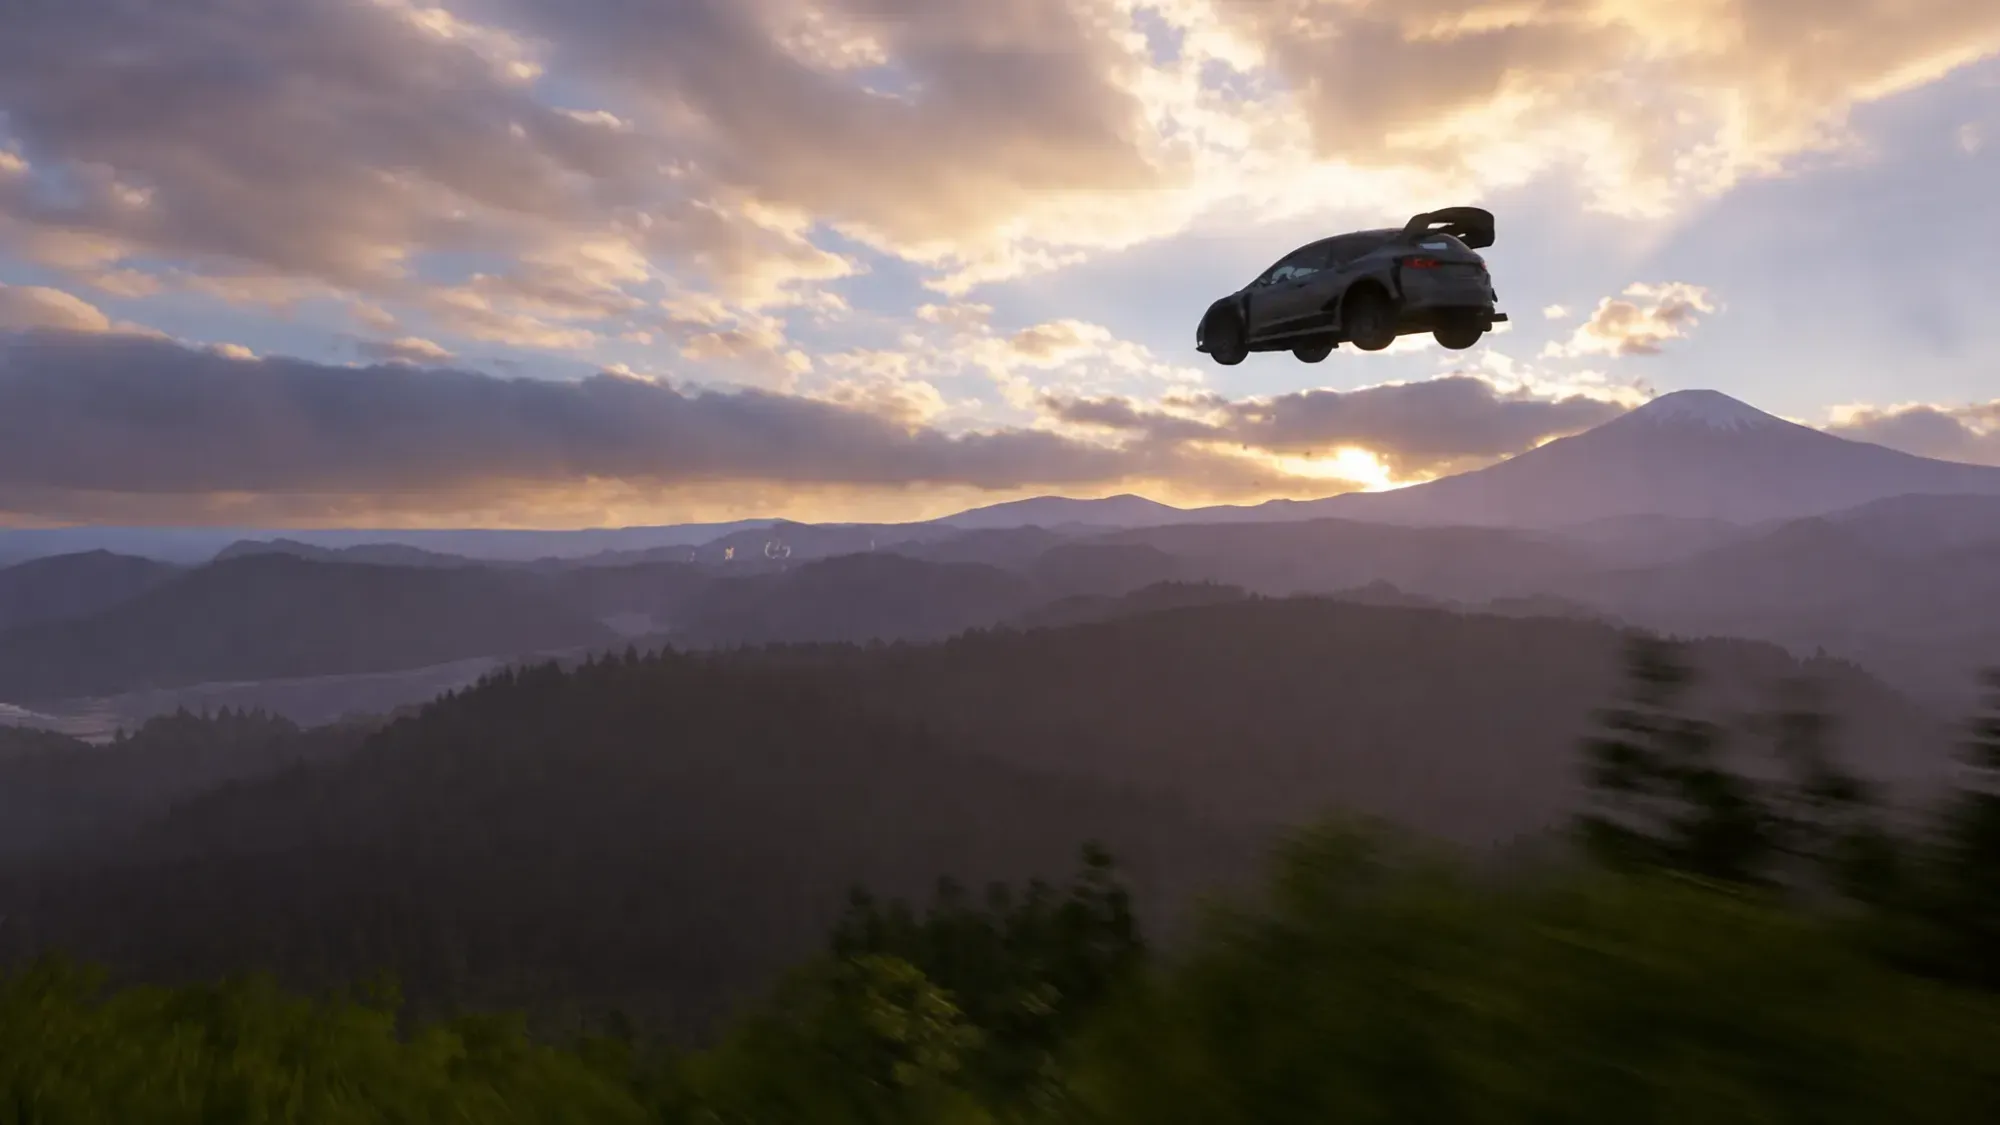
| Setting | Value |
|---|---|
| Resolution | Native monitor resolution |
| Resolution scaling | Off (for captures) |
| Car Level of Detail | High |
| Environment Texture Quality | High |
| Environment Geometry Quality | High |
| Car Reflection Quality | High |
| Screen Space Reflections Quality | High |
| Raytraced Reflections Quality | Off (optional, preference-based) |
| Shadow Quality | Low (raise if performance allows) |
| Night Shadows | Off (keep Ultra for night scenes) |
| Screen Space GI Quality | Medium |
| Raytraced GI Quality | Off |
| Shader Quality | High |
| Particle Effects Quality | High |
| Volumetric Fog Quality | Medium |
| Lens Effects | Medium |
| Motion Blur Quality | Low |
Photo mode camera sliders and what each one does
Open photo mode by pressing D-pad Up on a controller or the P key on a keyboard. You can also reach it through the Creative Hub tab. Once you stop the car and enter the mode, the camera detaches and you can reposition it up to about 12 meters away from the vehicle.
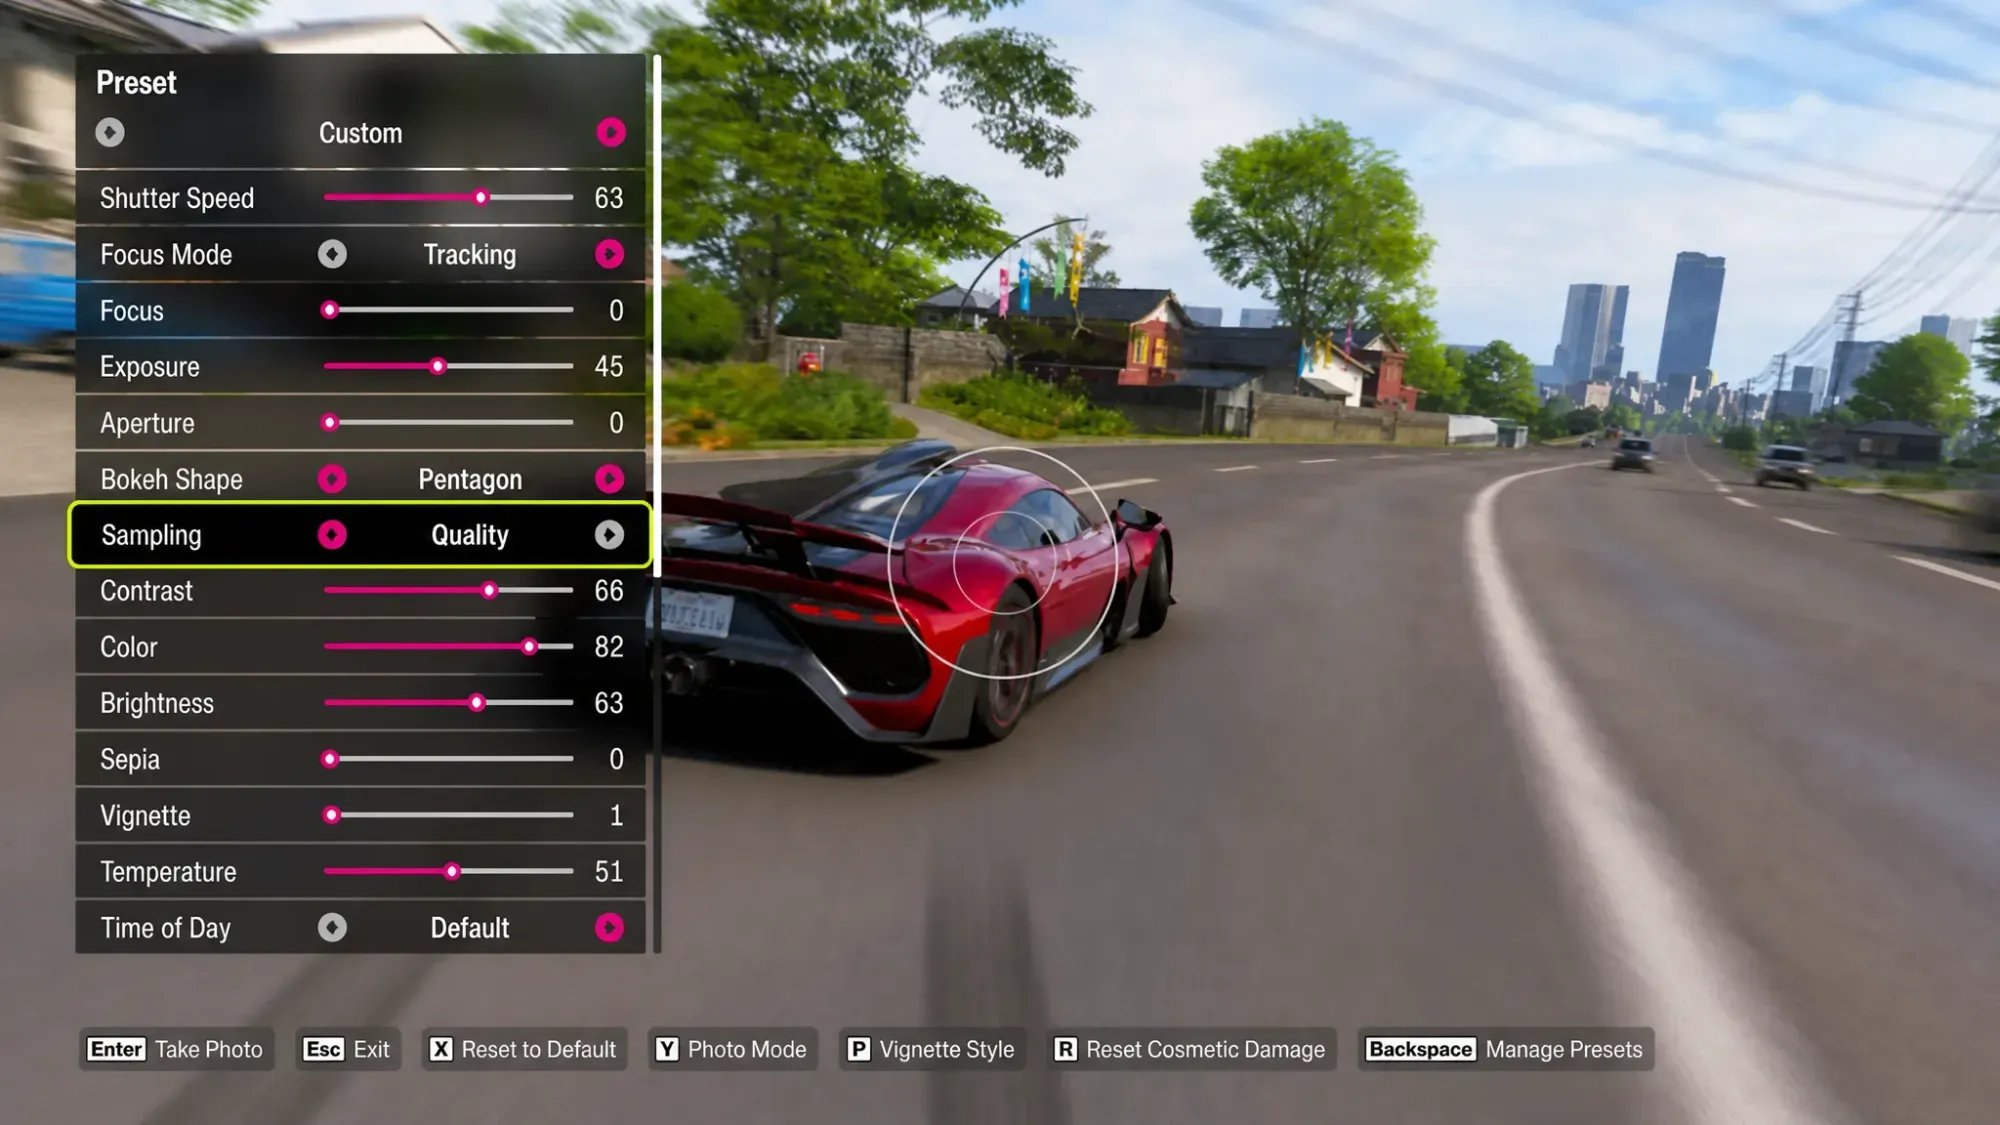
The sliders interact with each other, so it helps to know exactly what each one controls before you start adjusting.
| Slider | What it controls |
|---|---|
| Aperture | Width of the plane of focus. A low f-number narrows focus and increases background blur; a high f-number keeps the whole car sharp. |
| Focus | Depth and background blur. Raise it for stronger bokeh, keep it at zero to hold everything in focus. |
| Shutter speed | Motion. Increase it to add wheel-spin and background blur; keep it at zero for a frozen static shot. |
| Exposure | Overall brightness. Dark paint and night scenes need higher values to avoid a muddy frame. |
| Sampling | Render quality of the final capture. Always set this to Quality. |
| Time of Day | Sun position and lighting. Cycle it for golden-hour light; cloud and sun effects can shift even when you land on the same setting again. |
Sampling is the slider most people overlook, and it directly improves the clarity of the saved image. Leave it on Quality every single time. For the look itself, realistic shots generally read slightly darker, less saturated, and lower in contrast than a typical social post, so resist the urge to crank every color slider.
Baseline photo mode values that work everywhere
If you want one set of numbers to memorize across every car and every region of Japan, start here and adjust from there. This combination keeps a soft background while holding the car’s silhouette and avoids the fish-eye distortion that creeps in below 35mm.
| Setting | Recommended | Reason |
|---|---|---|
| Aperture | f/2.8 – f/4 | Soft bokeh without losing the car shape |
| Focal length | 50–85mm | Natural perspective, no fish-eye bend |
| Shutter speed | 1/30 – 1/60 | Adds wheel-spin and motion in action shots |
| Field of view | ~30° | Compresses mountains, neon, and Mt. Fuji behind the car |
| Exposure | +0.3 EV | Pops highlights on metallic paint |
| Contrast | +10 | Adds punch without an over-processed look |
| Saturation | +5 | Lets neon signs show color without an Instagram filter |
| Vignette | 15–25 | Draws the eye toward the car |
Photo mode settings by scene
The Japan map throws very different lighting at you depending on where you stop, so the baseline above needs adjusting for each environment. These presets get you most of the way to a clean shot.
| Scene | Key settings |
|---|---|
| Night city (Tokyo / Osaka neon) | Aperture f/2.0 for orb-like neon bokeh, shutter 1/15 for puddle reflections, exposure +0.5 EV, white balance cool (~5,200K). Park on wet asphalt to double the neon reflection. |
| Day mountain (touge / Hakone) | Aperture f/5.6 to keep car and ridge sharp, focal length 85mm to compress the mountain, shutter 1/250 for frozen mid-corner action. Use in-game 6:30 AM or 4:30 PM for golden hour. |
| Rain / wet street | Aperture f/3.2, shutter 1/40 to catch rain streaks, contrast +20 for the reflections. Shoot low and centered so the wet road becomes a second subject. |
| Cherry blossom (sakura) | Focal length 85–135mm to blur petals into a soft blanket, aperture f/2.8, white balance warm (~5,800K) for pink tones. |
| Snow (Hokkaido / mountain pass) | Exposure +0.7 to +1.0 EV because snow fools the meter into dimness, saturation −5, aperture f/4. |
Composition choices that improve every shot
Settings get you a clean frame, but framing decides whether the photo is worth keeping. The three-quarter front angle at wheel height, pulled back to roughly 50mm and tilted up about 3 degrees, is the most reliable car-photo angle in the series.
- Lean on leading lines over a dead-centered subject. A guardrail, a row of torii gates, or a vanishing power line pulls the eye into the frame.
- Leave negative space. Let mountains and sky breathe instead of cramming the car into every pixel.
- Find a reflection in every shot. Wet asphalt, glass facades, and polished paint all double the subject.
- Stay at or above 35mm focal length. Anything wider bends straight lines, and cherry blossoms behind the car will look subtly wrong.
- Use depth of field, not vignette, to direct attention. Vignette is the last 10 percent, not a fix for weak framing.
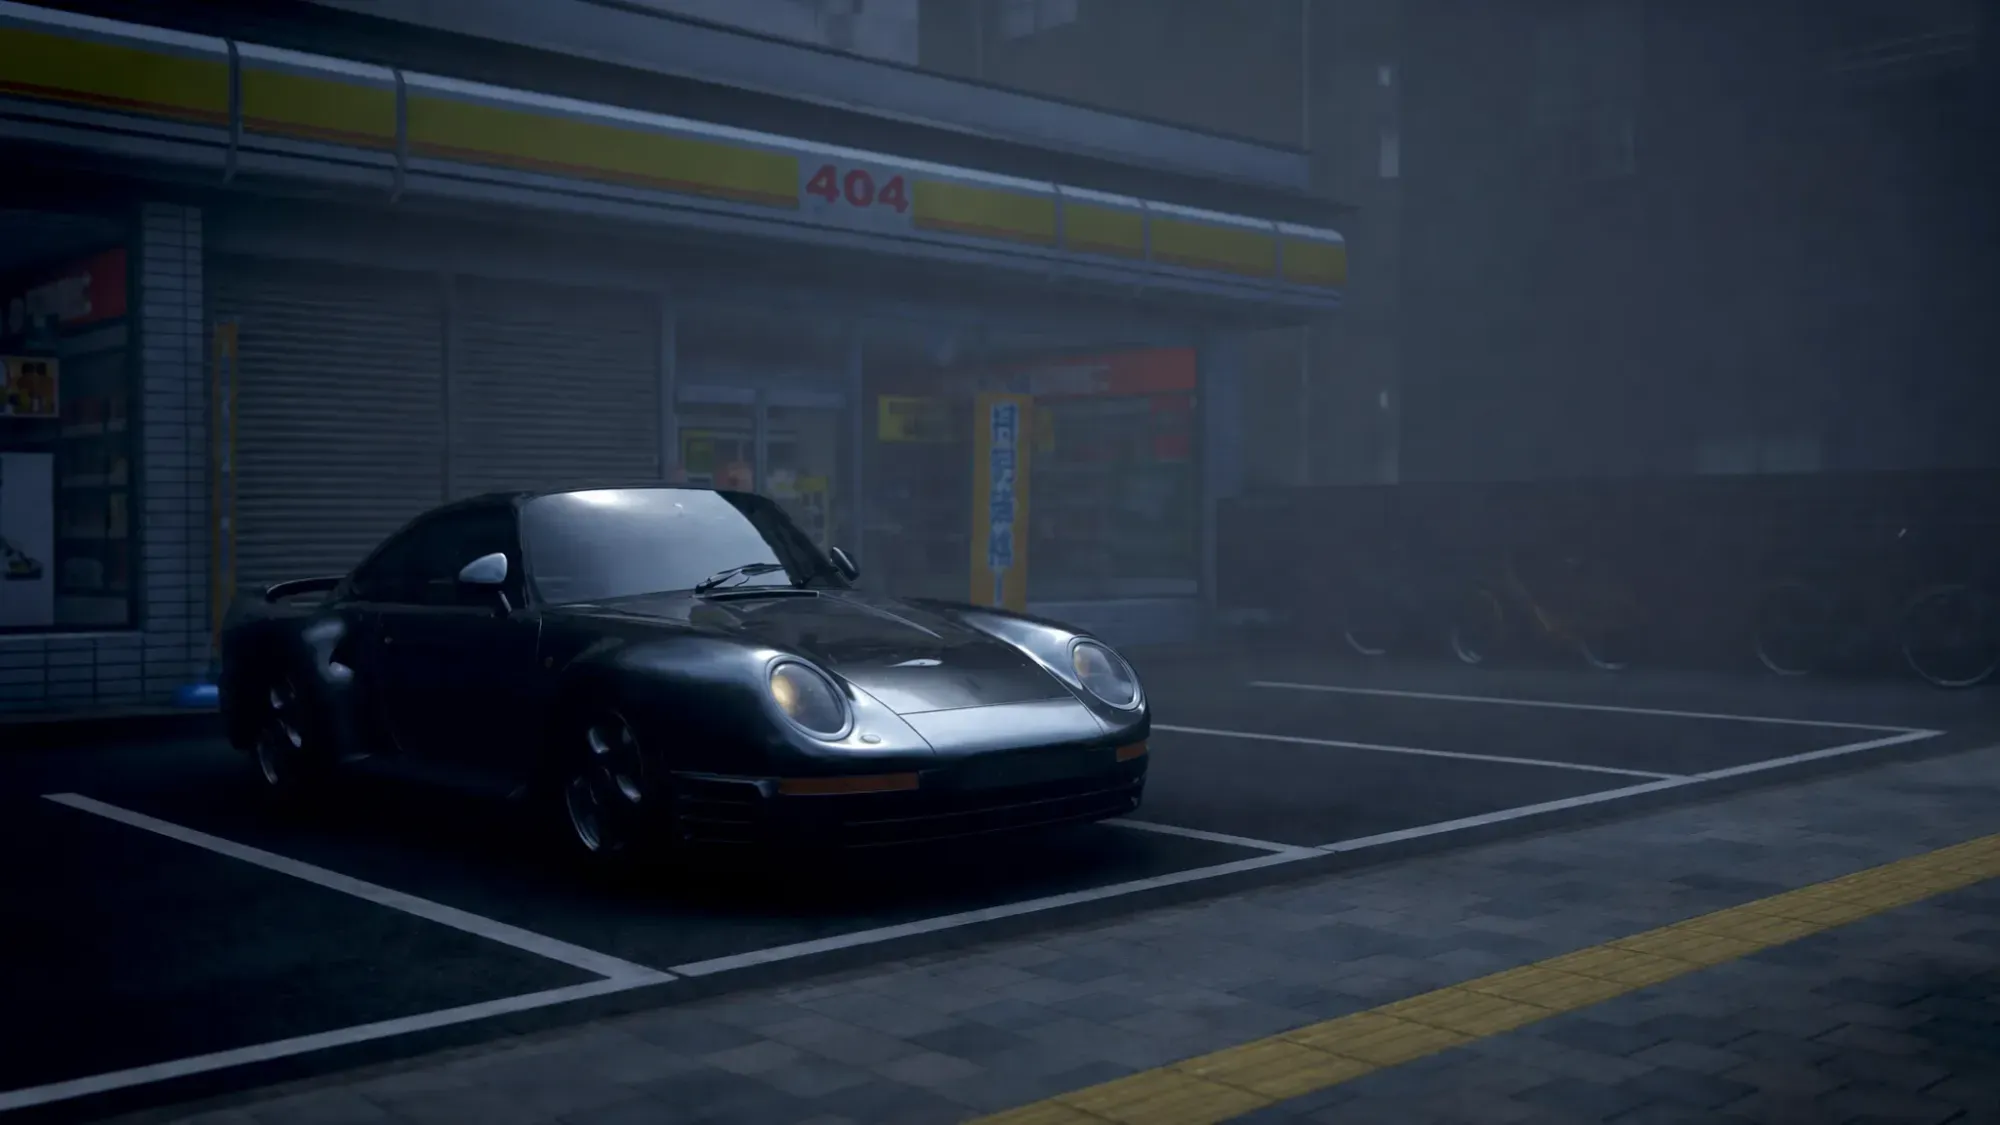
One feature worth using is mid-event photo capture. You can open photo mode during a race or event without forfeiting your run. The game freezes, your wheels stop, and you can move the camera freely. Slam it at a corner apex for a frozen drift, or the instant the car leaves a ramp for a jump shot with the suspension still extended. Note that in Trial and online play, the world keeps moving, so save these grabs for solo sessions.
Save and download your photos without losing them
Pressing the shutter does not put the file on your drive. If you exit the menu without sharing, the capture stays trapped in local storage, and you cannot pull it from the web. The export flow matters as much as the shot.
PC players have two shortcuts that skip the web portal. Steam’s built-in screenshot function works normally, and the Xbox Game Bar can capture at any point during play. Both grab exactly what is on screen, so they include the HUD unless you are already inside photo mode when you press the button. On Xbox Series X and Series S, those overlays are not available, which makes the web gallery the only reliable way to extract clean files.
The core formula is simple to repeat: shoot at native resolution with anti-aliasing on and scaling off, push graphics to High or higher, then match the camera sliders to your scene before composing around a strong angle and a reflection. Lock those habits in, and almost any stop in Japan, from neon Tokyo to a snowed-in mountain pass, turns into a frame worth saving.