
System-wide changes in Windows 11—such as installing applications, modifying key settings, or creating new user accounts—require administrative privileges. When your account is set as a standard user, attempting these actions results in prompts for an administrator password or outright blocks access. This can stall software installations, security updates, and even basic troubleshooting. Regaining admin access on a standard account streamlines system management and restores full control over your device.
Change Account Type to Administrator via Settings
Step 1: Open the Windows 11 Settings app by pressing Win + I on your keyboard. This shortcut quickly brings up the main system configuration panel.
Step 2: In the Settings window, select Accounts from the left-hand menu. Then click on Your info to view your current account details.
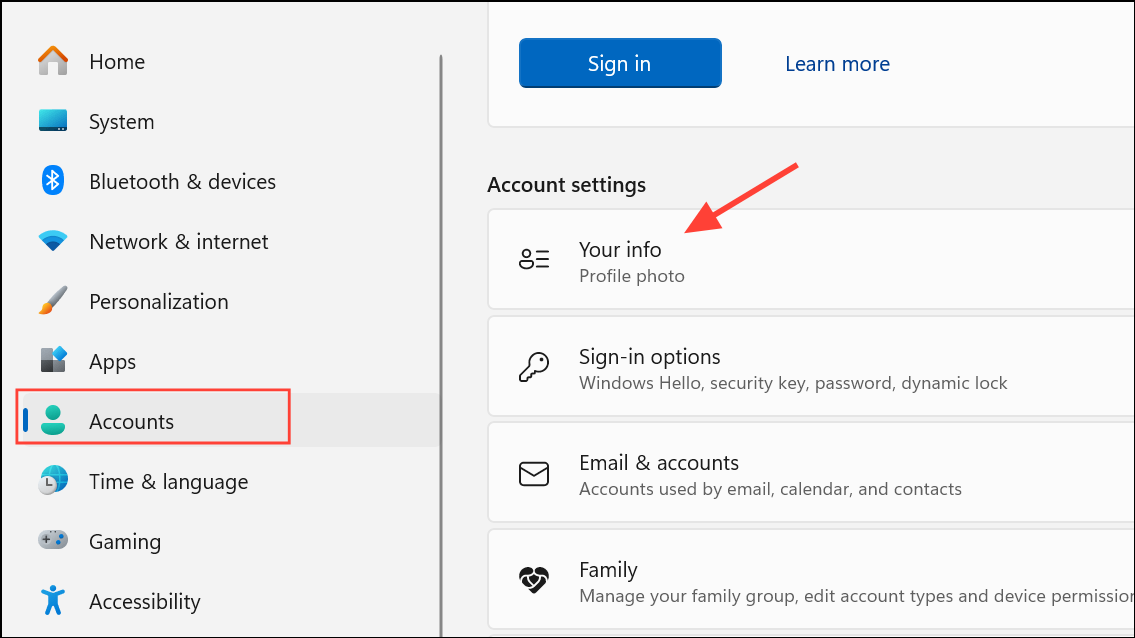
Step 3: Locate the Account type section. Click on Change account type. This opens a dialog where you can switch your account between Standard and Administrator roles.
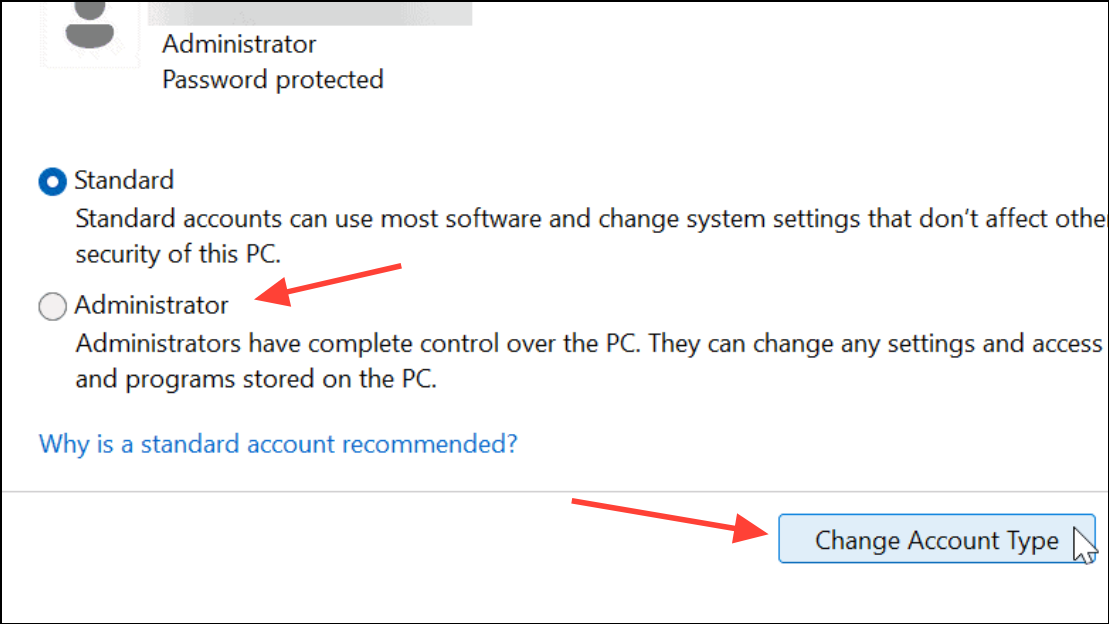
Step 4: In the drop-down menu, select Administrator. Confirm the change by following any on-screen prompts. After this, your account will have full admin privileges, allowing unrestricted access to system settings and installer permissions.
Enable the Built-in Administrator Account Using Command Prompt
Windows 11 includes a hidden administrator account with unrestricted access, which can be activated for troubleshooting or regaining control if your main admin account is inaccessible.
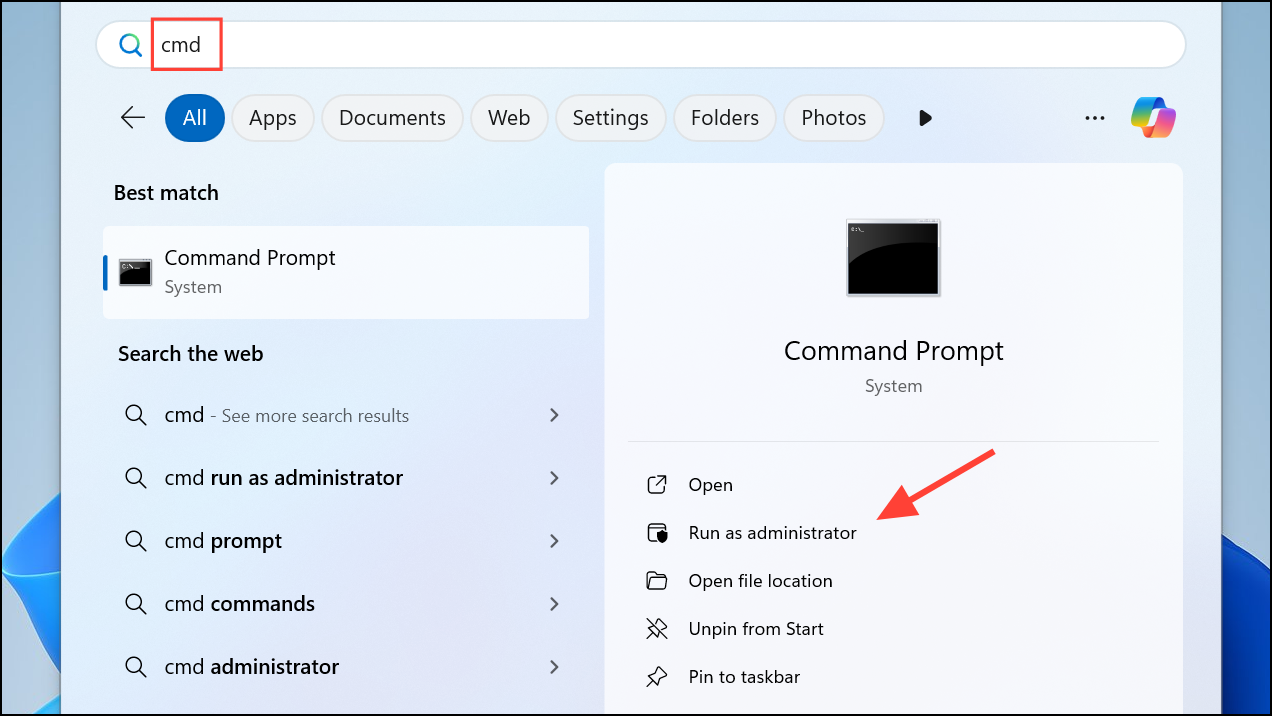
Step 1: Open the Start menu, type cmd, then right-click Command Prompt and select Run as administrator. If you see a User Account Control (UAC) prompt, approve it to continue.
Step 2: Enter the following command to activate the built-in administrator account:
net user administrator /active:yes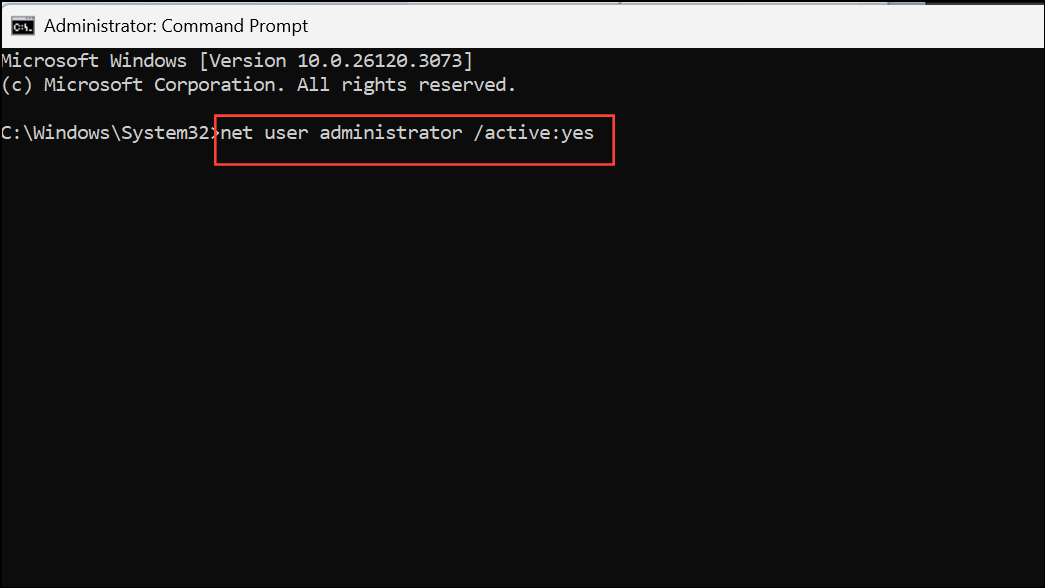
This command enables the hidden account. Log out, and you will see a new Administrator option on the login screen. Sign in with this account to perform system repairs or change other user account types.
Step 3: Once finished, for security, disable the built-in administrator account by running:
net user administrator /active:no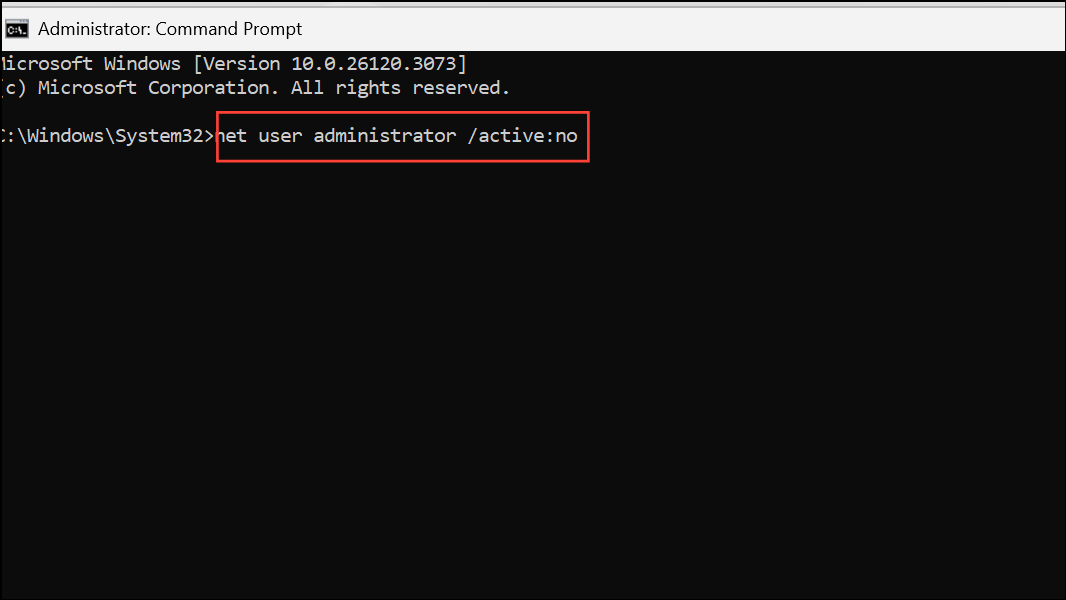
Adjust Group Policy Settings to Regain Admin Control
Occasionally, system restrictions are enforced through Group Policy, which can override local administrator permissions and block access to key settings.
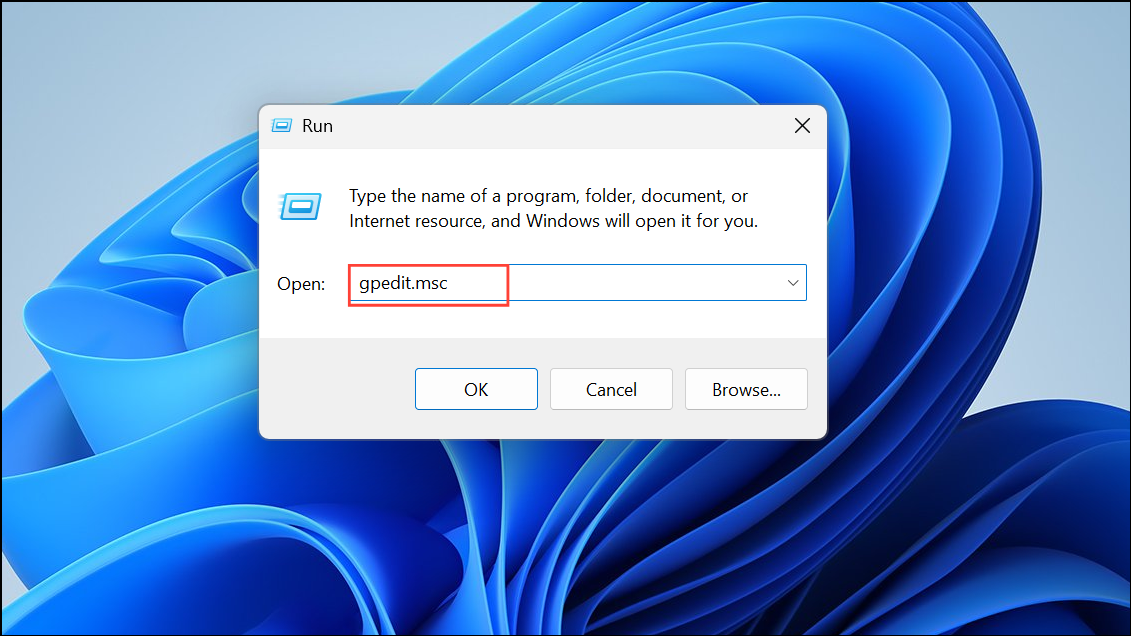
Step 1: Press Win + R to open the Run dialog. Type gpedit.msc and press Enter. This opens the Local Group Policy Editor. Note: This tool is available on Windows 11 Pro and Enterprise editions, but not on Home.
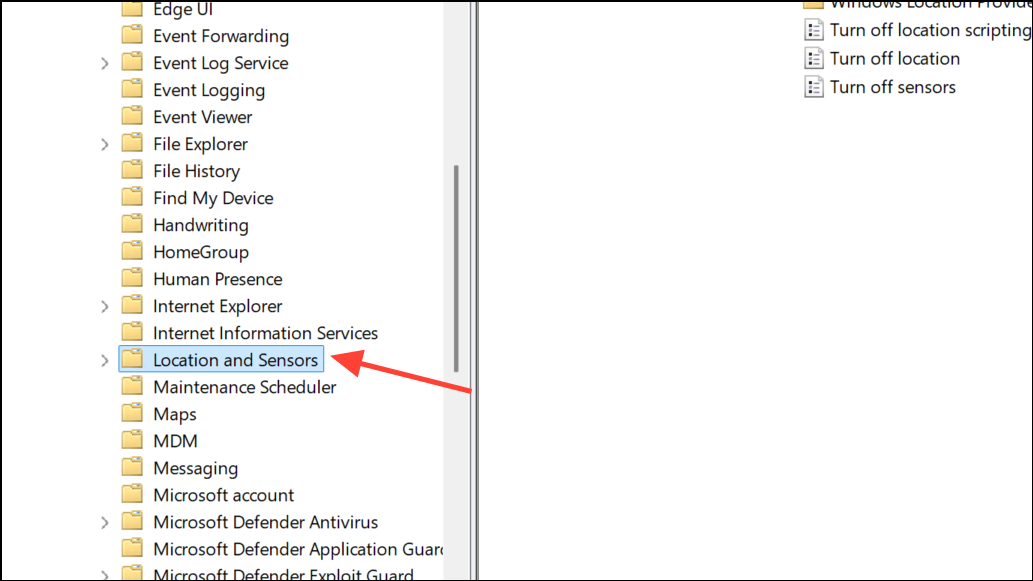
Step 2: In the Group Policy Editor, navigate to Computer Configuration > Administrative Templates > Windows Components > Location and Sensors (or the relevant section for your restriction).
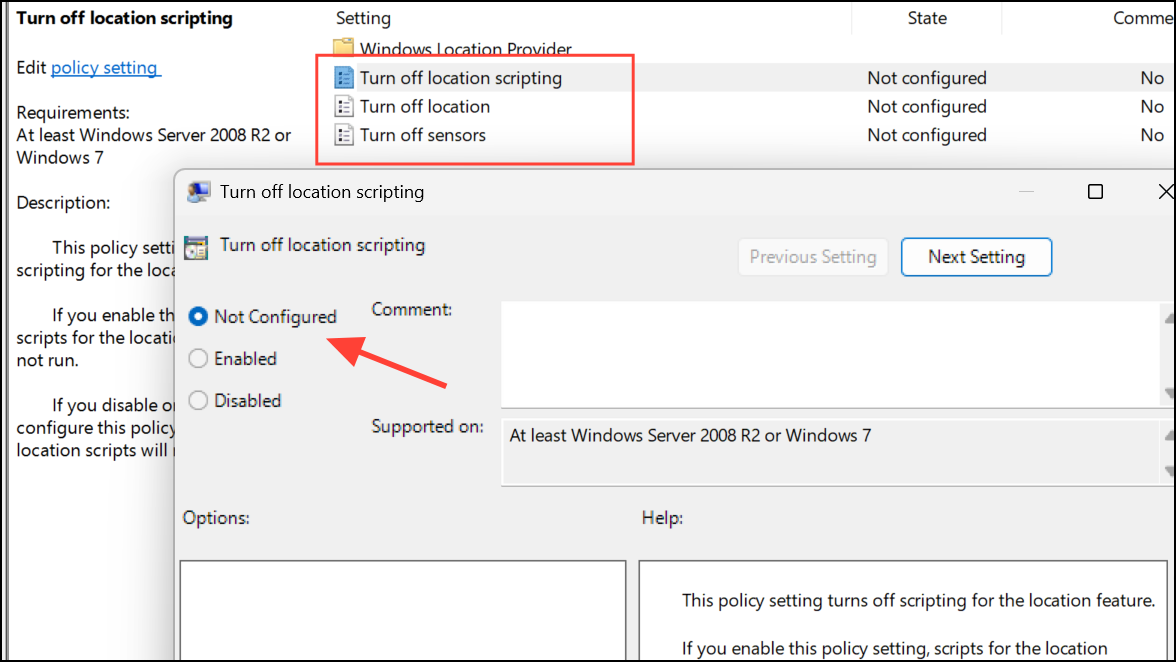
Step 3: Review the policy settings. If a policy is set to restrict access, right-click and set it to Not Configured or Disabled. This restores the default behavior and can fix greyed-out settings or blocked admin actions.
Step 4: Close the Group Policy Editor and restart your computer for the changes to take effect.
Check and Change Account Type via Control Panel
Older versions of Windows and some system configurations still allow account management through Control Panel.
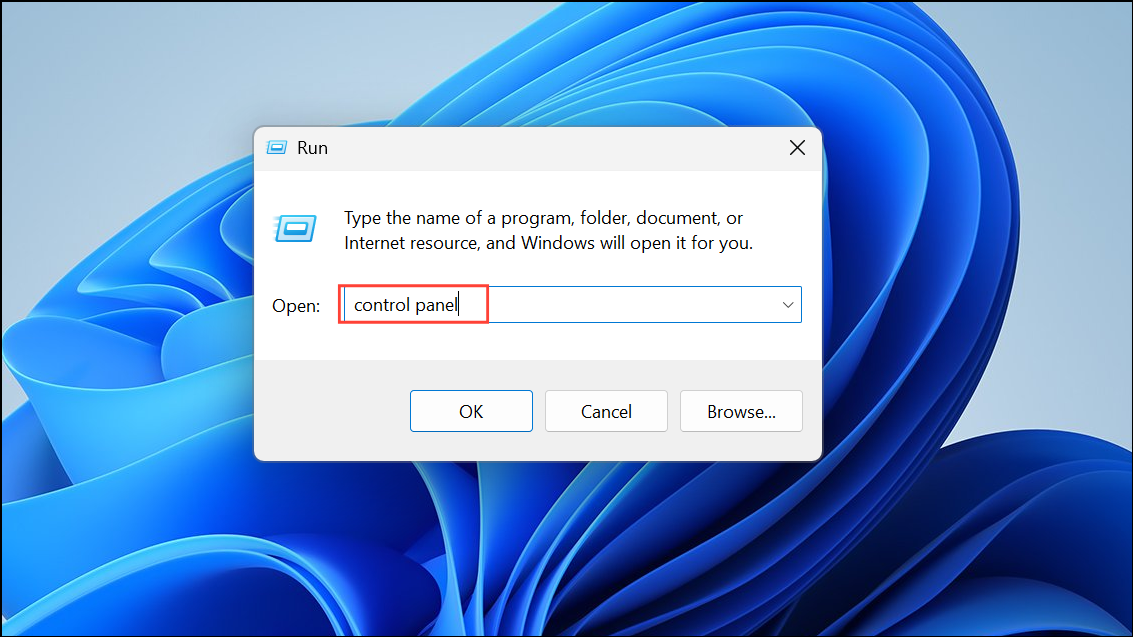
Step 1: Press Win + R, type control panel, and press Enter.
Step 2: Go to User Accounts, then click User Accounts again.

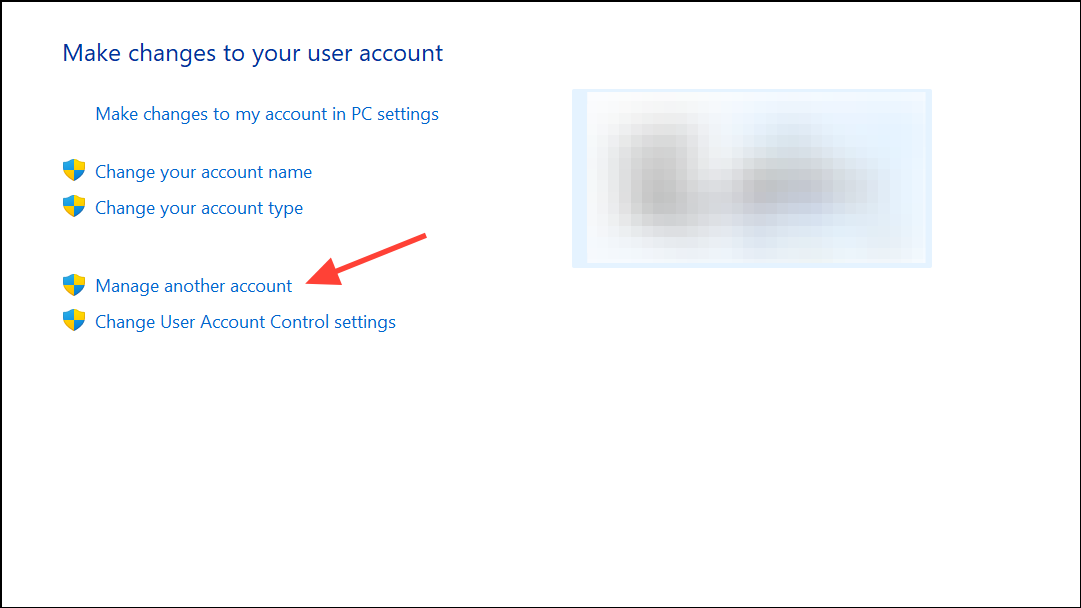
Step 3: Select Manage another account. Choose your account from the list, then click Change the account type. Select Administrator, then confirm.
This method is especially useful on systems upgraded from Windows 10, where legacy account management tools may still be active.
Run System File Checker to Fix Privilege Issues
Corrupted system files can prevent users from gaining or keeping administrator rights, even if their account is set correctly.
Step 1: Open Command Prompt as an administrator using the method described earlier.
Step 2: Run the following command to scan and repair system files:
sfc /scannow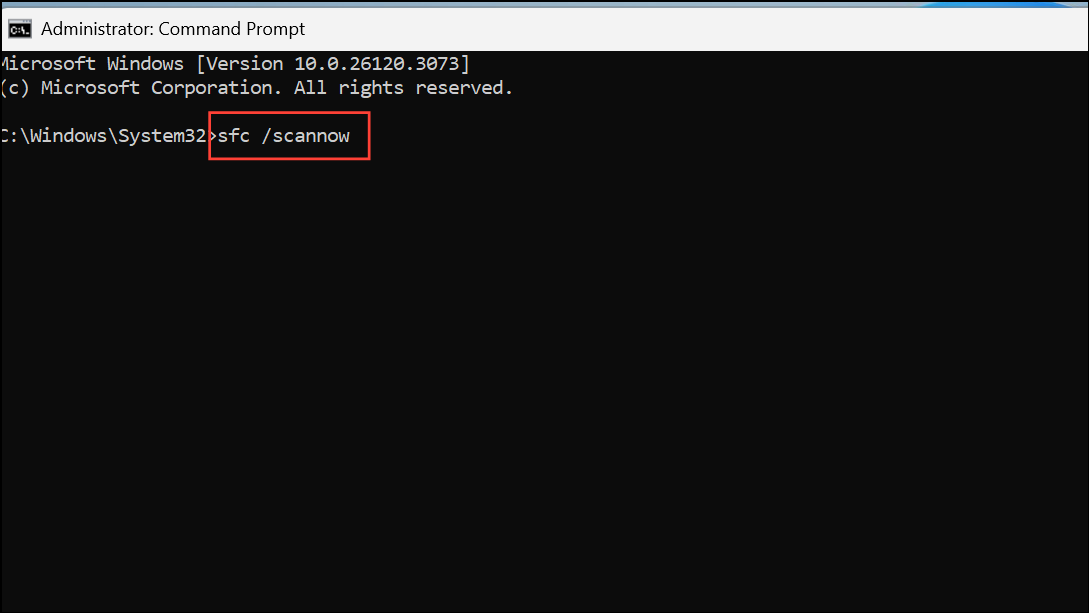
This process checks for and repairs corrupted files that could interfere with account permissions. Once the scan is complete, restart your computer and check if admin access is restored.
Verify Your Account Status Using PowerShell
PowerShell can confirm your current group memberships and whether your account is part of the Administrators group.
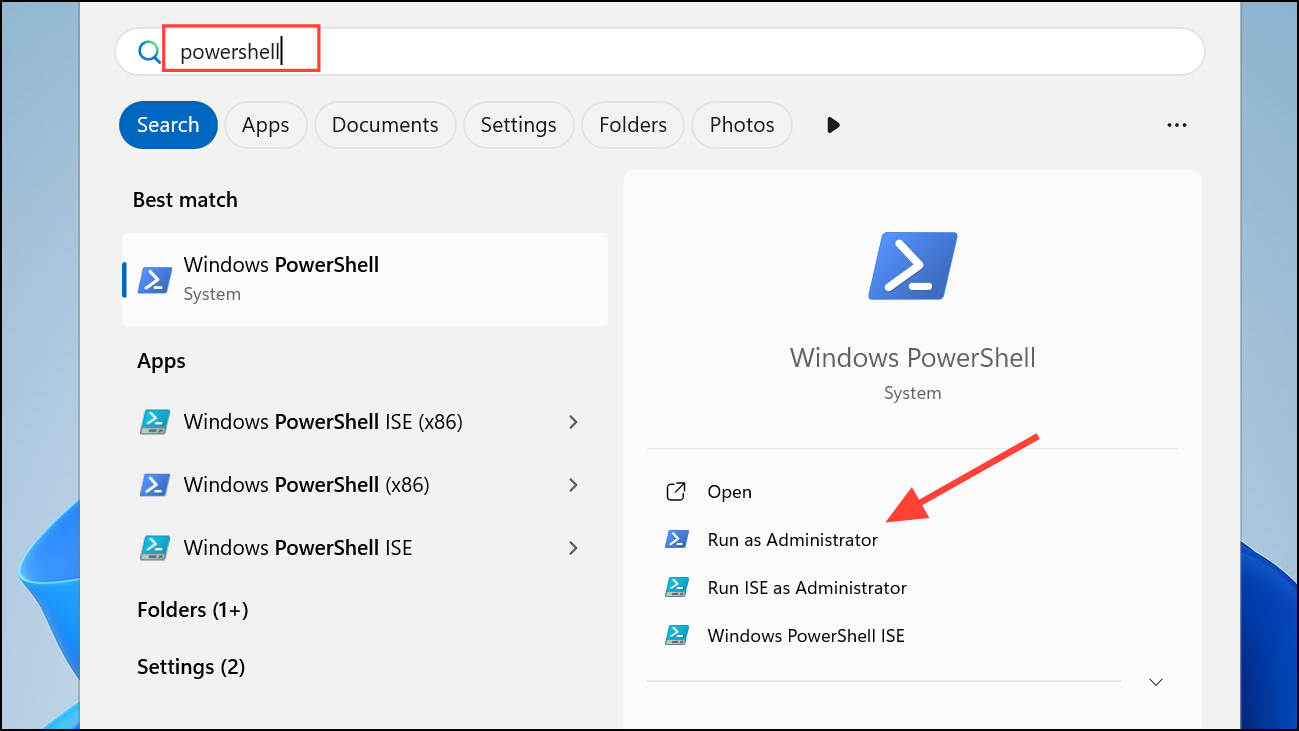
Step 1: Press Win + S, type PowerShell, right-click Windows PowerShell, and select Run as administrator.
Step 2: Enter the following command:
whoami /groups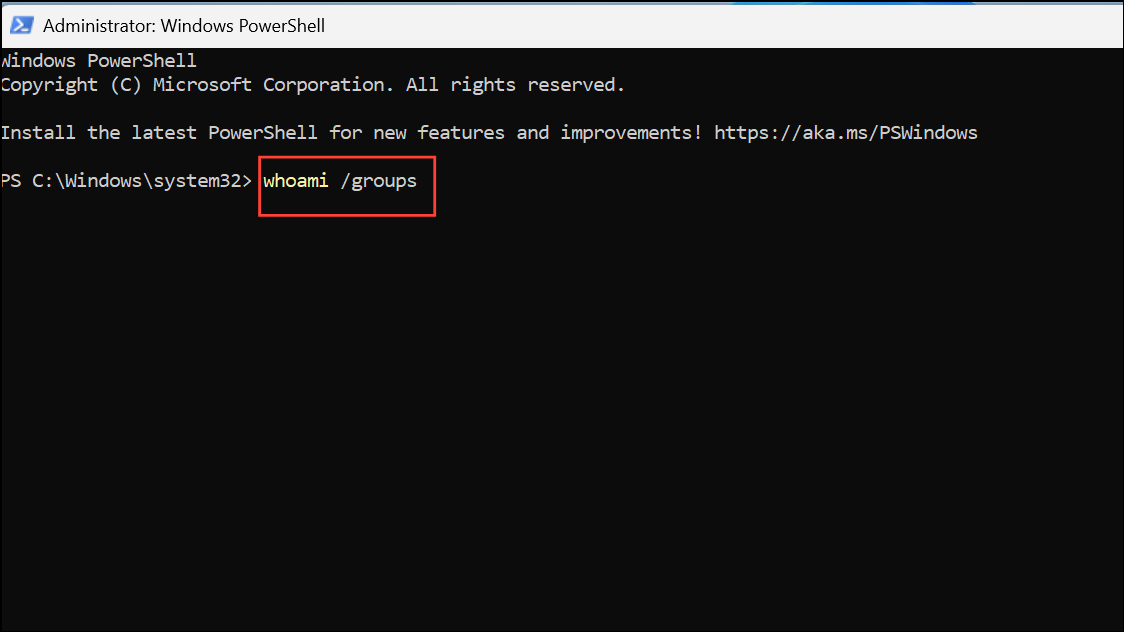
Review the output for Administrators. If your account is listed, you have admin rights. If not, use one of the earlier methods to change your account type.
Additional Tips and Troubleshooting
Some systems may have further restrictions, such as company-managed devices or accounts set up by third-party IT services. In these cases, you may need to contact your IT administrator or the person who originally set up the device for assistance.
For home users, it's best practice to maintain a separate administrator account and use a standard account for daily activities. This limits the potential for malware infections and accidental system changes. If you must reset admin privileges and cannot access any admin account, consider booting into Safe Mode or using recovery media to reset passwords or adjust account types.
Always back up important data before making significant account or system changes. Changing account types or enabling built-in administrator accounts can affect system security and access to files.
Restoring admin access on a standard account in Windows 11 unlocks full system control and resolves permission-related roadblocks. Regularly review your account status to avoid future lockouts and keep your device secure.