
Assigning the hidden attribute to files and folders in Windows 11 removes them from standard File Explorer views, reducing the risk of accidental deletion or unwanted discovery. For users who want faster access to these concealed items, Windows makes it possible to create a shortcut and assign a custom keyboard key combination. This approach provides a practical balance between privacy and convenience, especially when you need to keep certain files out of sight while still opening them instantly.
Hide Files and Folders with a Shortcut Key
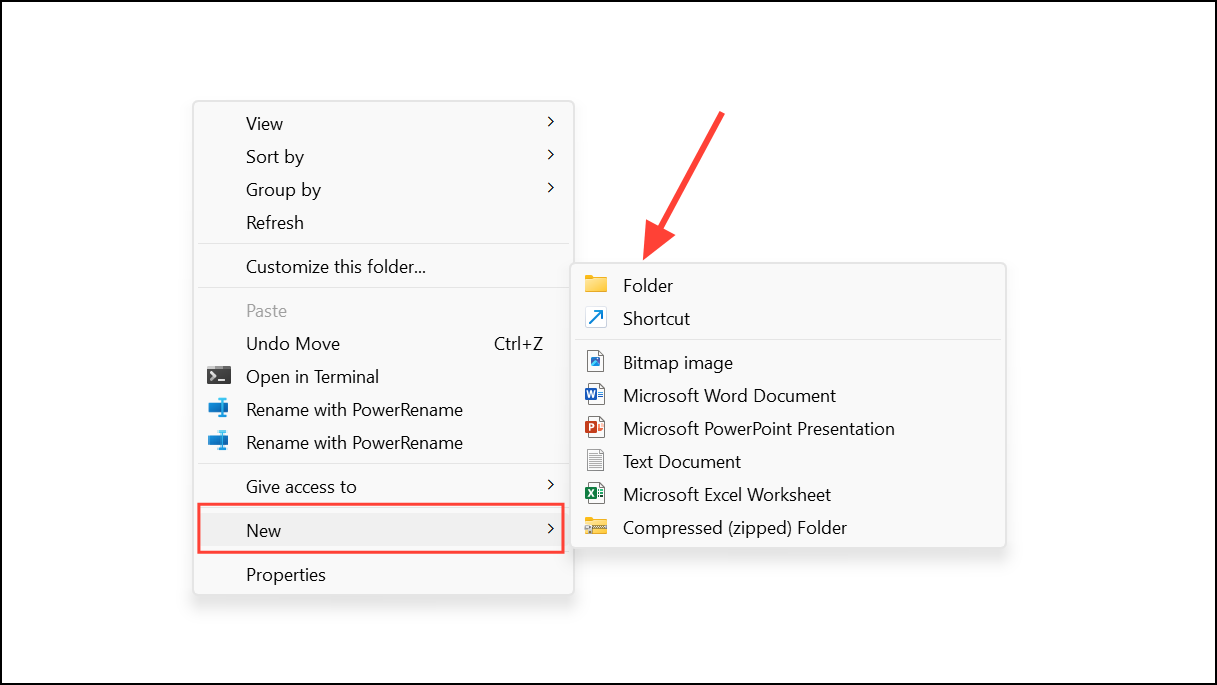
Step 1: Create the folder you want to hide. Right-click in your chosen directory (such as the Desktop or Documents), select New > Folder, and name it as desired. This folder will contain the files you want to keep out of sight.
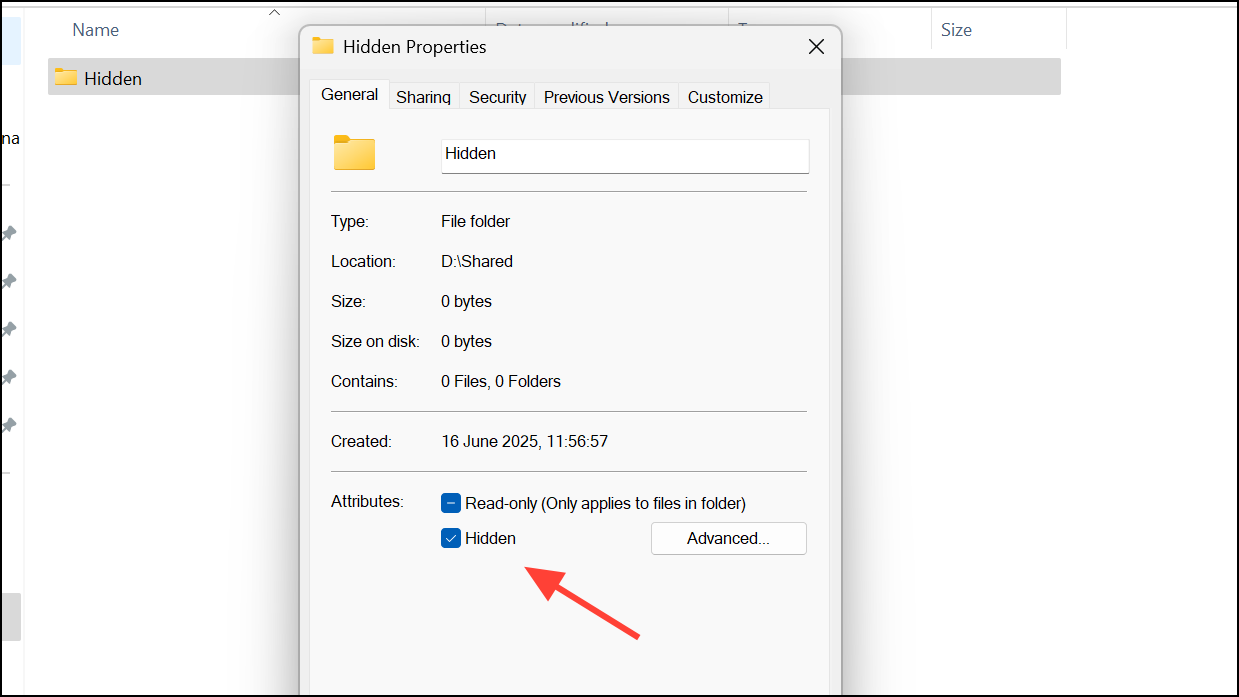
Step 2: Right-click the new folder and select Properties. In the General tab, check the Hidden box, then click Apply and OK. Windows marks the folder as hidden, but it may still appear if your File Explorer is set to show hidden items.
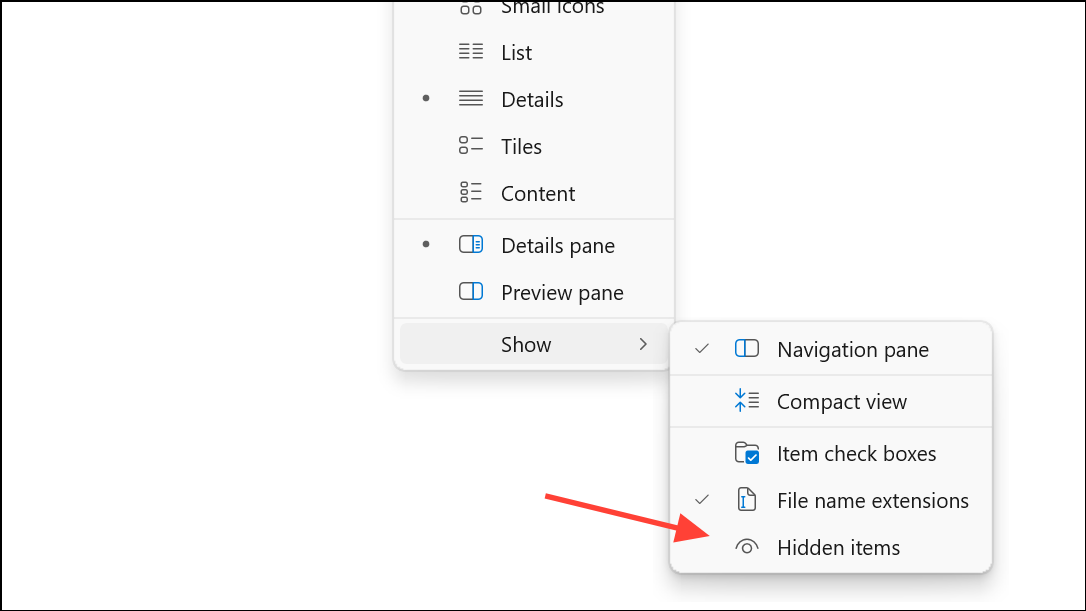
Step 3: Open File Explorer with Windows+E. Click the View menu, hover over Show, and uncheck Hidden items. The hidden folder will disappear from view, making it invisible to anyone not actively searching for it.
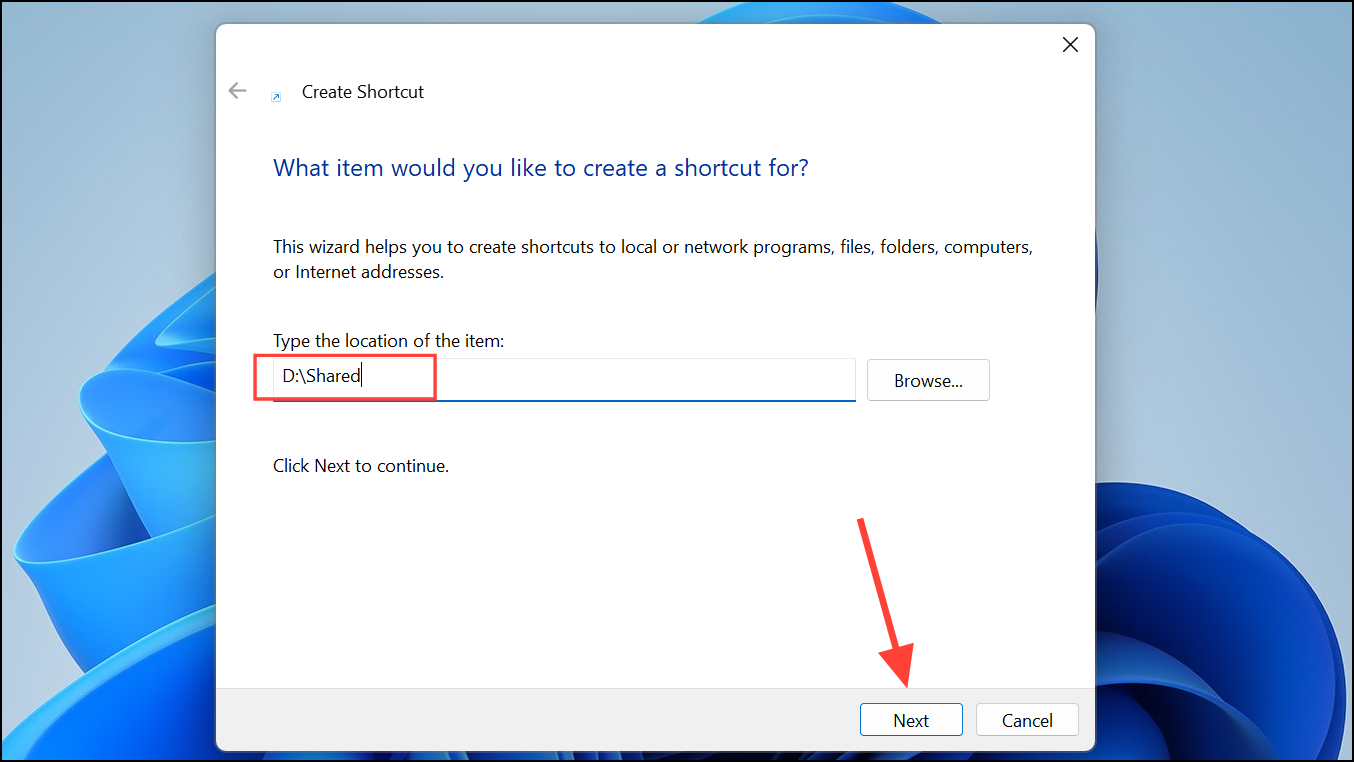
Step 4: Create a shortcut that points to the hidden folder. Right-click your desktop or another convenient location, select New > Shortcut, and enter the full path to your hidden folder (for example, "C:\Users\YourName\Documents\SecretFolder"). Click Next, assign a name, and finish the wizard.
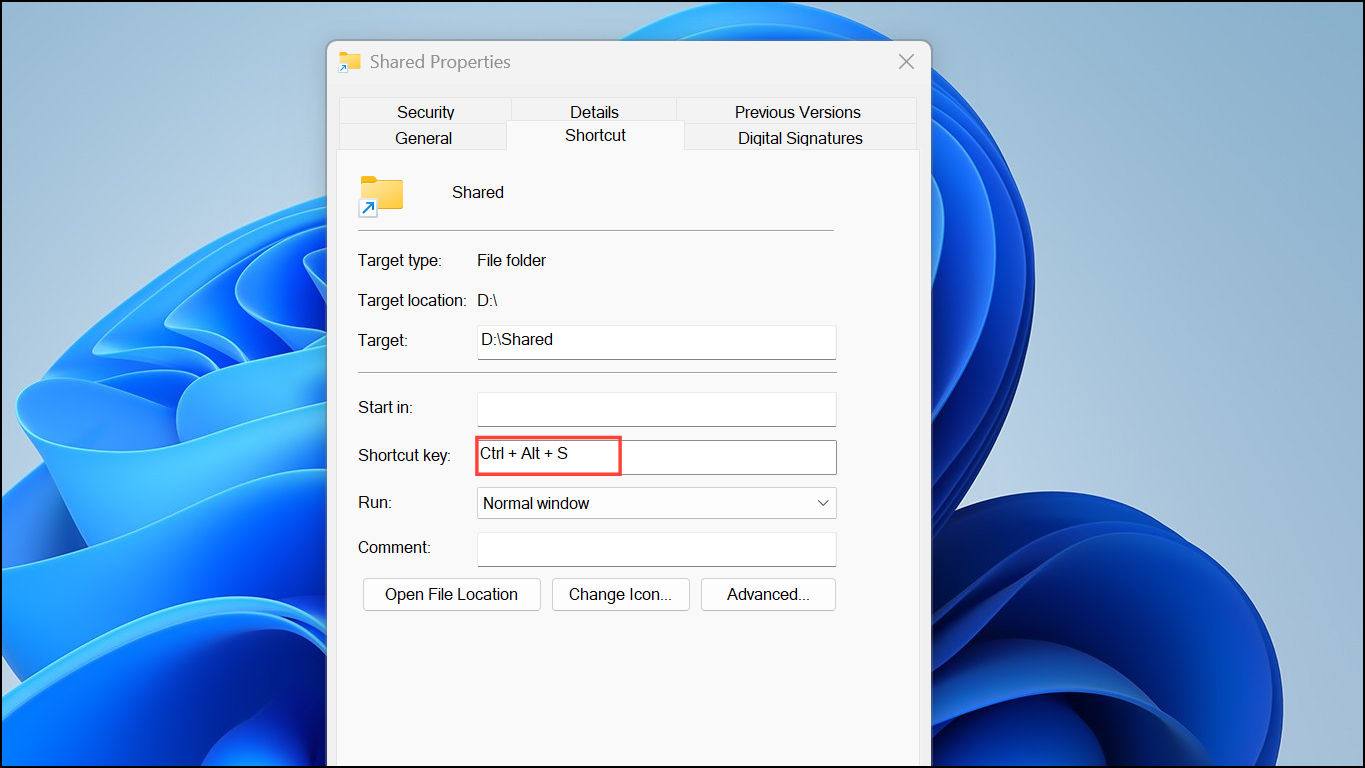
Step 5: Assign a keyboard shortcut to the new shortcut. Right-click the shortcut, choose Properties, and navigate to the Shortcut tab. In the Shortcut key field, enter a key combination such as Ctrl+Alt+S. Click Apply and OK. Now, pressing your custom shortcut will open the hidden folder, even if it’s not visible in File Explorer.
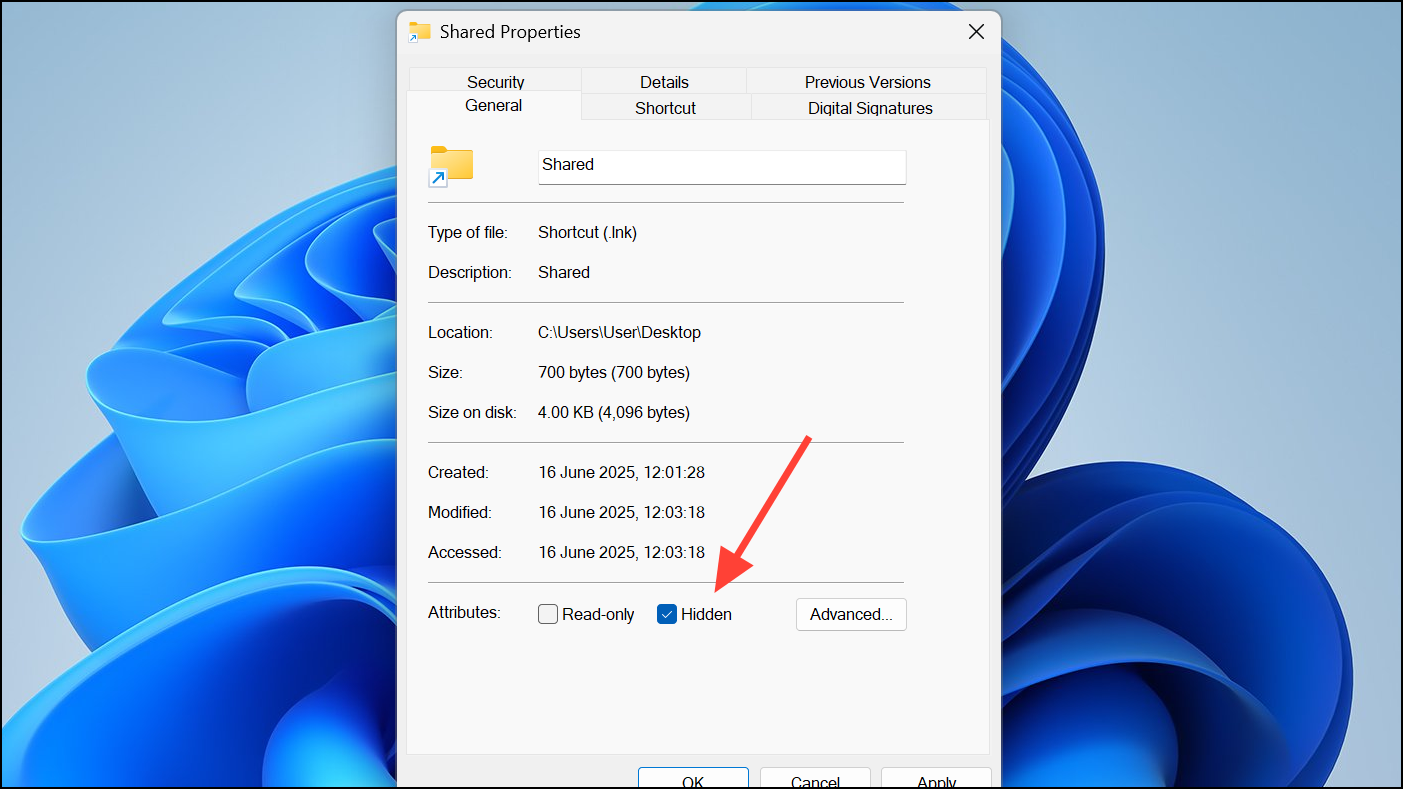
Step 6: Hide or disguise the shortcut itself for additional privacy. Right-click the shortcut, select Properties, and check Hidden under the General tab. Alternatively, rename the shortcut to something nondescript or change its icon to blend in with other system files, making it less likely to attract attention.
This method is ideal for users who want to keep personal or work-in-progress files out of view on shared or cluttered computers, while still being able to open them quickly with a keyboard shortcut. However, it’s important to note that this approach relies on basic file attributes and does not provide real security—anyone who knows how to show hidden files in Windows can locate and access these folders.
Hide Files and Folders Using File Explorer Only
For basic privacy or decluttering, you can use File Explorer’s built-in options to hide files and folders without creating shortcuts or using additional tools. This method is straightforward and takes just a few clicks.
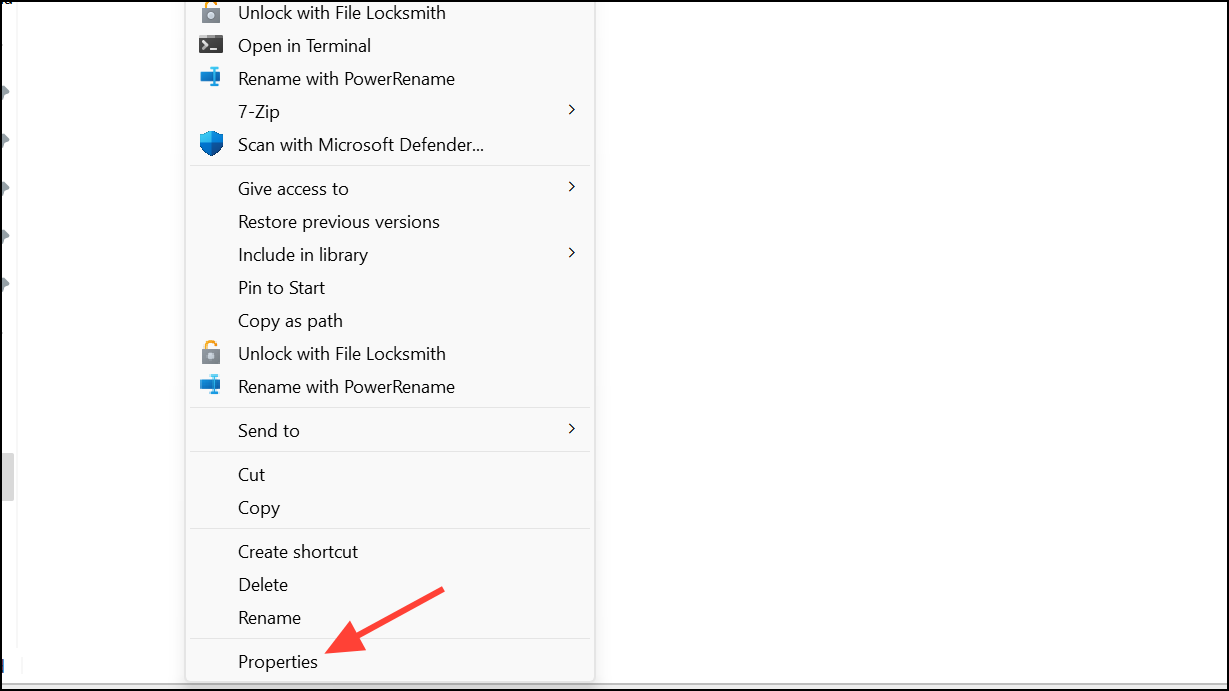
Step 1: Open File Explorer (Windows+E) and navigate to the file or folder you want to hide. Right-click the item and choose Properties.
Step 2: In the Properties window, check the Hidden box and click Apply. If hiding a folder, you’ll be prompted to choose whether to hide just the folder or also its subfolders and files. Make your selection and click OK.
Step 3: To make hidden items disappear from view, go to the View menu in File Explorer, hover over Show, and ensure Hidden items is unchecked. The hidden files or folders will no longer appear in their original locations.
Step 4: To reveal hidden items, repeat the previous step but check Hidden items. You can then access or unhide the files as needed by right-clicking, opening Properties, and clearing the Hidden box.
This method is fast and requires no technical skills, but it does not prevent users with basic knowledge from unhiding and accessing the files.
Hide Files and Folders Using Command Prompt or PowerShell
Command-line methods provide another way to hide files and folders, especially useful for advanced users or when scripting is necessary. These approaches use the attrib command to toggle the hidden attribute directly.
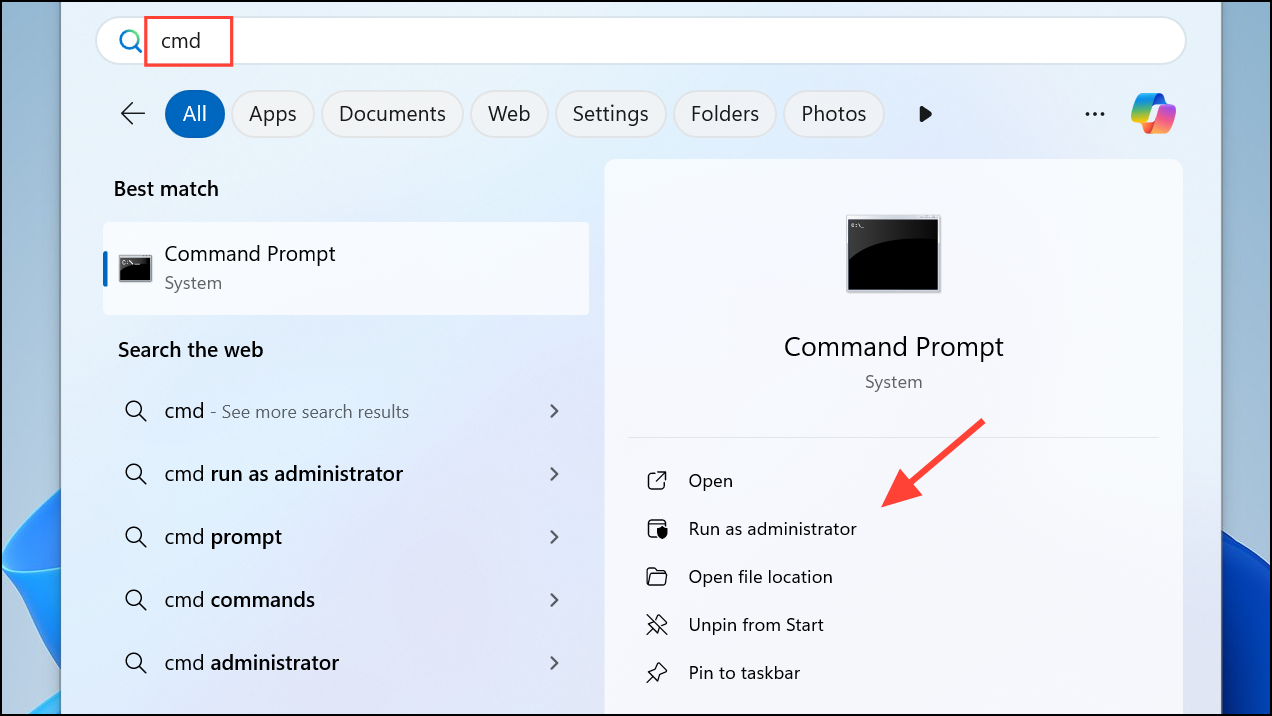
Step 1: Open Command Prompt or PowerShell as an administrator. Press the Windows key, type cmd or PowerShell, and select Run as administrator.
Step 2: Navigate to the directory containing the file or folder you want to hide. For example, type:
cd "C:\Users\YourName\Documents"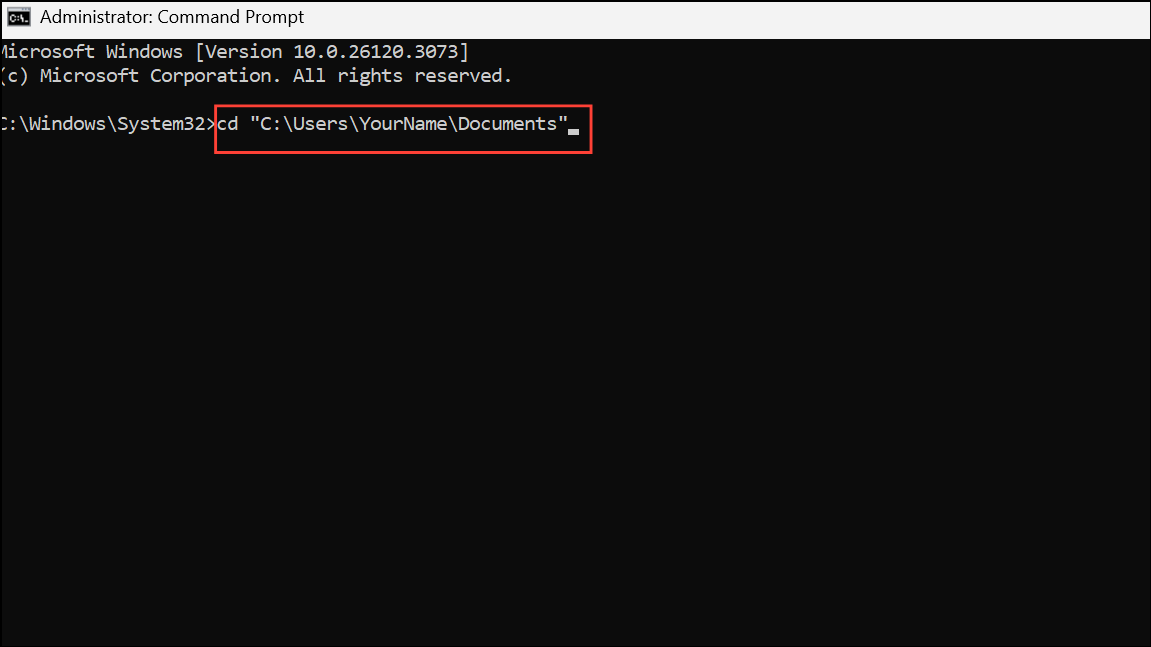
Step 3: To hide a folder, use the following command (replace FolderName with your folder’s name):
attrib +h "FolderName"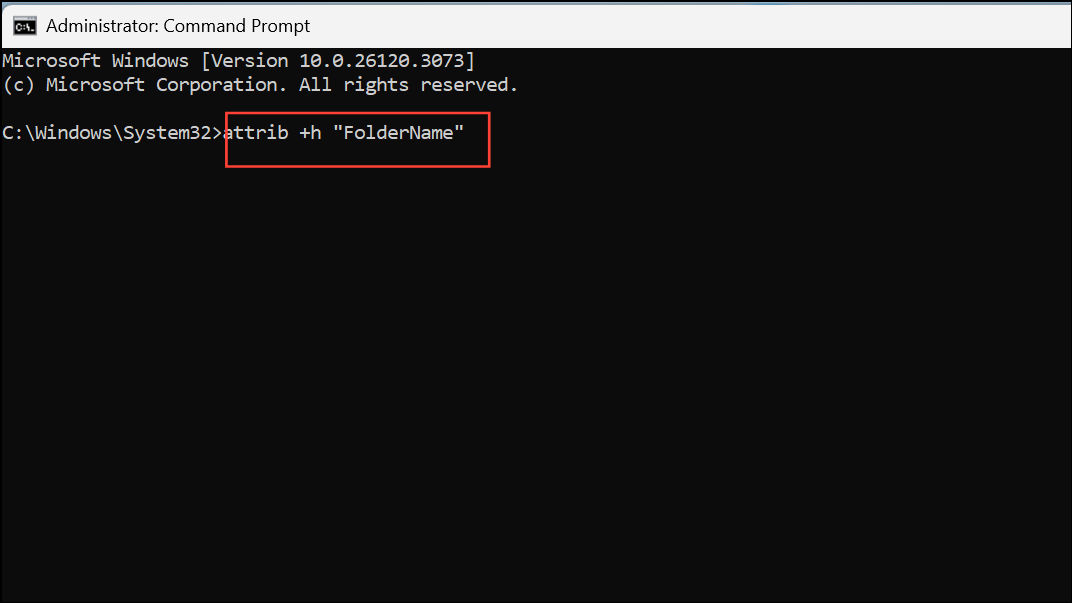
To hide a file, use:
attrib +h "FileName.ext"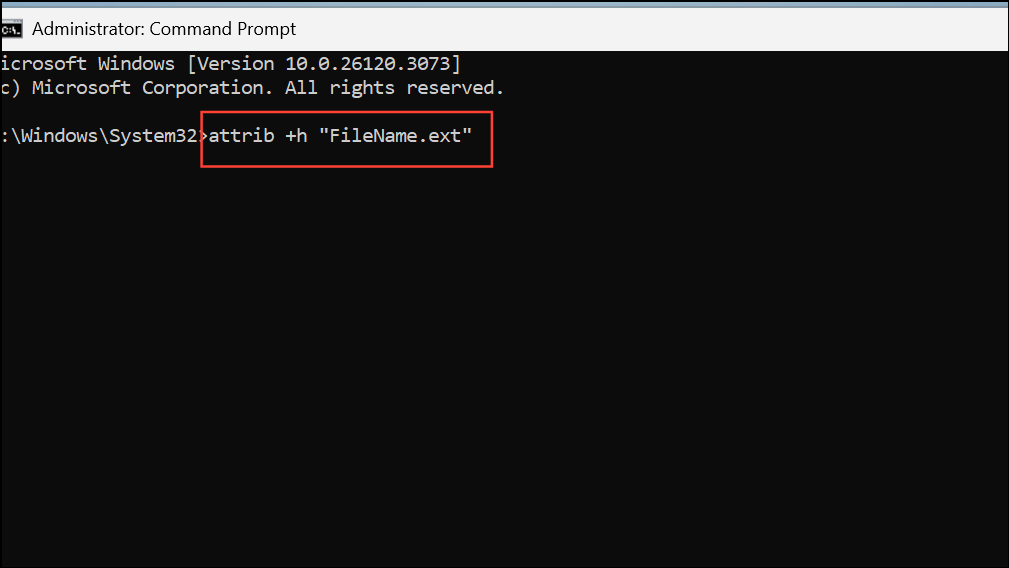
Step 4: To reveal hidden files or folders, use the -h flag:
attrib -h "FolderName"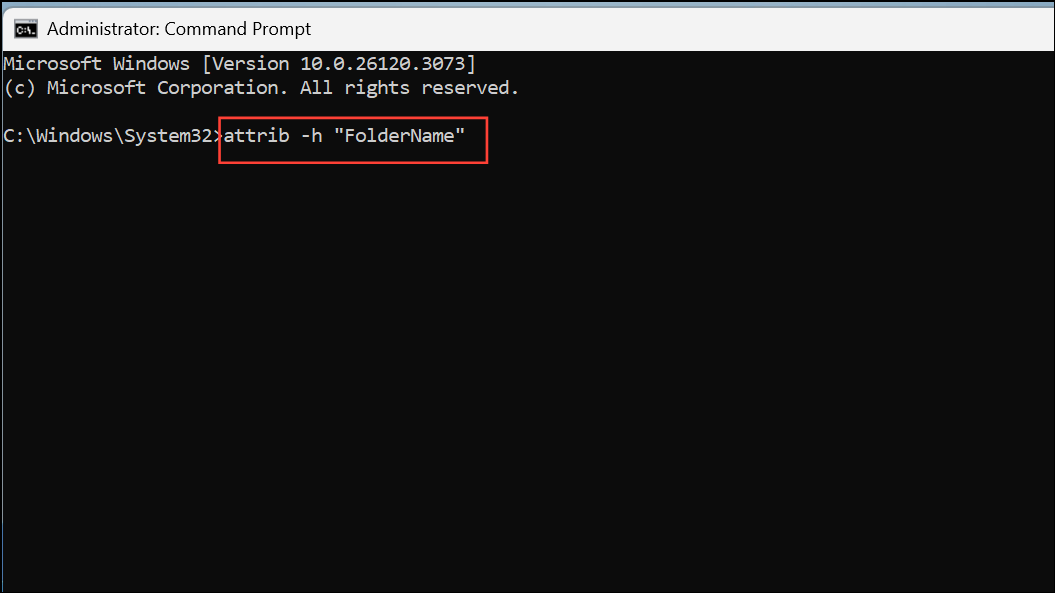
This method is efficient for batch operations and automation, but like the other methods, it only obscures files rather than securing them.
Cautions and Limitations
While hiding files and folders using shortcuts or the hidden attribute can declutter your workspace and deter casual snooping, these methods do not provide security against determined users. Anyone who knows how to show hidden files or search for shortcuts can access your data. For confidential or sensitive files, consider using encryption tools such as BitLocker or VeraCrypt, or password-protected archives with 7-Zip or similar software. Additionally, remember that deleting or moving a shortcut will break its keyboard hotkey, and changes to File Explorer settings may unexpectedly reveal hidden items.
For those seeking a balance between privacy and convenience, hiding folders and assigning a custom shortcut offers a practical workflow solution. However, always evaluate your privacy requirements and use stronger security measures for truly sensitive information.
By combining Windows’ hidden attribute with shortcut keys, you can quickly conceal and retrieve files for everyday privacy and tidier desktops. Just remember, these tricks are best for casual privacy—not for protecting highly sensitive data.