Seafeld City, the new coastal tourist area added in Honkai Star Rail 4.2, hides three Shiftmation puzzles tied to the Floating Grease Origin Retrace set. Each one uses the familiar 2D rotation mechanic, where Q spins the world clockwise and E spins it counter-clockwise, and the goal is to collect every paint blob before landing on the frog.
Controls and objective
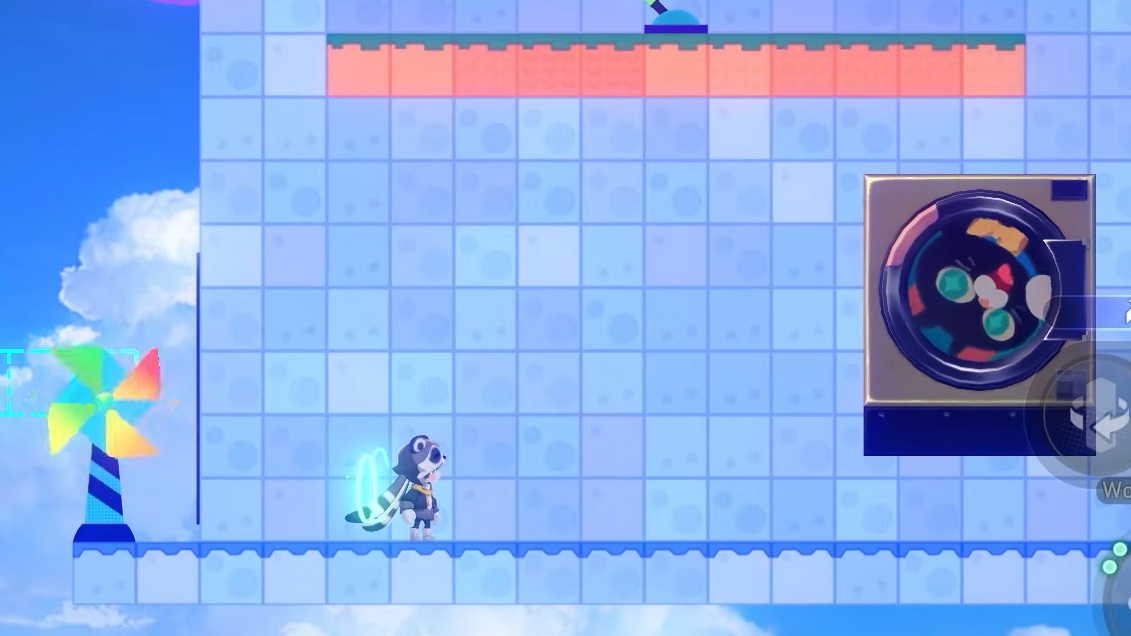
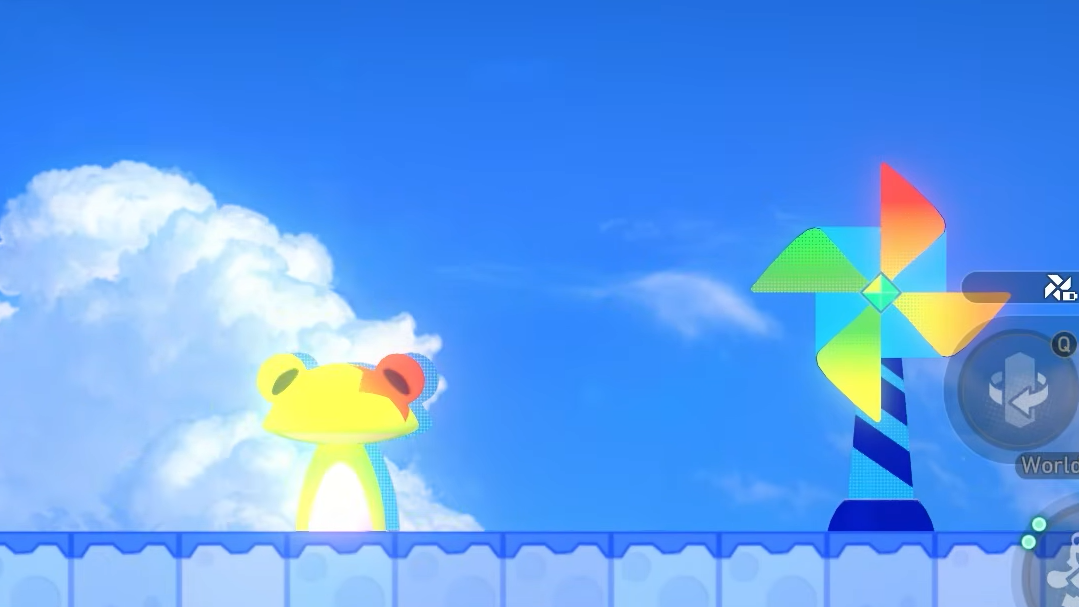
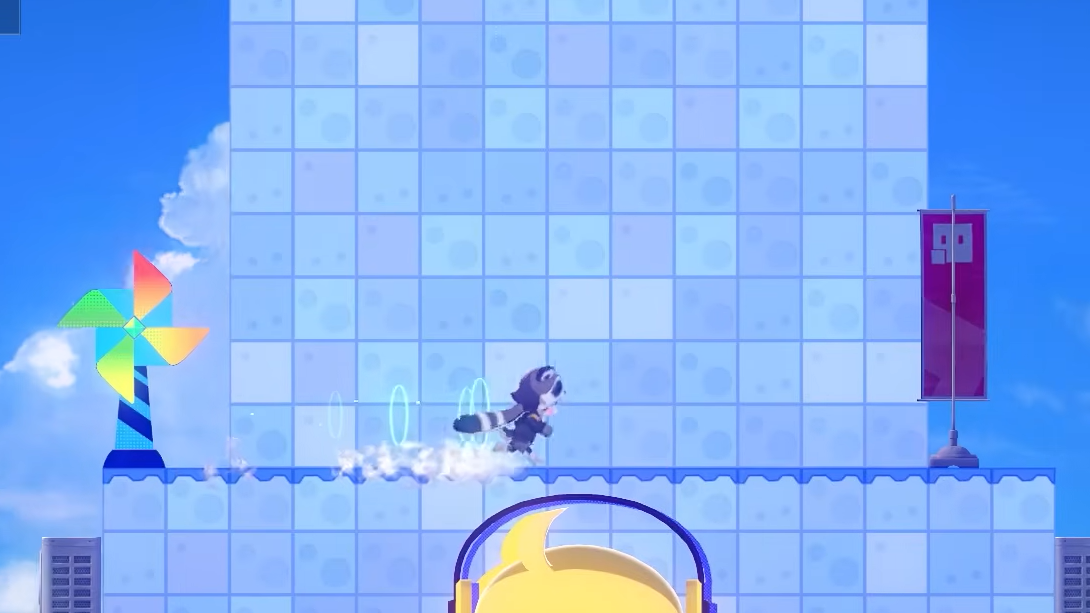
Every Shiftmation puzzle follows the same rules. You rotate the stage 90 degrees at a time, landing on surfaces that shift with gravity. Windmills reset your remaining spin count when you need more rotations, and levers open new paths. The run only counts as complete once all paint is reclaimed and the character reaches the frog marker.
The default keyboard bindings put rotation on Q and E. On controller, the two shoulder buttons handle the same inputs. Jumps are on the standard jump key, and interactions (levers, windmills) use the regular interact prompt.
| Input | Effect |
|---|---|
| Q | Rotate world clockwise |
| E | Rotate world counter-clockwise |
| Windmill | Resets remaining spin count |
| Lever | Opens blocked paths or shifts platforms |
| Frog | Completion marker (touch last) |
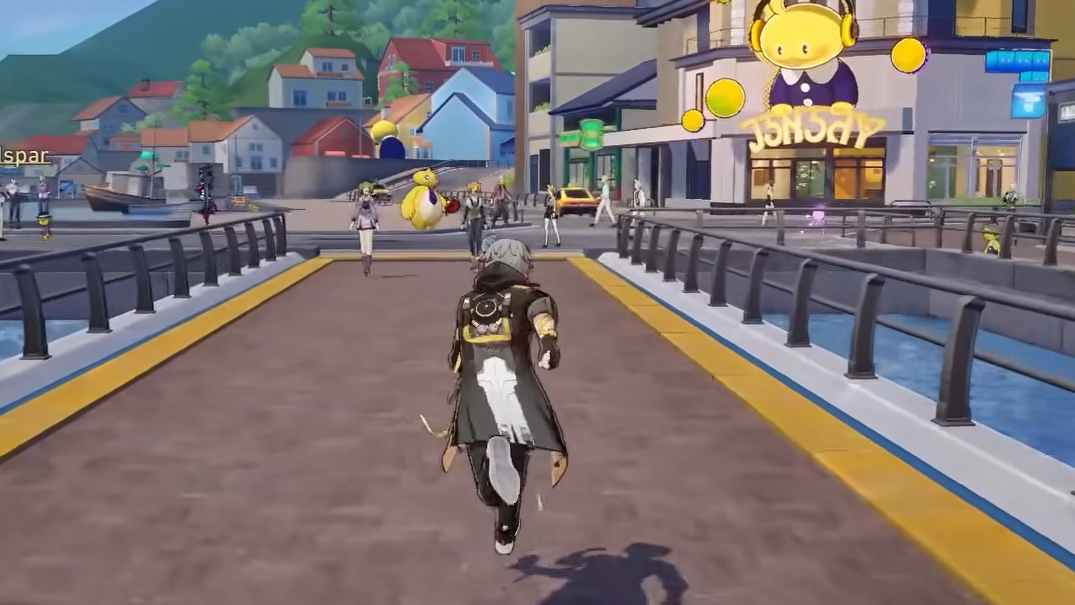
Puzzle 1: Near Seafeld Station
Teleport to the Seafeld Station Space Anchor and follow the narrow road straight ahead until it ends. Turn right and walk a few steps to reach the puzzle entrance, tucked behind the ticket machines area.
Puzzle 2: Southwest of Seaside Avenue
Teleport to the Seaside Avenue Space Anchor and take the narrow path heading southwest. The puzzle sits at the top of a short staircase at the end of that path. This is the longest of the three, with three separate paints to collect and multiple windmill resets.
Puzzle 3: Northwest of the Mayor’s Residence
Teleport to the Mayor’s Residence Space Anchor, turn around, and head down the stairs heading northwest. The puzzle sits by the roadside in front of a cafe. This one is short, with only a single rotation and two paints.

Rewards and verification
Each Shiftmation puzzle rewards a treasure chest on completion, which counts toward the total Seafeld City chest tally and the regional exploration progress. In the Seafeld City chest list, the three puzzle chests correspond to Chest 7 (behind the ticket machines near Seafeld Station), Chest 15 (fenced area southeast of Seaside Avenue), and Chest 22 (northwest of the Mayor’s Residence).
You’ll know a puzzle is solved when the frog animation plays and the chest spawns on the stage. If the frog doesn’t trigger, a paint blob was missed, since the puzzle only completes once every paint on the board has been collected.
With all three Seafeld City Shiftmation puzzles done, the remaining Floating Grease Origin Retrace entries for version 4.2 are located over in Seafeld TV Tower, which shares the same rotation mechanics and rewards another set of chests toward Planarcadia’s 4.2 exploration totals.