
The Notion Calendar makes it easy to work with people in different places around the world. It has first-class tools for handling different time zones. This article will show you how to add and use multiple time zones in your Notion calendar. This is great for scheduling meetings and keeping track of times when you are working with others in different countries.
Adding a Time Zone in Notion Calendar
Adding a time zone in Notion Calendar is a simple and useful feature for those managing schedules across different regions. It’s particularly handy if you collaborate with teams or clients in various parts of the world. Here’s how you can add a time zone:
- Open your web browser and sign in to the Notion web app to access your calendar, or launch the Notion Calendar app for your desktop. Alternatively, you can log in to your Notion workspace and click on the ‘Calendar’ icon in the left-hand sidebar to view your calendar.
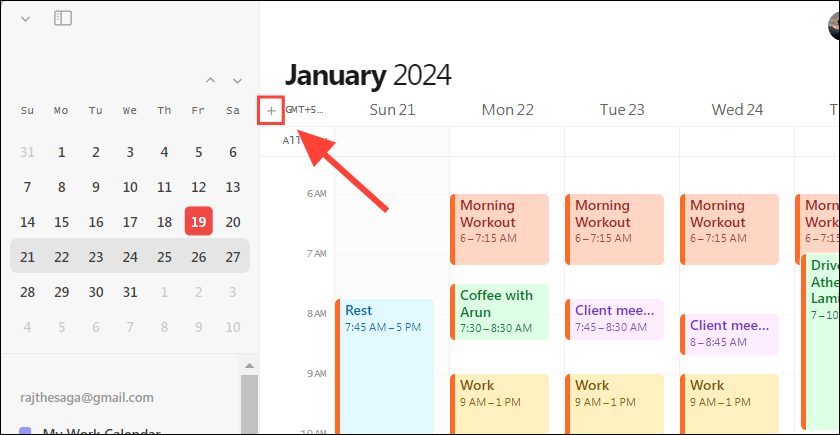
- To add a new time zone, click the ‘+’ icon next to your current primary time zone. This ‘+’ icon is typically located at the top of your calendar view.
- A list of time zones will appear. From this list, select the time zone you want to add. You can choose any region or city that represents the time zone you need.
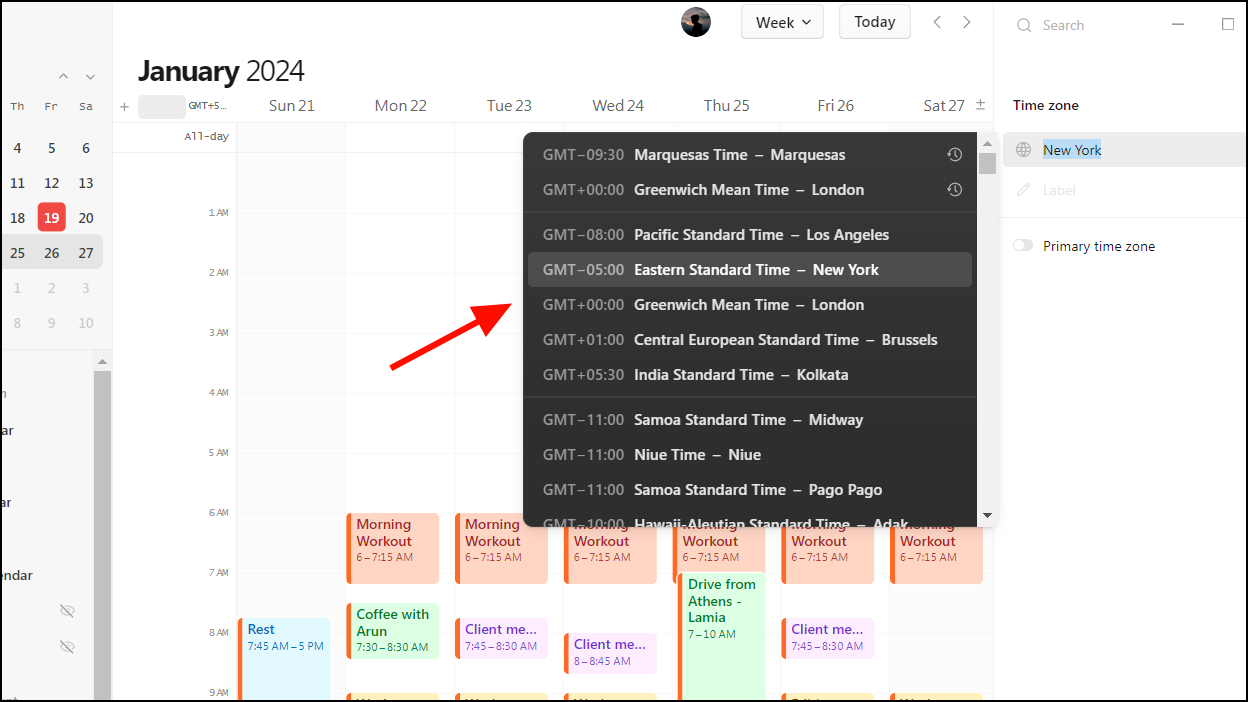
- The added time zone will appear to the left of your other time zones. You can differentiate the time zones with alphabetic abbreviations such as ‘EST’, ‘IST’, etc.
Tip: Adding more than four time zones
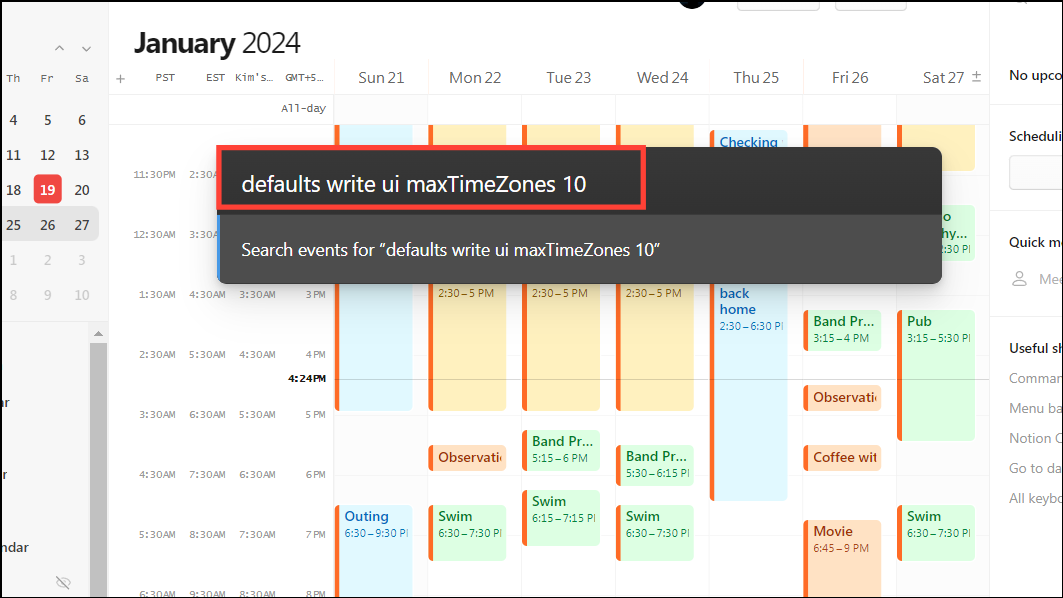
By default, Notion Calendar allows you to display only four total time zones in your calendar. If you wish to have more than four, simply press Ctrl/⌘+ K and issue the following command:
defaults write ui maxTimeZones 10Replace 10 with the number of time zones you want to add.
Editing or Removing Time Zones in Notion Calendar
Editing or removing time zones in Notion Calendar is a straightforward process, allowing you to customize your calendar view to suit your current needs. This flexibility is particularly useful if your work or personal commitments span across different time zones. Here’s how to do it:
- Locate the time zone you want to edit or remove on your Notion Calendar. This could be your primary time zone or any secondary ones you’ve added.
- Editing a Time Zone. To edit, right-click on the time zone you wish to change. You’ll have a few options:
- Change: Select this option to replace the current time zone with a different one.
- Rename: If you want to give a custom name to the time zone (for example, naming it after a specific project or city), choose this option.
- Make Primary: This option allows you to set the selected time zone as your primary one, which will be displayed most prominently on your calendar.
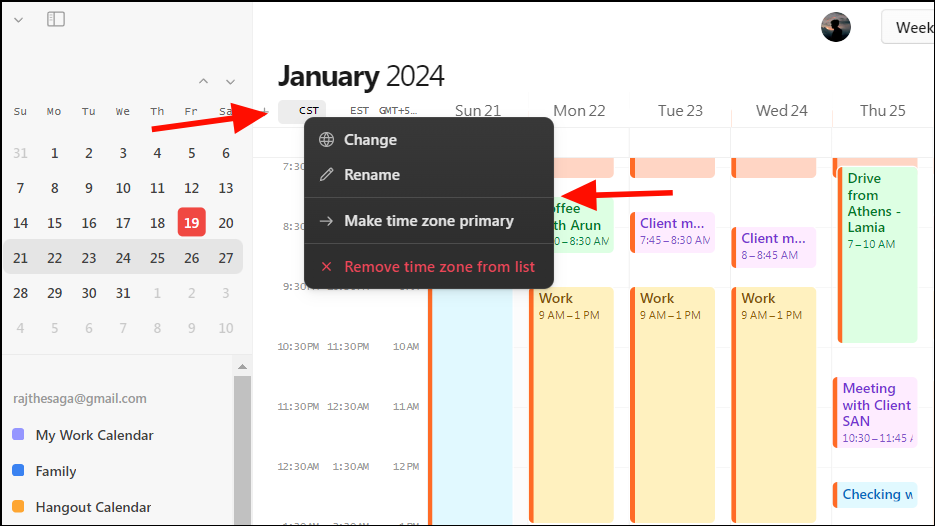
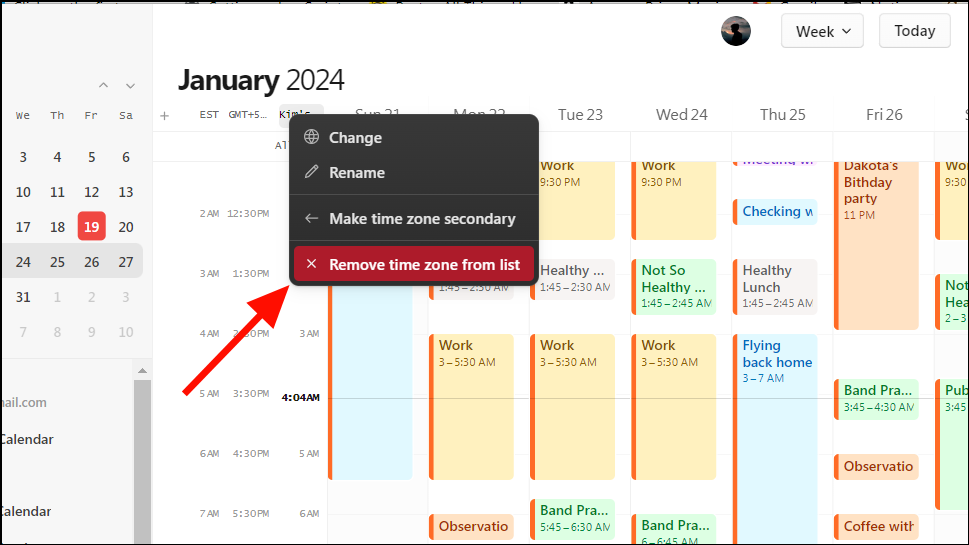
- Removing a Time Zone. If a time zone is no longer relevant, you can easily remove it. Right-click on the time zone and select the ‘Remove time zone from list’ option. This will delete the time zone from your calendar view.
Once you edit or remove a time zone, the changes will be instantly visible in your calendar. This helps in maintaining an updated and clutter-free calendar view, especially if you’re dealing with a dynamic schedule that frequently changes.
Reordering Time Zones in Notion Calendar
Reordering time zones in Notion Calendar allows you to organize the display of different time zones according to your preferences or needs. This feature is useful if you frequently work with multiple time zones and want to prioritize one over the others at different times. Here’s how you can reorder time zones:
- First, make sure you have multiple time zones added to your Notion Calendar.
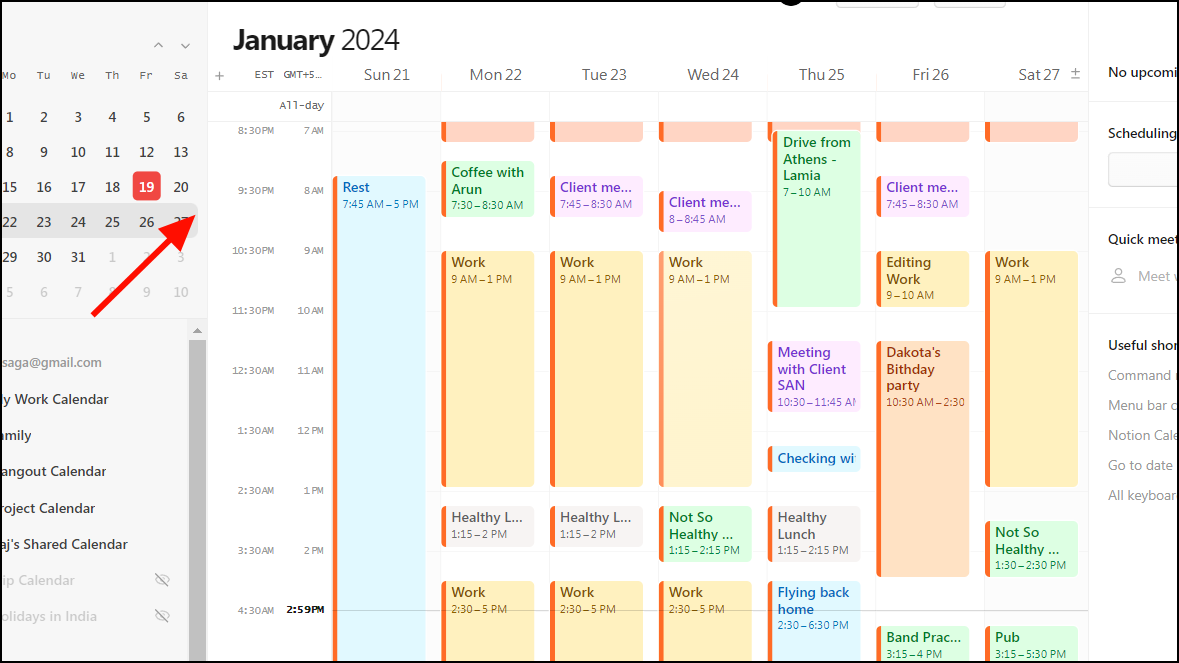
- On a desktop, you can reorder the time zones by clicking and holding on a time zone, then dragging it to the desired position.
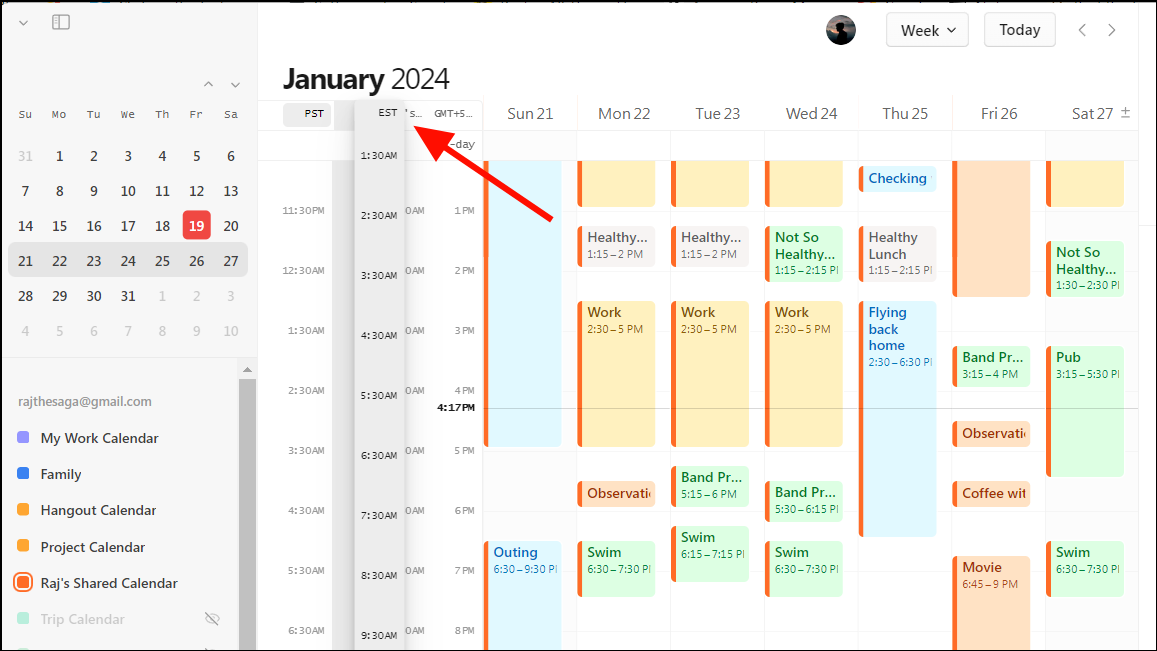
- The time zone on the far right becomes your primary time zone. This means it will be displayed most prominently and will typically be the time zone against which your events are scheduled.
- You can adjust the order whenever your scheduling priorities change. For instance, if you start working more closely with a team in a different time zone, you might want to move that time zone to a more prominent position.
- The changes you make will be immediately reflected in your calendar view, making it easier to schedule and view events in the preferred time zone.
Using Temporary Time Zones in Notion Calendar
Temporary time zones in Notion Calendar are useful for those who need to quickly view their schedule in a different time zone without permanently changing their settings. This is especially handy if you’re working with clients or colleagues in other parts of the world, or traveling to a different time zone temporarily.
- To activate a temporary time zone, just press
Zon your keyboard and select a time zone to temporarily travel to that time zone.
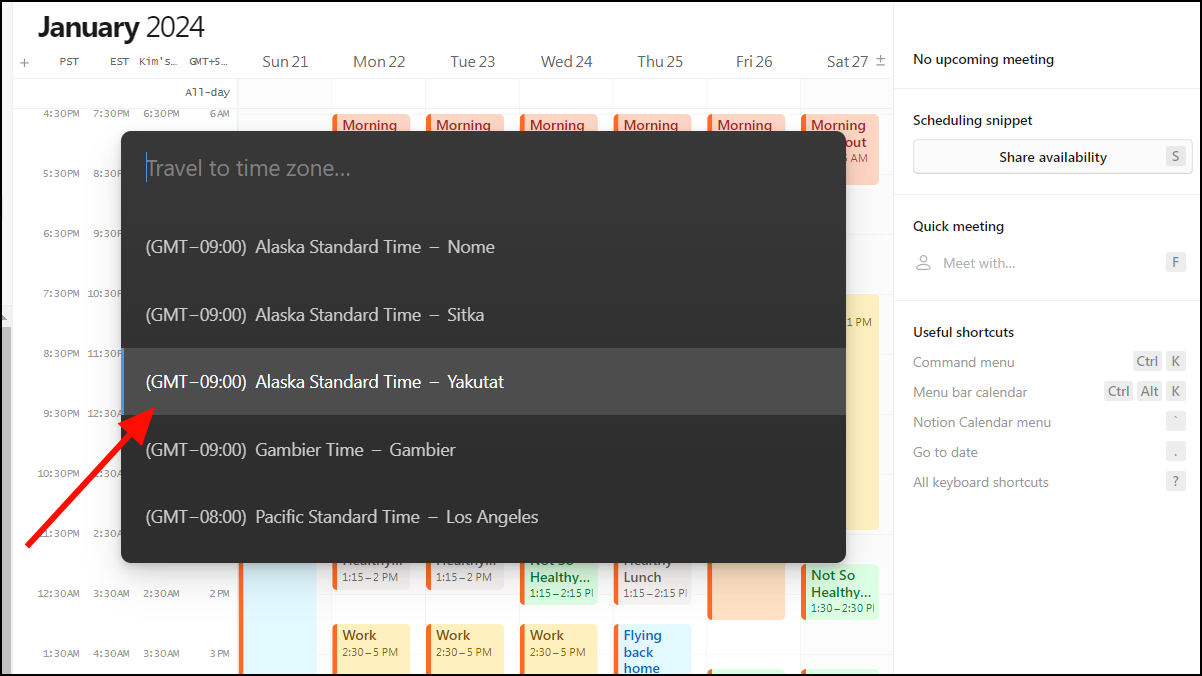
- While in this temporary mode, all your events are shown according to the time in the temporary time zone, making it easy to plan and schedule according to that region’s local time.
- This feature is designed for short-term use and does not affect your primary time zone setting. It’s ideal for quick references or when you’re planning something in a different time zone but don’t want to alter your calendar’s main settings.
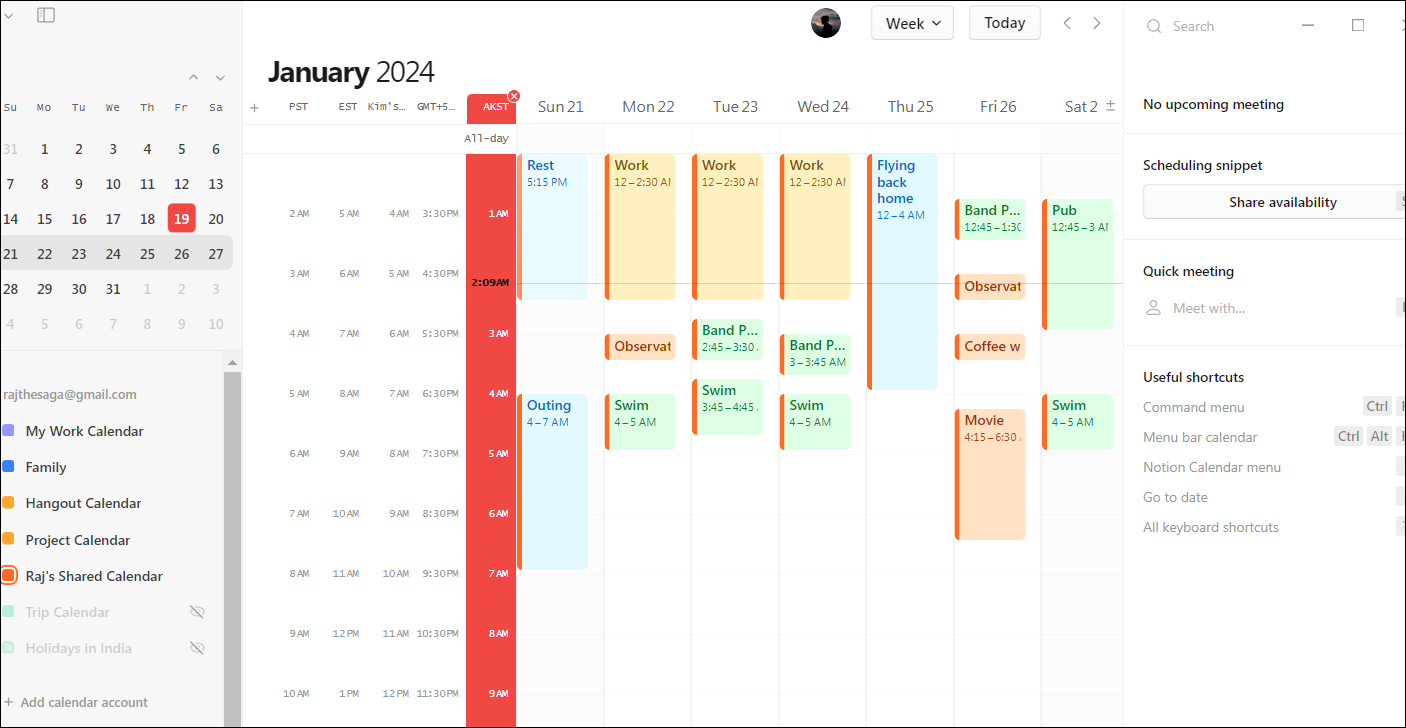
- Returning to Primary Time Zone. Once you’re done, you can easily switch back to your primary time zone by clicking on the little red cross icon at the top of the temporary time zone, and your calendar will revert to showing events in your original time zone.
Temporary time zones in Notion Calendar offer a flexible, user-friendly way to manage your schedule across different regions without constantly adjusting your primary time zone settings.