Notion, known for its innovative approach to productivity, has recently unveiled its latest addition – a standalone calendar application that’s a game-changer for both personal and professional use.
Notion acquired Cron, a calendar app, back in 2022 and Notion Calendar is its evolution. This new application maintains the core functionality of Cron but brings it closer to the Notion ecosystem, offering a more integrated experience for users. With a modern UI and powerful capabilities, it also bridges the functionality gap that the existing Calendar view in Notion created. Here’s everything you need to know about it.
Notion Calendar Features
Notion Calendar is a standalone calendar app from Notion. It is available as a desktop app for Mac and Windows and an iOS app for your iPhone, as well as a web app that you can access by going to calendar.notion.so.
The only caveat as of now is that Notion Calendar only offers integration with Google Calendar. While support for other calendars like Outlook and Apple Calendar will come down the line, it’s non-existent right now. So, if you’re using either of those calendars at this point, you won’t have much reason to be excited about, except seeing all your Notion database events in a unified view.
Here’s an overview of everything the app offers:
Notion Database Integration
Perhaps the most notable feature of the app is the integration it offers with Notion. You can import your Notion databases within the Notion Calendar and view any database items with a Date property in your calendar.
This means that your Calendar can show not only your upcoming meetings but also any upcoming deadlines without any additional effort from your side. Changes in either the Calendar app or Notion sync in real-time and reflect in both places.
Notion Calendar also shows a countdown timer for upcoming events in your menu bar (only when you download the desktop app, though).
Link Notion Pages:
You can also go to the Notion page from the Calendar from an event that’s been pulled from the Notion database. And the integration works in both directions. While creating an event in the Calendar, you can link it to an existing Notion page or create a new one right there.
Professional and Personal Calendars in One Place
Notion Calendar allows you to easily add multiple Google calendars in one place. So, you can view your professional and personal calendars without having to make any switches, something you can’t easily do in Google Calendars itself.
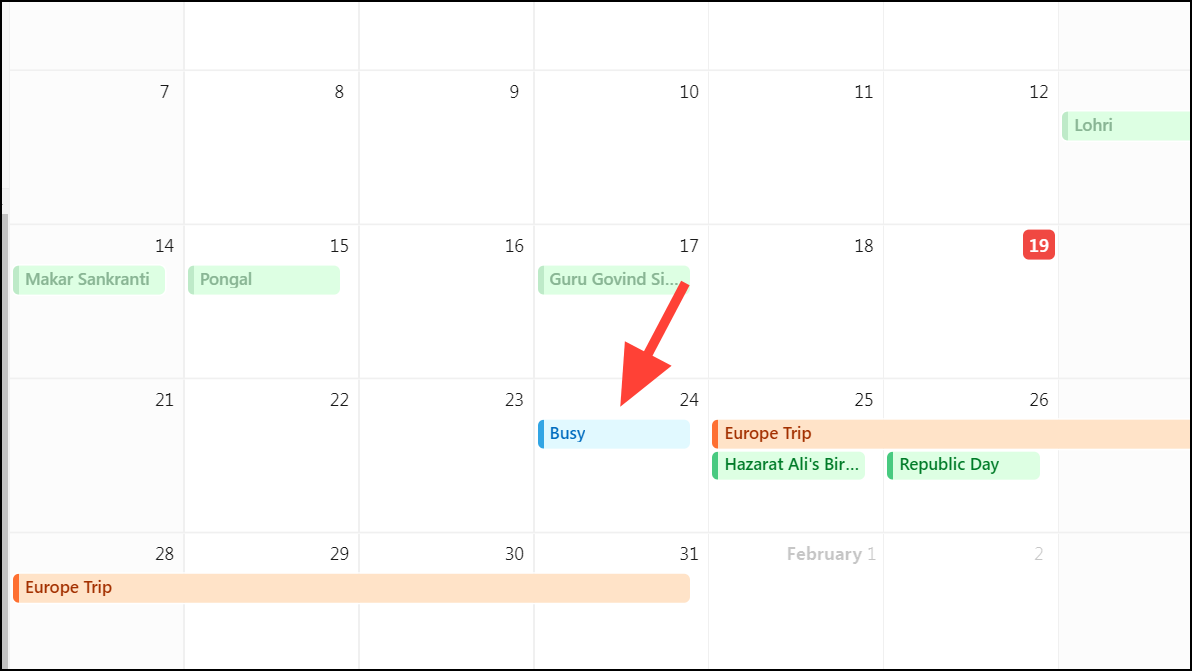
You can even easily block time on your work calendar for your personal events, and it will simply show “busy” to everyone else.
Connect Easily with Teammates
Notion Calendar also makes it easy to connect with your teammates, whether they’re right next to you or anywhere else in the world.
It allows you to schedule meetings easily by sharing video conferencing links for Zoom or Google Meet (depending on your preference) automatically.
You can even overlay your teammate’s calendars over yours to find a time that works for everyone while scheduling meetings.
One of the great features of the app is Sharing availability. You can highlight and block out times for meetings and email those times to others to share your availability with others. The other person can then let you know what time works for them, or even better, book the slot directly. You’ll then find that the event will appear in your calendar automatically for their chosen time, and the rest of the time slots you highlighted will be freed.
For global meetings, you can also easily add multiple timezones to your calendar, allowing you to be considerate of everyone on your team.
It even allows you to schedule meetings with people outside of your organization.
Other than that, it also facilitates many other features like the ability to drag events across weeks, keyboard shortcuts, rule management, participant management, and sending emails from within the app.
Now that you have an idea of what to expect from Notion Calendar, let’s see how to use it.
Get Started with Notion Calendar
You can either download the desktop app or go to the web app to get started.
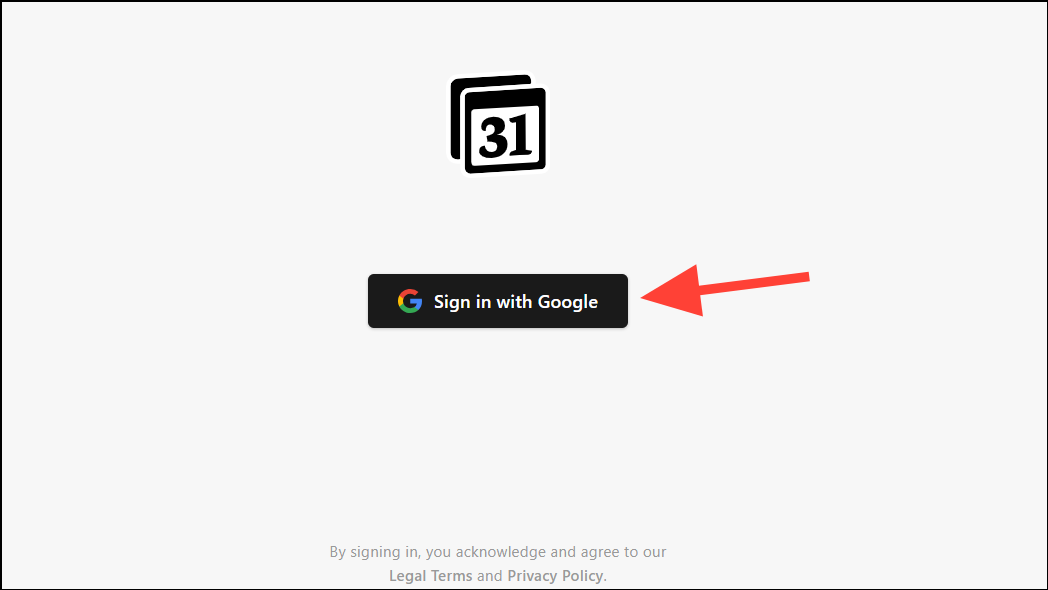
- On the web, go to calendar.notion.so and click on ‘Sign in with Google’. Sign in to the Google account that you want to connect with Notion Calendar.
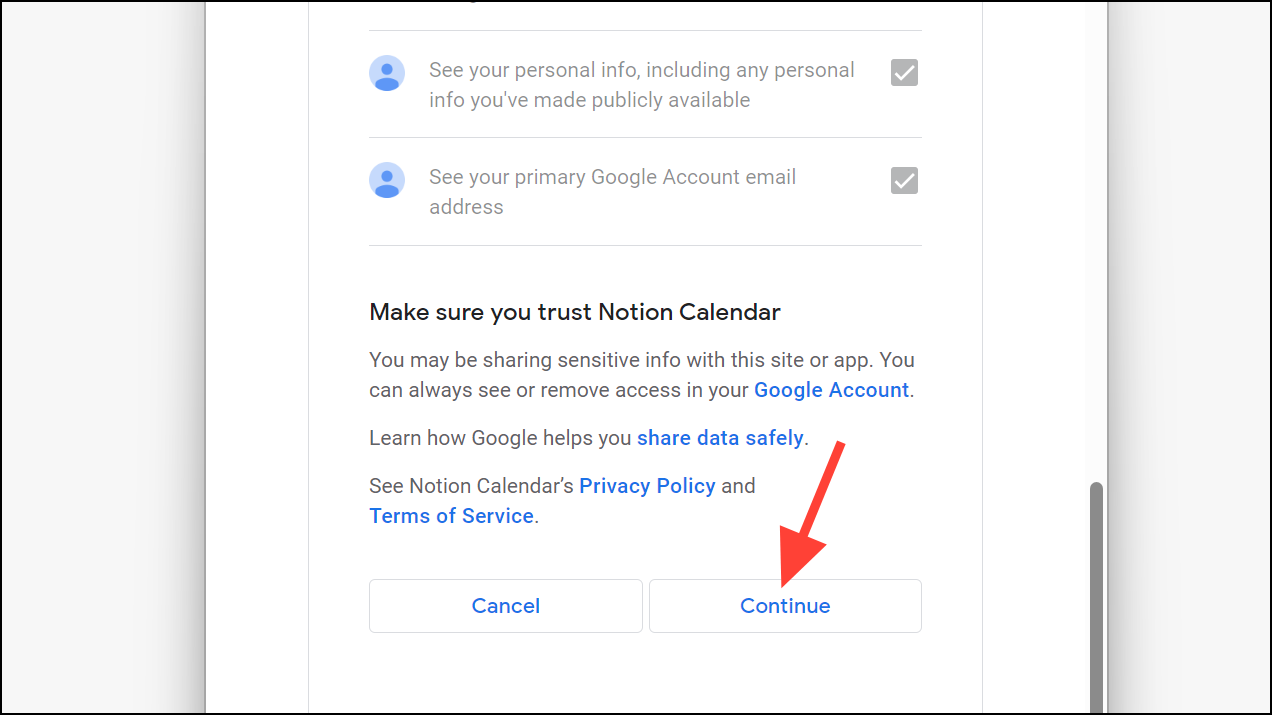
- You’ll have to give permission to Notion to access your Google Calendar; you can select how much access you want to give.

- Finally, click on ‘Continue’ and that’s it. You’ve started with Notion Calendar.
- For the desktop app, go to the download page, and download and install the app for your OS.
- Then, click on ‘Sign in with Google’ and log in to your Google account. Give the necessary permissions to Notion Calendar to continue.
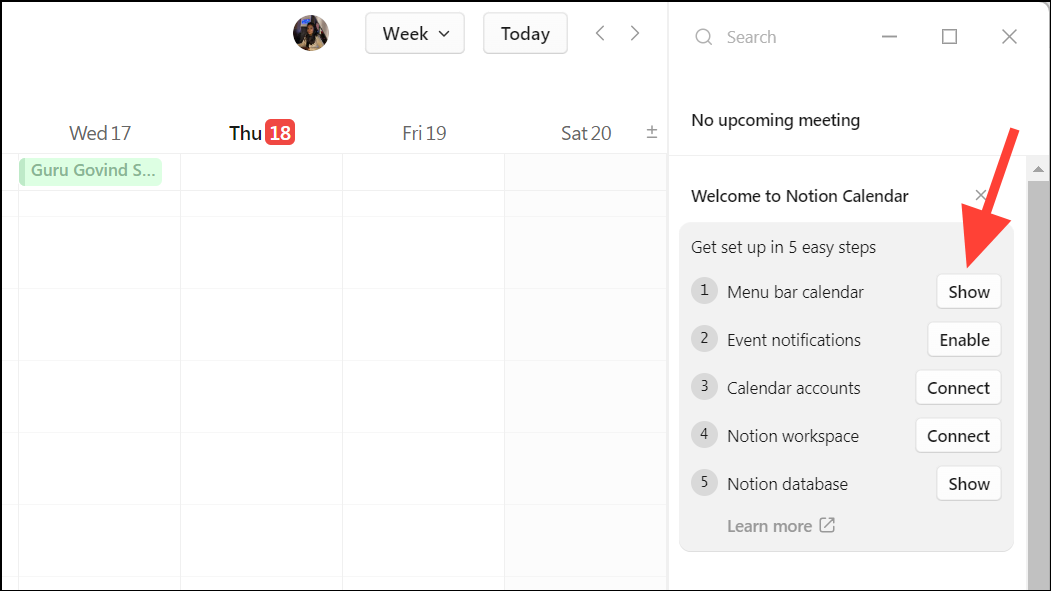
- Next, if you want to see upcoming events in your menu bar, click on ‘Show’ from the set-up menu on the right.
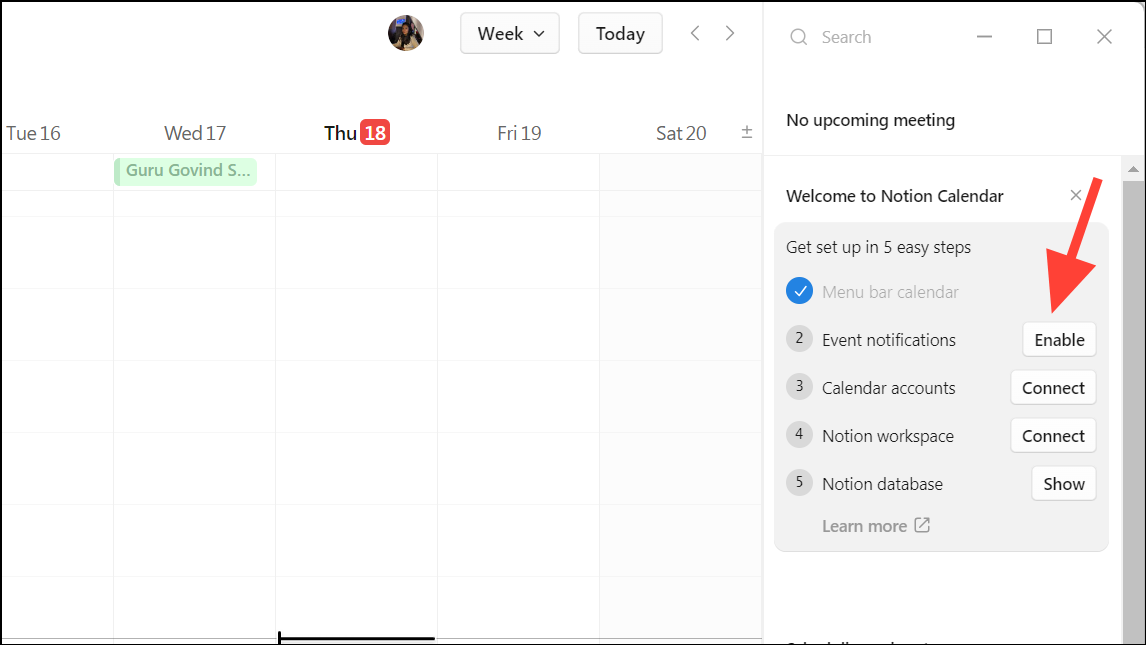
- You’ll also need to enable ‘Event Notifications’ if you want to get reminders and the upcoming event counter; click on the ‘Enable’ button.
- You can also connect more Calendar accounts, your Notion workspace, and Notion Databases with the Notion Calendar from the setup menu; you can also do it later.
Connecting your Notion Workspace
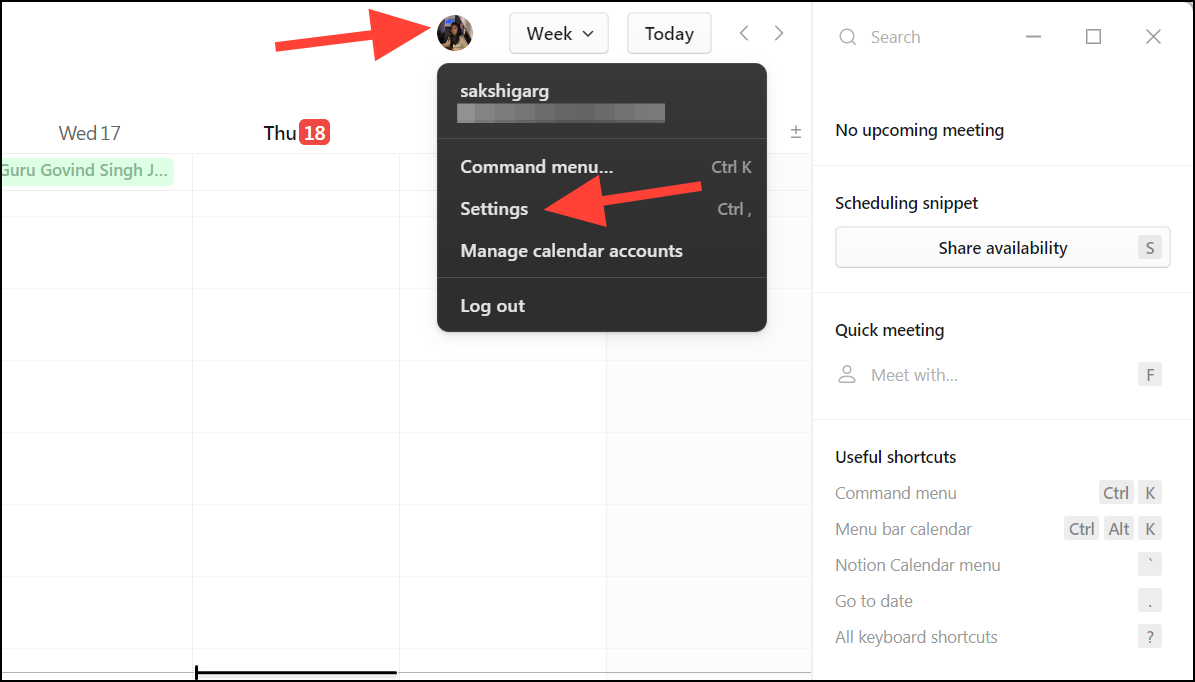
- To connect your Notion Workspace to your Notion Calendar, click your profile icon at the top and select ‘Settings’ from the menu. You can also use the
Ctrl/Cmd+,keyboard shortcut.
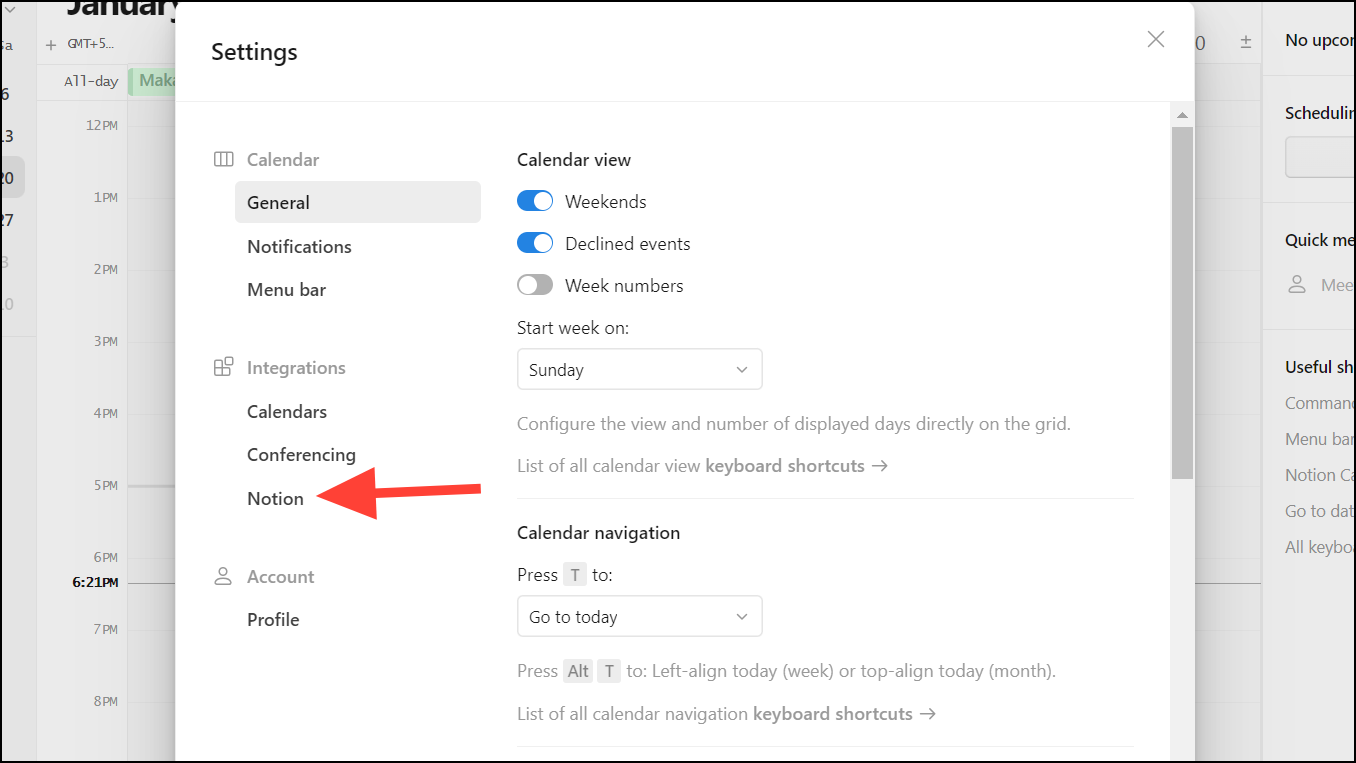
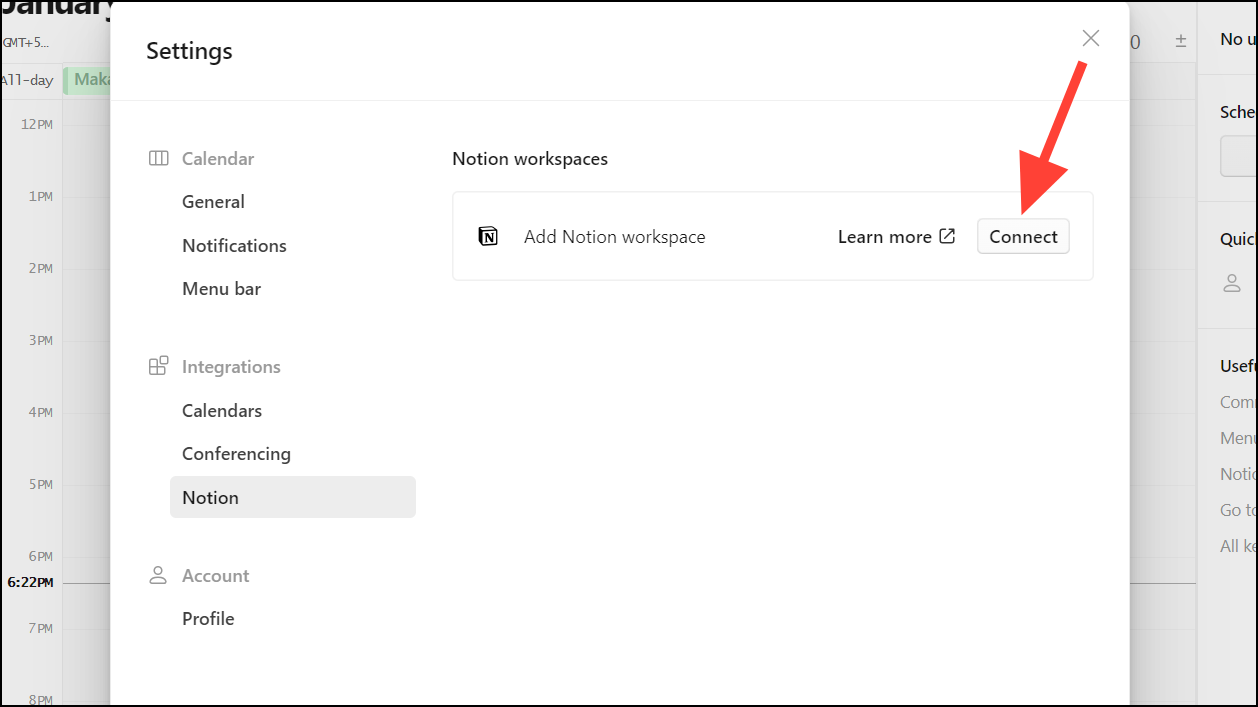
- From the settings window, go to the ‘Notion’ tab under ‘Integrations’ from the navigation menu on the left.
- Then, click ‘Connect’ next to Add Notion Workspace.
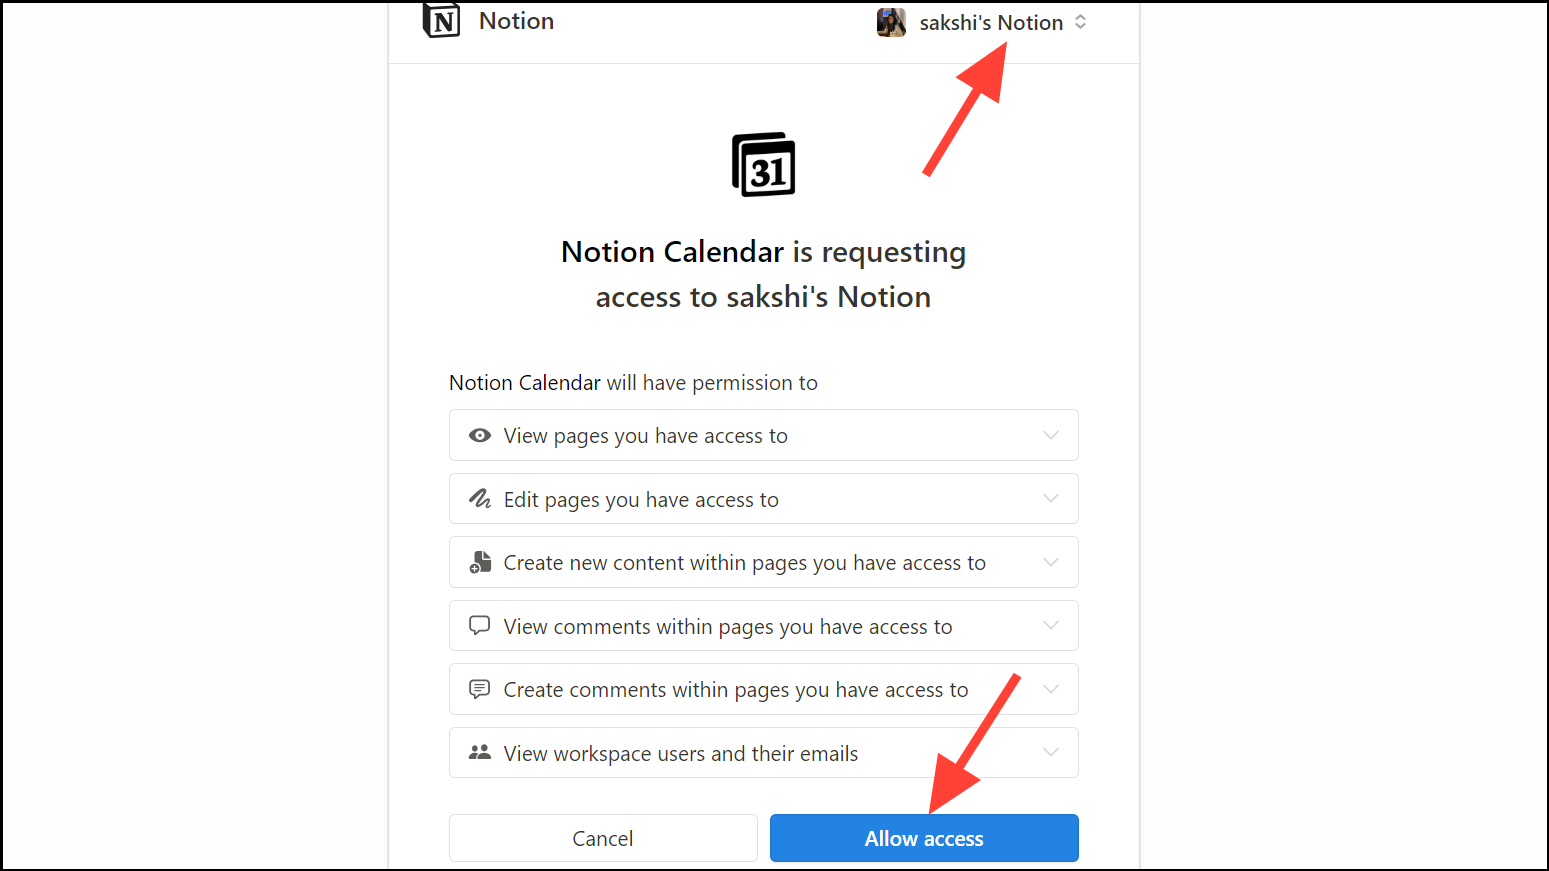
- It will open in a tab in the browser. Choose the workspace you want to connect from the drop-down menu (if you have more than one). You can connect multiple workspaces, too, but the workspace you connect first will be the default one. Click on ‘Allow Access’ to continue.
Adding Notion Databases in Calendar
Once you’ve connected your workspace, you can add your databases to the Calendar. But there’s a catch. You can only add those databases in Notion Calendar that have Calender or Timeline views.
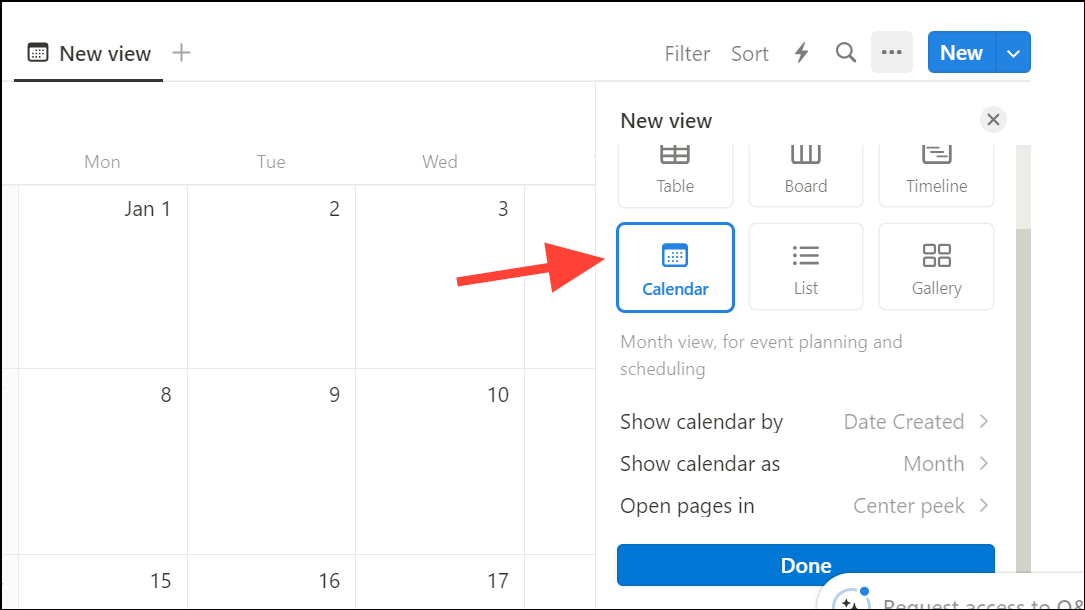
- To add a calendar or timeline view to your database, click the ‘Add view’ button on the database in question.

- Then, choose ‘Calendar’ or ‘Timeline’ from the options to add that view to the database and click ‘Done’.
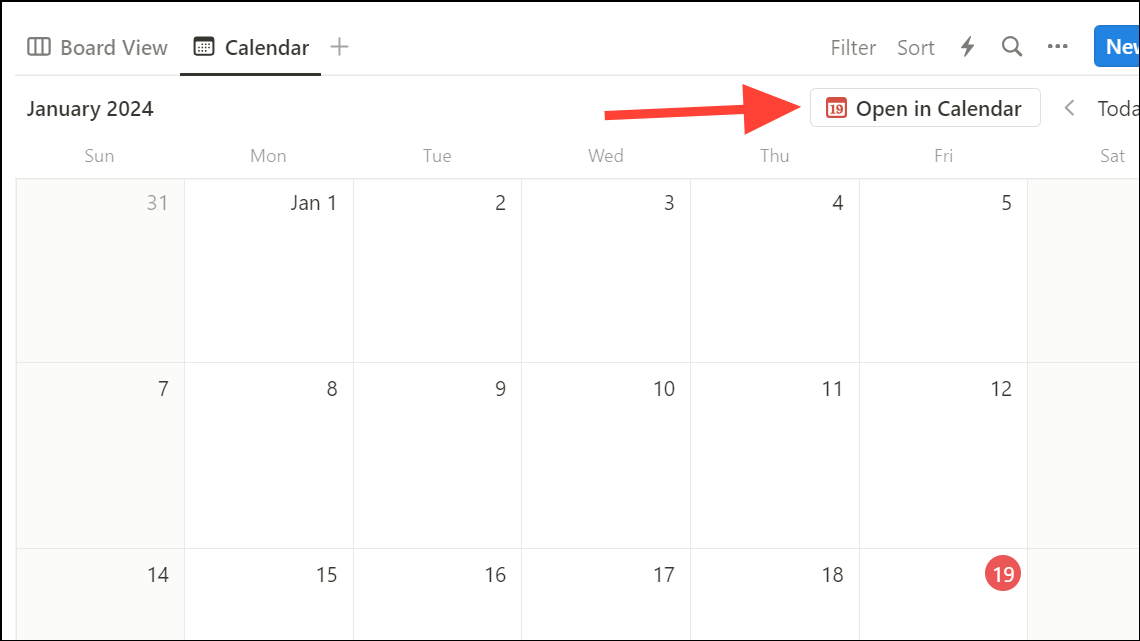
- Once you’ve created the view, you’ll get the option ‘Open in Calendar’ on the database itself. You can click on it.
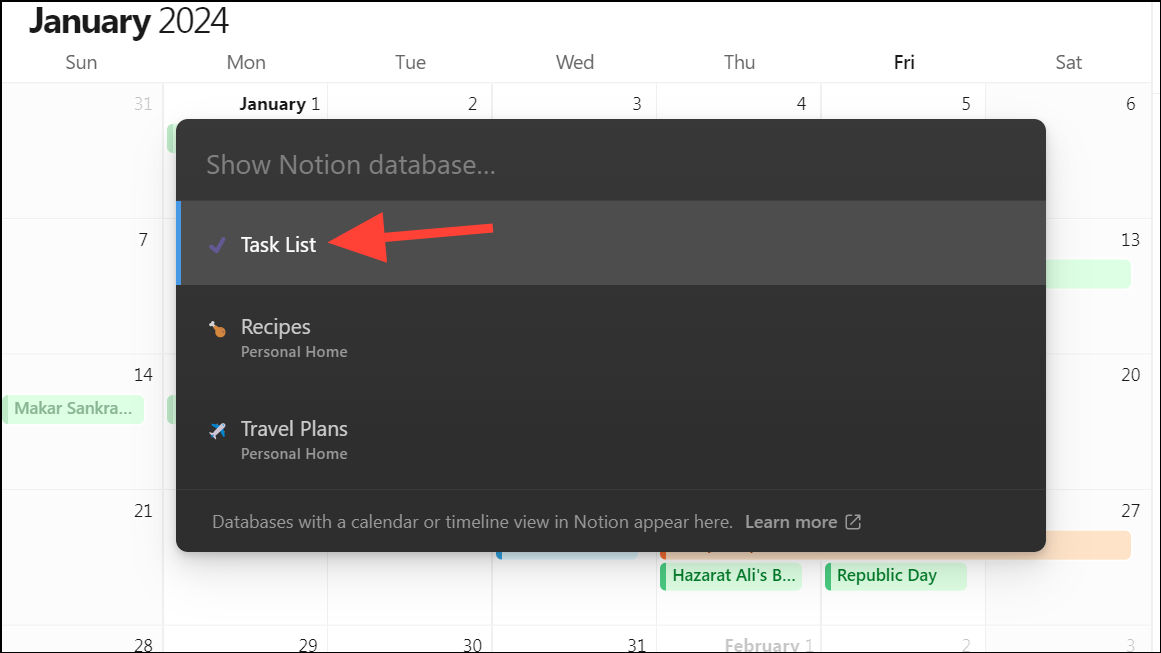
- Or, in the Notion Calendar app, press the
O(oh) key on your keyboard. - Then, you’ll be able the find the databases with Calendar/ Timeline view there. Click on the one you want to add to your calendar.
Viewing the Database Events:
- To show/ unshow the events from the database you’ve added, click the ‘eye’ icon next to it from the left sidebar.
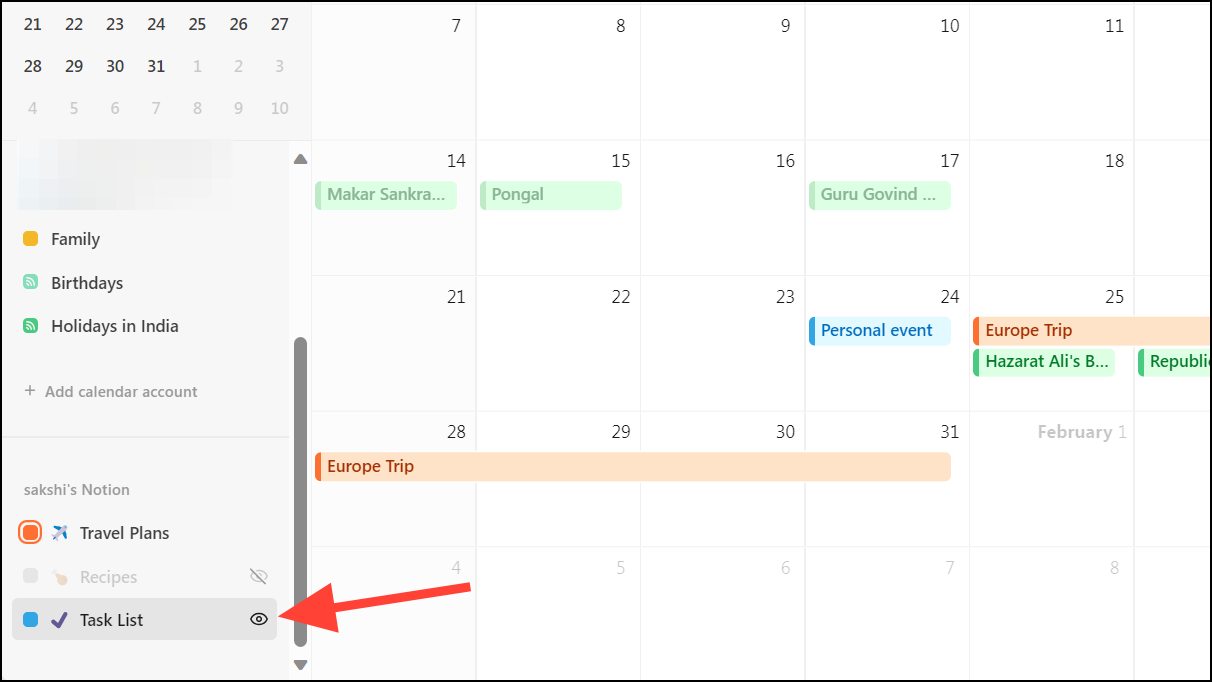
- The events from the database will appear in the Calendar. Note that only the events that have a date will appear in the calendar, and there’s currently no way to view any other events from the calendar app.
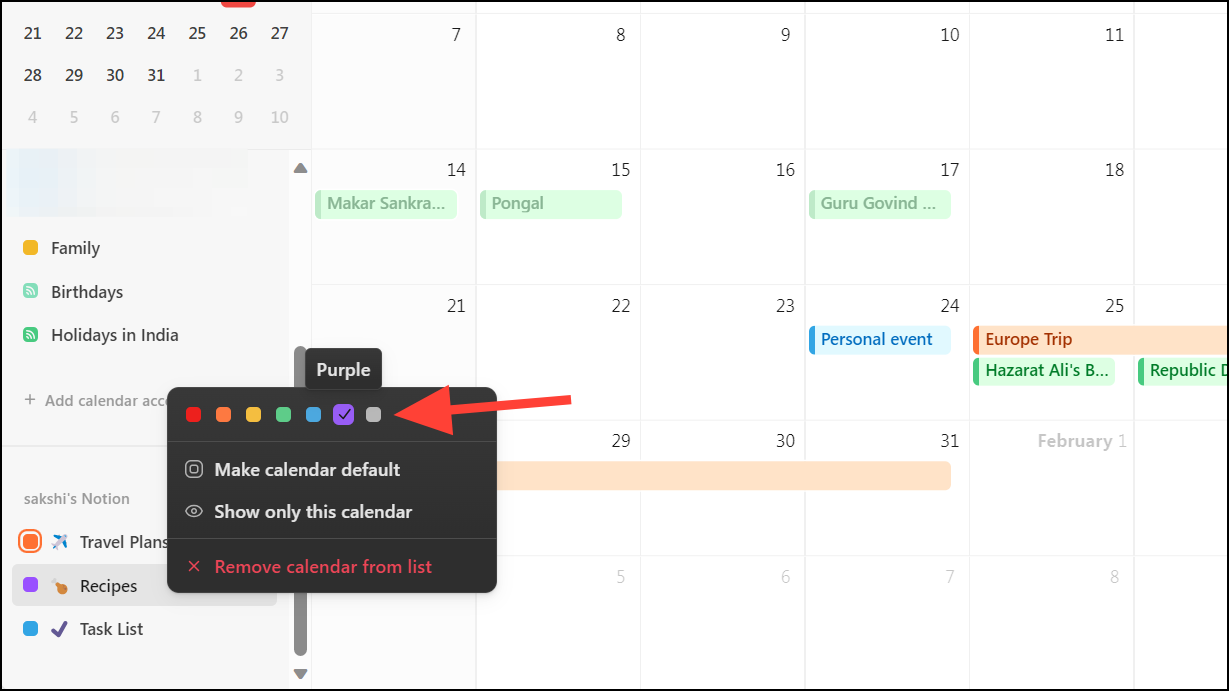
- You can also change the color of the events for the database. Right-click on the database name from the sidebar. Then, select the color you want for that database.
Adding a Calendar account
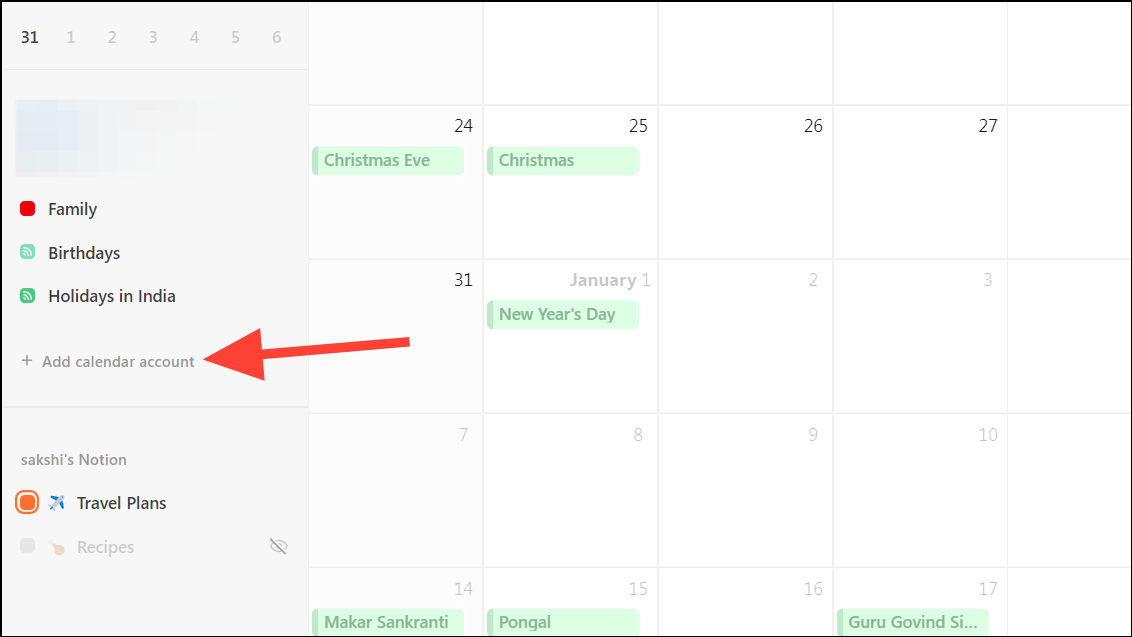
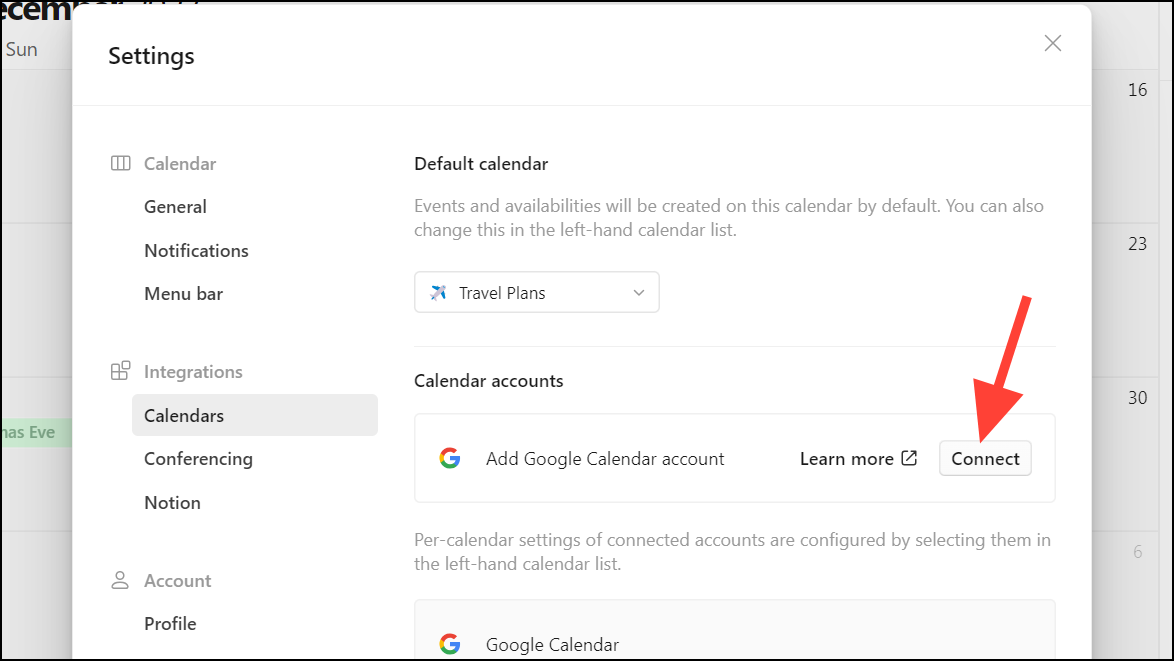
- To add another Google account to your Notion Calendar, click the ‘Add calendar account’ button from the sidebar.
- The settings window will open. Click on the ‘Connect’ button next to the ‘Add Google Calendar account’ option.
- Then, connect the Google account by signing into it and allowing the required permissions.
- The other Google account will be connected with Notion Calendar.
- You can easily view or unview events from a calendar by clicking the ‘Eye’ button next to it on the sidebar.
Marking Events from a Calendar as Busy
Now, as I mentioned above, one of the most exciting features of Notion Calendar is the ability to mark events from one calendar, say your personal calendar, as “busy,” so they’ll be blocked on another calendar, say your work calendar. Here’s how you can do it:
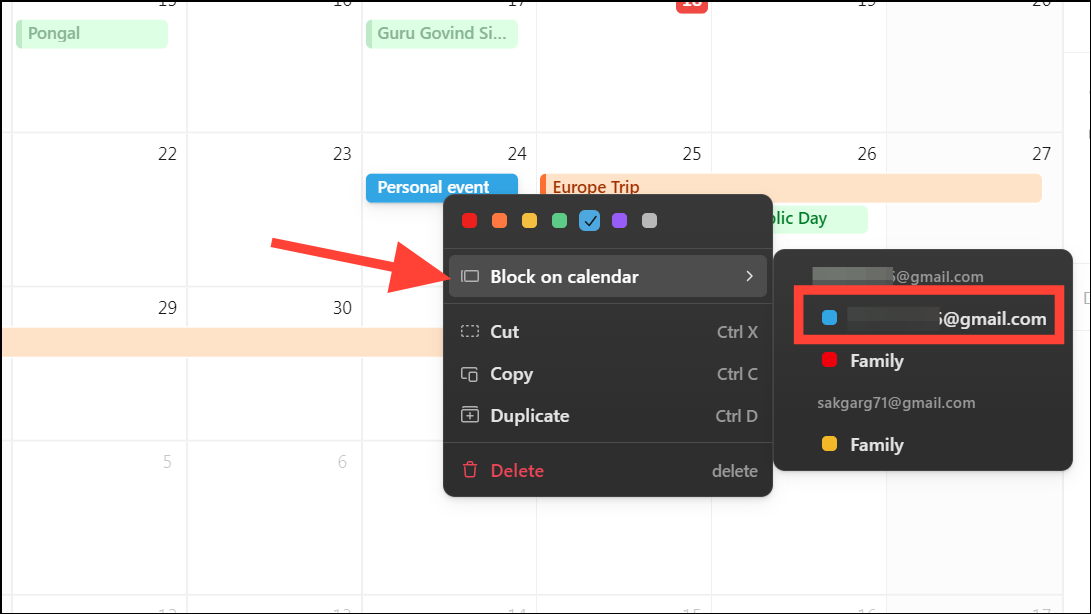
- Go to an event from your personal calendar and right-click on it.
- From the context menu, go to ‘Block on calendar’ and select the calendar you want to block the event on, i.e., your work calendar in this case.
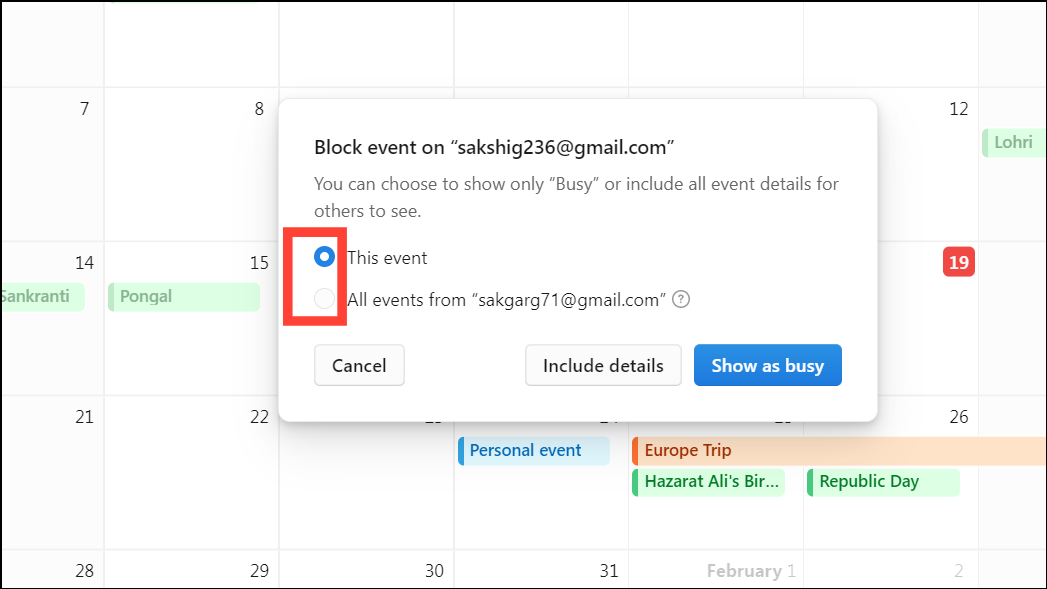
- A pop-up will appear on your screen. First, you can choose whether you want to block only the selected event or all the events from your personal calendar. Select the appropriate radio button. In this case, I’m choosing ‘This event’ only.
- Then, choose whether you want to include the details of the event or only want to mark it as ‘Busy’ on your other calendar. If you choose to ‘Include details’, anyone viewing your work calendar will be able to see the event’s name. Otherwise, they’ll only see ‘Busy’ written on the calendar. Click on your choice according to your preference.
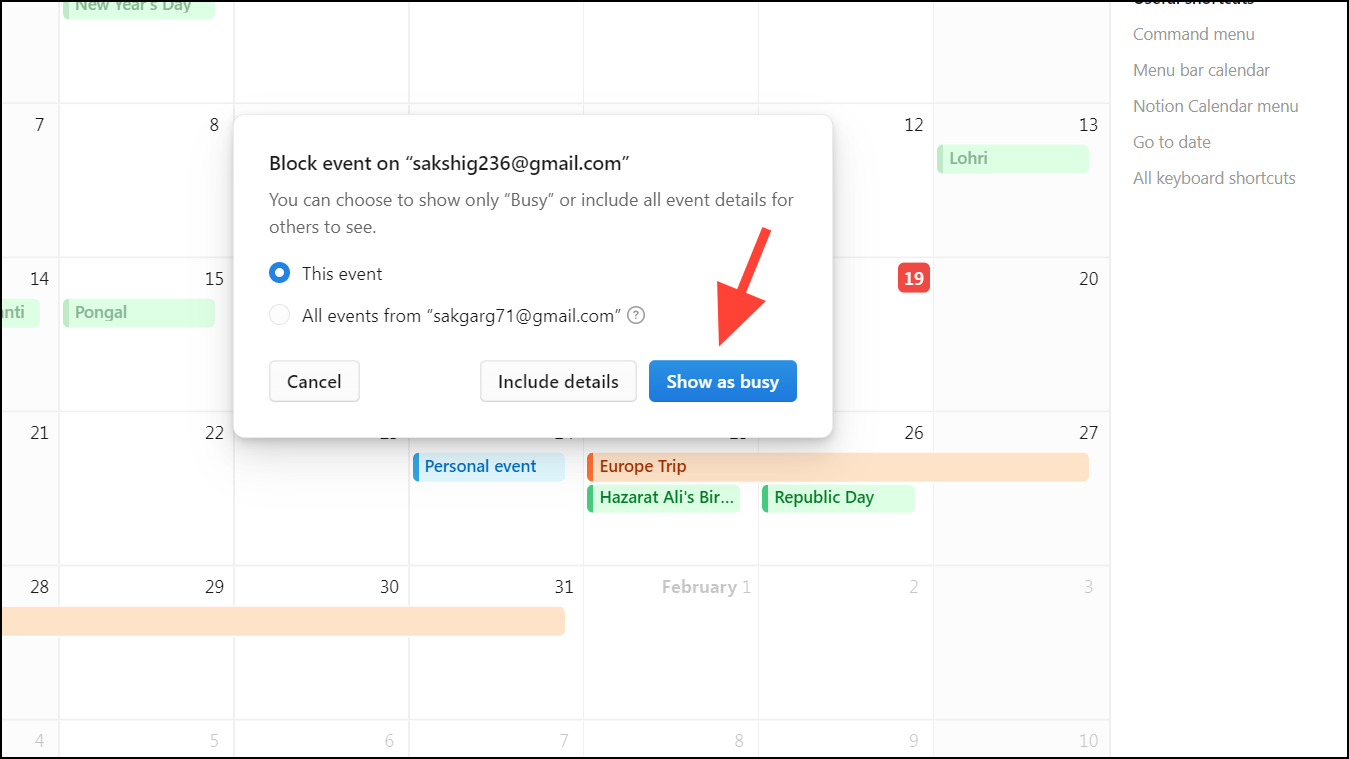
- The event will appear for others as chosen by you when they’re viewing your calendar.
There you go. Notion Calendar is a robust and innovative tool that seamlessly integrates with Notion databases, offering a unified view of professional and personal schedules. It is a game-changer for those seeking to streamline their scheduling and enhance productivity within the Notion ecosystem.