
We are all juggling multiple email accounts these days. Having a single place to manage all your accounts is a blessing. The Mail app offers that choice. Using the Mail app over other third-party apps to manage your email accounts in a single place is an extremely easy process.
Moreover, the Mail app is most useful when you also wish to configure an IMAP or POP mail account on your iOS device. The Mail app also comes in handy in other situations. Suppose you also use a macOS device or an iPad. In that case, the Continuity feature of the Apple ecosystem will make your life much easier by picking up any mail draft right where you left it on the other device without any additional setup.
You can set up an email account on your iPhone either automatically or manually. Let’s see the process for both.
Add a Mail Account Automatically
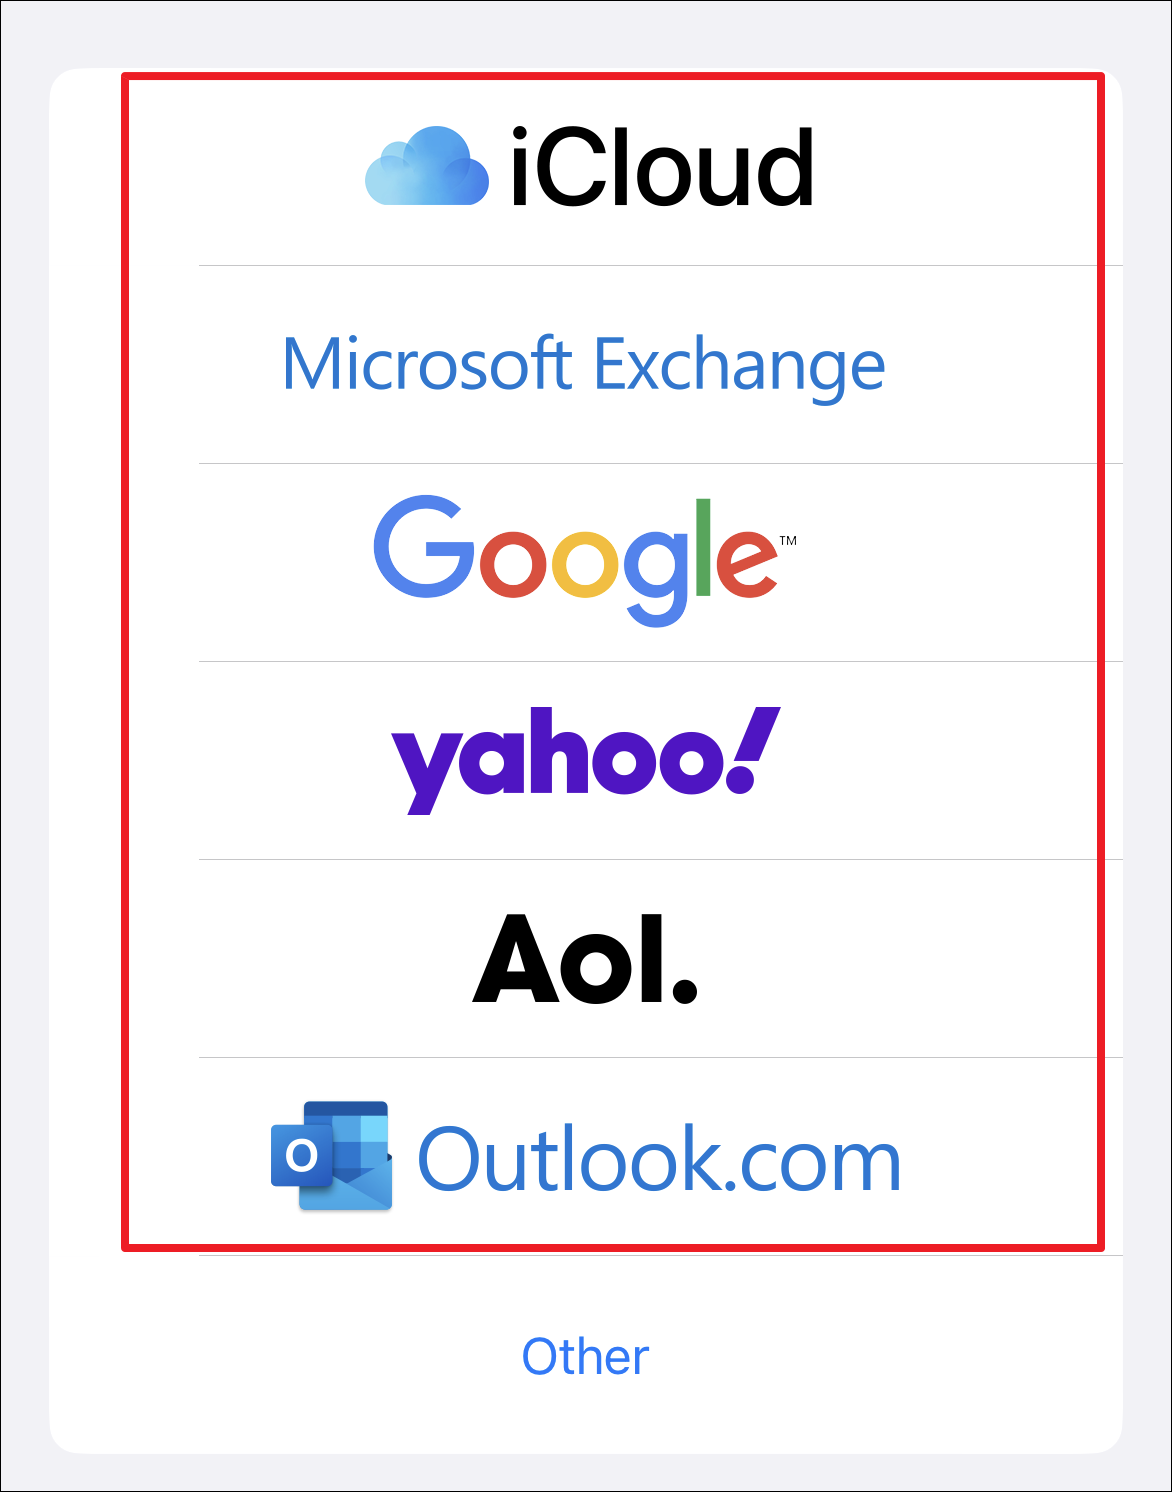
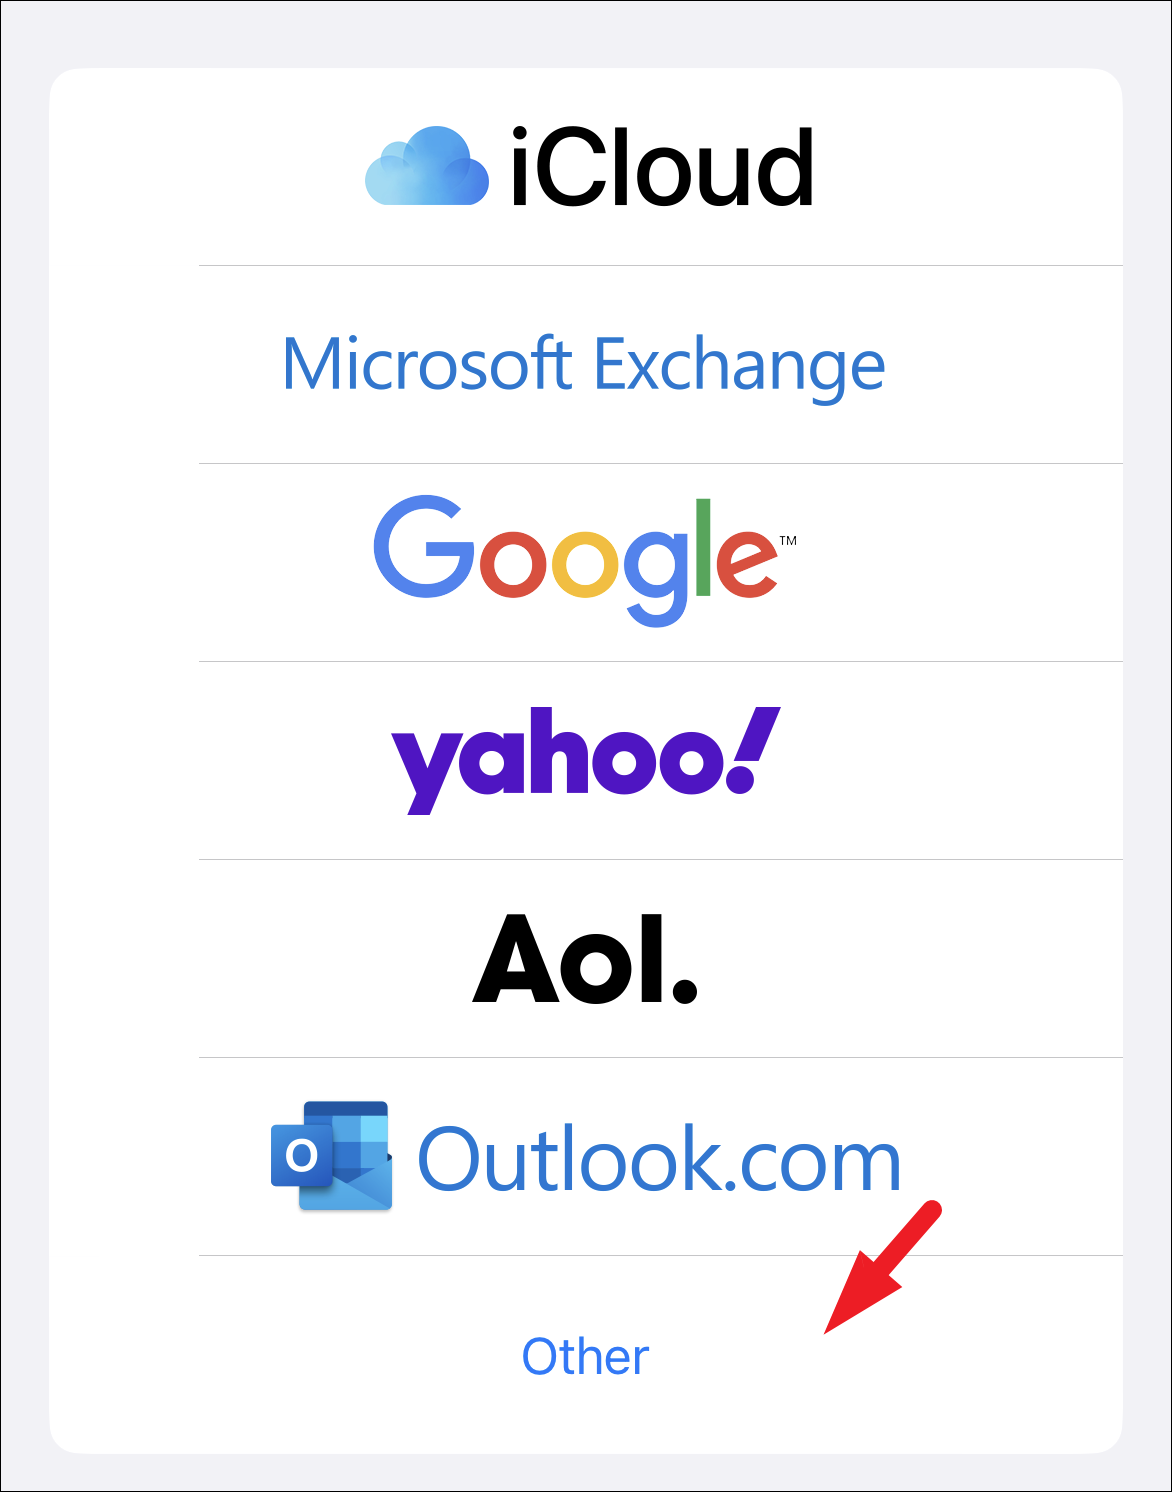
If you use one of the popular email providers like iCloud, Google, Yahoo, Microsoft Exchange, Outlook, or AOI, adding your mail account is easy breezy.
You can add an email account on your iPhone from either Settings or the Mail app. The steps remain identical, except for the app you initiate the process from.
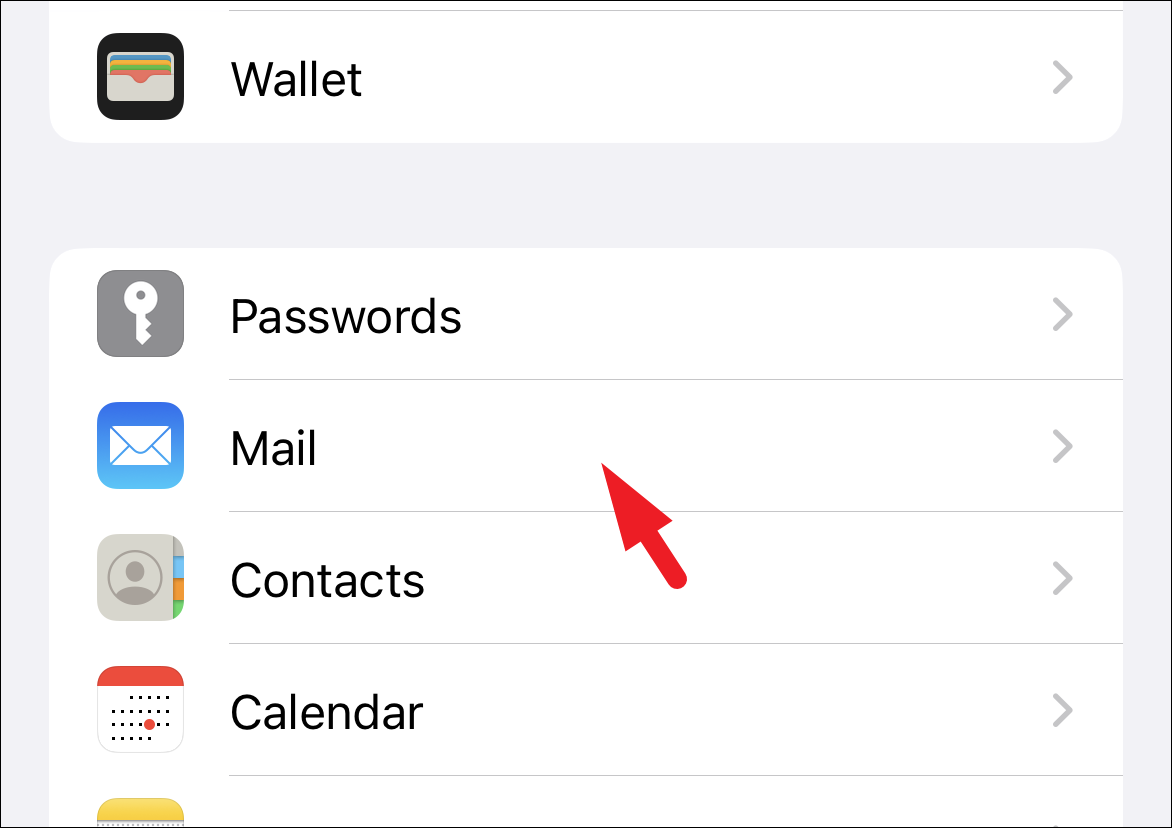
To create an account from the Settings app, locate and tap on the ‘Mail’ option from the main page of the Settings app.
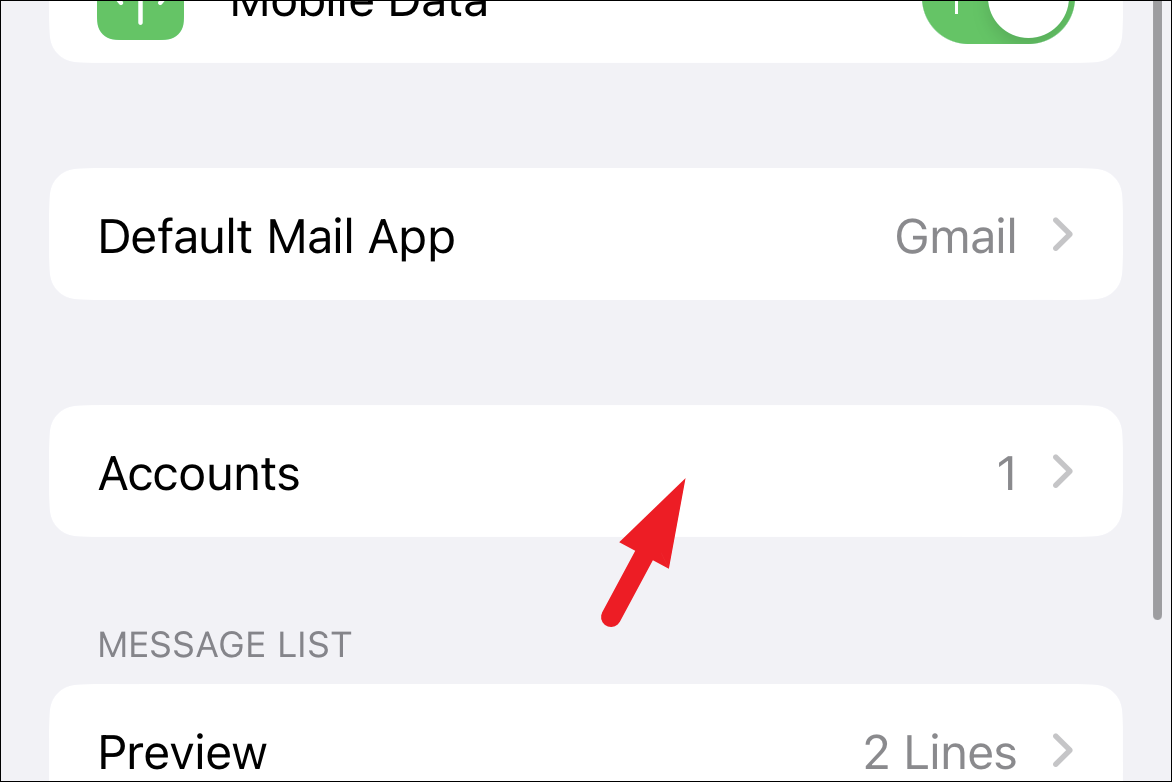
After that, tap on the ‘Accounts’ option to proceed.
Next, tap on the ‘Add Account’ option.

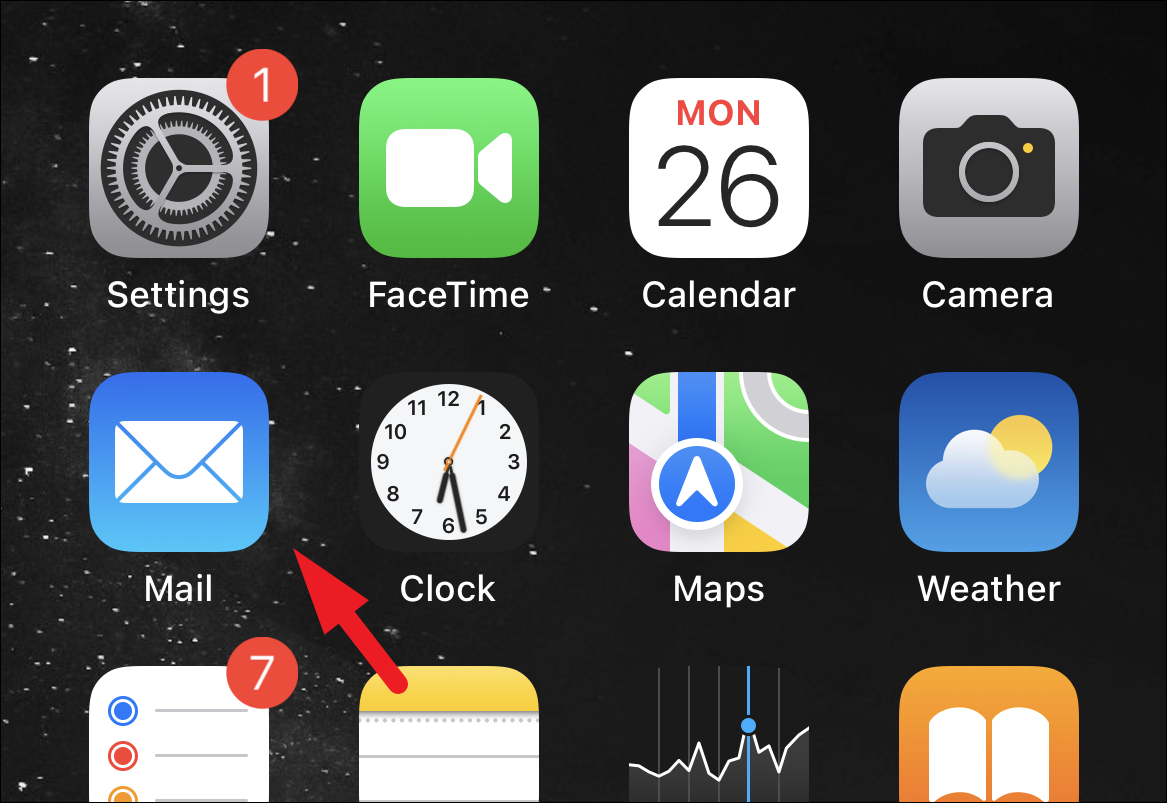
Otherwise, open the ‘Mail’ app from either the Home Screen or the app library of your device.
After that, tap on the webmail provider for the account that you wish to add. This might bring an overlay window on your screen depending on the provider you proceed with.
Next, just log in using your credentials and you will be good to go. Follow the instructions on your screen to complete the setup. The Mail app will fetch all the previous emails and all the account preferences. Do note if your inbox is too large, it might take some time to get all your emails fetched.
You can add as many accounts as you want in the Mail app by repeating the instructions above for each account.
Add a Mail Account Manually
If you don’t see your email provider in the list above, you can add it manually but you’ll need the email settings such as IMAP or POP3 information for your account.
To add an IMAP/POP3 account in the Mail app, tap on the ‘Other’ option when selecting the webmail provider.
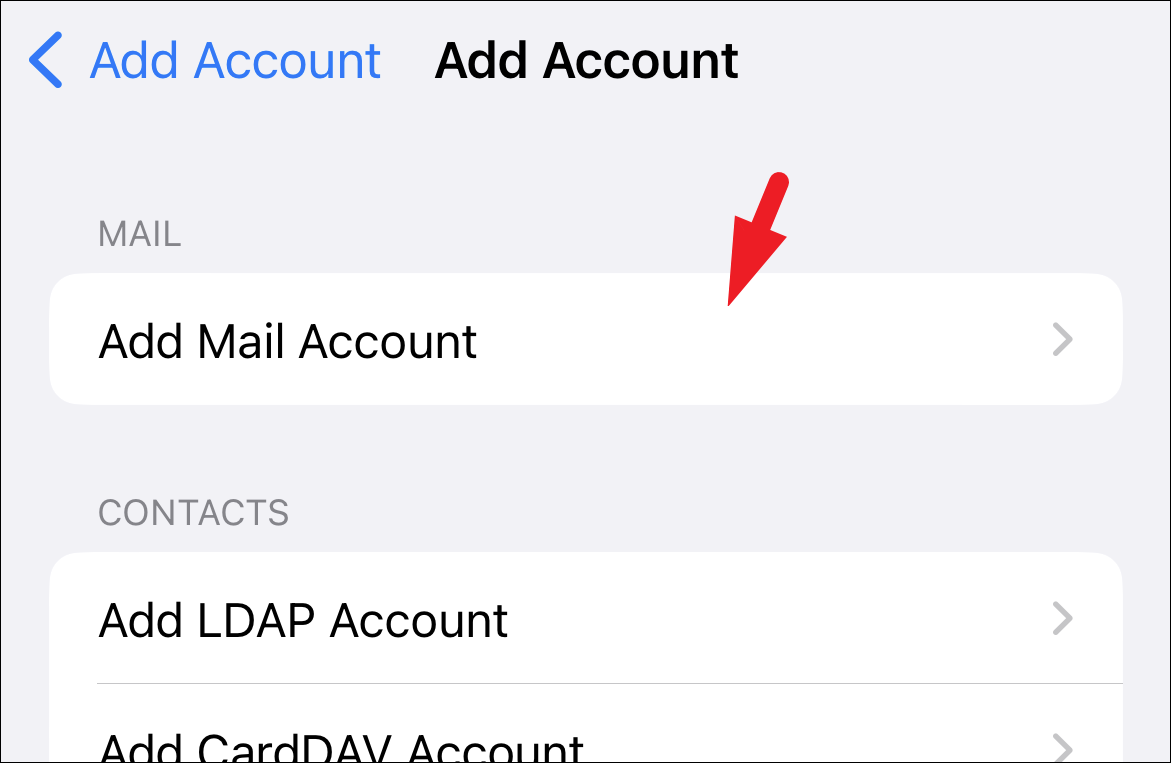
Then, tap on the ‘Add Mail Account’ option to continue.
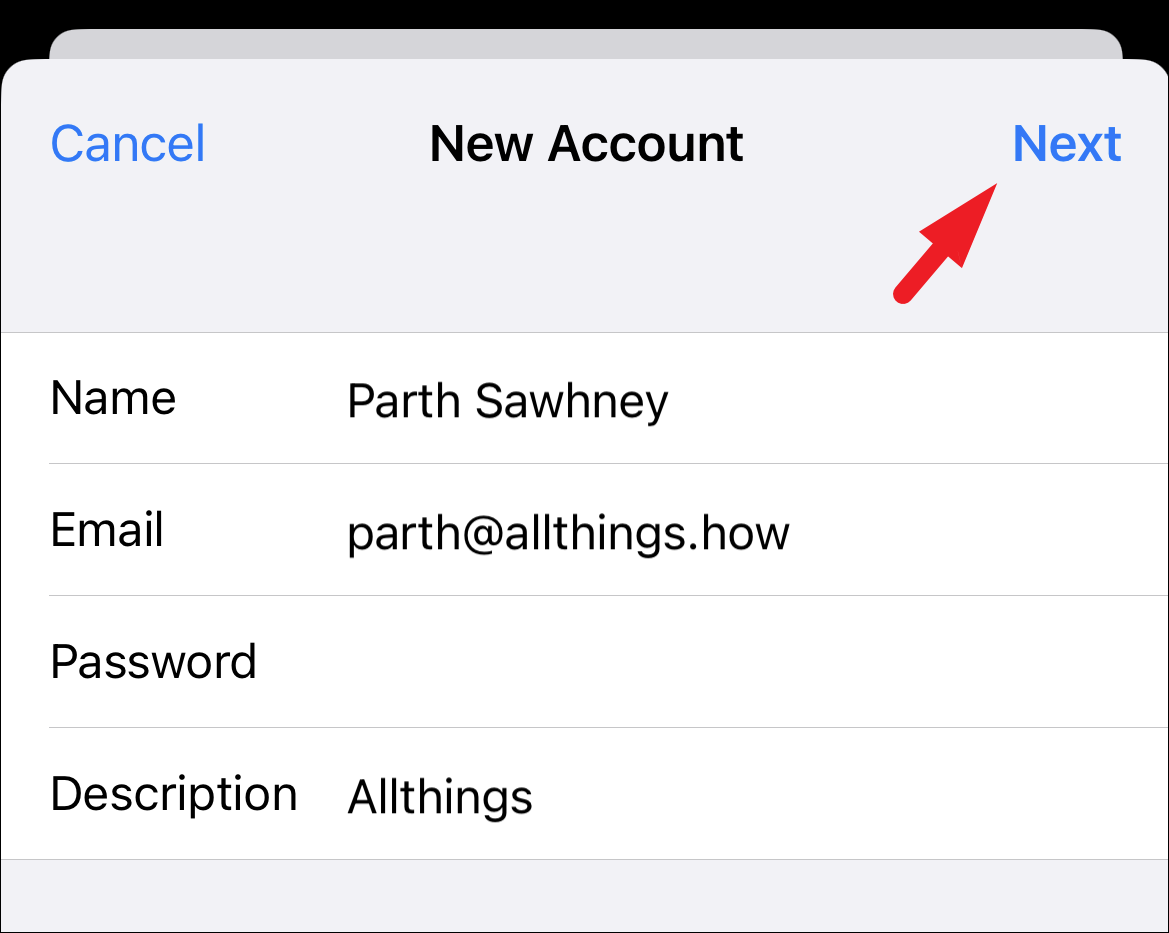
After that, enter your work email credentials along with your name in the respective fields and hit the ‘Next’ button to proceed. It will look up the account and load the fields that need to be filled up by you.
Mail will try to find the settings for your account. If it’s successful, your job will be done. Simple tap ‘Done’ to finish the setup process. Otherwise, you’d need to enter the settings manually.
Entering the IMAP/POP3 Settings Manually
Select the option for IMAP or POP based on your account settings. If you’re not sure which to choose, you’ll need to contact your email provider. Then, enter the details of the ‘Incoming mail server’ and ‘Outgoing mail server’ and tap on the ‘Next’ button.
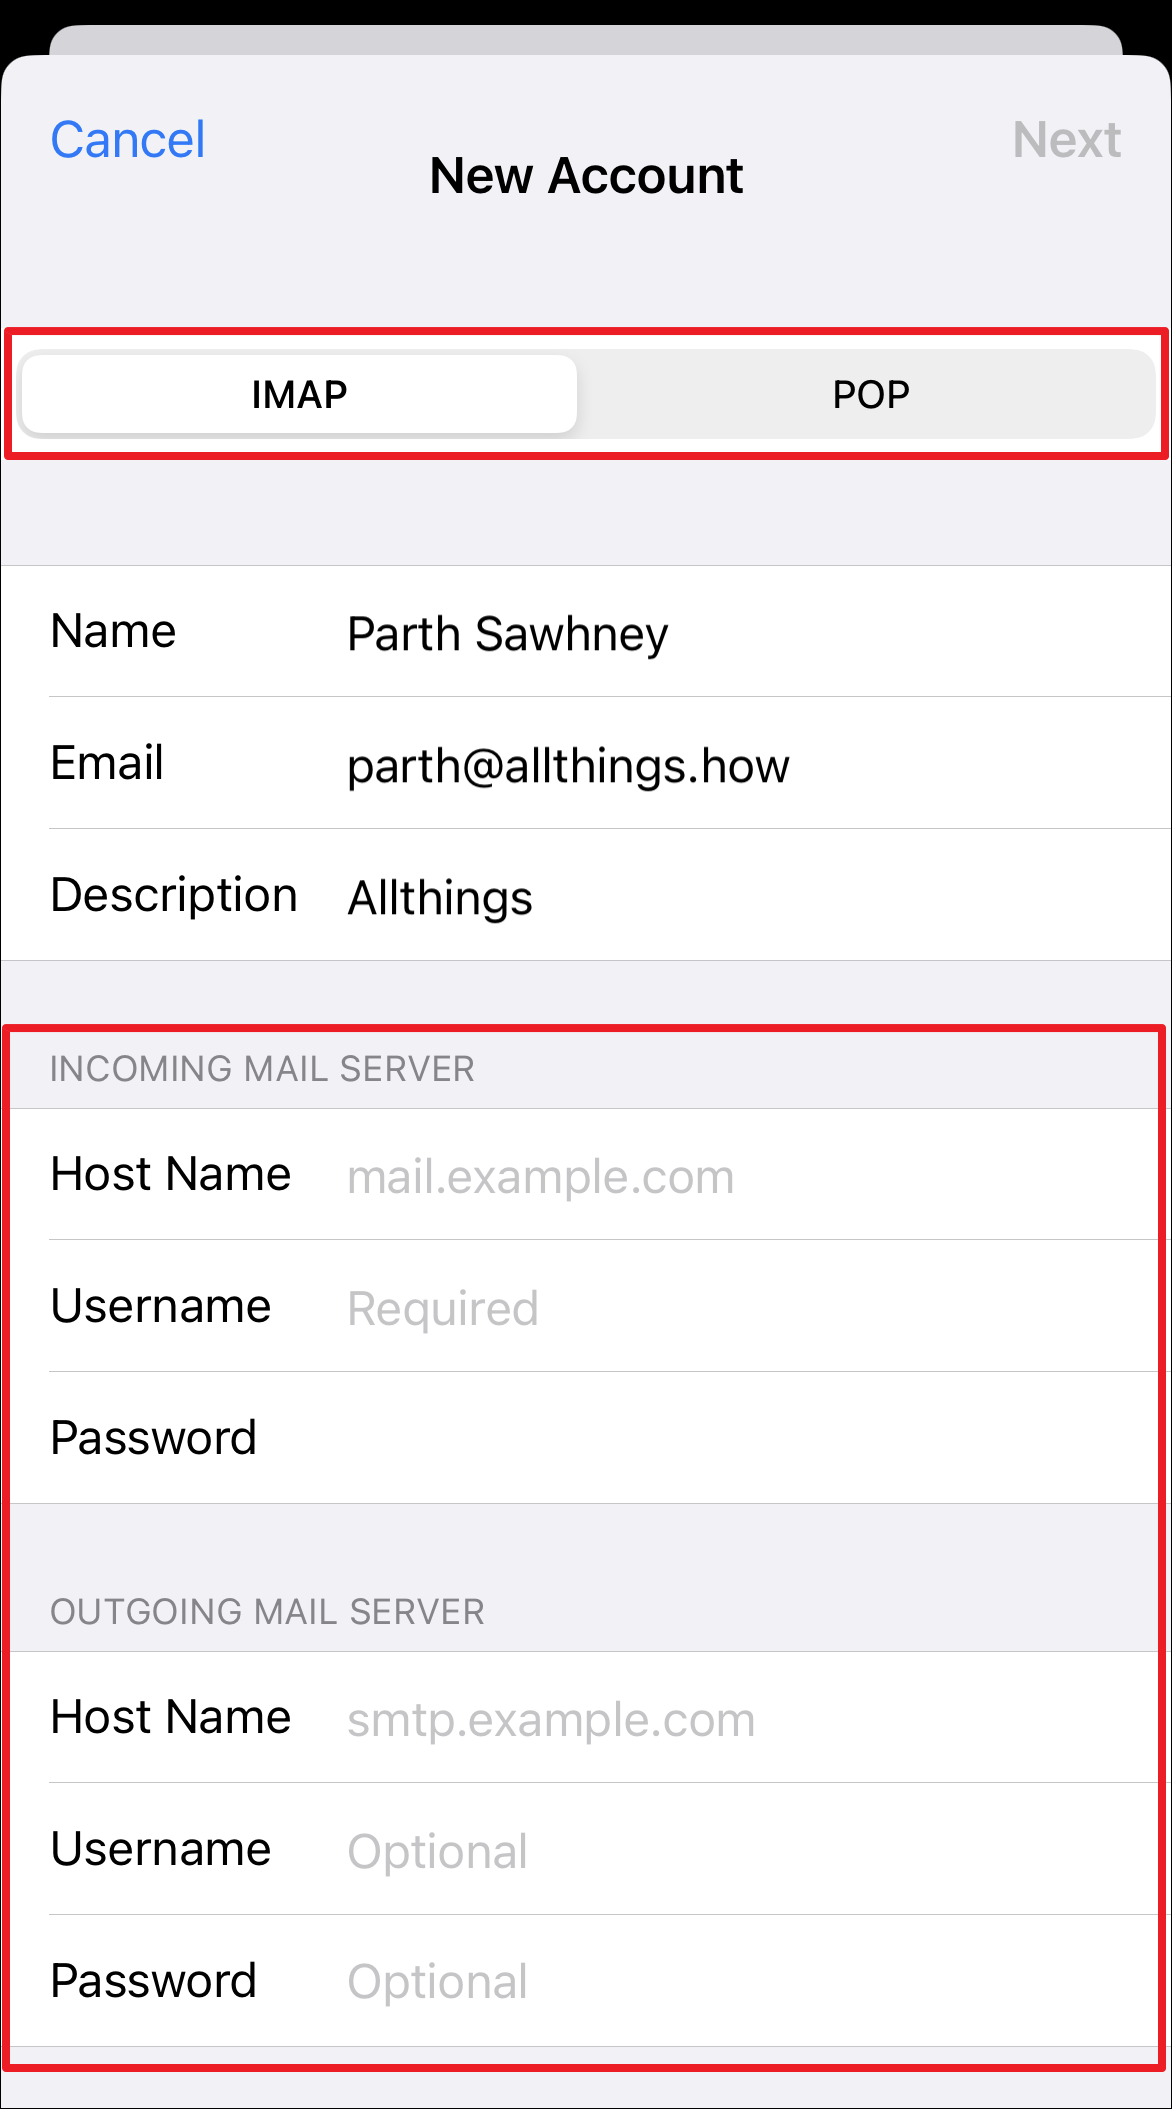
Once you have entered all details tap on the ‘Save’ button. If all the details are correct, the Mail app should start fetching the emails in your inbox. If the details are incorrect, you’ll see a prompt asking you to edit them.
It’s extremely easy to add an email account in the mail app. Adding a manual mail account, on the other hand, can be a bit tricky if you have never done it before. However, using this guide, you will be able to add it quickly.


