Charging animations have kind of always been a thing of Android. And iPhone users have always said they are better off without them. While some really do feel this way, for others, it’s just a case of “sour grapes”.
But not anymore. iOS 14 completely transformed what you can do with your iPhone. And among the many big and bold delights was a little surprise: a Charging automation in Shortcuts.
And now, with the combination of this automation and a third-party app, you can have charging animations on your iPhone, just like you always wanted.
Adding Charging Animations
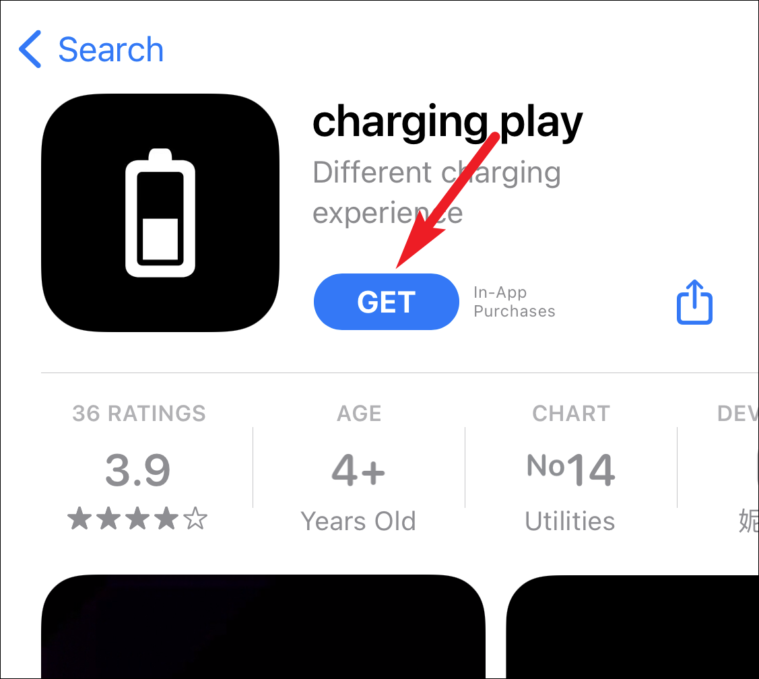
To create charging animations on your iPhone, you need to first download the Charging Play app from the App Store. Go to the App Store and search for ‘Charging Play’.
Then, tap the ‘Get’ button to download the app.
Creating the Automation
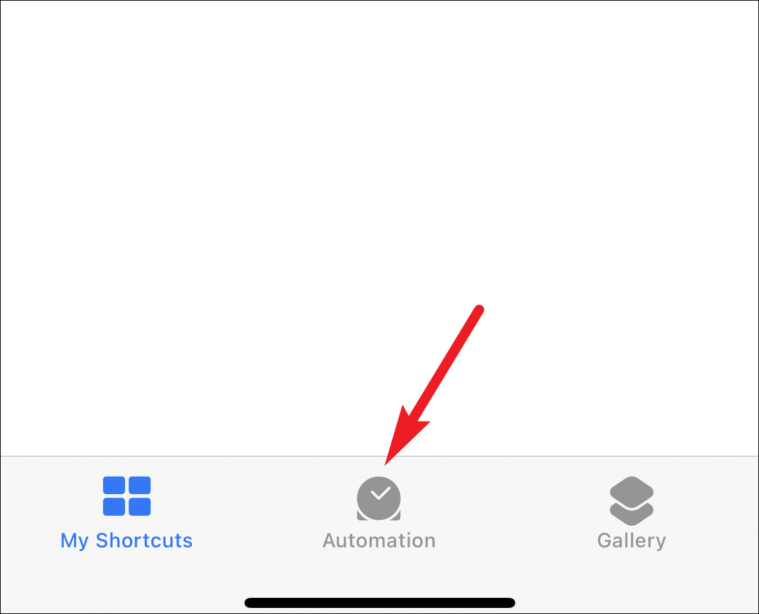
Now, leave the app be for a little while and go to the ‘Shortcuts’ app. Tap the ‘Automations’ tab from the bottom of the screen.
Click the ‘+’ icon in the top-right corner of the screen to create a new automation.
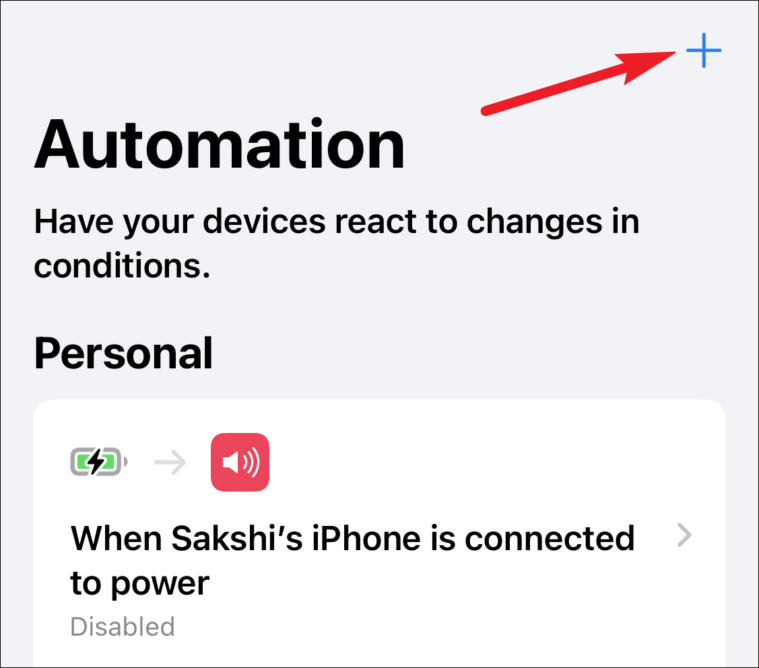
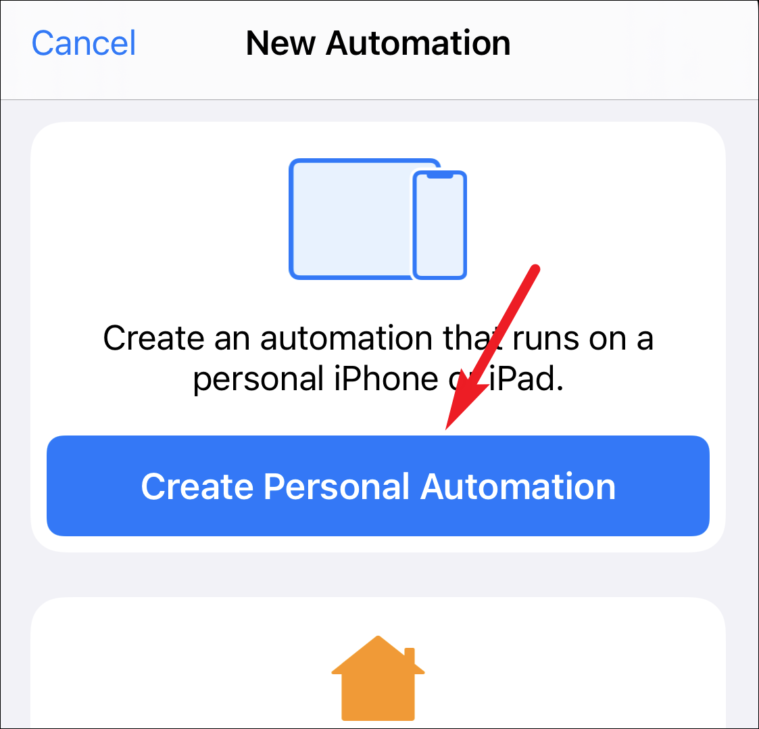
Select ‘Create Personal Automation’ from the next screen.
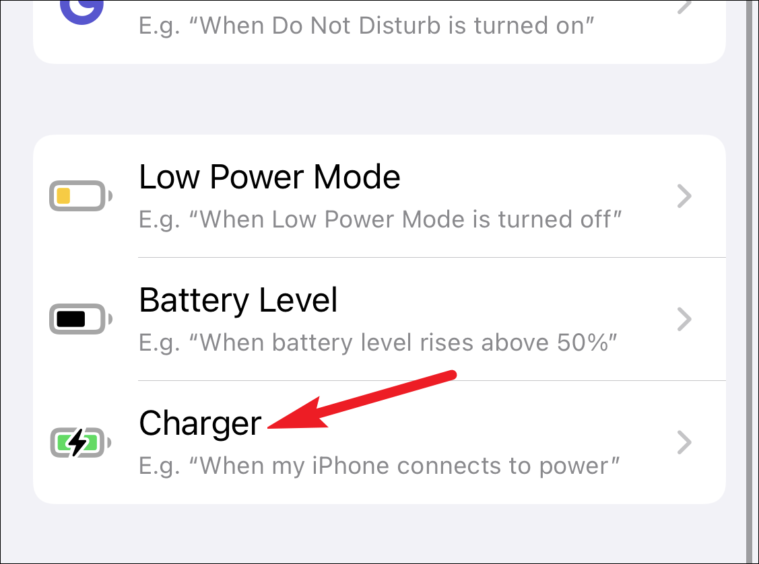
In the list of available automations, scroll completely down and tap on ‘Charger’.
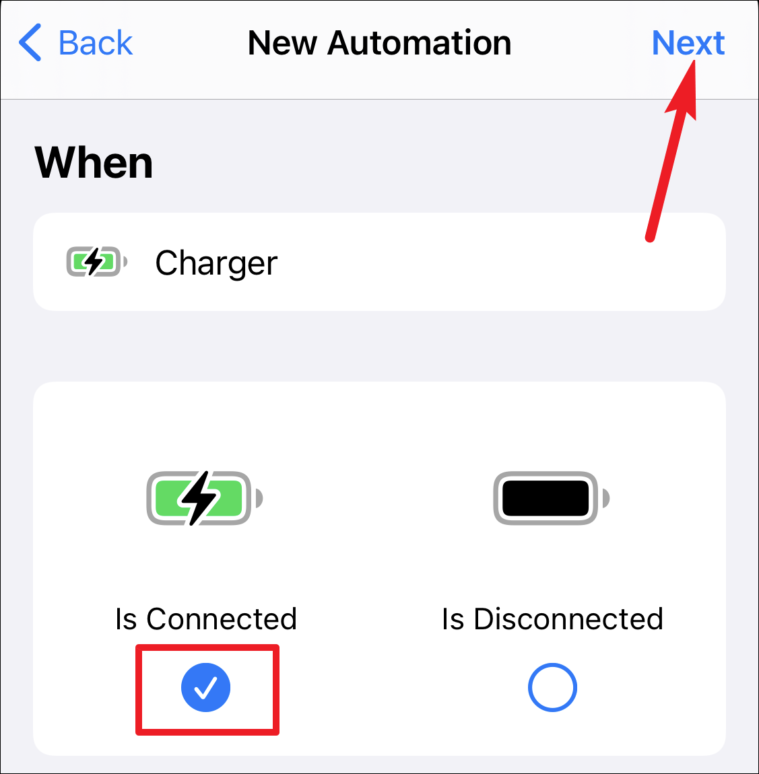
The screen for setting up New automation will appear. While the option for ‘Is Connected’ is selected, tap on ‘Next’.
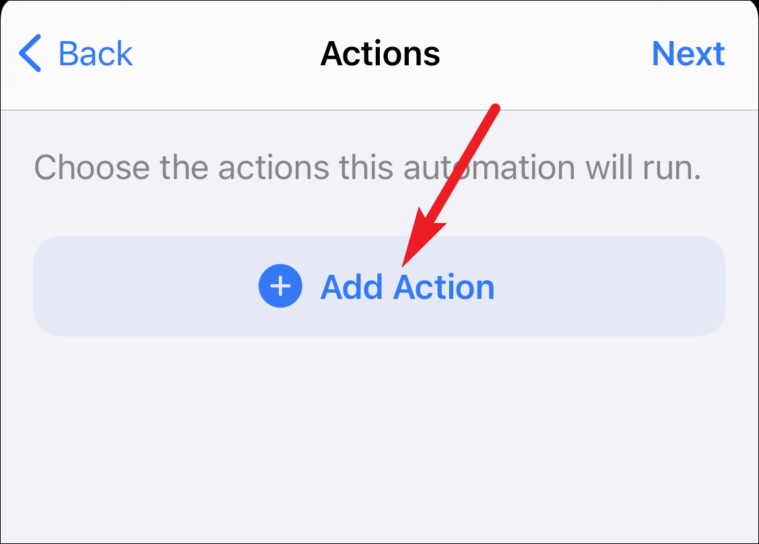
Tap the ‘Add Action’ option.
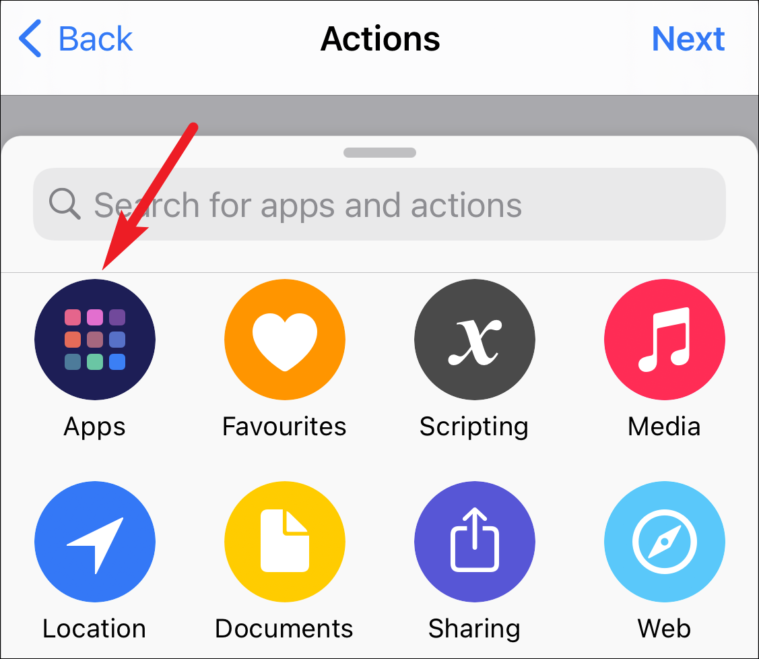
Actions available to add to the automation will open. Select the option for ‘Apps’.
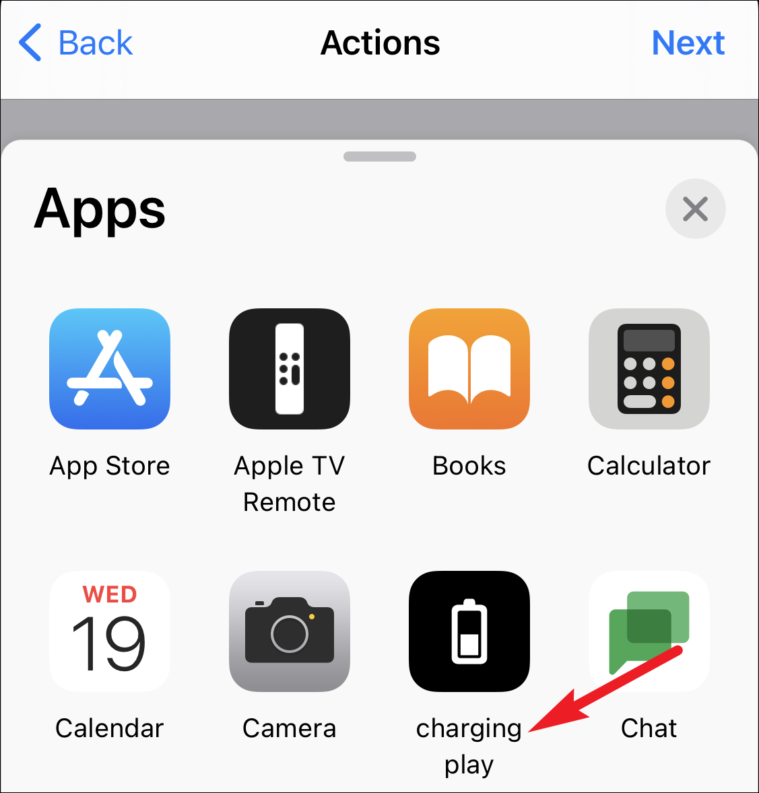
The list of apps on your iPhone will appear in alphabetical order. Tap ‘Charging Play’ from this grid.
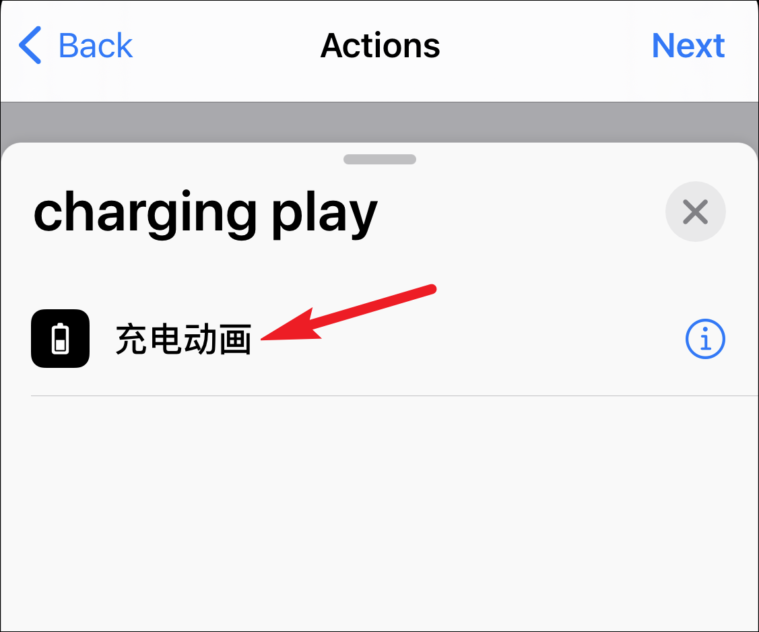
Actions available from the app ‘Charging Play’ will open. Now, there will be only one option, that too, in Chinese. There’s no need to worry if you don’t understand it. Just tap the option.
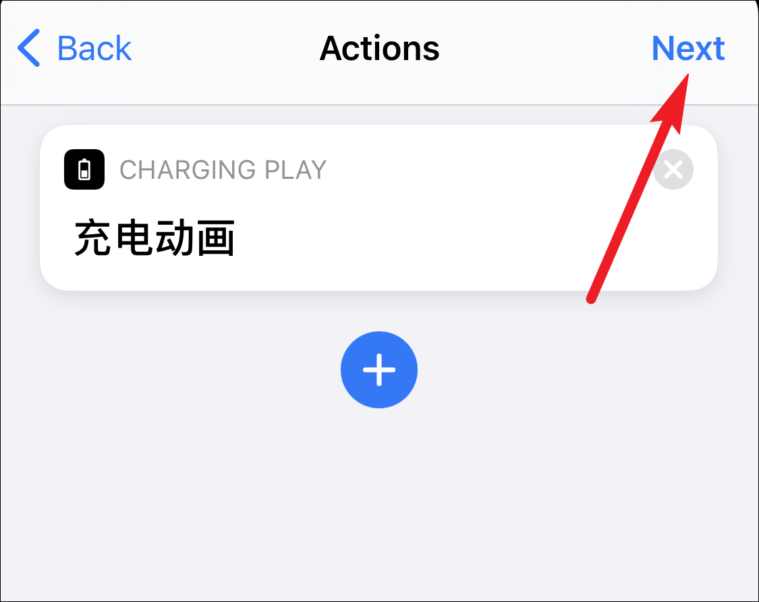
The action will become a part of the automation. Tap ‘Next’ in the top-right corner.
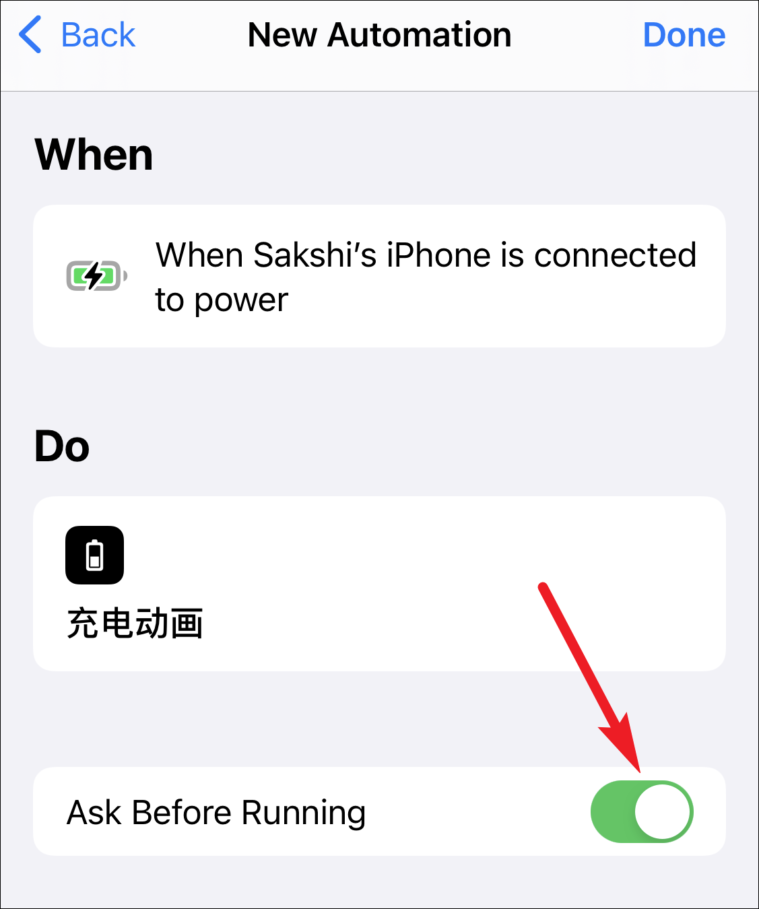
Now comes the important bit. Before finishing up on the automation, turn off the toggle for ‘Ask Before Running’. If the toggle is still on, the automation will ask for your permission every time you plug in the charger before running. And that would ruin the complete setup.
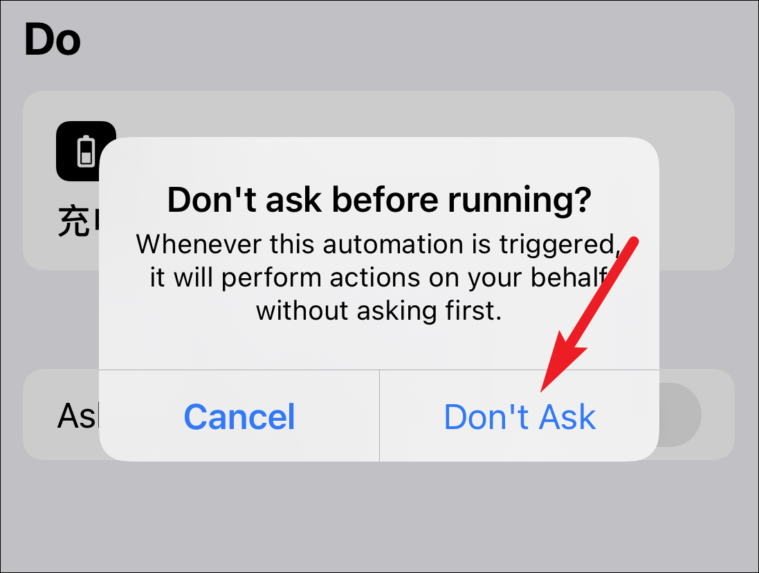
A confirmation prompt will appear on your screen. Tap ‘Don’t Ask’ to turn off the toggle.
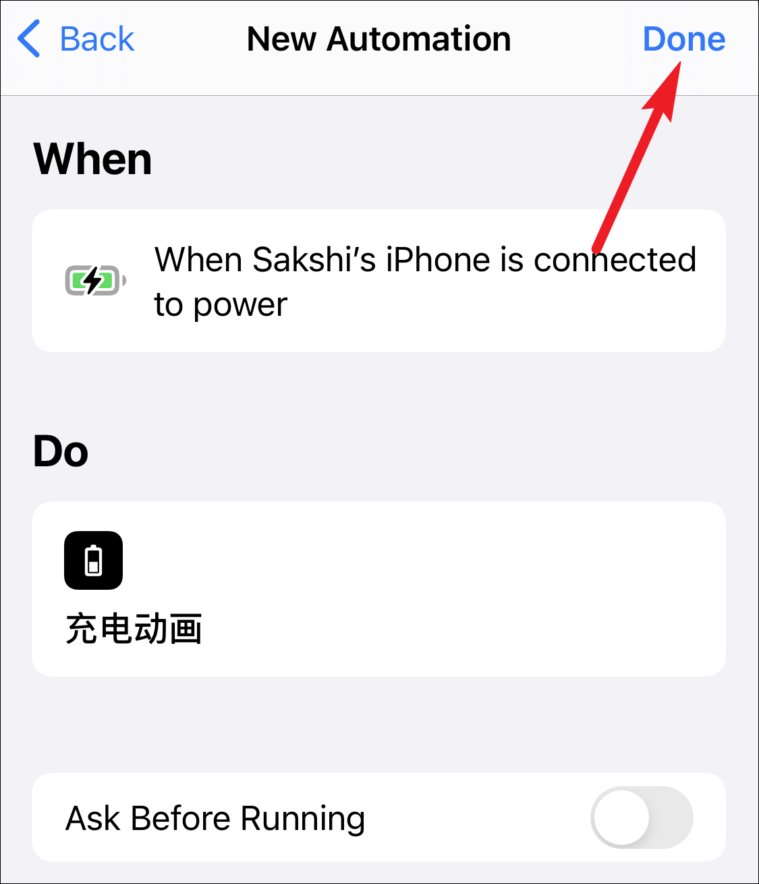
Once the toggle is off, tap ‘Done’ to save the automation.
Setting the Animation
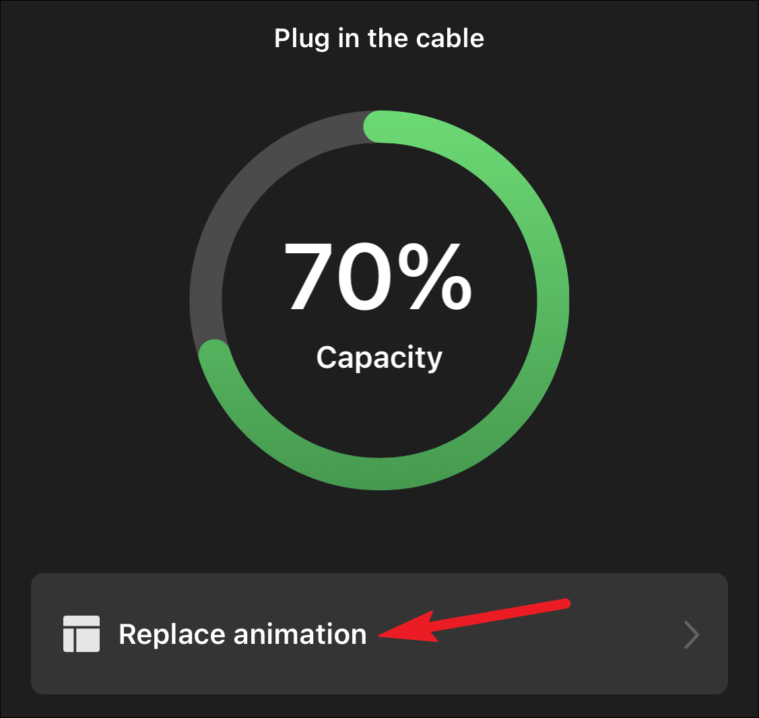
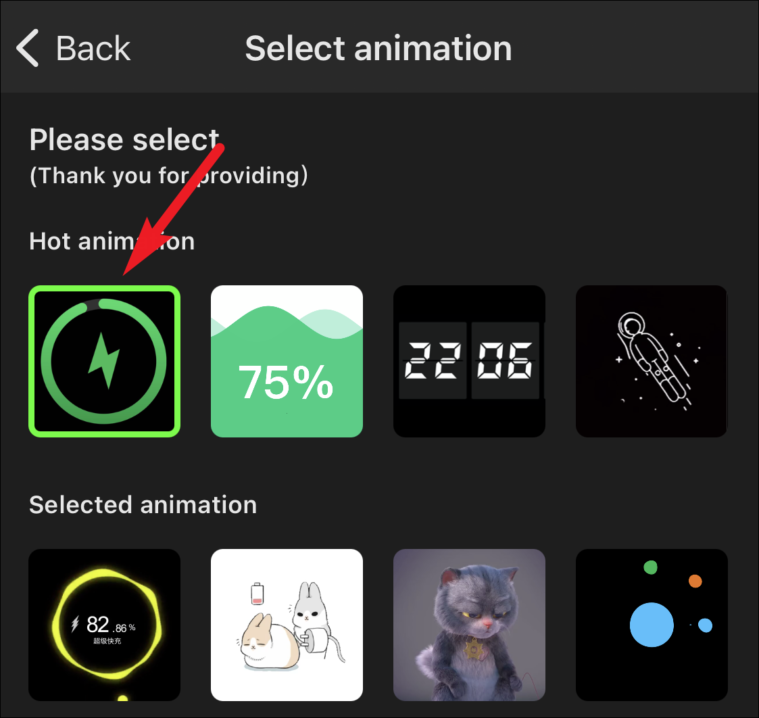
Once the automation is created and saved, open the Charging Play app again. Then, tap the ‘Replace animation’ option.
The options available to set as your animation will appear. Tap an option to choose it.
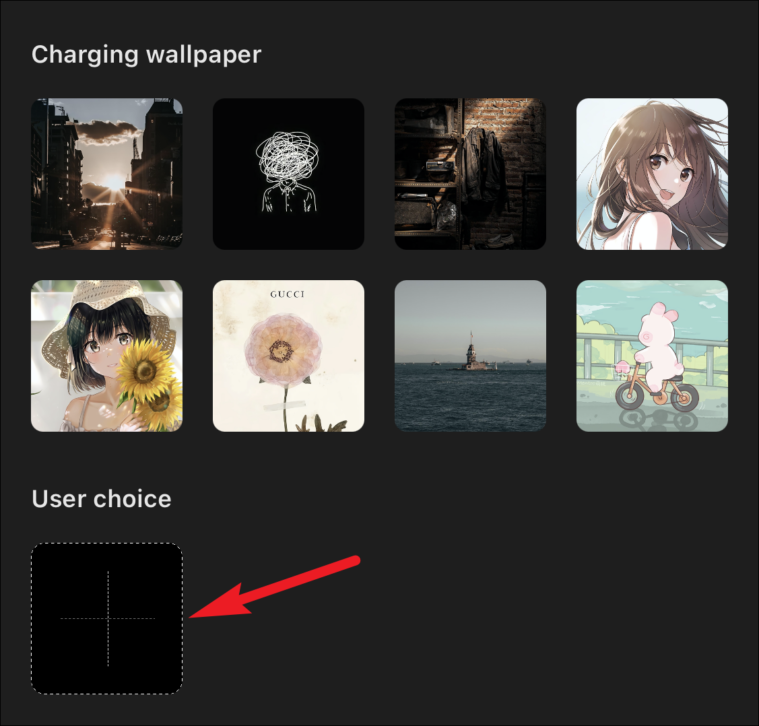
Users can also set any photo or video from their camera roll as the animation. Tap the ‘User choice’ option to add a custom animation.
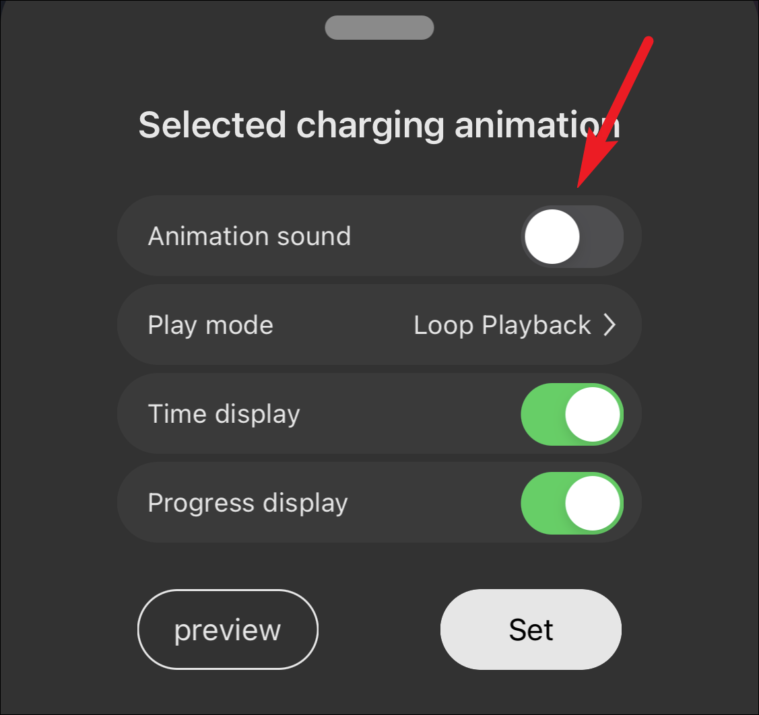
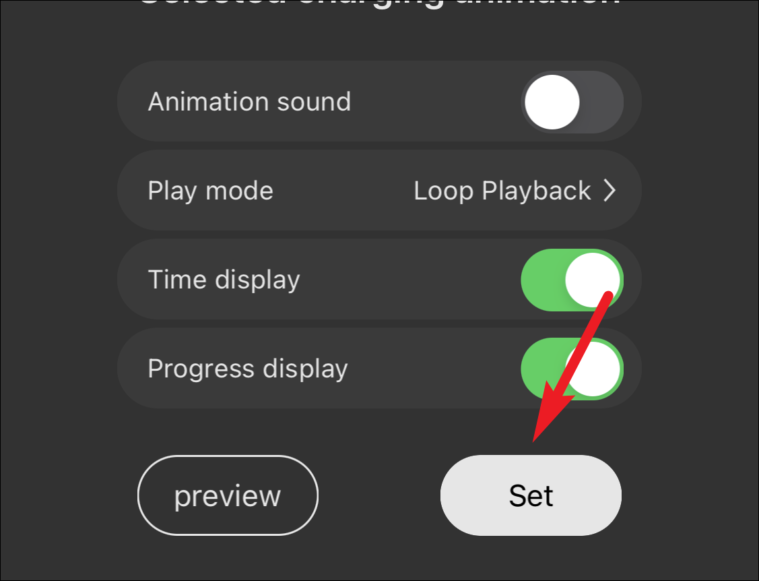
A menu will appear from the bottom of the screen. It has customization options for the animation like animation sound, the playback mode (loop or exit after playing), and display time and progress. You can also preview the animation before setting it.
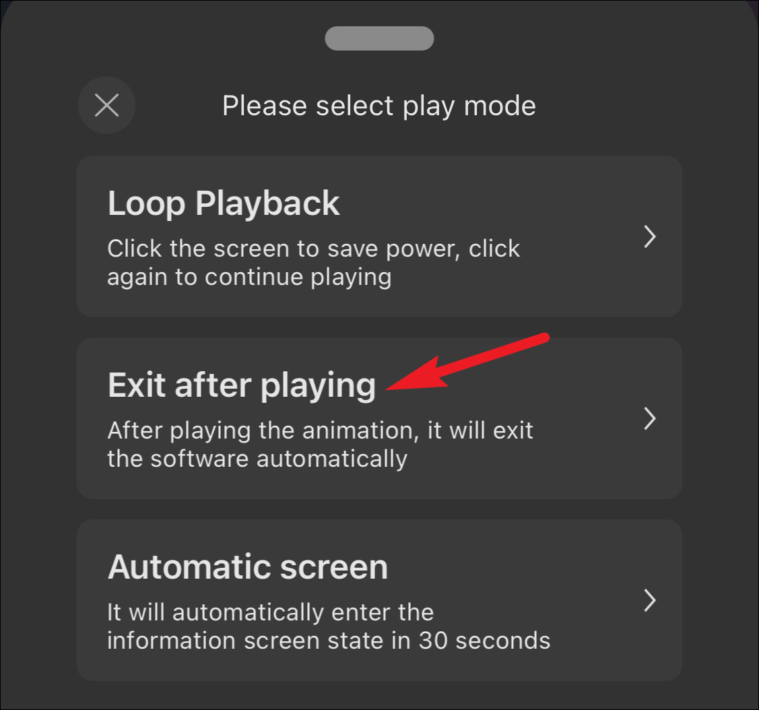
Tip: In ‘Play Mode’, select ‘Exit after playing’ or ‘Automatic screen’ if you’re worried the constantly running animation will drain your battery as it charges.
When you’ve tweaked all the options, tap ‘Set’ to use it.
If you haven’t purchased the app, it’ll ask you to either watch an advertisement to unlock the animation or remove all advertisements by purchasing the app. The app would cost $0.99 to unlock all advanced features. Once you do one of these things, the animation would run every time you plug in your phone.
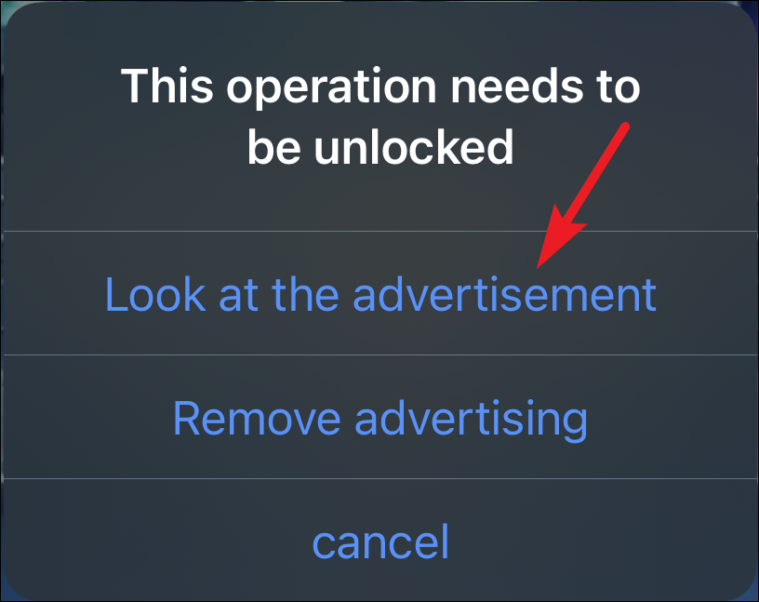
But if you choose to do neither, the first animation that’s selected by default will still run.
Note: The charging animation will only run when your phone is unlocked. The reason is simple: basically, the app opens and displays the animation every time the automation runs. So, the app can only open when your phone is in the unlock state.
Running charging animations is no longer that unattainable thing you can’t have on your iPhone. With this hack, you can have any custom animations you want.


