Reorganizing columns in Excel can enhance the clarity and effectiveness of your data presentation. When you move columns, all the cell contents—including values, formatting, formulas, comments, and hidden cells—are transferred. However, be cautious with formulas, as cell references may not automatically adjust, potentially leading to REF! errors that require manual correction.
Move columns in Excel using cut and insert method
One of the most straightforward ways to move columns in Excel is by using the cut and insert feature. This method ensures that your data is accurately relocated without overwriting existing information.
Ctrl + X on your keyboard.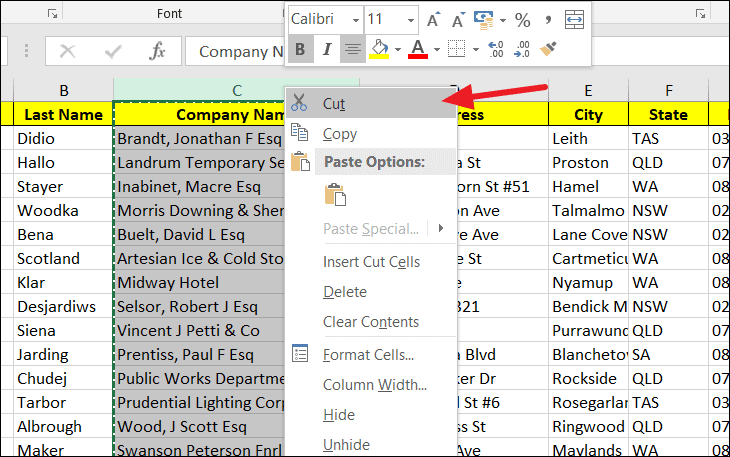
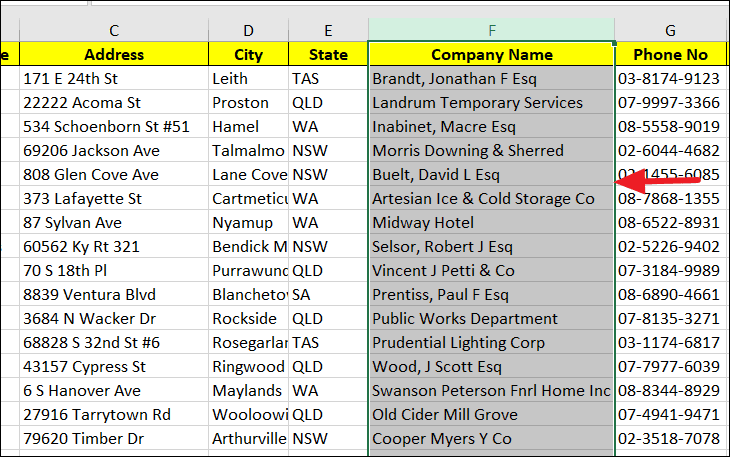
Ctrl and the plus sign +.
This action will insert the cut column before the selected column, shifting the existing columns to the right. Your column C is now moved to the position before column F (now it becomes the new column F), and the original columns adjust accordingly.
You can use this method to move columns within the same worksheet or even to a different worksheet by cutting and pasting the columns into the new sheet.
Move columns in Excel using the mouse
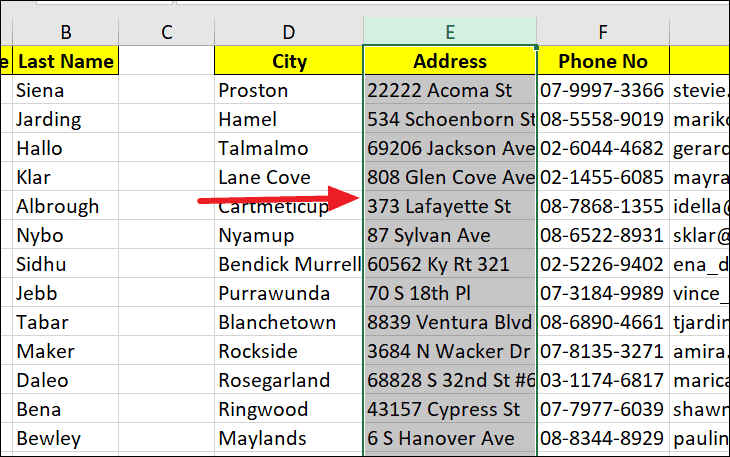
Another efficient method to rearrange columns is by dragging them using your mouse. This technique allows you to move columns quickly by simply clicking and dragging.

.
Shift key. Click and hold the left mouse button, then drag the column to the desired location. A green bold line will appear to indicate where the column will be placed.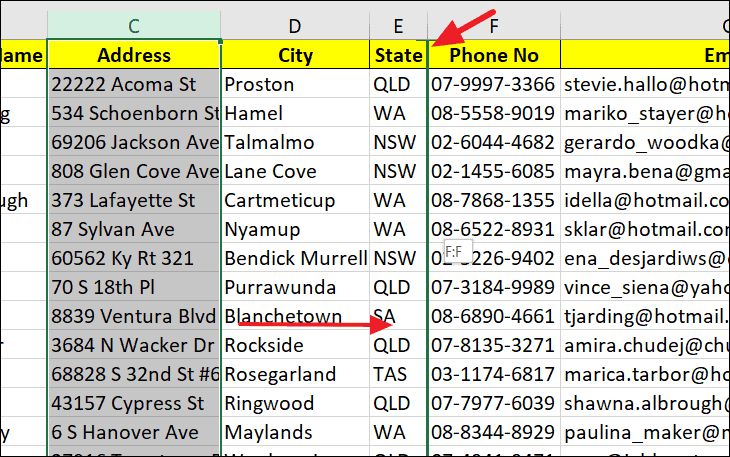
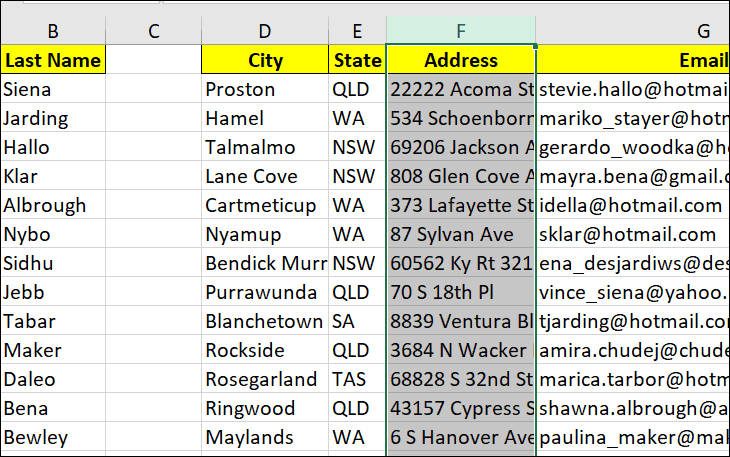
Shift key. The column will move to the new location, and the surrounding columns will adjust accordingly.It’s important to keep the Shift key pressed during the entire process. If you release it too early or don’t hold it at all, you might inadvertently overwrite data in another column. If you drag a column without holding Shift, Excel will prompt you with a warning that you’re about to replace the contents of another column.
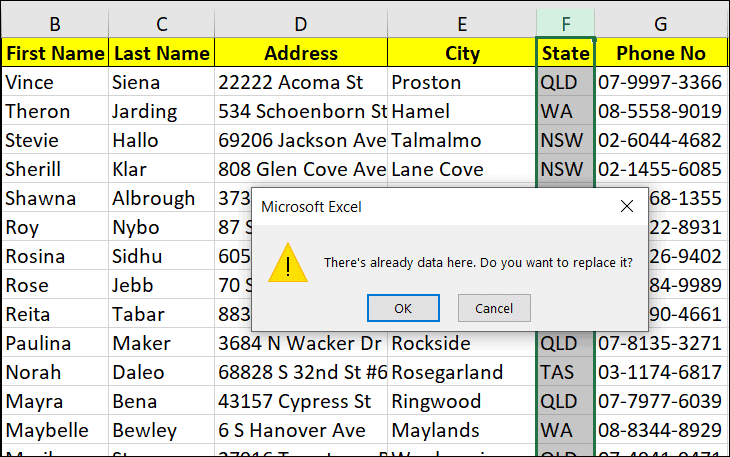
If you proceed, the data in the destination column will be replaced, and the original column will become empty. You can delete the now-empty column by right-clicking the column header and selecting ‘Delete‘.
This method also works for moving multiple columns or rows. Simply select all the columns or rows you wish to move and drag them following the same steps.
Using the mouse right-click button
You can also move columns using the mouse right-click button, which provides additional options when moving your data.
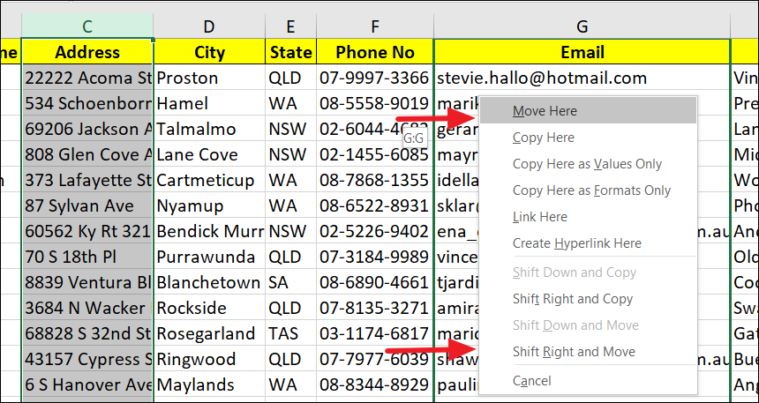
You can choose ‘Move Here‘ to replace the contents of the destination column with the one you’re moving.
Alternatively, selecting ‘Shift Right and Move‘ will insert the moved column before the destination column, shifting the existing columns to the right.

This method also allows you to copy columns, copy only the values without formatting, or copy only the formatting without values, giving you greater flexibility in how you organize your data.
By utilizing these methods, you can efficiently rearrange columns in Excel to better organize your data. Whether you prefer using cut and insert commands or dragging columns with your mouse, Excel provides versatile options to suit your workflow.


