
Every OS has its own backup and restore feature that can save you from a lot of hassle when something goes wrong with your system. It can help you quickly undo changes to your system in case of a disaster and revert it to when it was working properly.
On Linux systems, you have the Timeshift utility, which lets you back up your system settings and files. It works by creating 'Snapshots' of your system at fixed intervals, which you can use to restore your system. While the tool is installed by default on many distros, you may have to install it manually if it is not installed on your system.
Installing Timeshift on different Linux distros
- Timeshift is installed by default in Linux Mint, but if you're using Ubuntu, open the terminal by clicking on its icon in the panel at the bottom and type
sudo apt install timeshift. - If you're using Arch Linux or any distro based on that, make sure you have enabled AUR. Then launch the terminal and type
yay -S timeshift. - For Fedora and its derivatives, you can use the
sudo dnf install timeshiftcommand. - However, it is important to understand here that Timeshift does not back up the contents of your Home folder by default, which contains all user files and folders. For that, you will have to rely on other backup tools, like MintBackup on Mint. Additionally, Timeshift is designed for desktop systems, not for servers. You can find other tools if you're running a server.
Using Timeshift to backup your Linux system
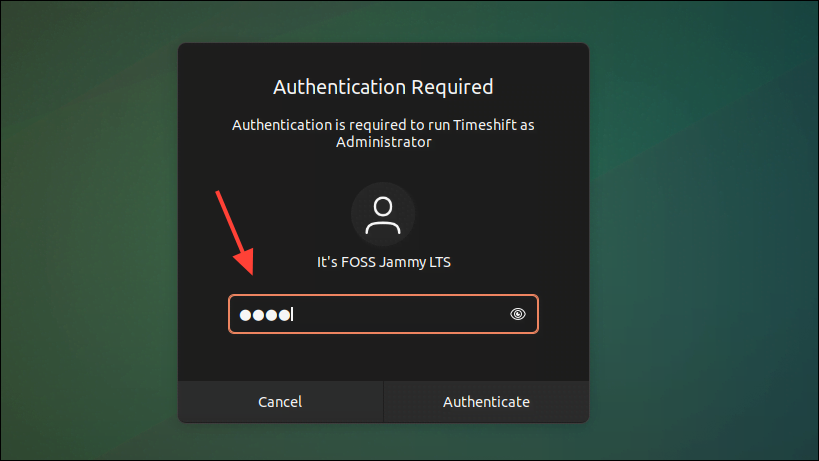
- Once you've installed Timeshift on your system, launch it from the menu and enter your password.
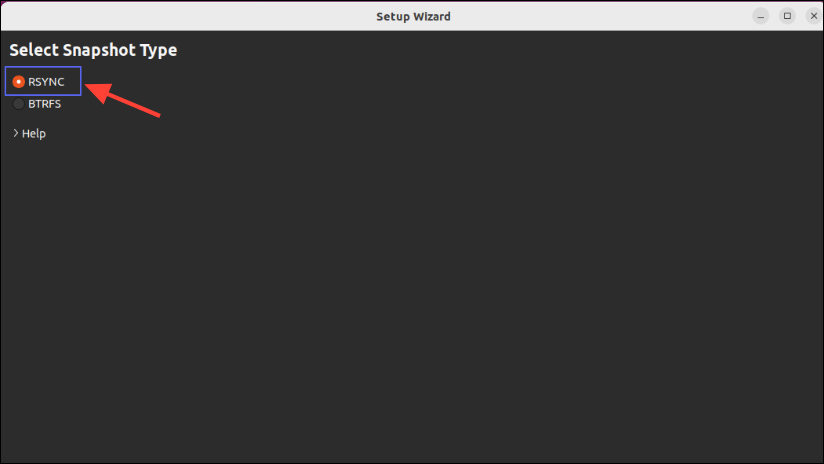
- Once Timeshift launches, you must choose the type of Snapshot you want to create. There are two options - RSync and BTRFS.
- In RSync, snapshots between different periods share common files and each snapshot is a complete backup that you can browse through with a file manager. Most users can go with this system when using the default EXT4 Linux filesystem.
- With BTRFS, snapshots are created using the BTRFS file system and only work on such systems. Such systems have a subvolume layout like Ubuntu.
- After selecting the backup type, choose where you want the snapshot to be saved. You can use the internal disk of your system or connect an external one. When using an internal disk, Timeshift lets you schedule automatic backups while you will have to manually back up your system when using an external disk.
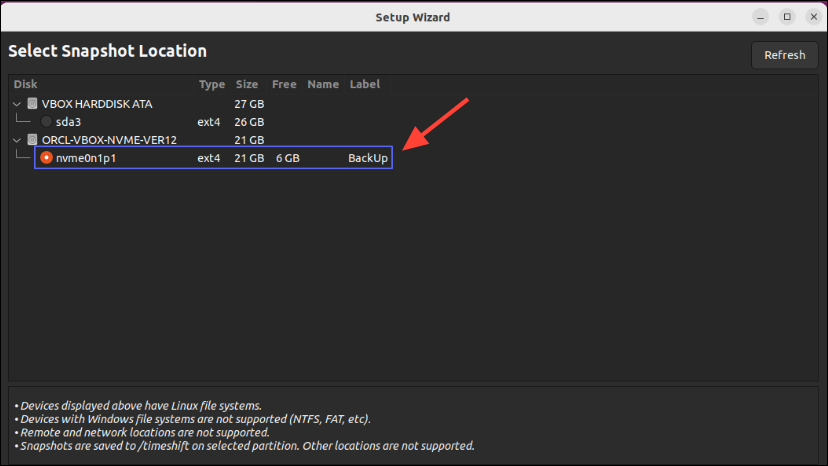
Note: Using an external drive for snapshots will ensure you have a backup in case something happens to your entire system. Just make sure to format the drive as EXT4 Linux file system so your snapshots are detected by your device.
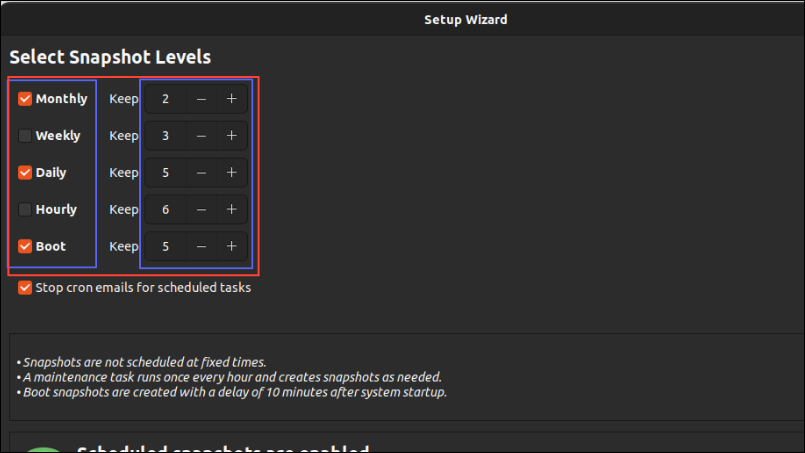
- Once you select your preferred storage location for backups, you can choose how to schedule them. Timeshift lets you back up your system hourly, daily, weekly, or monthly. You can choose one or more from the available options and even the number of backups for each one. Just make sure you have enough free storage space.
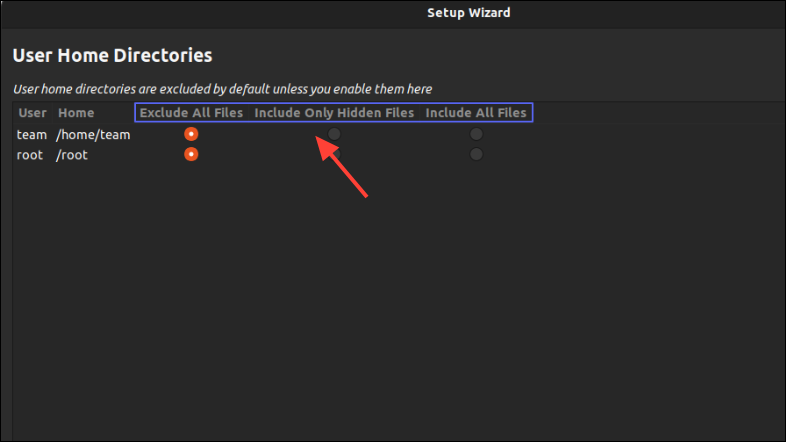
- Now, you need to choose the things you want to back up. As mentioned before, user files are not backed up by default since that would overwrite existing files when you restore your system. If you choose to backup hidden files, it will back up config files as well, but restoring your system will overwrite the files with the older ones. So, be careful when selecting the files you want to backup.
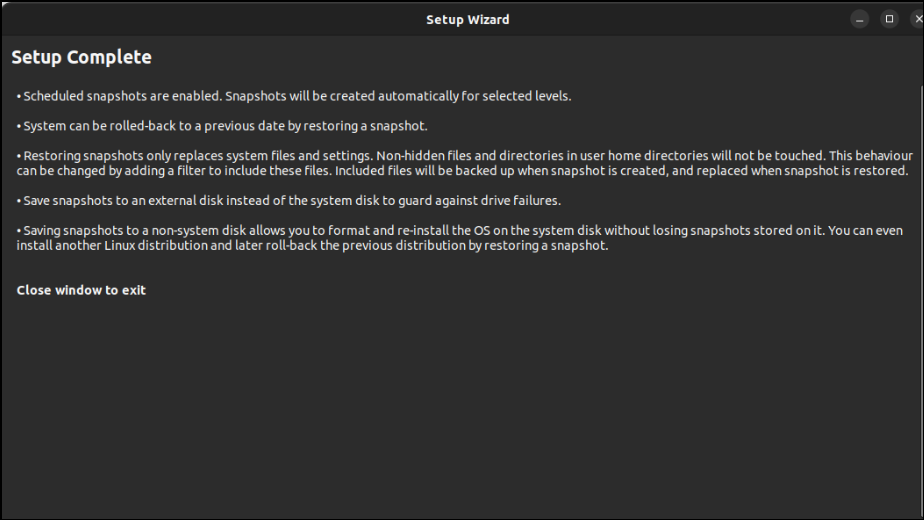
- Once you are finished setting up Timeshift, click on the 'Finish' button or just close the window.
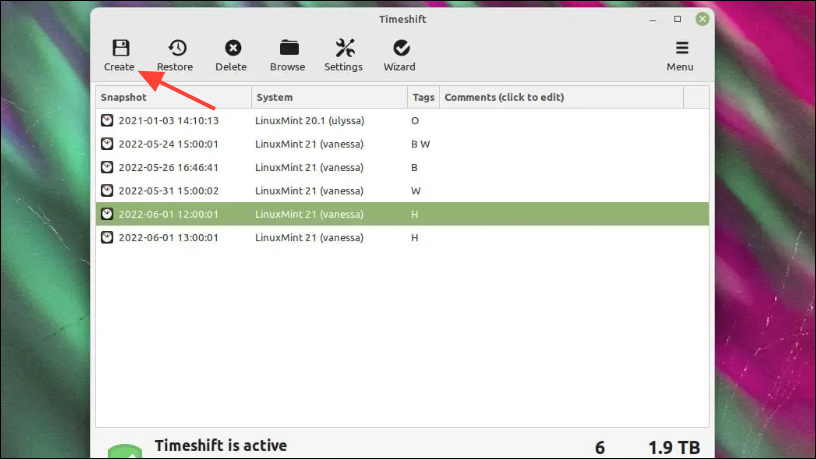
- Now, you will reach the Timeshift home page. Click on the 'Create' button to create a backup and wait for the process to complete.
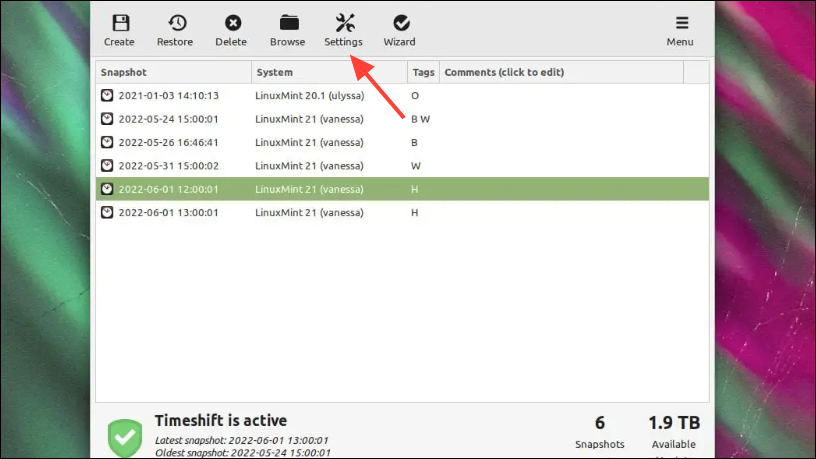
- If you want to select specific folders and files to back up, click on 'Settings' in the Timeshift window.
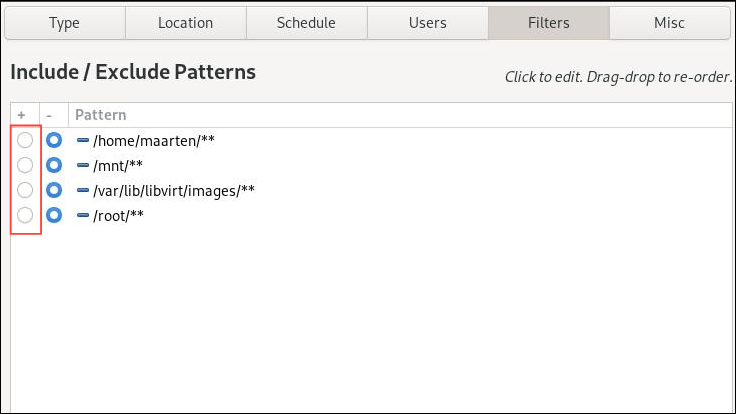
- Then click on the 'Filters' tab at the top and then on 'Add Files' or 'Add Folders' as per your requirements.
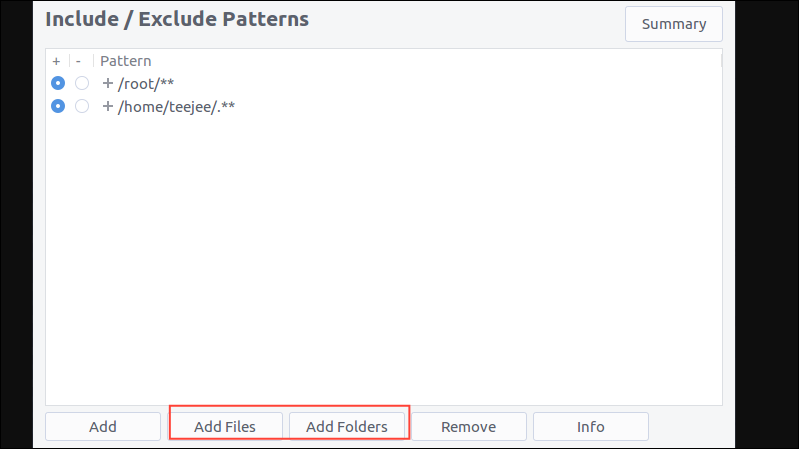
- To include your files and folders in the backup, click on the button next to them so it moves toward the '+' icon before clicking on OK.
Note: You will also see a Summary button. Clicking on it will show you the files and folders that will be included in the backup. Such items will have the '+' icon next to them.
Restoring your Linux file system from a backup
Once you've created a backup using Timeshift, you can restore your system using it anytime something goes wrong.
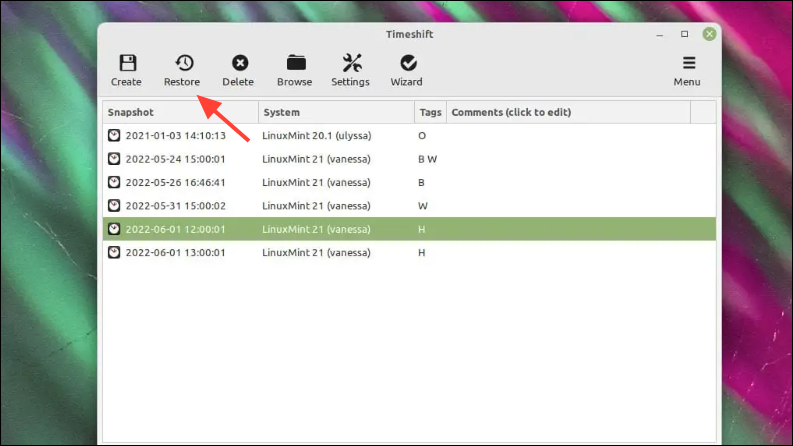
- If you can still log in to your Linux system, just launch Timeshift from the menu and click on 'Restore'. Make sure you connect your external disk beforehand if your backup is stored on that.
- After your backup is restored, restart your computer to complete the process.
- If you cannot log in to your system, you will need a live Linux USB that you will need to plug into your device.
- Boot up Linux from the USB, launch the terminal, and type
sudo add-apt-respository universebefore hitting Enter. - Then enter
sudo apt install Timeshiftto install Timeshift. Once it is installed, open the program. - Click on the 'Next' button and then select the disk where your backup is stored. You will then see the drive in the main Timeshift window.
- Now click on 'Restore' as before and provide the path where you want to restore the backup. Reinstalling the bootloader while restoring can make things easier for you.
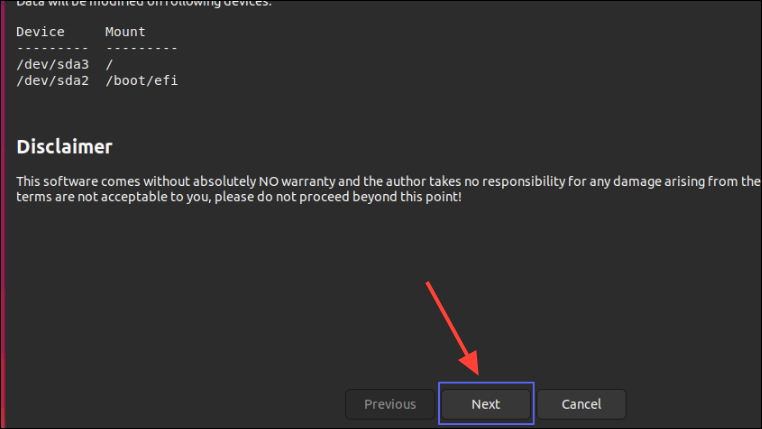
- When you click on the 'Next' button, Timeshift will first perform a 'Dry Run'.
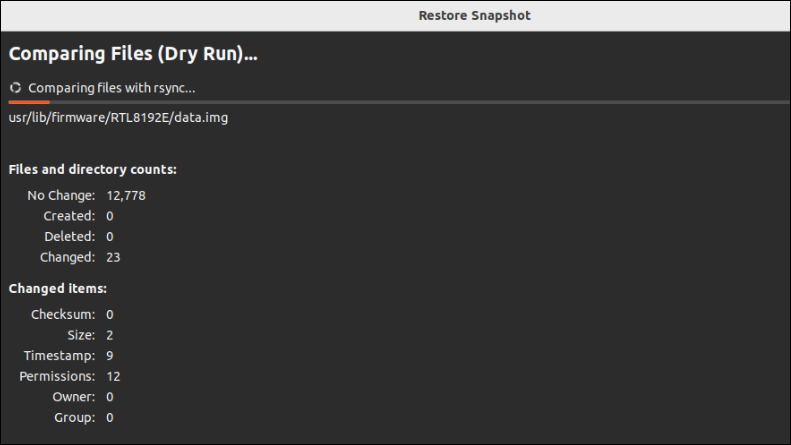
- You will then have to confirm the actions Timeshift will perform.
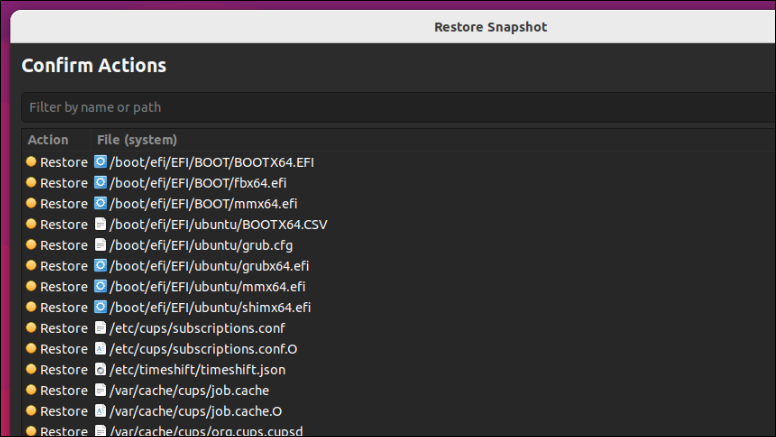
- Timeshift will notify you that data will be formatted if you proceed. Click on Next to proceed and the process will begin. Reboot your computer once the process is complete.
Things to know
- You can also set up Timeshift to backup files with specific extensions by adding those extensions and creating a list of such files.
- When setting up Timeshift, keep in mind that the greater the number of copies you select, the more storage you will need. Similarly, if you set Timeshift to create copies hourly or daily, it will use up your storage space faster.
- If you're comfortable with the command line interface, you can use Timeshift by running commands in the Terminal as well.
- Timeshift works in the same manner on all Linux distros, so it shouldn't be too confusing even if you switch to a different distro.