
Arranging files on your Mac can be a tedious task. With so many files that include documents, images, videos, spreadsheets, and whatnot, it becomes very difficult to keep track of them.
If you want to orderly arrange your files, then naming them in an orderly manner is the first and the most effective step to take. For instance, you can rename all your documents in a folder in a systematic manner to help you sort them according to their sequence, date, or significance. A similar use case can arise in the case of photographs as well.
But who would want to take the effort of renaming all the files? Luckily, you can edit or rename multiple files on macOS. It’s pretty simple to batch rename multiple files on Mac and you get various options to customize the name and format of the name according to your wish.
Selecting Multiple Files to Rename
To rename multiple files, we first need to start by selecting the files to rename. This is a very simple process.
First, locate the files you wish to rename.

Next, if you want to select non-adjacent files, select them individually by using the ‘command’ button and left-clicking the files you wish to select while holding down the command button. If you want to select adjacent files, simply select them all at once by using the ‘shift’ button and clicking the first and last files. You can also left-click and drag the mouse over the adjacent files.

Now, right-click on the selected files.
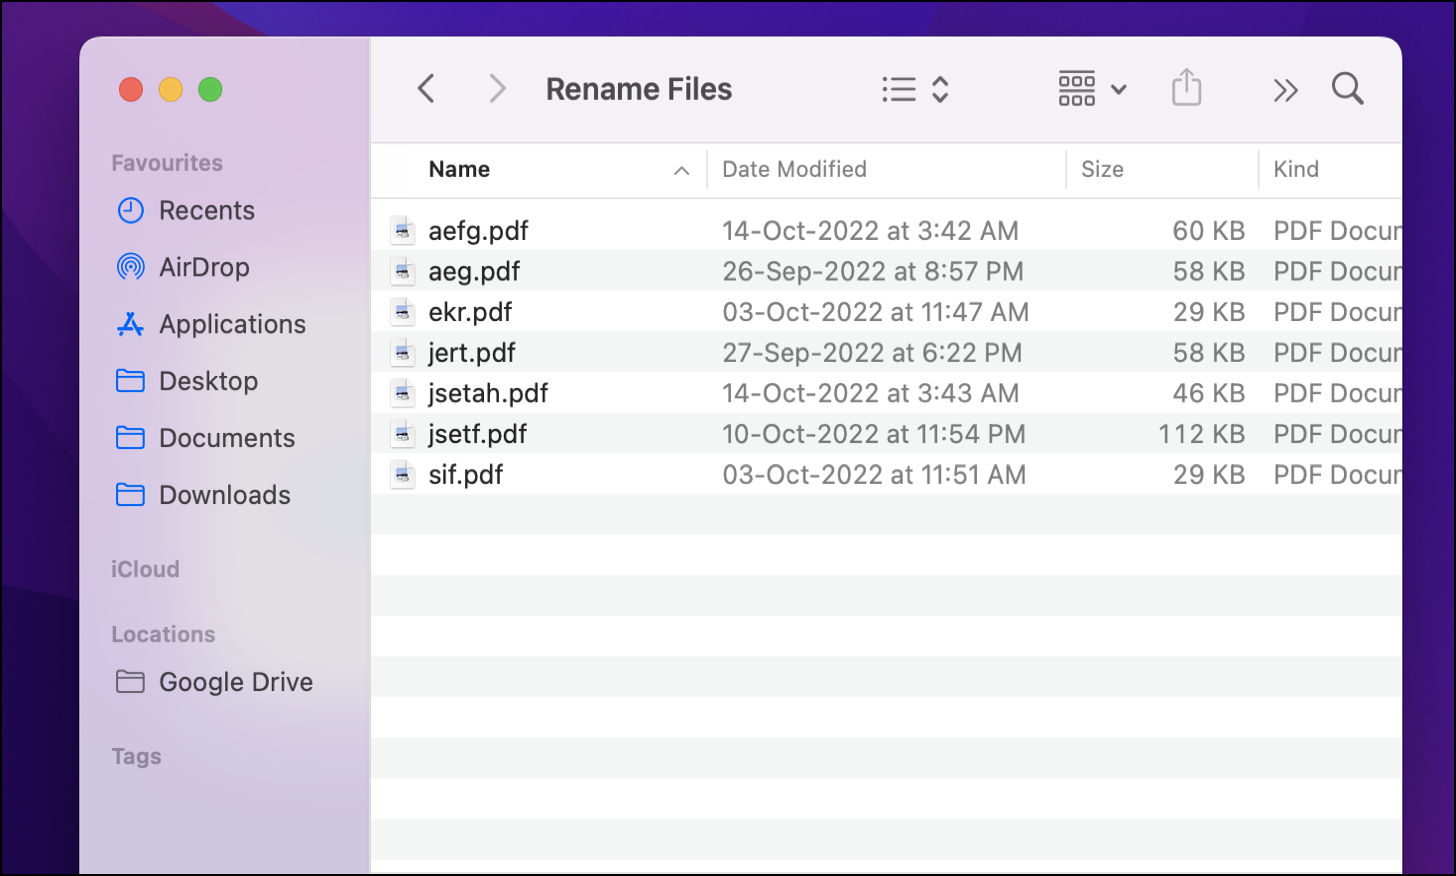
Then, click on ‘Rename…’ from the context menu.

You would notice a pop-up dialogue box that would give you multiple rename tools.
Once you click on it, you would get access to ‘Replace text,’ ‘Add text,’ or ‘Format’ the name of your files.
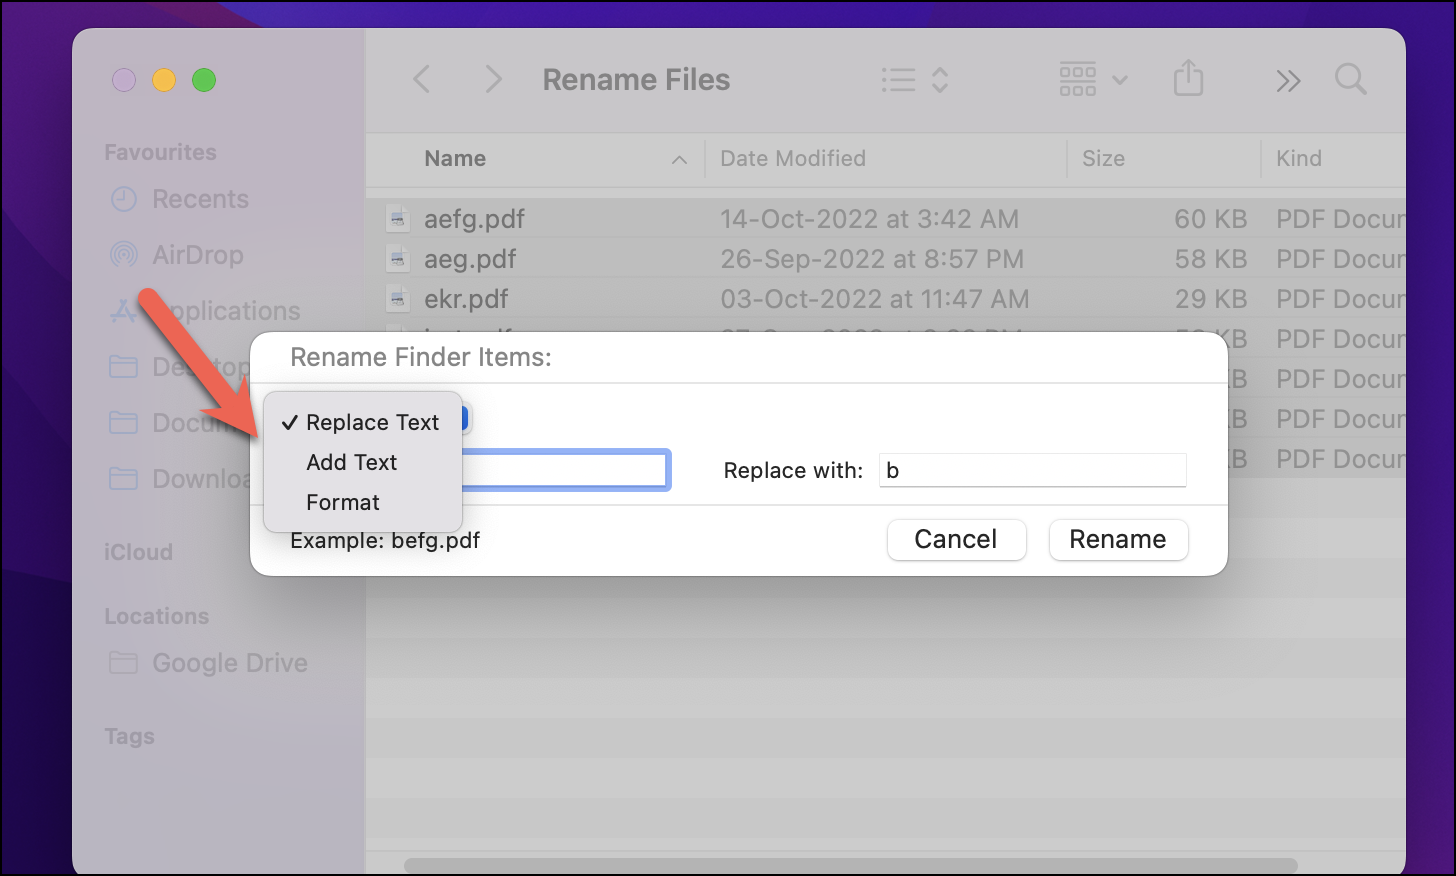
Batch Rename Multiple Files on Your Mac using the ‘Replace Text’ Option
The ‘Replace Text’ option allows you to replace a specific letter or word in your file names. This comes in handy when you want to target specific files and categorize them for better accessibility.
In the ‘Find’ tab, enter the letter or word you wish to replace.
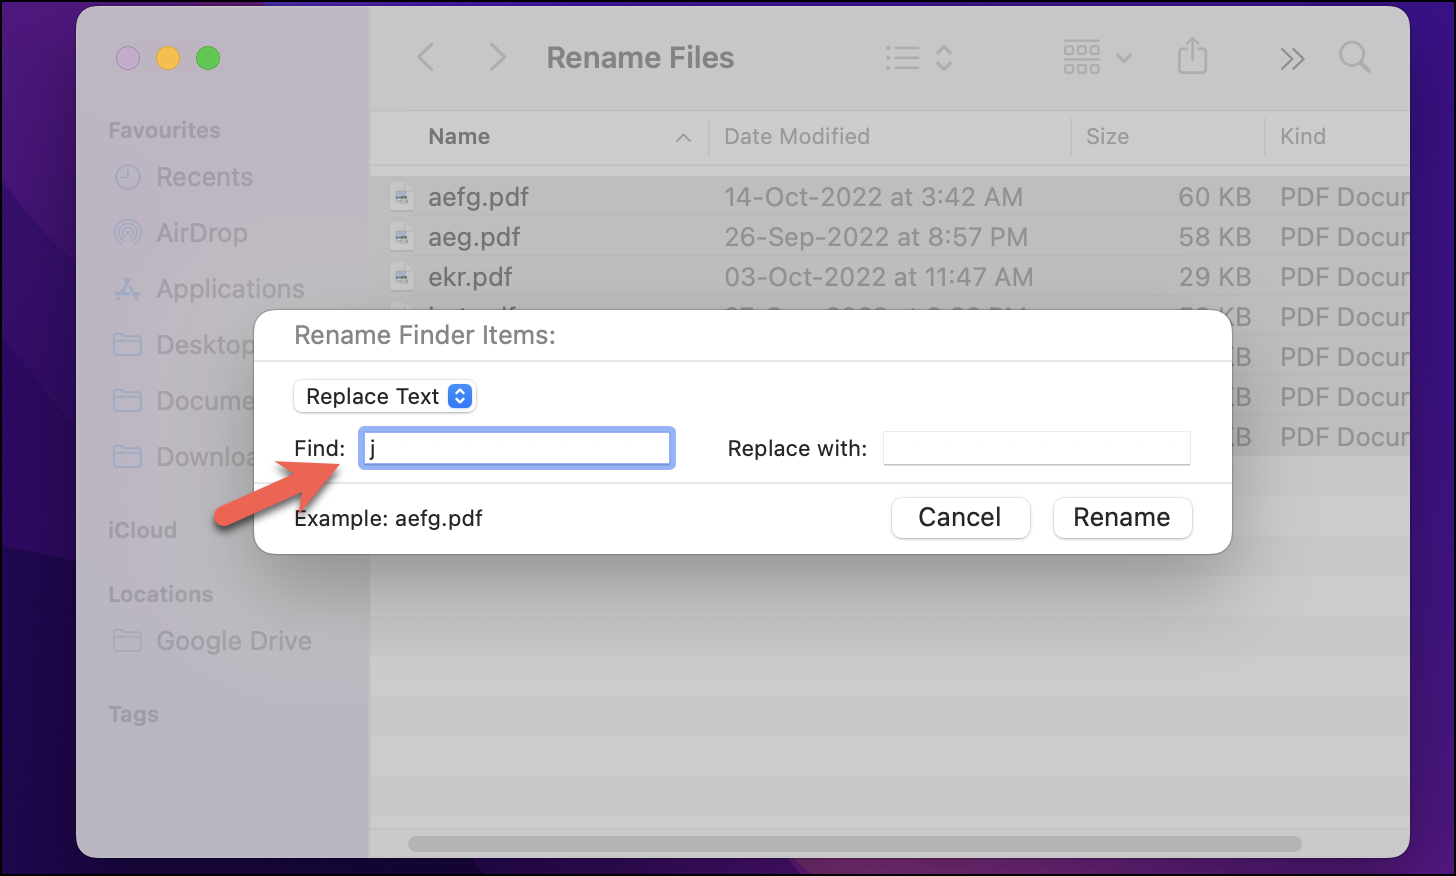
Next, in the ‘Replace with’ tab, enter the letter or word you wish to replace the text with.
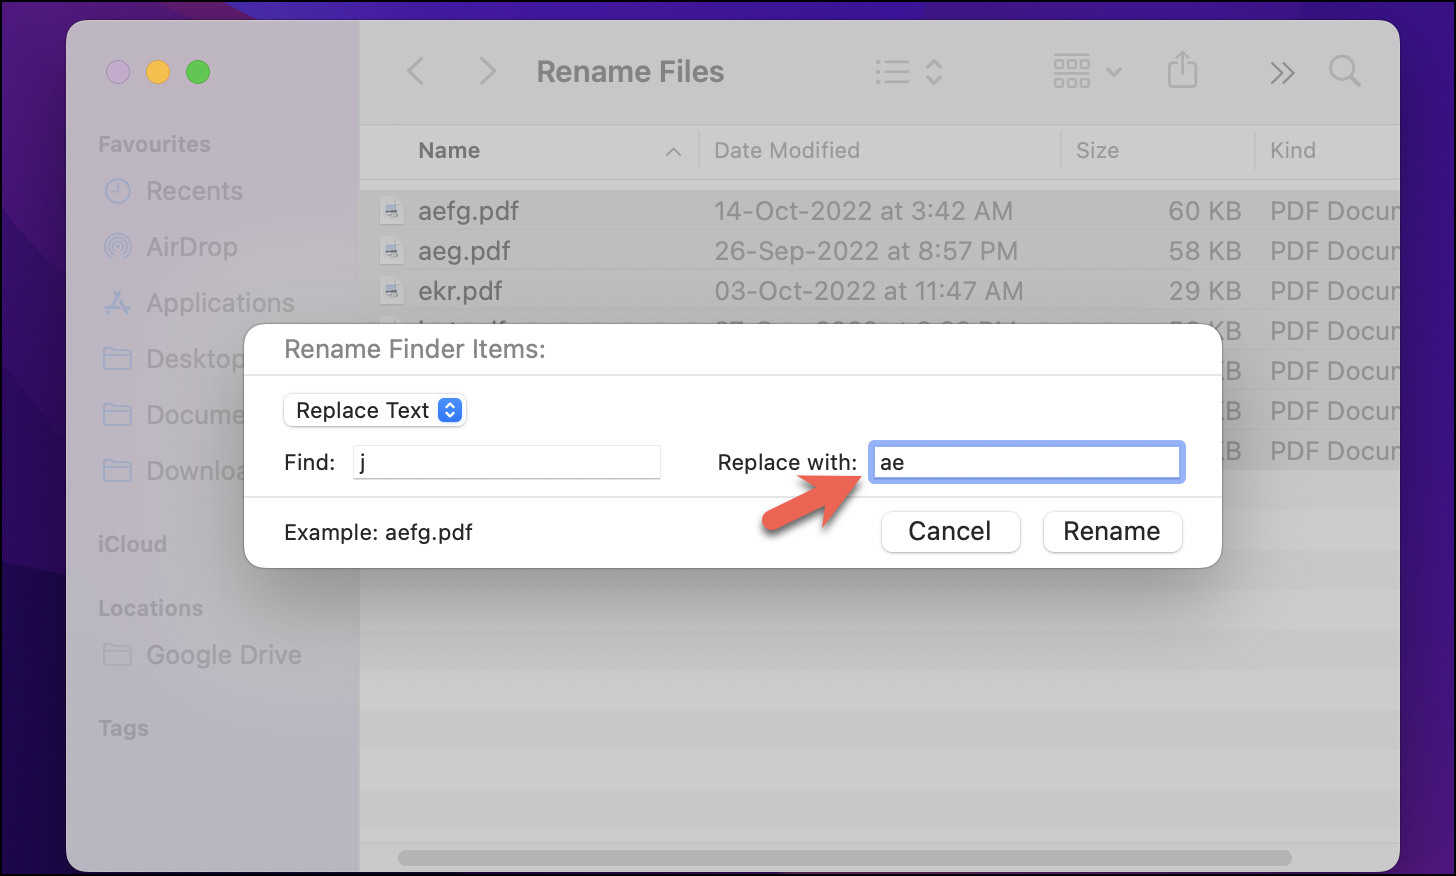
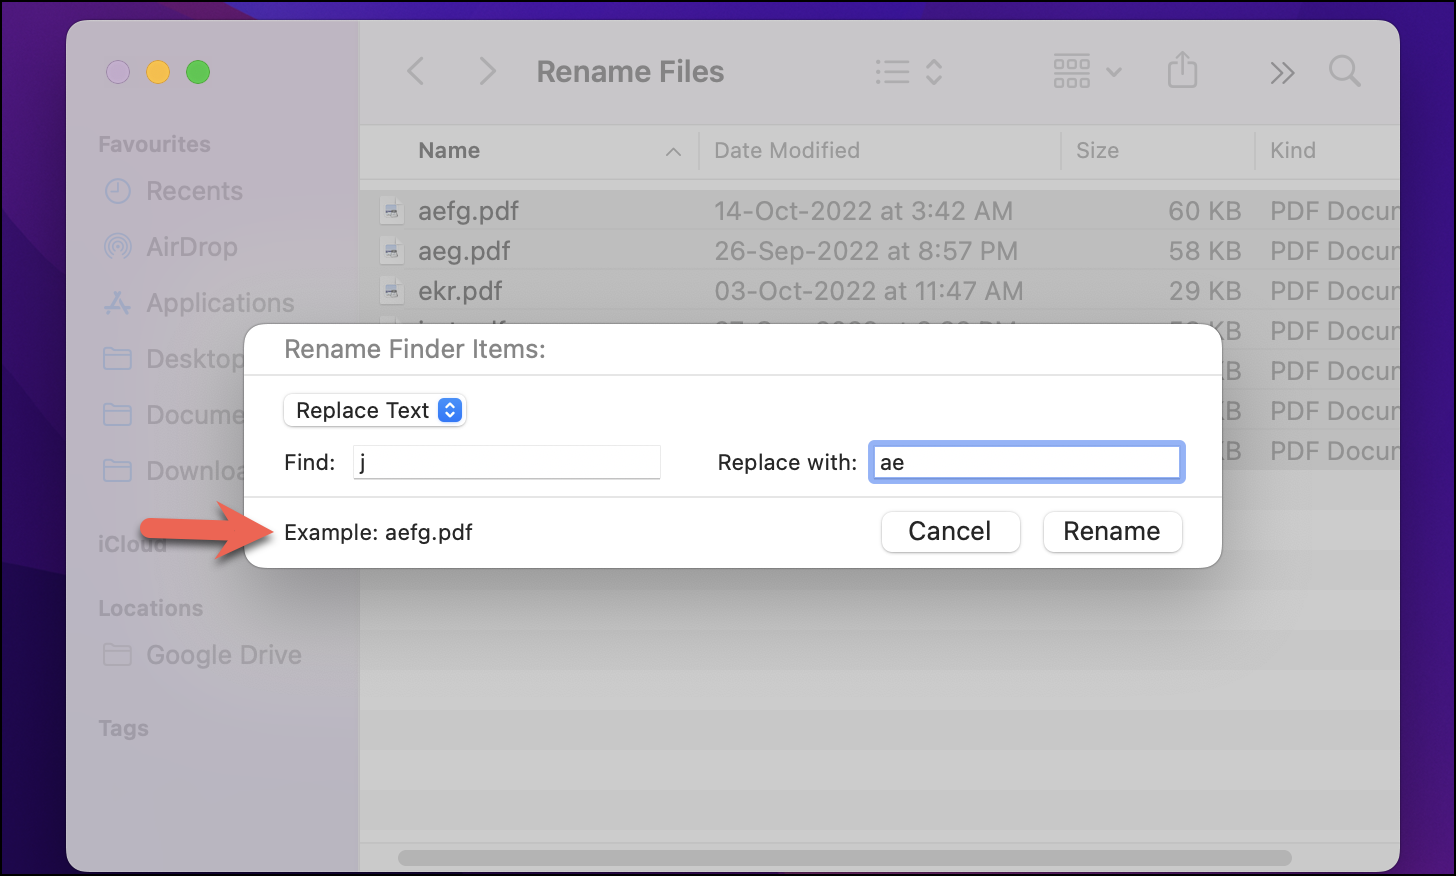
The ‘Example:’ area in the bottom-left of the dialogue box would give you a preview of how the updated file name would look like.
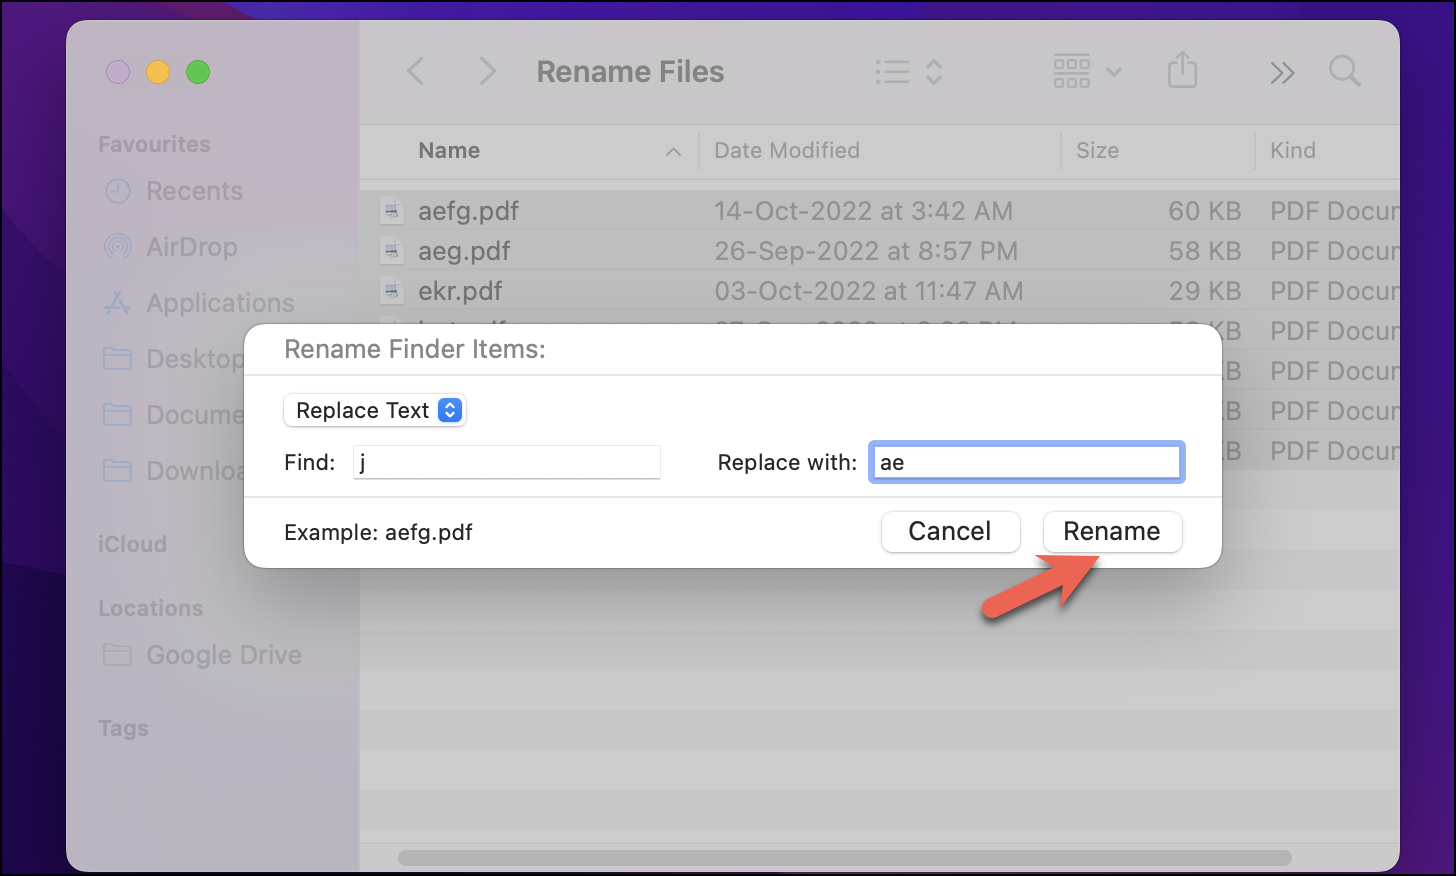
Finally, click on ‘Rename’ to rename all the selected files.
Batch Rename Multiple Files on Your Mac using the ‘Add Text’ Option
The ‘Add Text’ feature allows you to add text before or after the original name of your file. This feature comes in handy when you want to add the same prefix or suffix to your files.
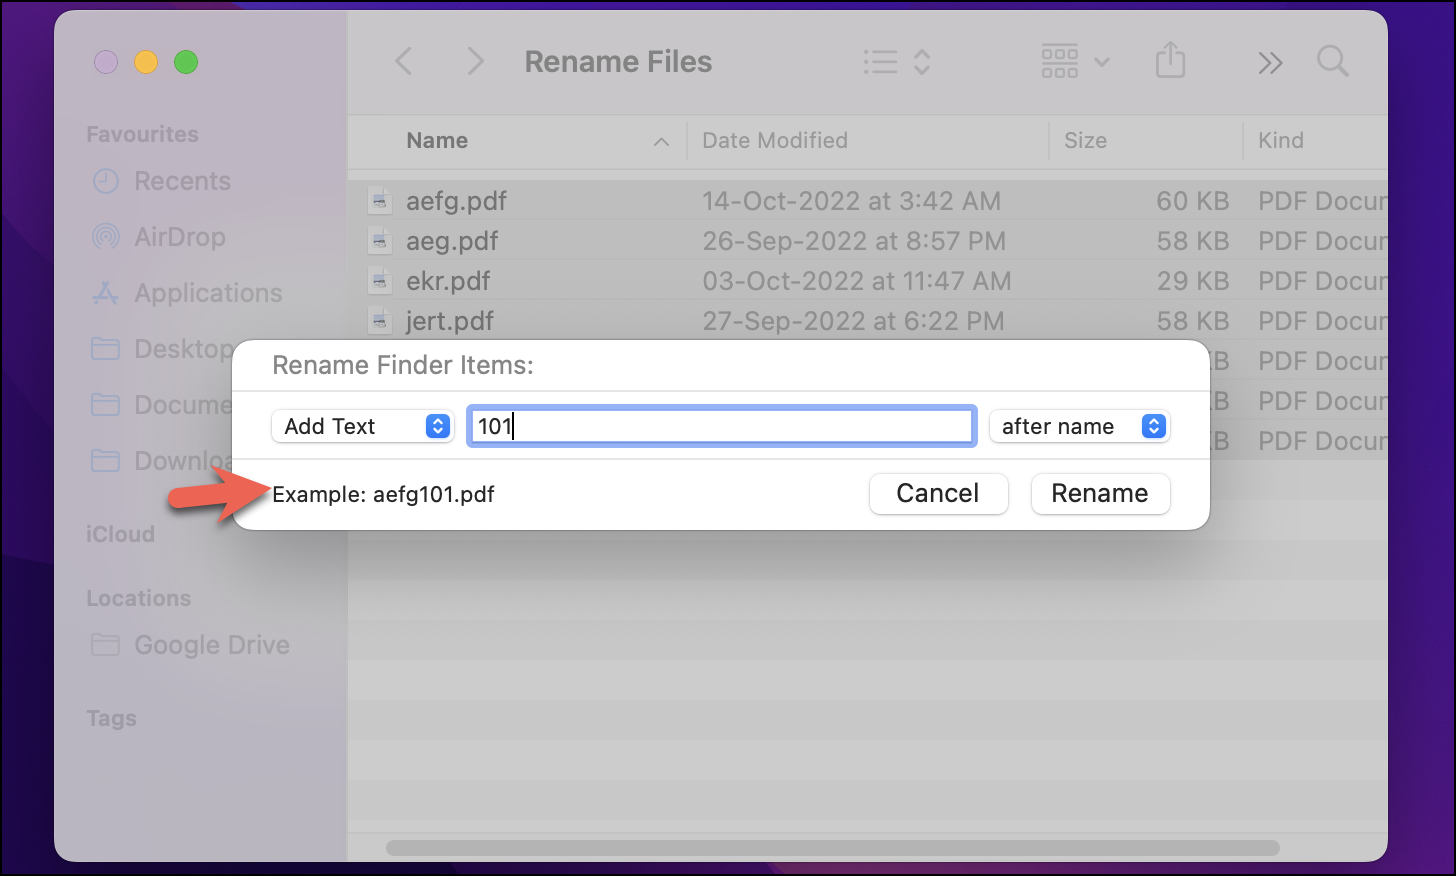
In the tab next to ‘Add Text’, write the text you wish to add.
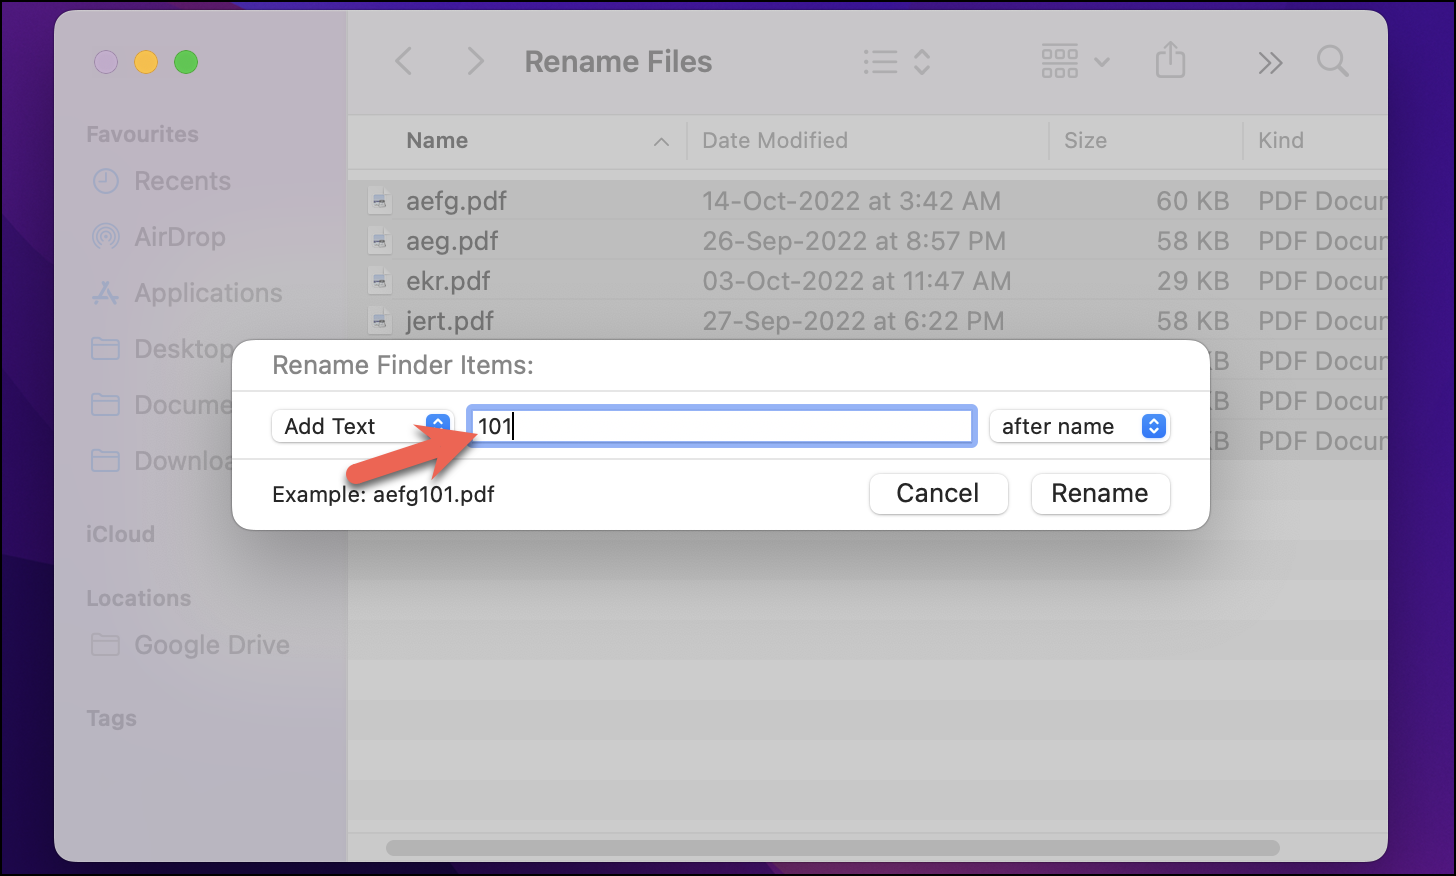
Next, choose whether you wish to add the text before or after the file name.
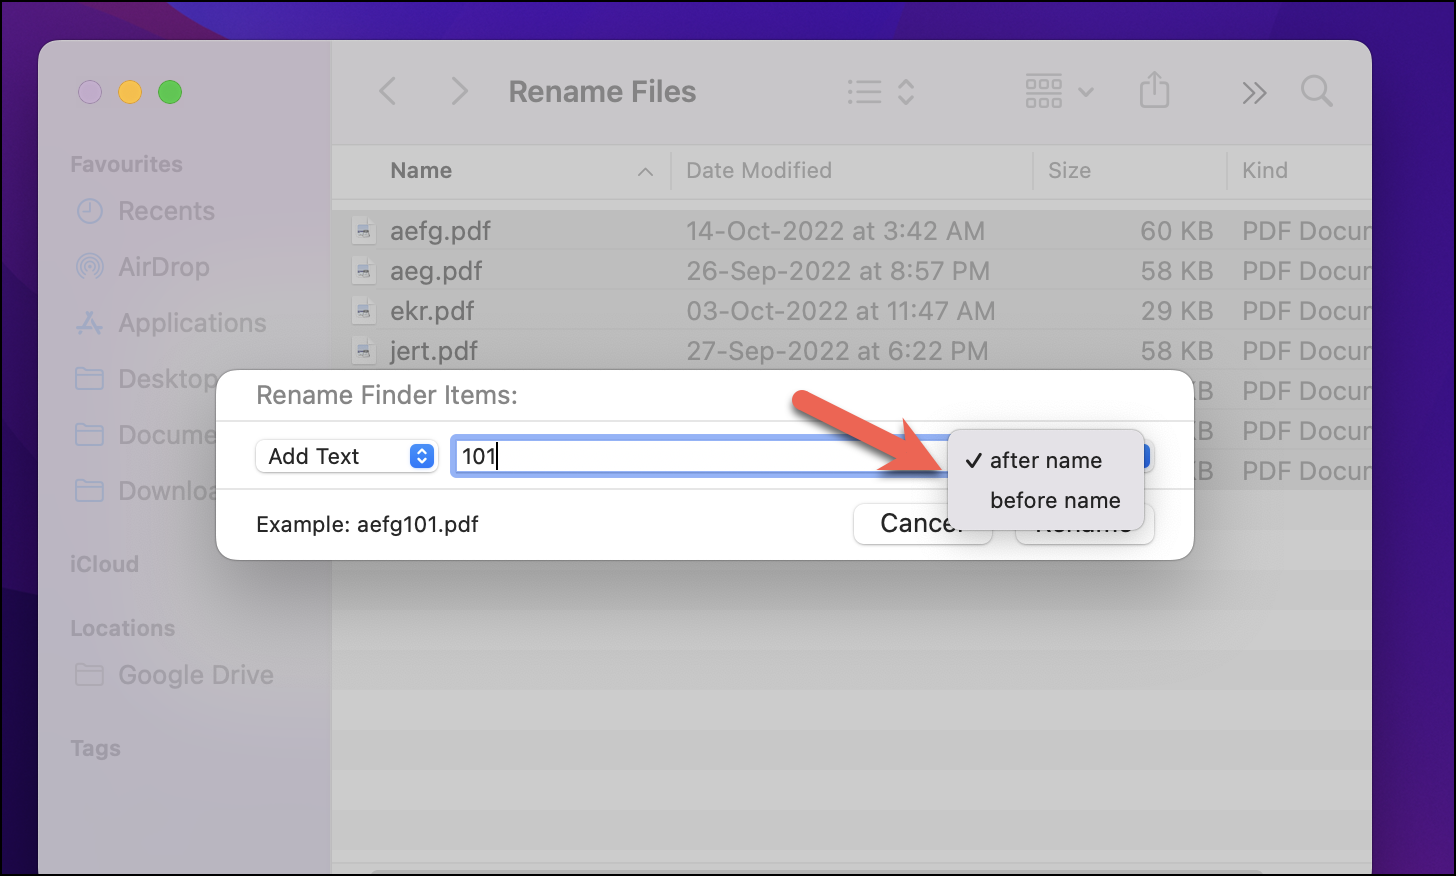
The ‘Example:’ area in the bottom-left of the dialogue box would give you a preview of how the updated file name would look like.
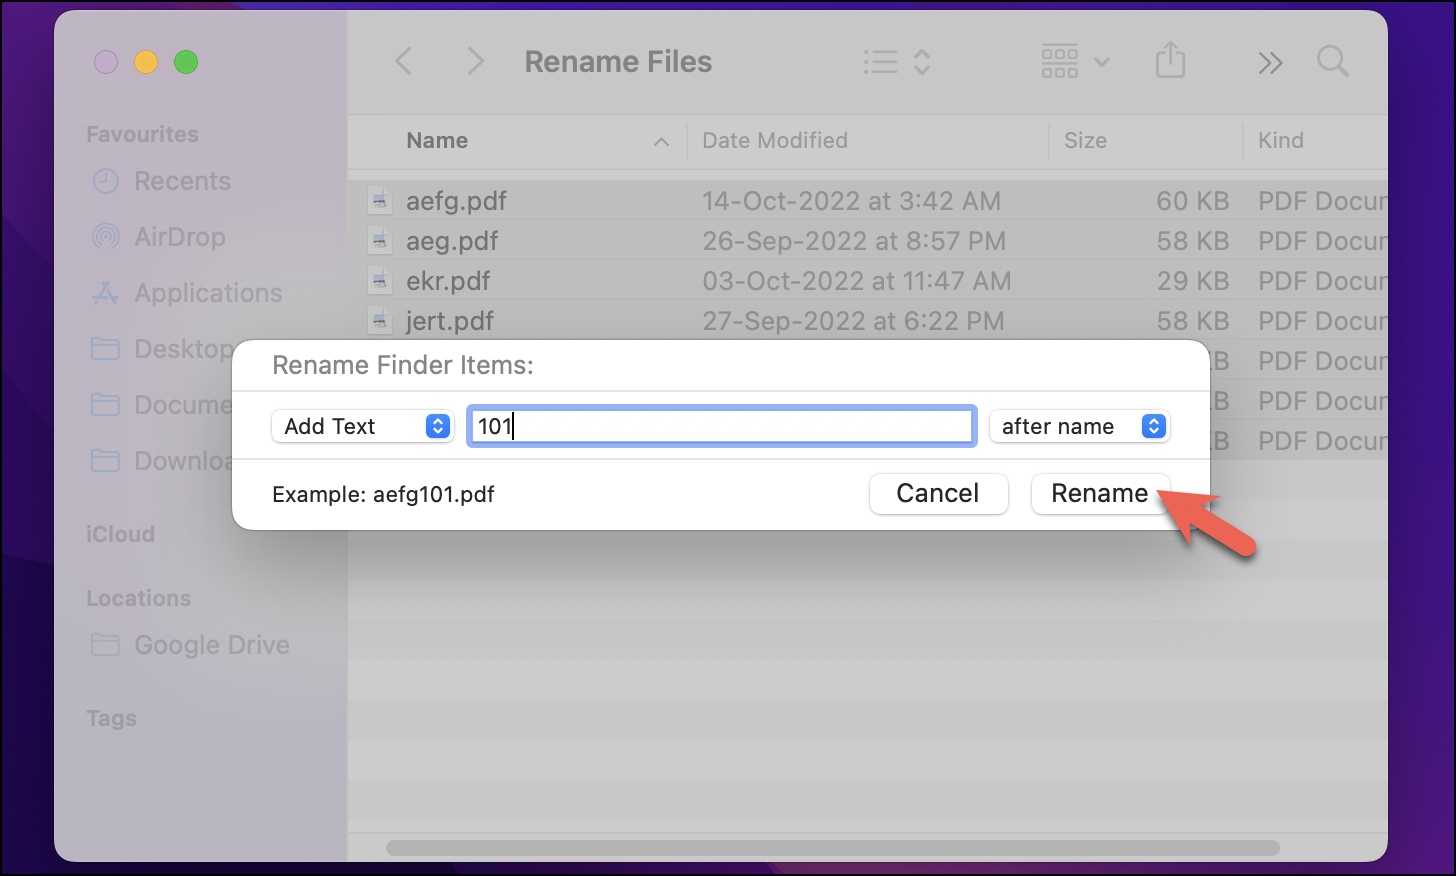
Finally, click on ‘Rename’ to rename all the selected files.
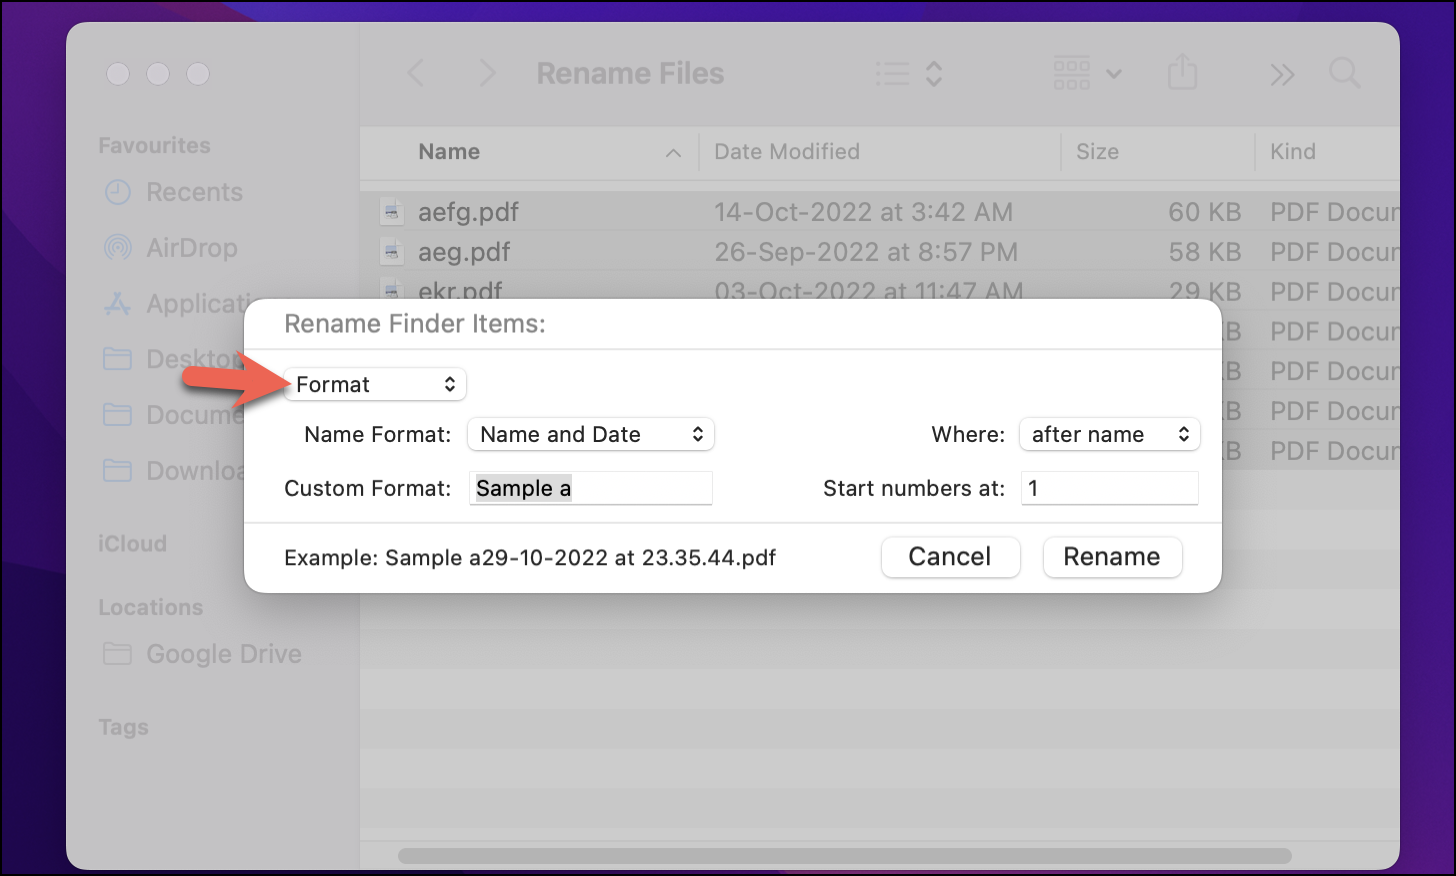
Batch Rename Multiple Files on Your Mac using the ‘Format’ Option
The ‘Format’ feature gives you a lot of options to customize your file names in order to organize them in a more systematic manner. This feature would give you a lot of flexibility in terms of renaming your files regardless of what they were named earlier.
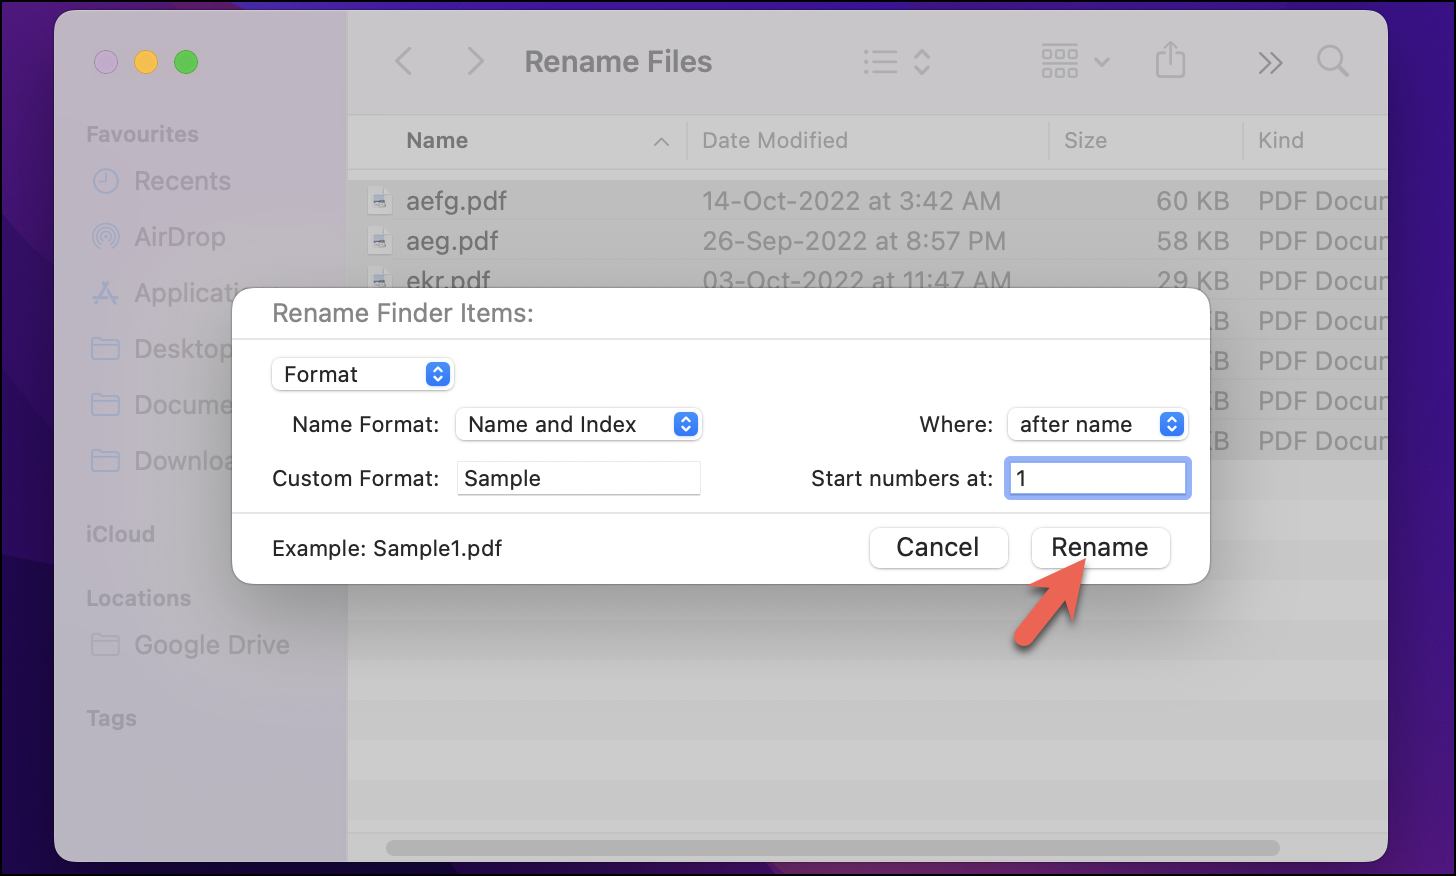
Under the ‘Name Format’ dialogue box, you will find multiple options to format the file name of your selected files.
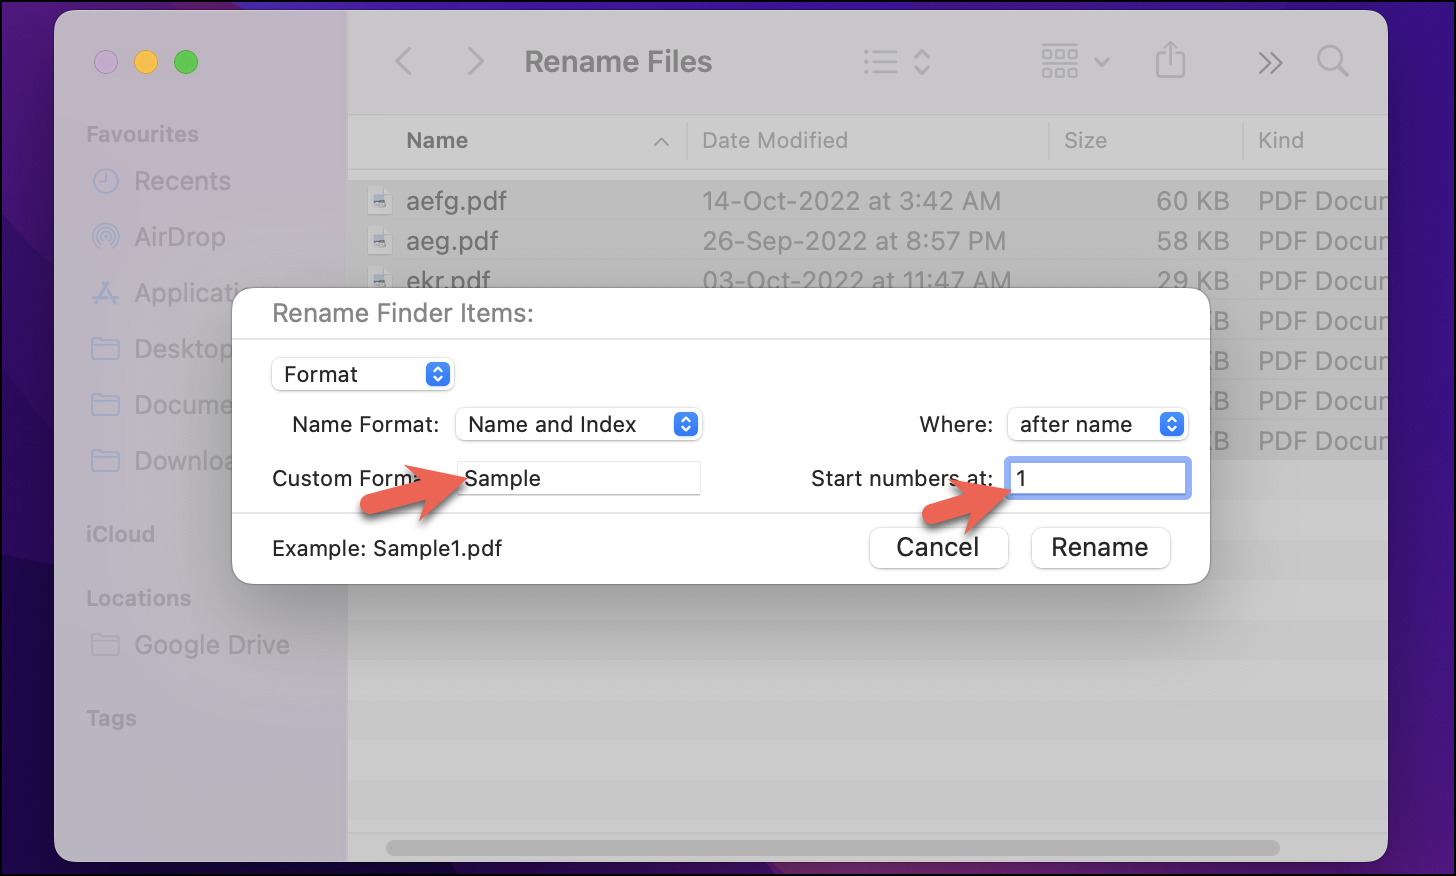
The ‘Name and Index’ option lets you add a numerical prefix or suffix in front of a custom file name that you can choose. This numeric value would keep increasing with every file giving you a systematic database.
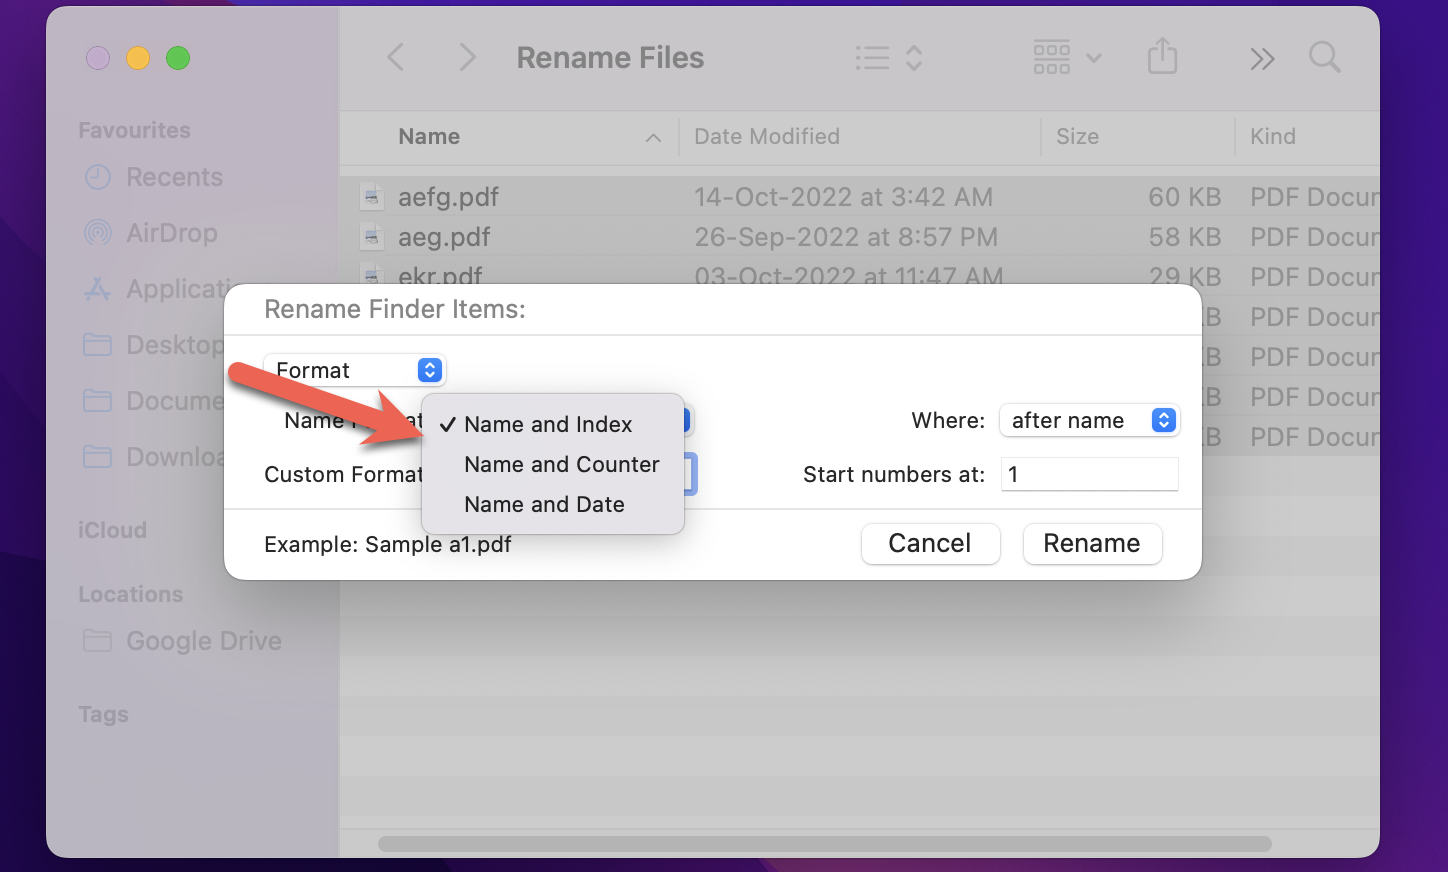
Under the ‘Custom Format:’ tab, write the common name you wish to give to all these files, and under the ‘Start Numbers at’ tab write the number from which you wish to start naming the file.
The ‘Name and Counter’ option is very similar to the previous feature with only one difference, the numbers are indexed between the values of 00000 to 99999.
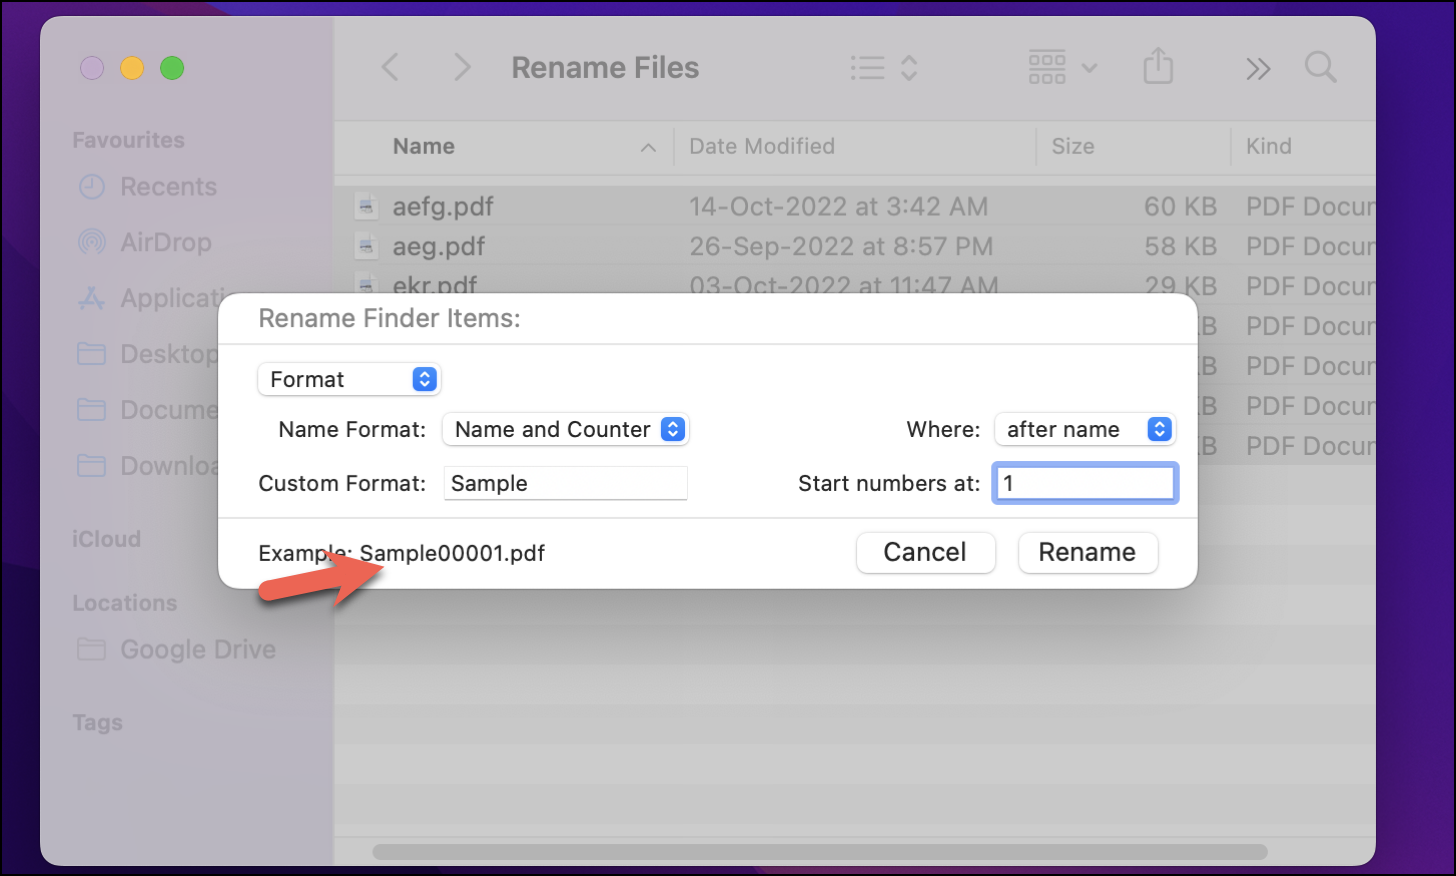
The main utility of the ‘Name and Counter’ feature is that it helps in sorting your files. In many tools, if you sort files in ascending or descending order according to their names, they take the alphabetical value instead of the numeric one. For e.g., the number 3 might appear after digits like 10, 11, and 12. This format helps in tackling such an issue.
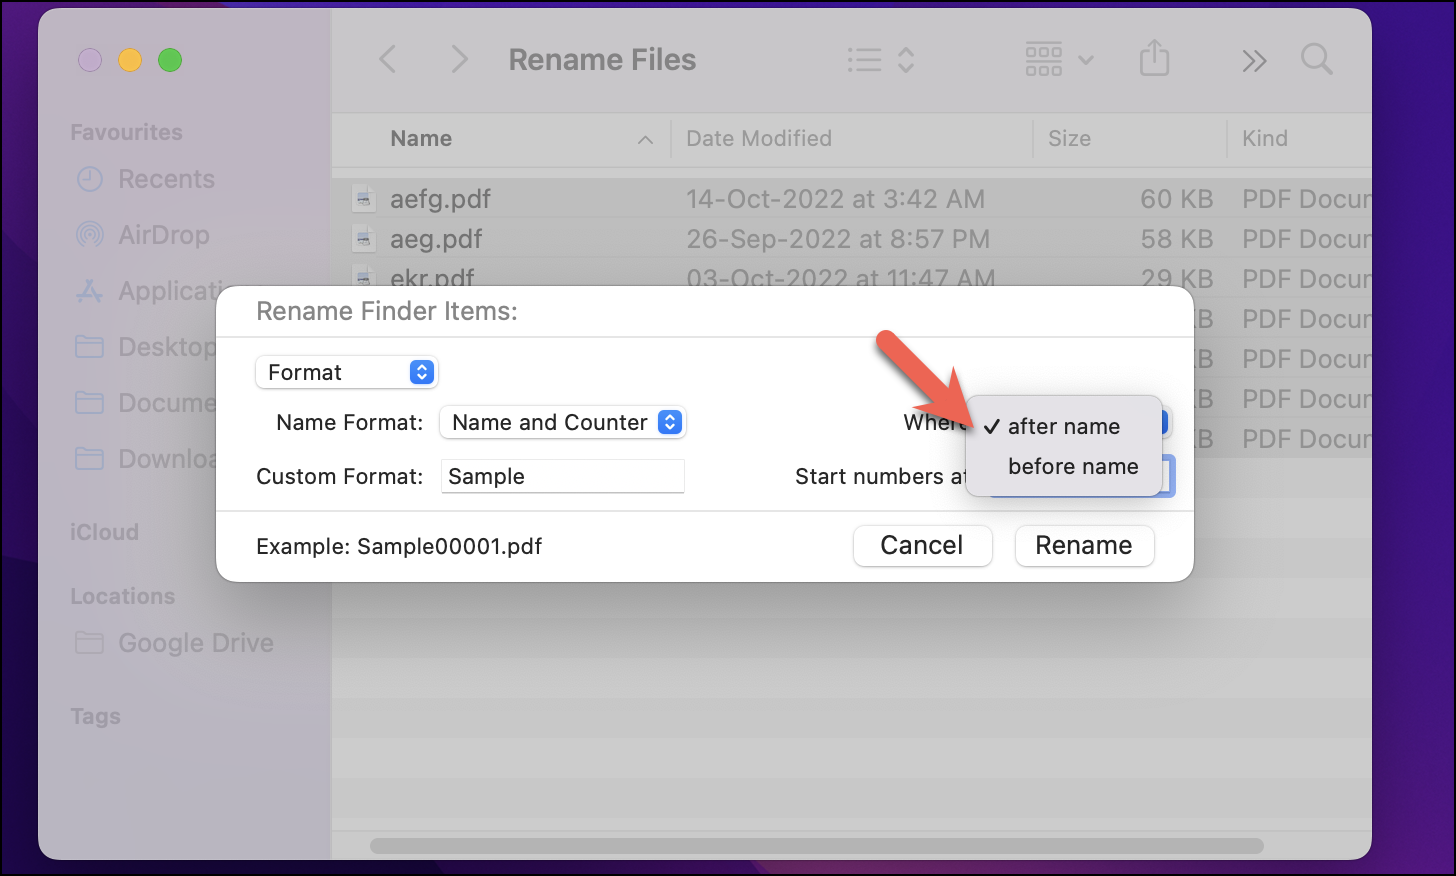
For both these features, you can use the ‘Where:’ drop-down menu to select if you wish to add the number before or after the custom name that you have selected.
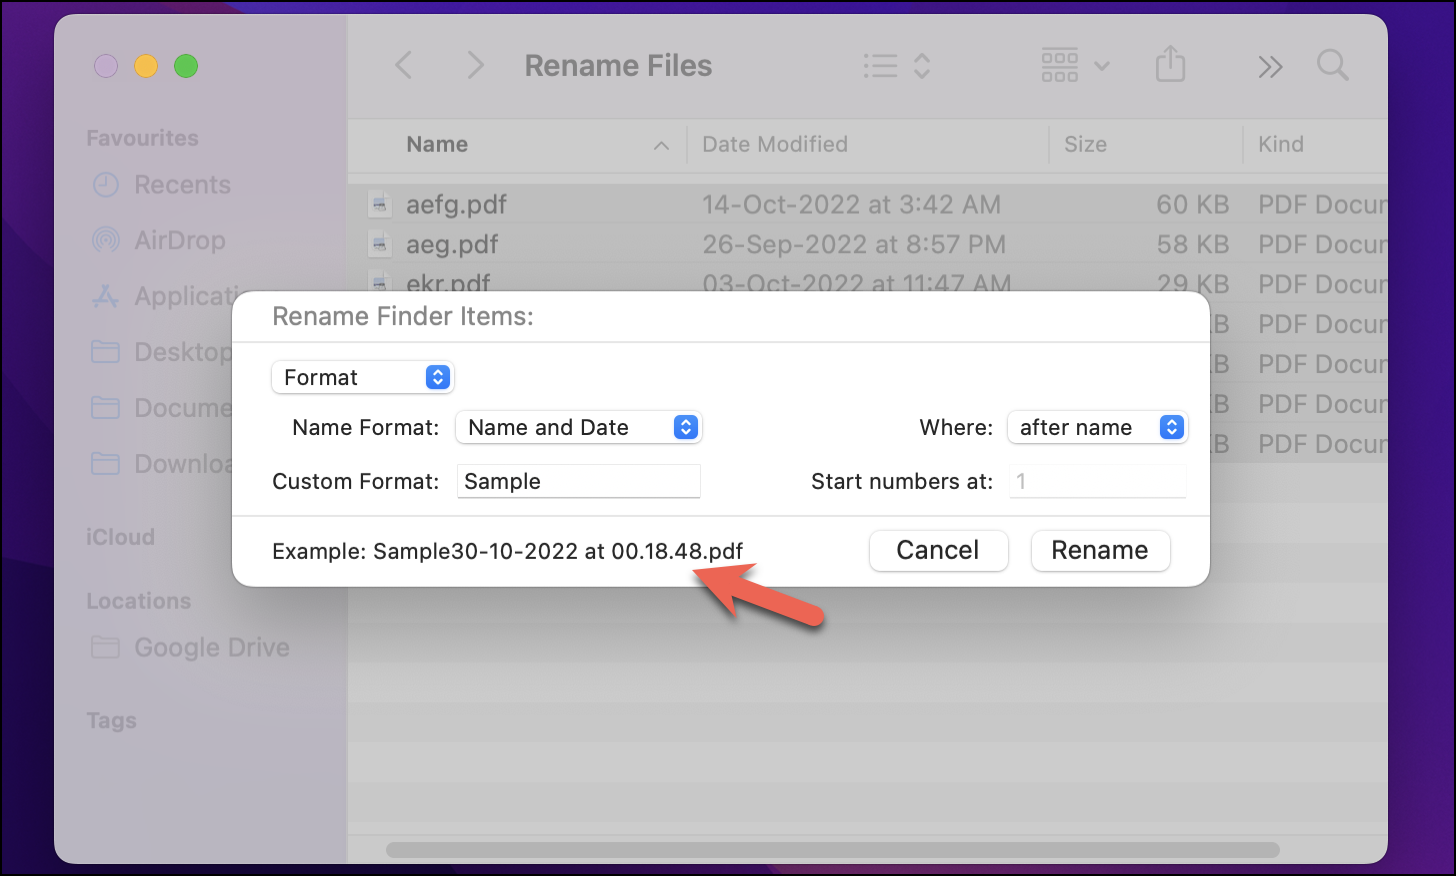
The ‘Name and Date’ option lets you add the date as a prefix or suffix to the custom file name you select. However, do note that the date that would be displayed would be of the day you are renaming the file and not the day the file was made. This can come in handy when you are working on a folder and keep adding files and need to keep track of the date they were added.
After selecting the name format, see the ‘Example:’ area in the bottom-left of the dialogue box to get a preview of how the updated file name would look like.

Finally, click on ‘Rename’ to rename all the selected files.
Here you have it! These were the various ways you could batch rename multiple files on Mac. These would help you sort and manage your files in a better and more efficient manner so that you never lose track of them.