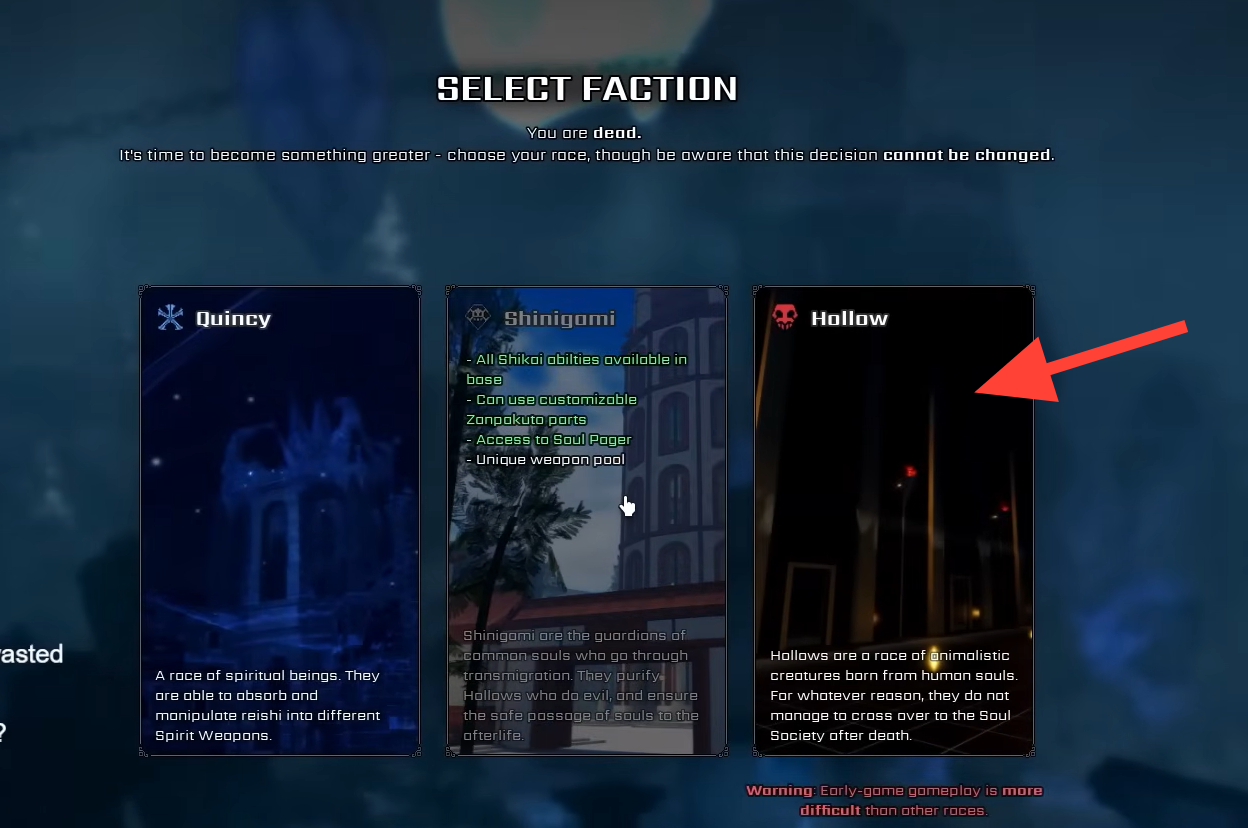
Hollow is one of the three playable races in VV: ULTIMATUM, and it works differently from the Soul Reaper and Quincy paths. Instead of straight leveling, you start as a weak skeleton, eat your way up through the Hollow tiers, collect permanent traits, and eventually shed your mask to become an Arrancar. The choices you make early carry all the way to your final form, so the order you do things in matters.
Quick answer: Pick Hollow at character creation to spawn as one of four skeletal variants. Consume other Hollows to reach Menos, complete the Adjuchas quests, then push to Vasto Lorde for a fourth trait slot before removing your mask to evolve into an Arrancar.
Choosing your Hollow variant
When you select Hollow as your race, the game randomly assigns one of four animal-like skeleton variants. This choice matters more than it first appears, because the same variant returns as the first enemy you fight during your Resurrección trial later on.
| Variant | Effect |
|---|---|
| Turtle | Higher defense, slower movement. Strong survivability for newer players. |
| Gorilla | No buffs or debuffs. The safest, most balanced starting pick. |
| Lizard | Higher speed with lower defense. Suits aggressive, mobile play. |
| Centipede | Greatly increased speed, but reduced defense and damage. Its Resurrección fight is harder due to fast animations. |
If you are new, Gorilla or Turtle are the more forgiving choices both during normal play and in the later trial.
Reaching the Menos tier
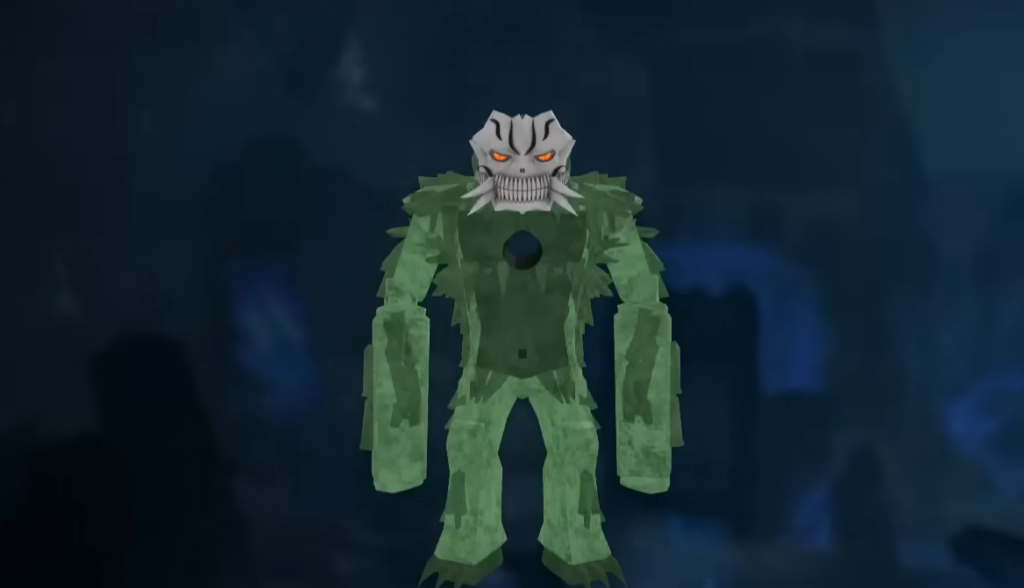
You begin as a Fishbone Hollow. Early progress is simple. Complete quests, follow your story objectives, and consume other Hollows around the map. Eating Hollows is the core mechanic here, and the climb to Menos happens automatically once you feed enough.
Each Hollow you consume also carries a small chance to grant a Hollow Trait. Traits are permanent mutations that change your appearance and stats, so start thinking about which ones you want this early.
Menos progression paths
The Menos stage is short. You will receive objectives that involve destroying objects and killing Hollows, marked as red quests in game. Prioritize the red-marked tasks since they drive your evolution. From Menos you have two ways forward.
| Path | Requirement and result |
|---|---|
| Menoscar | Press L to instantly evolve. Grants a small stat increase and 2 trait slots, but ends your progression here. |
| Adjuchas | Destroy a set number of objects and kill a set number of players (the count is shown in game). Grants 3 trait slots and the Cero ability, and lets you continue toward Vasto Lorde. |
Take the Adjuchas path if you want the strongest possible character. The extra trait slot and Cero access are worth the additional objectives.
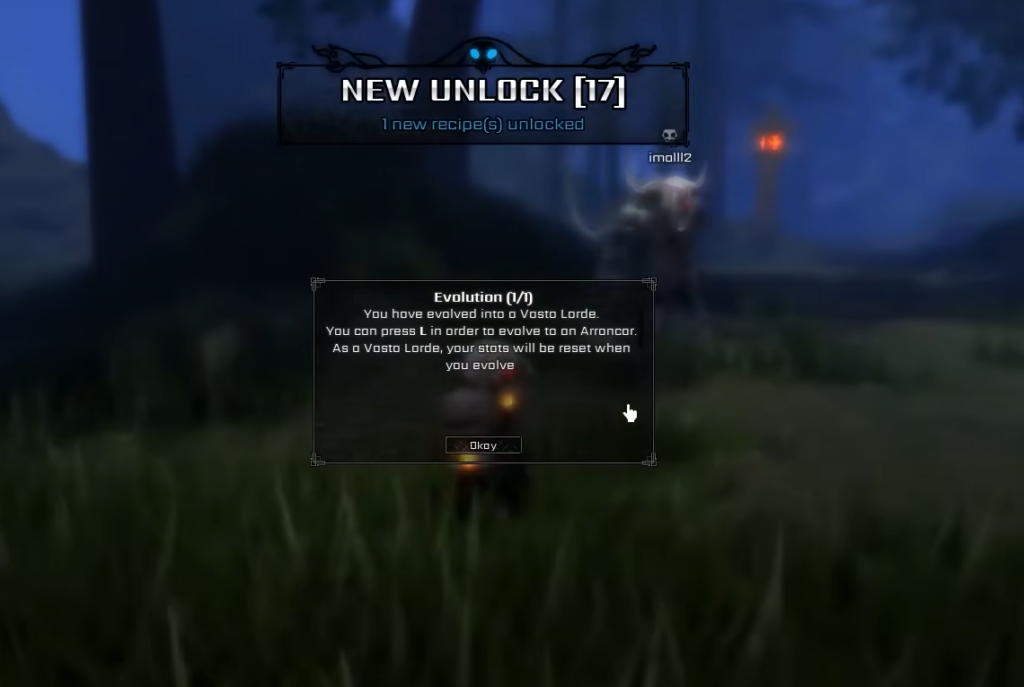
Why you should reach Vasto Lorde before becoming an Arrancar
Once you are an Adjuchas, you can remove your mask right away and become an Arrancar. Most players hold off for one big reason. Vasto Lorde unlocks a fourth and final trait slot, and traits influence your Arrancar and Resurrección forms for the rest of your character’s life.
| Form | Trait slots |
|---|---|
| Base Hollow / Menoscar | 2 |
| Adjuchas / Adjucar | 3 |
| Vasto Lorde / Vastocar | 4 |
From Adjuchas, you again pick between an instant evolution and the longer route. Adjucar (press L) gives a small stat boost and new abilities but stops there. Vasto Lorde requires more player kills plus 70 points, where Quincy and Shinigami kills give 10 points each and Arrancar kills give none. The quest tied to this stretch is called Primal Urges Part 2, which asks for roughly 70 Hollow kills.
Fastest ways to farm Vasto Lorde progress
Two methods cover the grind. Farming regular Hollows in the Soul Society Outskirts is simple and needs little setup. Running low-level missions is generally quicker, since they spawn multiple weak NPC enemies that count toward progress. Many players clear most of this stretch through missions alone.
While progressing missions, you will be asked whether to enable invasions. Leave invasions off if you are still learning, since it removes player interruptions and keeps progression safe. You can turn them back on later for PvP.
Hollow Traits and when they activate
Traits drop with a chance each time you consume a Hollow, and you can refuse one you do not want. That matters because slots are limited and some traits carry downsides like reduced speed or lower Cero damage. Importantly, these bonuses only come online inside Resurrección once you are an Arrancar, so judge each trait by how useful it is during that window.
| Trait | Effect |
|---|---|
| Iron Skin | +4% Melee Defense, +35% Posture Regen |
| Wings | +3% Movement Speed, +5% Shunpo Stamina, +3% Shunpo Speed |
| Deadly Claws | +3% Hakuda Damage, +0.1 Max AP |
| Tailbone | +20% Cero damage, Cero 25% thinner |
| Innocuous Presence | Hides name and reiatsu, +20s Resurrección, +5% Movement Speed |
| Skinny | +7.5% Movement Speed, -1.2% Melee Defense |
| Dense Muscles | +1% Weapon Damage, +1% Hakuda Damage, +45s Resurrección |
| Tentacles | 16% chance to poison on melee, -1% Weapon Damage |
| Giant | +5% Melee Defense, +2% Kido Defense, 5% slower |
| Back Scales | Cero charges 12% faster, +45s Resurrección, -5% Cero damage |
| Energized | +2% Kido Damage, Weapon damage scales off Kido |
| Exoskeleton | +2% Melee Defense, +5 Posture, 15% bigger Resurrection healthpack, -2% Movement Speed |
| Horns | +35% Cero width, +10% Cero length |
Note: Lock in every trait you want before you evolve into a Vastocar. Once you become an Arrancar, trait collection ends and your picks become permanent.
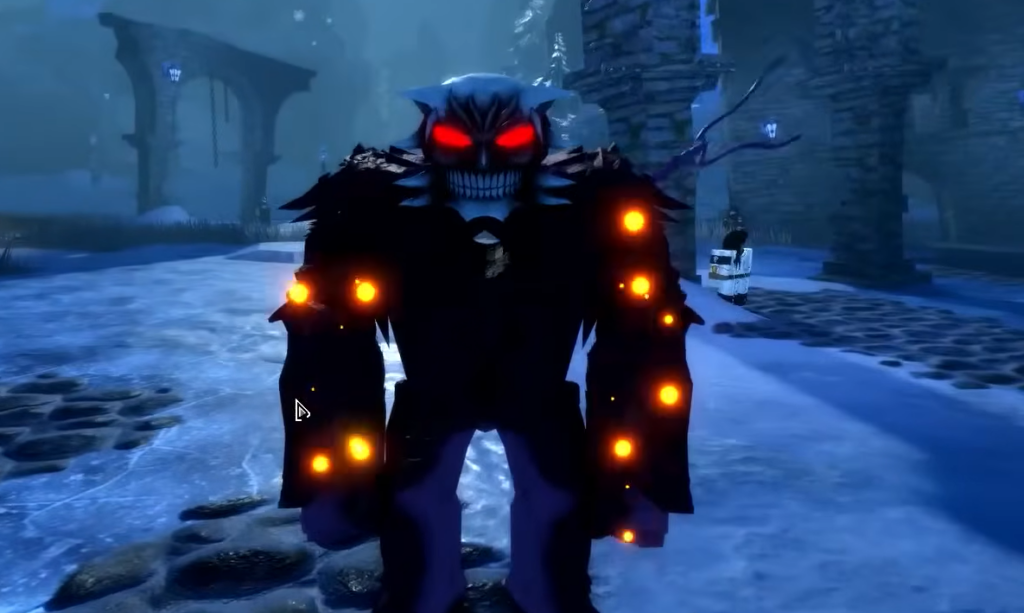
Becoming an Arrancar
When your traits are set, remove your mask to evolve. From Vasto Lorde this becomes a Vastocar, the final form of the Hollow line. Evolving resets your stats and traits, but in exchange you turn into a full Arrancar with access to unique Arrancar weapons.
During this step, you customize your Arrancar appearance, roll your clan, and receive your personal weapon. The weapon becomes a central part of combat through early and mid-game. Clans are rolled by chance and add inherited stat bonuses.

| Clan (roll chance) | Buffs |
|---|---|
| Calius (60%) | +5 Equipment Load |
| Murciellago (60%) | +5 Shunpo Stamina, +10 Shunpo Speed |
| Gingerbuck (30%) | +2% Melee Defense, +5 Posture |
| Lousienbairn (30%) | +5 Health, +3.5 Posture |
| Kufang (9%) | +2.5% Weapons Damage, +0.5% Kido Defense |
| Antenor (9%) | +1.5% Lightning Damage, +7.5% Posture Regen |
| Jaegerjaquez (9%) | +3% Hakuda Damage, +3 Shunpo Stamina |
| Cifer (1%) | +20% Resurrection duration, +2% Kido Damage, +5 Reiatsu, +2.5 Shunpo Stamina |
| Aaroniero (1%) | +2.2% Kido Damage, +5 Reiatsu, +1.5% Kido Defense, -1.5% Melee Defense |
Unlocking Resurrección as an Arrancar
As an Arrancar, you gain the ability to meditate, and meditation is the entire foundation of Resurrección. Build the habit of meditating while you level, even before you actively chase it.
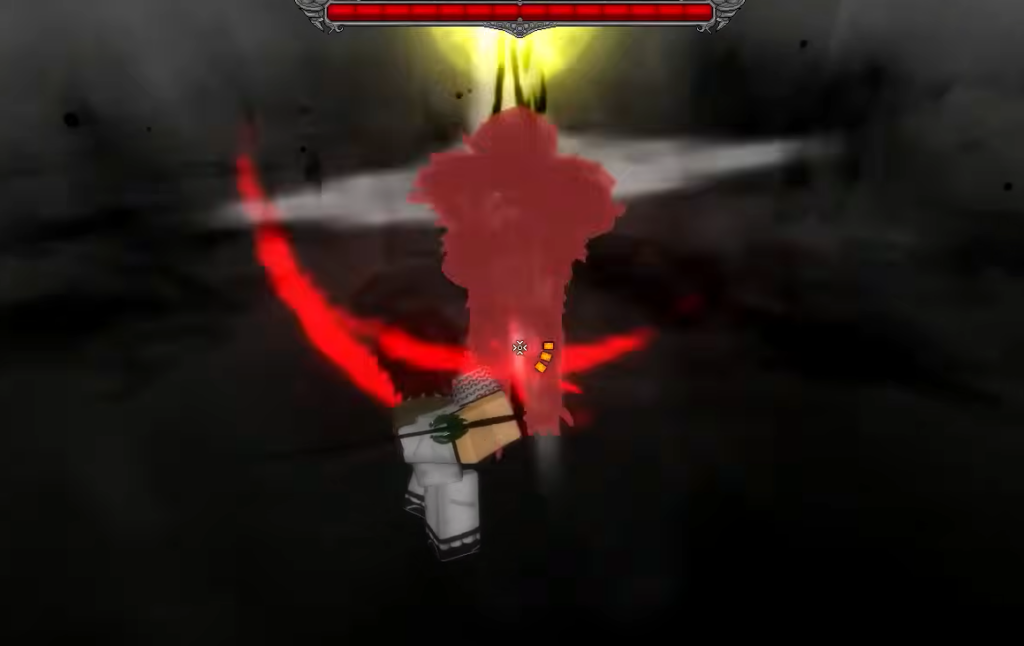
The Resurrección trial
Once your Inner World is fully developed, following the red eyes leads straight to your Inner Hollow and starts the trial. If you fail, you can re-enter as many times as needed by meditating again. The fight runs in three phases.
| Phase | Opponent and tips |
|---|---|
| Phase 1 | The Hollow variant you chose at creation. Lizard players fight a Lizard, Turtle players fight a Turtle, and so on. |
| Phase 2 | The Menos fight, often the hardest stage because of delayed attack timings. Do not rush parries, be patient with stomps, and block Cero if needed. |
| Phase 3 | A stronger Hollow form with extra abilities that punishes mistakes. Preserve health from earlier phases for this stretch. |
Play the entire trial defensively, roughly 90% defense and 10% offense. Parry whenever you can, avoid greedy swings, and aim for posture breaks rather than raw aggression. Most failed runs come from impatience.
Confirming Resurrección and growing it
Beating all three phases unlocks Resurrección. You will gain a transformation mode, new abilities, increased combat strength, and access to ability progression. Activate it with your weapon’s transformation command, which confirms the unlock worked.
Unlocking it is only the start. Your skills keep growing through Ability Levels, which make abilities stronger and open new customization, with certain Resurreccións gaining extra functionality. The fastest way to level them is simply to keep using your abilities in combat. The more you fight, the quicker your Resurrección develops, closing out a Hollow journey that runs all the way from a fragile Fishbone to a fully realized Arrancar.