Your first home in Solarpunk starts with one tool and one rule. You need the Build-Hammer equipped, and you build from the ground up, with the foundation always coming first. Everything else, from walls to roofs to a bed, follows once that base is down on flat, stable ground.
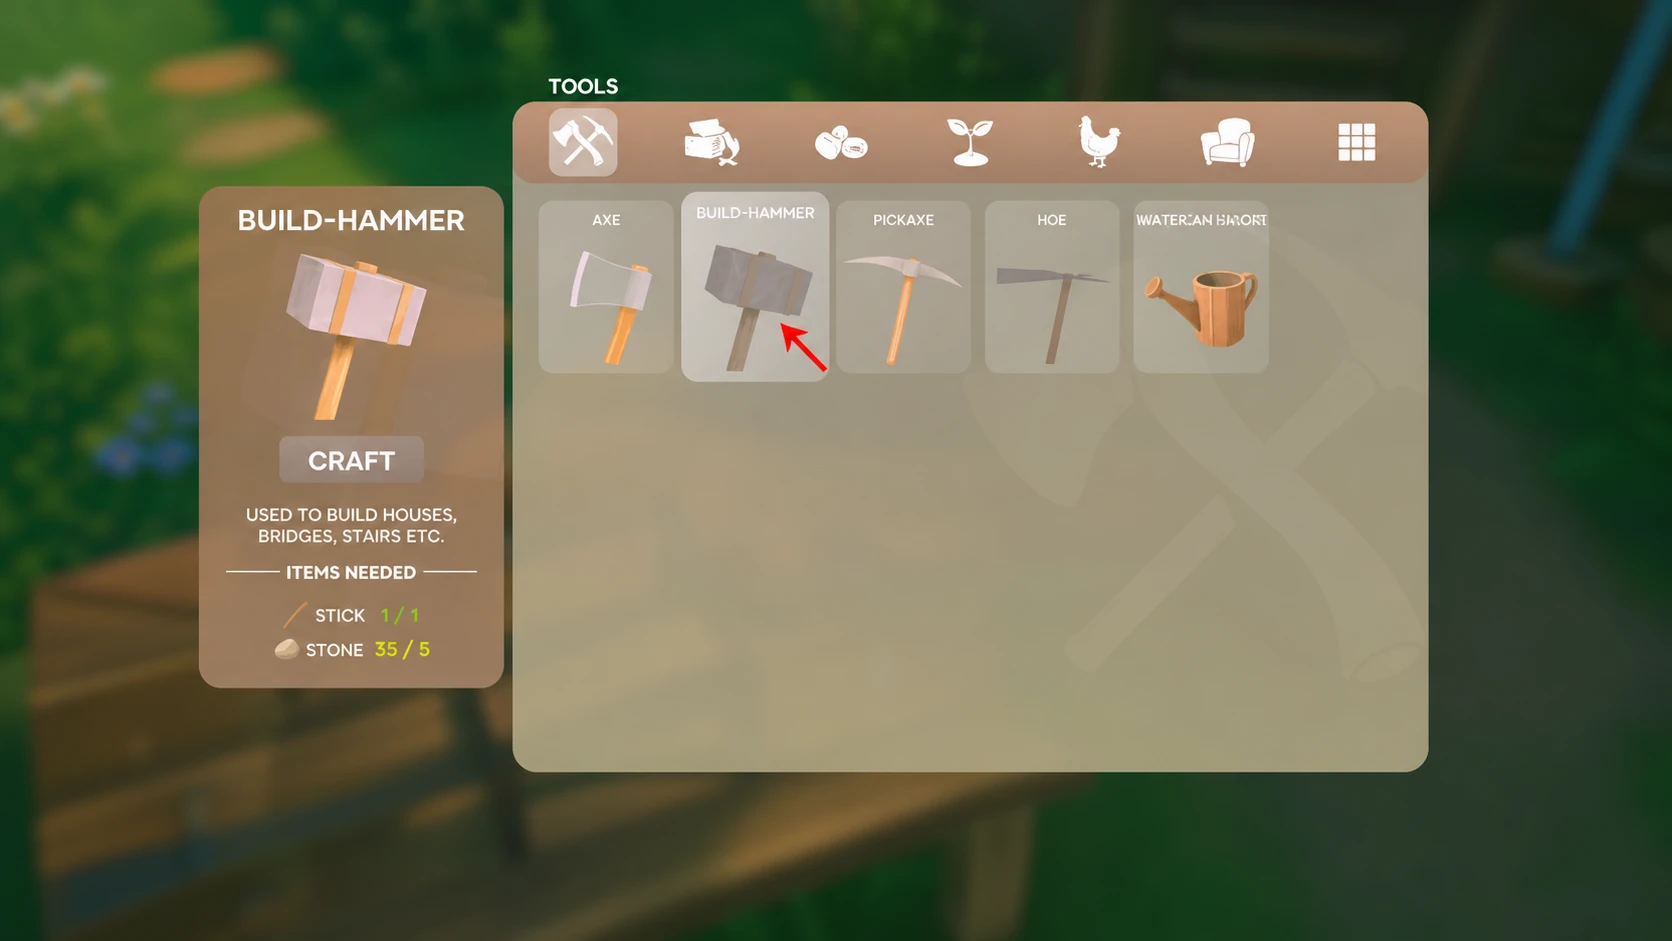
Quick answer: Craft a Build-Hammer (Stone and Stick) at the Crafting Table, equip it, right-click to open the Wood Building wheel, place a foundation first, then add walls (leaving a gap for a door), cover it with a roof, and place a bed inside.
What you need before building
Building depends on a short chain of earlier tools and stations. You gather raw materials by hand, craft basic tools, set up a Crafting Table, and only then make the Build-Hammer that unlocks the construction wheel.
Open your inventory with Tab and use the Quick Craft icon at the bottom right of the screen, or press F, to open the crafting menu. At the very start you can make a Pickaxe, an Axe, and a Hoe. More options unlock as you collect materials.
| Item | Materials | Purpose |
|---|---|---|
| Axe | Sticks and Stones | Chops trees for Wood and Saplings |
| Pickaxe | Sticks and Stones | Mines rocks and iron patches for Iron Ore, Stone, Sand, Clay |
| Crafting Table | 6 Wood | Unlocks the Build-Hammer and furniture recipes |
| Research Table | Wood and Cloth | Unlocks Tier 1 items like Chest, Well, and Bed |
| Build-Hammer | Stone and Stick | Opens the building wheel |
One piece of Wood makes three Sticks, so chop a few trees early. Cloth comes from Cotton, which you need for the Research Table. Note that tools deteriorate over time, so mine the small, uniquely textured rocks for better material yields rather than wearing your Pickaxe down on large plain stones.

Craft and equip the Build-Hammer
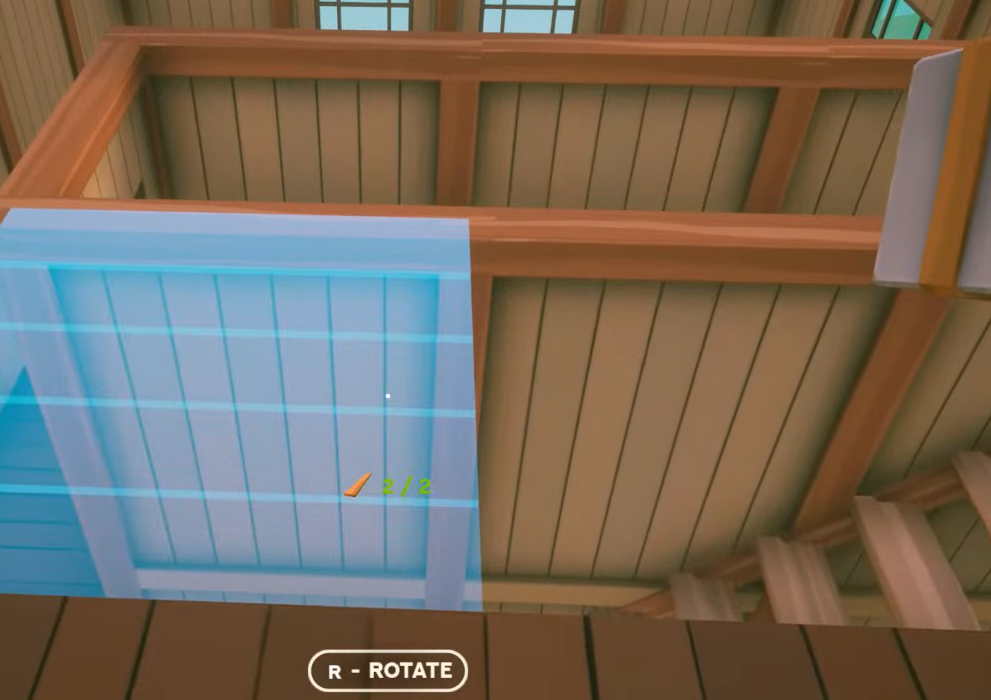
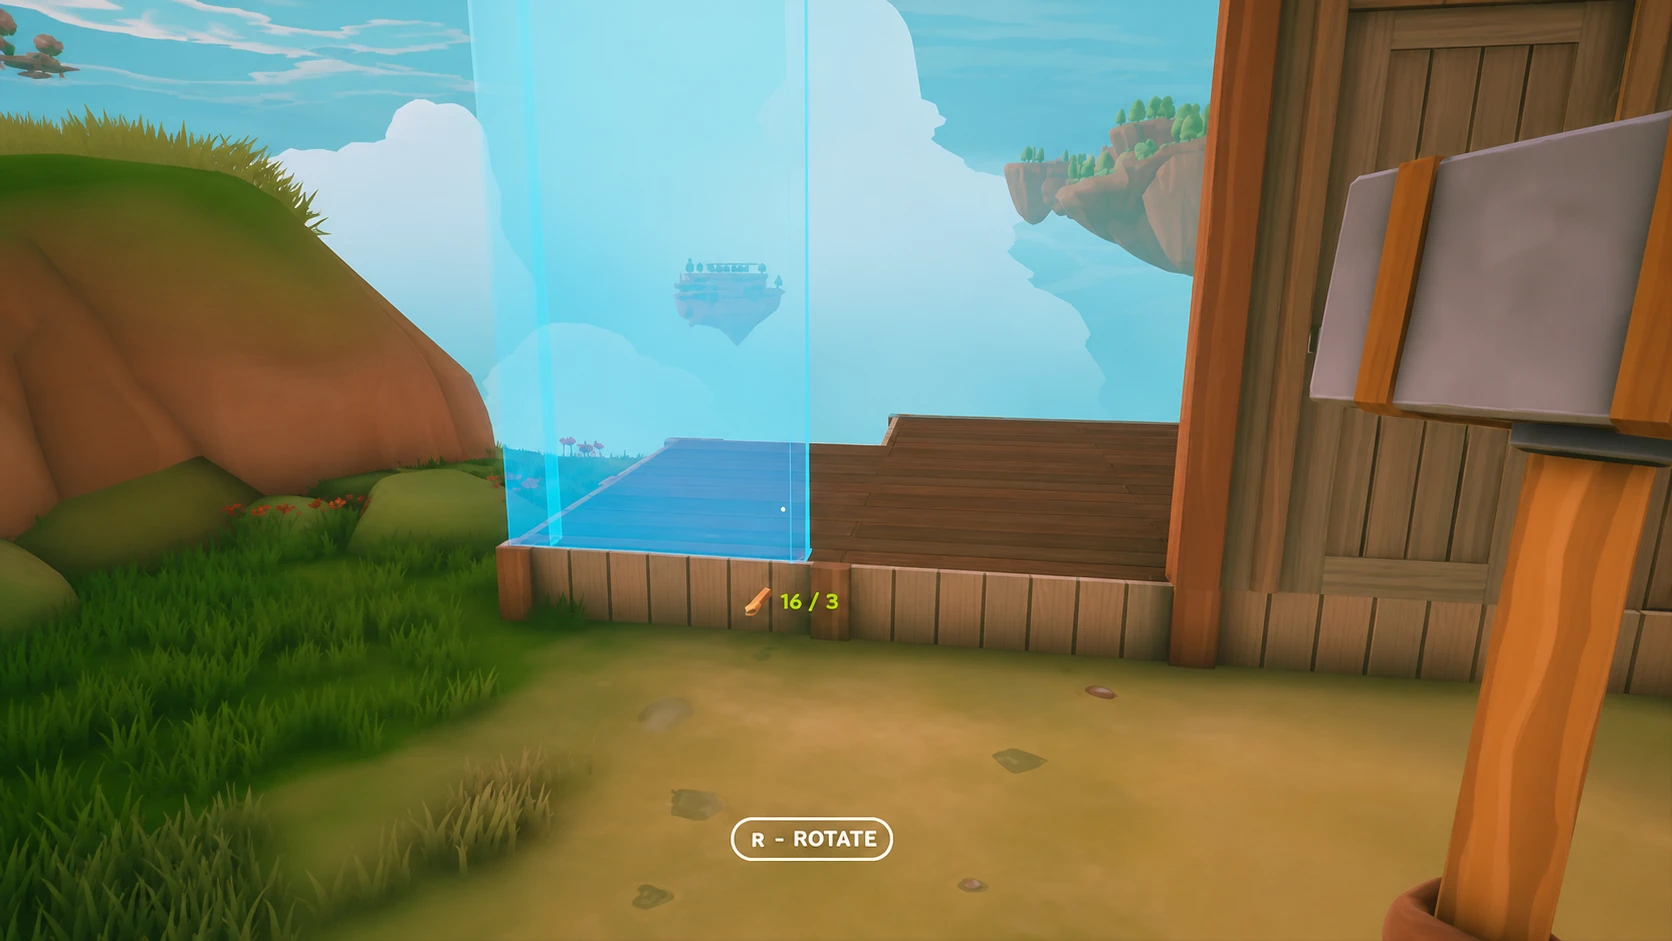
Right Click to open the build wheel.Tip: Press F for the quick-build radial menu, R to rotate a piece, and Q to cycle through style variants. Hovering over a category like Stairs reveals different versions of that same piece.
Build the house: foundation, walls, roof, bed
The Research Table only unlocks recipes, it does not craft directly. Gather a large stock of materials before you sit down to research so you can unlock several items in one pass instead of waiting between each.
How you know it worked
A finished first home is enclosed by walls, capped with a roof, has a usable door frame, and holds a placed bed you can interact with. If pieces refuse to snap into place, the placement marker is orange, which points to an edge, slope, or obstruction. Move to flatter, open ground or lay another foundation tile first.
If your structure shifts or collapses, it was almost certainly placed on uneven terrain without a foundation underneath. Re-flatten the area with foundations before rebuilding the walls.
Early building tips that prevent setbacks
- Build water containers early so you always have water to drink during dry stretches. You can later research a carafe and boil water with the oven.
- Craft the Survival Guide as soon as you can. It explains core systems like animal breeding when you need more eggs and other products.
- Build while crops grow. Waiting on plants is the perfect time to lay foundations and decorate your first home.
- Protect plants from thunderstorms with a greenhouse, since storms can destroy crops you need for progression.
- Wheat does not grow on the starting island, so explore further out once you are looking for it.
- If you get stuck in geometry, open Settings, then General, and use the Unstuck Me button at the bottom.
Once Tier 2 research opens up, you gain more building pieces and furniture to expand and decorate. For now, a single foundation, four walls, a door, a roof, and a bed give you a safe, finished base to grow from at your own pace.