
Microsoft Planner is used to create plans, assign tasks and interact amongst team members, and generate graphs to monitor the progress. The app has gained huge popularity amongst professionals across the globe.
However, one thing that bothers most users is the bland default background and theme. Users prefer a background that’s beaming and catchy. Microsoft Planner offers you the option to change both the background and theme. Microsoft Planner does not offer any dedicated app yet, hence you will have to access it from the web browser.
Changing Background in Microsoft Planner
Background on Microsoft Planner is set for individual plans. Therefore, you have the option of setting a different one for each plan. Also, Microsoft Planner does not allow you to upload and set a picture as the background, thus leaving you with the option to choose from the listed ones.
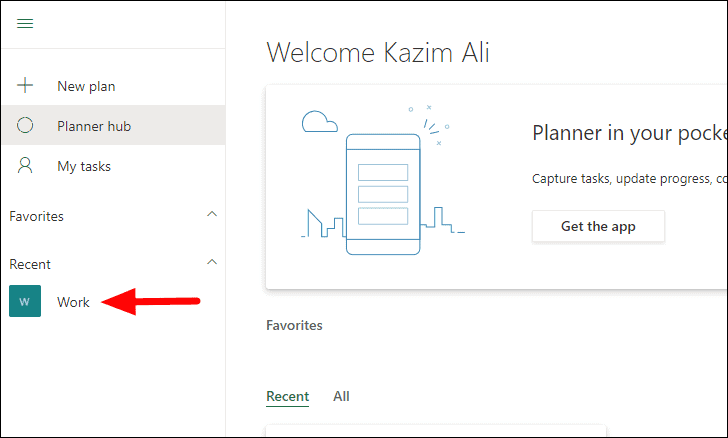
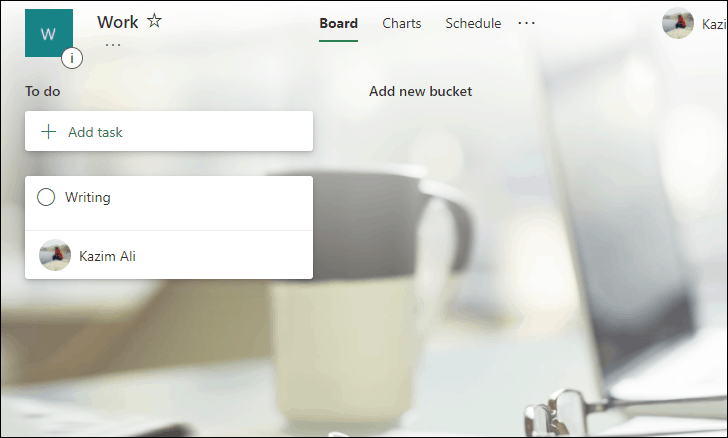
To change the background in the Microsoft Planner, go to tasks.office.com and sign in with your Microsoft account. Then, select a plan to change its background.
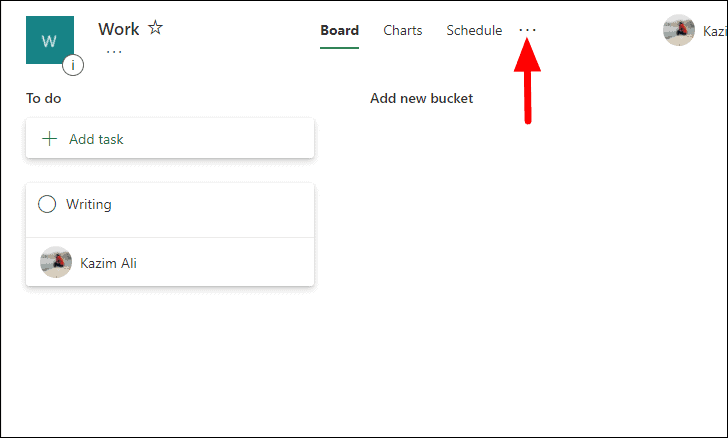
On the plan screen, click the ‘More’ option which resembles an elipsis, at the top.
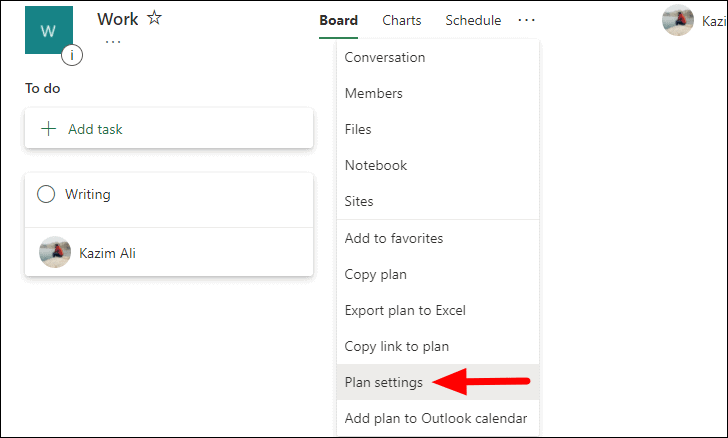
You will now find multiple options in the drop-down menu. Select ‘Plan settings’ from the list of options.
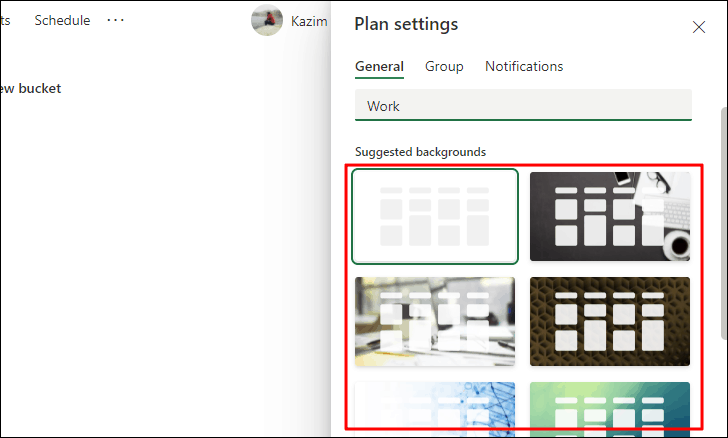
The plan settings will now appear at the right of the screen with the ‘General’ tab open by default. You will now have multiple backgrounds to choose from. Scroll down to see the other options and click on the one that you want to apply to this particular plan.
After you have selected a background, it will be applied to the plan, thereby, enhancing the visual appeal.
Changing Theme in Microsoft Planner
Although, ‘Backgrounds’ are specific to plans, ‘Theme’ remains the same for all the plans in Microsoft Planner.
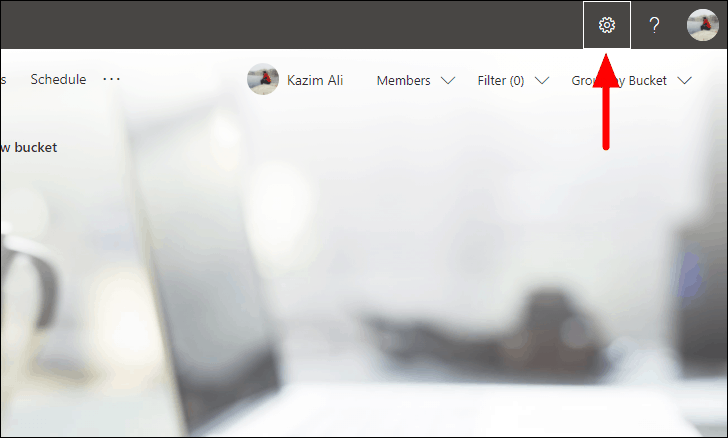
To change the theme in Microsoft Planner, click on the ‘Settings’ icon near the top-right corner of the screen.
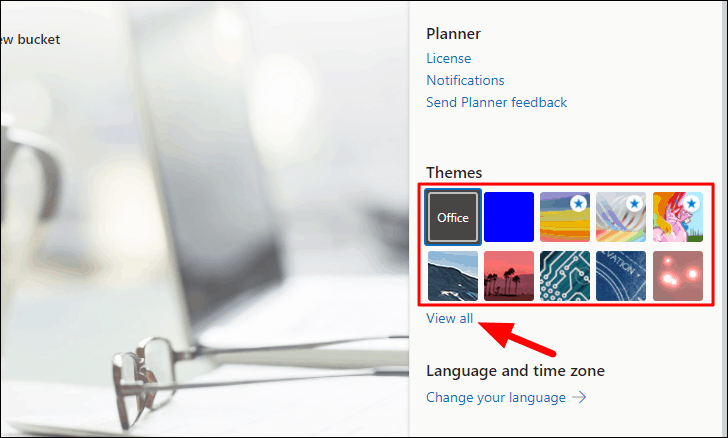
You will now find multiple options listed under ‘Themes’ for you to chose from. Also, to check more options, click on ‘View all’.
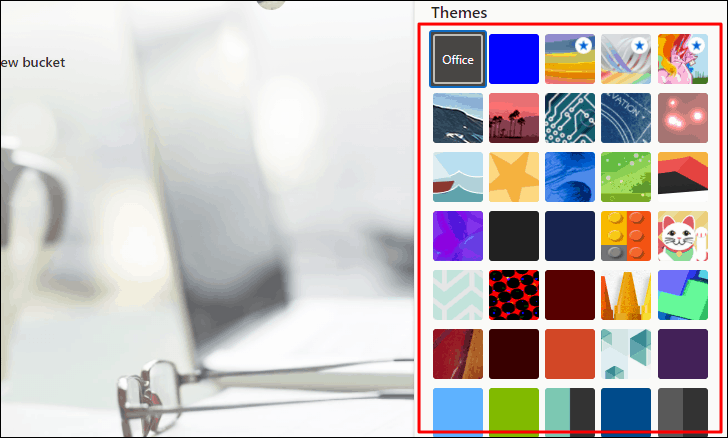
After you click on ‘View all’, more theme options will appear. You can click on either one and set it as the Microsoft Planner theme. When you select one, the changes will reflect at the top of the screen.
You can now easily set captivating backgrounds and themes and make working on Microsoft Planner more fun than ever.


