
We have all edited a video, while some do it for a living, others might have been stuck with it. The app you use for the job is critical as choosing the wrong one can adversely affect both the process and the outcome. Therefore, it’s imperative that you use the right one.
Reversing a video is a critical feature user look for in a video editing app. However, the apps available on Windows 10 do not offer you the feature directly. The process of reversing a video on Windows Movie Maker is tedious. You first have to click a snapshot of every frame, rearrange them, and then create another video by combining those.
If you looking for a simpler and quicker alternative, there are multiple apps on the Microsoft Store that will help you reverse the video in a single click. ‘Reverse Video’ is one such app that will help you reverse any video easily. The limitation here is that you can reverse videos shorter than 21 seconds on the free version.
We have divided the process into two parts for your better understanding, downloading the app and then reversing the video.
Downloading the Reverse Video App
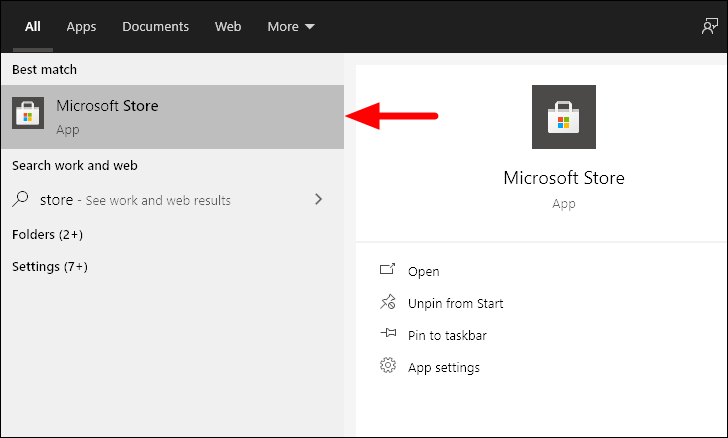
Since the ‘Reverse Video’ app is to be downloaded from the Microsoft Store, search for it in the ‘Start Menu’ and then click on the search result to launch the app.
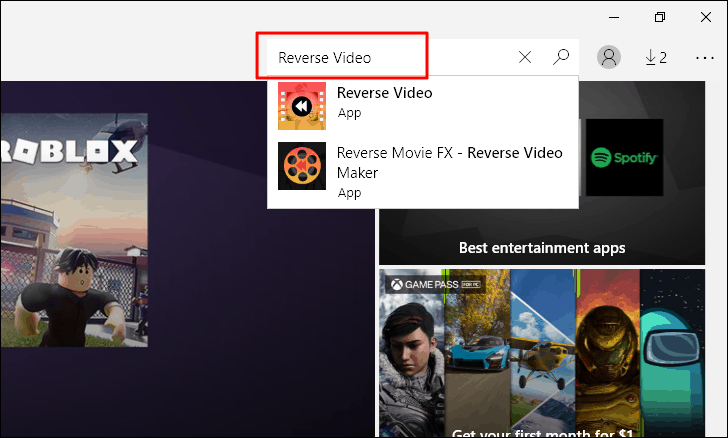
Now, search for ‘Reverse Video’ in the search box near the top-right corner and then press ENTER.
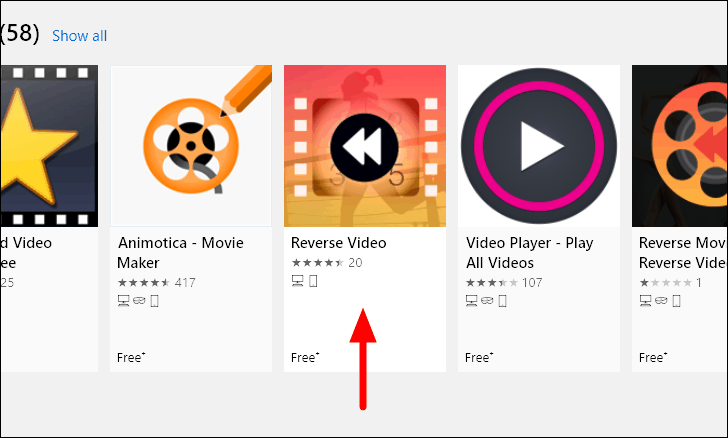
Now, click on the ‘Reverse Video’ in the search result.
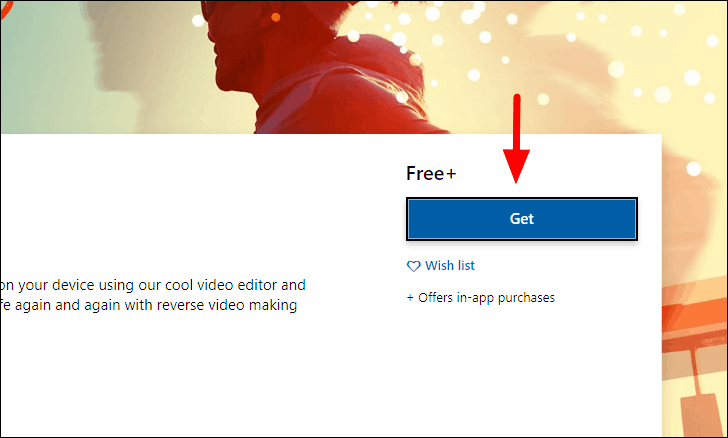
After you opened the app window, click on ‘Get’ to install the app.
Reversing a Video using Reverse Video App
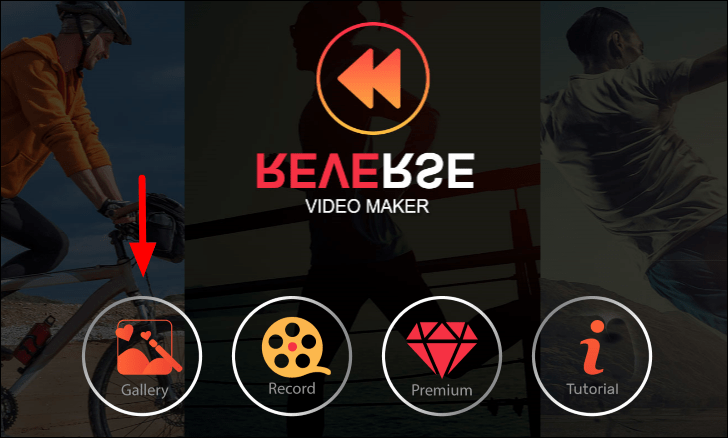
After the app is installed, launch it from the ‘Start Menu’ and then click on the ‘Gallery’ icon.
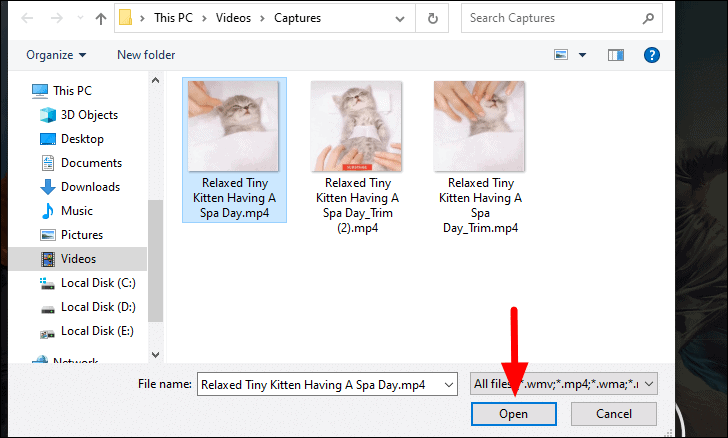
You are now required to locate and select the video that you want to reverse. After you have selected the video, click on ‘OK’ at the bottom to open it in ‘Reverse Video’.
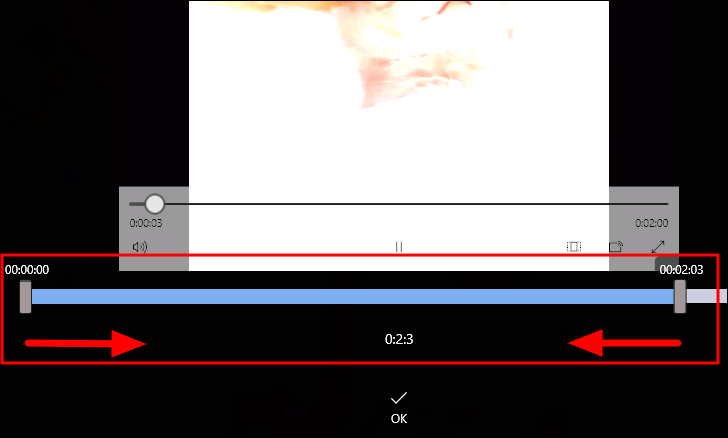
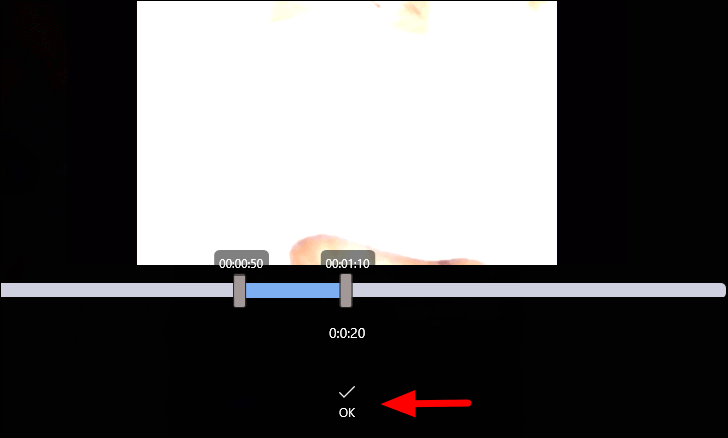
Now, set the duration of the trimmed video to 21 seconds on less using the sliders at the two ends. The time frame will be mentioned at the top of each slider.
After you have trimmed the relevant part of the video, click on ‘OK’ at the bottom.
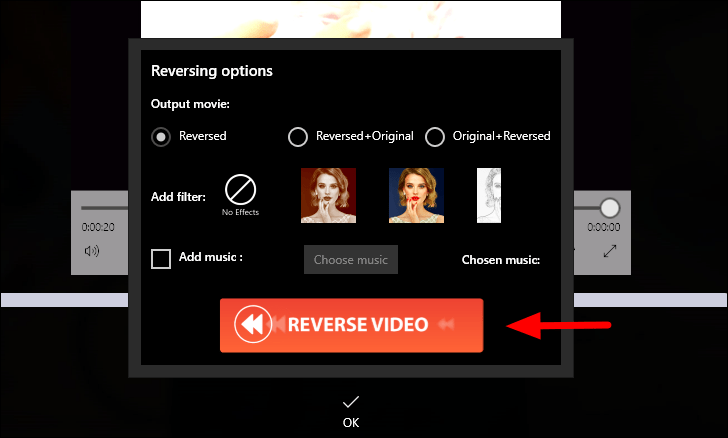
All that’s left to do is click on the ‘Reverse Video’ icon at the bottom. Also, you have the option to change the output method. You can save just the edited video or both the original and the reversed one. The app also gives you to option to add filters to the video.
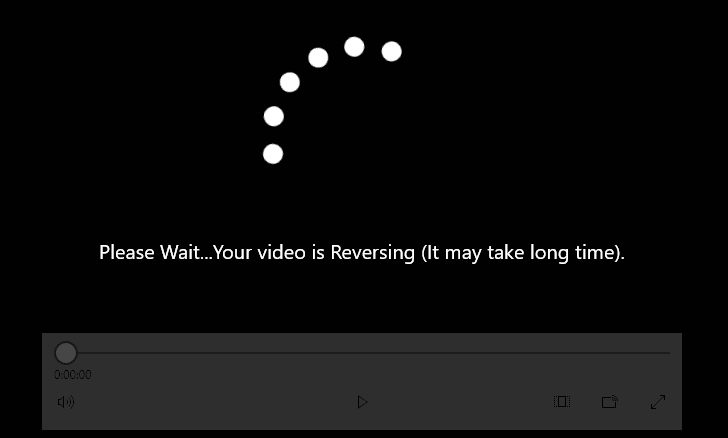
After you click on ‘Reverse Video’, it will take a while for the trimmed portion to be reversed.
After the video is reversed, play it and check if it’s fine. If it’s alright, click on the ‘Save’ option at the top right corner. The video will now be saved on your computer and can be accessed from the following path where ‘User Account’ is the account you are accessing the app with.
C:\Users\User Account\Videos\Reverse Video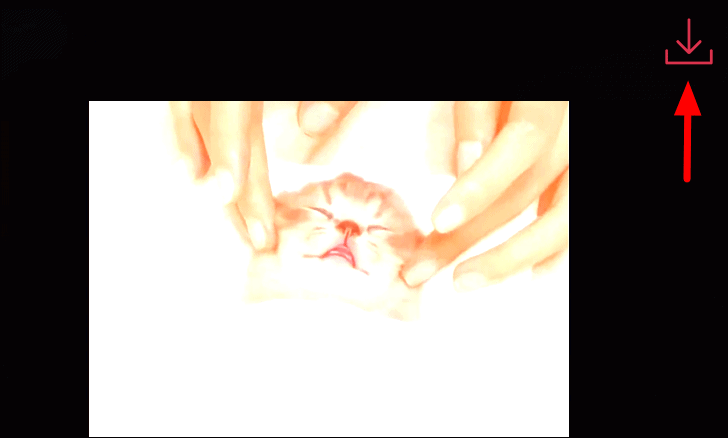
You can now reverse as many videos as you want and that too within a couple of clicks. The method to reverse video with this ‘Reverse App’ is way simpler than Windows Movie Maker’ and therefore opted by many.


