We all come across various errors on Windows 10. While most can be fixed with a simple reboot, some require a more intricate approach. One of the errors that fall under the latter category is the ‘WDF_VIOLATION’ error. WDF stands for Windows Driver Framework, a tool that helps create drivers for Windows. Most users encounter the error after updating Windows. In this article, we will discuss the error and the various fixes for it.
What is the ‘WDF_VIOLATION’ Error?
WDF_VIOLATION is a BSOD (Blue Screen of Death Error), which basically means that you will see a blue screen whenever you encounter this error with the error message written on it.
The WDF_VIOLATION error is encountered when there is an issue with the framework-based driver. The error is more prevalent on HP laptops due to faulty keyboard drivers. Also, problems with the USB peripherals, malware, and corrupt files amongst other reasons may lead to the error.
The WDF_Violation error is accompanied by the following message.
Your PC ran into a problem and needs to restart. We'll restart for you.Just under the error message, you find ‘WDF_VIOLATION’ mentioned which helps identify the error.
We will now be discussing various fixes for the error. Employ them in the sequence that they are mentioned until one fixes the error.
Fix 1: Disconnect USB Peripherals
Whenever you encounter the ‘WDF_VIOLATION’ error, your primary approach should be to disconnect all the USB peripherals. Disconnect them one at a time and check if the issue is resolved. This way, you will be able to identify the malfunctioning peripheral and get it replaced.
If disconnecting the peripherals doesn’t work, you can disable the USB ports from the system BIOS.
To disable the USB ports, restart your computer and press either the F2 or the DEL key multiple times to enter the BIOS. The key may be different for your system and will be mentioned at the bottom as soon as you restart the computer.
After you have entered the BIOS, select the ‘Advanced Tab’ and then go to the ‘Miscellaneous Devices’. Next, go to ‘External USB Ports’ and then select ‘Disable External USB Ports’.
Now, save the changes and exit the BIOS. After you have saved the changes, restart your computer and check if the error is fixed.
Fix 2: Remove HP Keyboard Driver
If you are using an HP device, chances are that there might be a faulty keyboard driver that’s leading to the error. When the HpqKbFiltr.sys driver becomes incompatible, thus you encounter the ‘WDF_VIOLATION’ error. In this case, the simplest solution is to remove the driver.
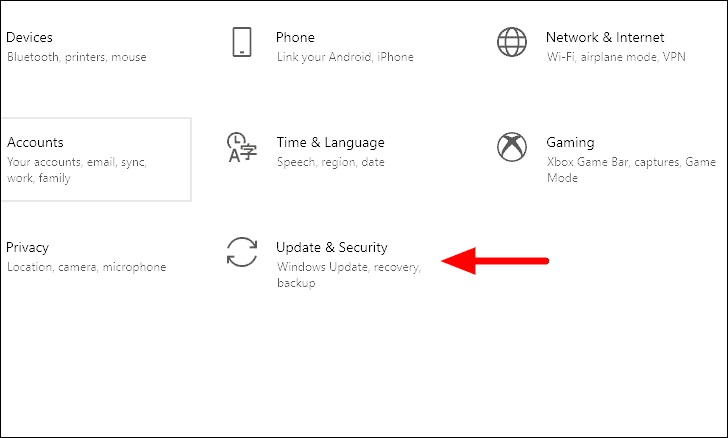
To remove the driver, you have to enter the Windows RE (Recovery Environment). Press WINDOWS + I to launch the system settings and then click on ‘Update & Security’.
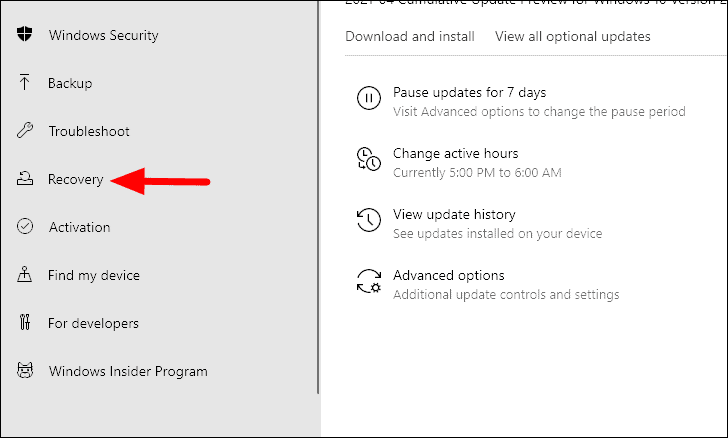
You will now find various tabs on the left, select ‘Recovery’ from the list.
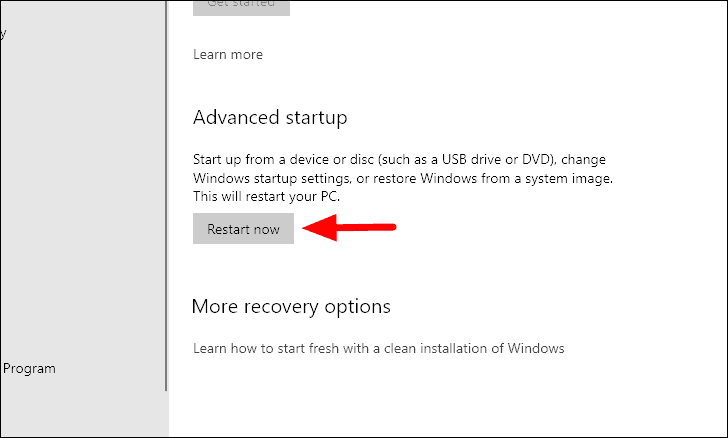
In the ‘Recovery’ tab, click on the ‘Restart now’ option under ‘Advanced startup’.
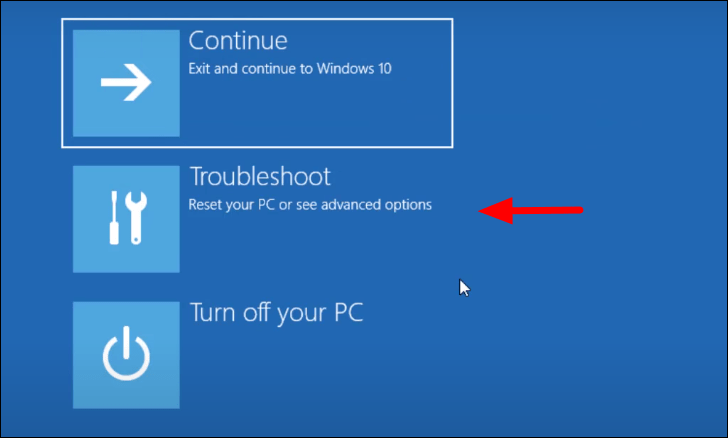
Your computer will now restart and will enter the recovery environment. On the ‘Choose an option’ screen, click on the ‘Troubleshoot’ option.
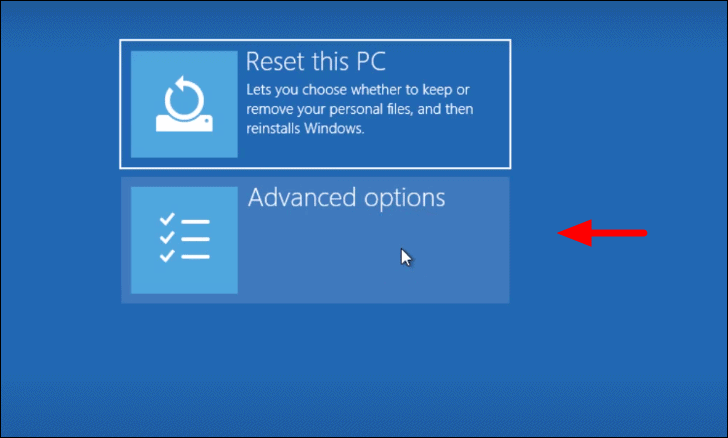
Next, select ‘Advanced options’ from the list to proceed.
You will now find multiple advanced options on the screen. Select ‘Command Prompt’ from the list of options.

Now, enter the following commands and press ENTER to remove the driver.
For 32-bit Version of Windows:
dism /Image:C\ /Remove-Driver /Driver: C:\Windows\System32\DriverStore\FileRepository\hpqkbfiltr.inf_x86_f1527018cecbb8c2\HpqKbFiltr.infFor 64-bit Version of Windows:
dism /Image:C:\ /Remove-Driver /Driver:c:\Windows\System32\driverstore\FileRepository\hpqkbfiltr.inf_amd64_714aca0508a80e9a\HpqKbFiltr.infOnce the command has been executed, exit the Recovery Environment and reboot your computer. Now, check whether the error is fixed, if not, move to the next method.
Fix 3: Uninstall Bluetooth Drivers
Uninstalling the Bluetooth drivers is a proven fix to resolve the error. Before you uninstall the Bluetooth drivers, you should enter ‘Safe’ mode.
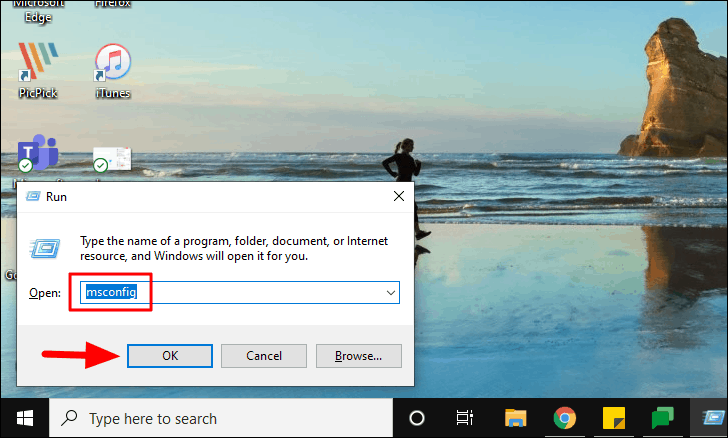
To enter ‘Safe’ mode, press WINDOWS + R to launch the ‘Run’ command. Next, enter ‘msconfig’ in the text box and click on ‘OK’ at the bottom.
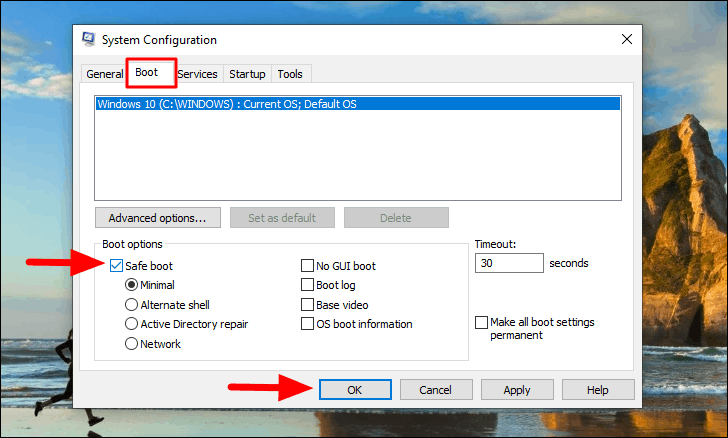
Now, select the ‘Boot’ tab from the top and then tick the checkbox for ‘Safe boot’ under ‘Boot options’. Finally, click on ‘OK’ at the bottom.
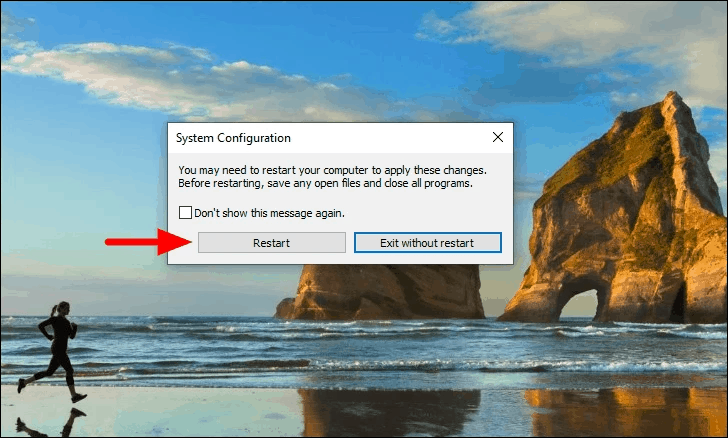
Next, a pop up will appear on the screen, click on ‘Restart’.
Your computer will now restart in ‘Safe’ mode. Press WINDOW + X to launch the ‘Quick Access Menu’ and then select ‘Device Manager’ from the list.

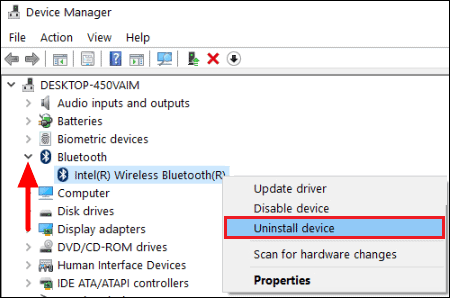
In the ‘Device Manager’ locate the ‘Bluetooth’ option and double-click on it to reveal the drivers. Next, right-click on the Bluetooth driver and select ‘Uninstall device’ from the context menu. A pop-up now appears on the screen, click on ‘Uninstall’ to confirm.
After the driver is uninstalled, restart your computer in normal mode and check if the error is resolved. To switch to normal mode, open the ‘System Configuration’ window as discussed above and untick the checkbox for ‘Safe Boot’ and then restart your computer. In case you still encounter it, move to the fix.
Fix 4: Run SFC Scan
A corrupted Windows system file may also lead to the ‘WDF_VIOLATION’ error. The best way to fix the corrupted file is by running the System File Checker (SFC) scan in ‘Safe’ mode. The process to boot your computer in Safe mode has already been discussed in the last section.
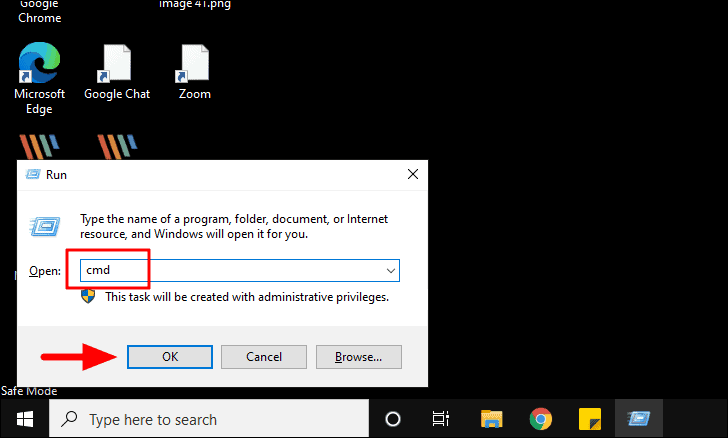
Once in the ‘Safe’ mode, press WINDOWS + R to launch the ‘Run’ command. Next, enter ‘cmd’ in the text box and either press ENTER or click on ‘OK’ at the bottom to open ‘Command Prompt’.
The ‘Command Prompt’ window will now launch. Enter the following command and then press ENTER.
sfc/ scannow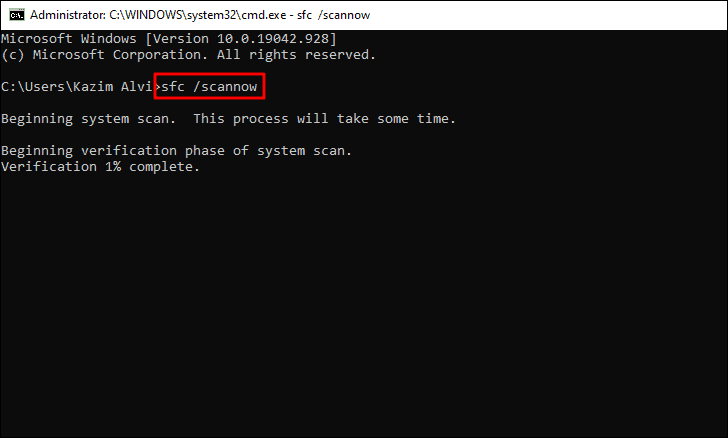
Fix 5: Run System Restore
If you first encountered the problem recently after installing a program or making some changes, you can always opt for ‘System Restore’. With this, you can restore the system to a previous point and the programs and changes to settings will be reverted. Windows create restore points Windows automatically creates restore points before you make any major changes to your system or you can create them manually.
Before you proceed with system restore, boot your Windows in ‘Safe’ mode as discussed in the previous sections.
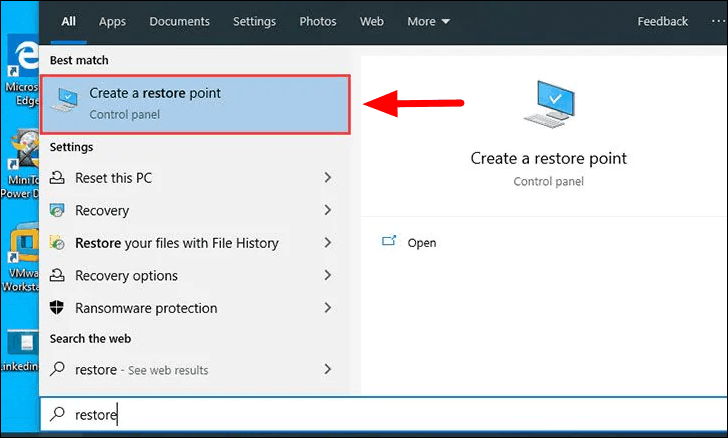
After you are in the ‘Safe’ mode, search for ‘Restore Point’ and then click on ‘Create a restore point’ from the search results.
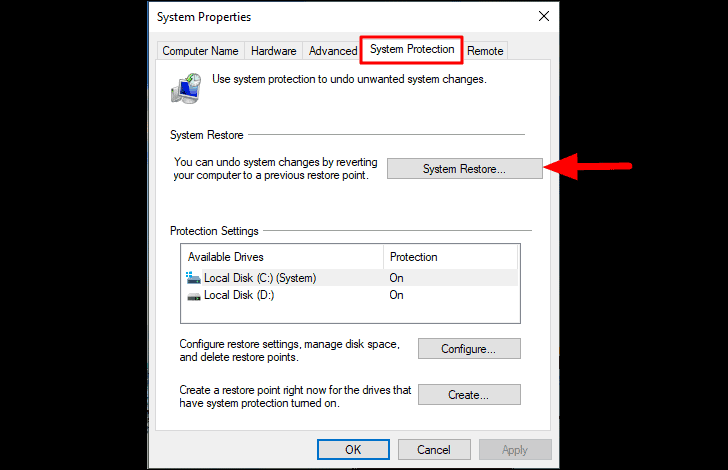
The system properties window will now launch. Select the ‘System Protection’ tab from the top and then click on ‘System Restore’.
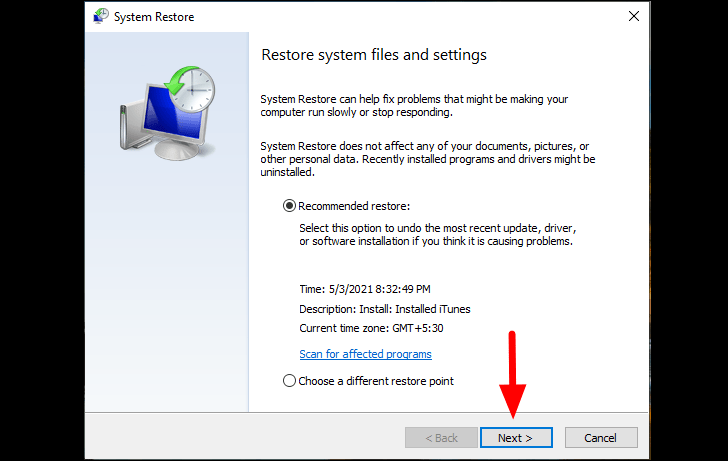
Once the ‘System Restore’ window, you have the option to either go with the recommended restore or chose another desired restore point. If you have created a restore point manually, you can opt for the ‘Choose a different restore point’, otherwise the ‘Recommended Restore’ will do the job. Once you have selected the preferred setting, click on ‘Next’ at the bottom.
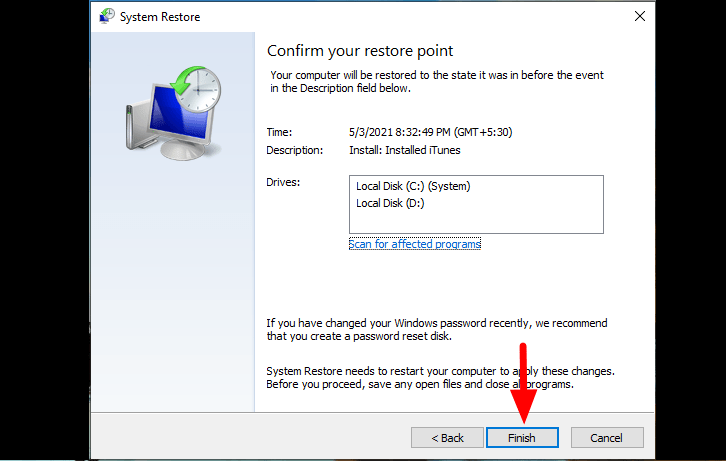
On the last page, verify the restore point details and then click on ‘Finish’ at the bottom. Before you click on ‘Finish’, save the files and data that you are working on since the system will restart.
Now, boot your Windows in normal mode and check if the error is fixed.
Fix 6: Run the Startup Repair
If none of the above methods have worked for you, it’s time you do a system repair. This option can be found in the Windows Recovery Environment. Start-up Repair looks for problems that are preventing Windows from functioning and automatically fixes it.
Press Windows + I to launch the ‘Settings’ and click on ‘Update & Security’.
Next, select the ‘Recovery’ tab from the left.
In the ‘Recovery’ tab, click on ‘Restart now’ under ‘Advanced startup’.
Your computer will restart and enter the Recovery Environment. Click on ‘Troubleshoot’ on the ‘Choose an option’ screen.

Now, select ‘Advanced options’ on the next screen.

You will now find multiple options, click on ‘Start-up Repair’ to fix the issues.
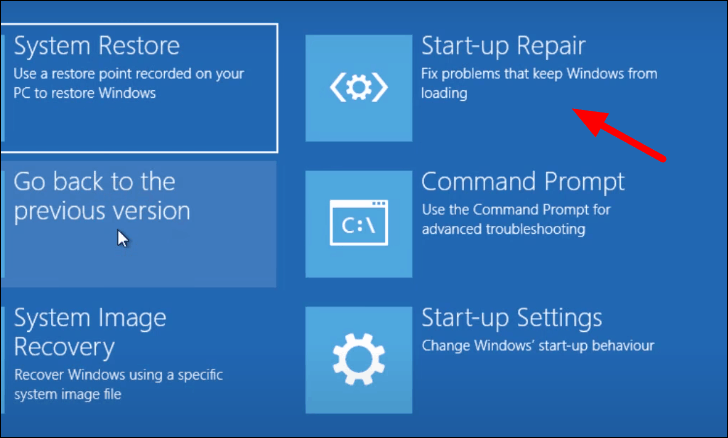
You will now be asked to choose a user account and then enter the password for it. Once it’s done, the repair process will start and fix the issues that are leading to the ‘WDF_VIOLATION’ error.
Fix 7: Reset Windows
If none of the above fixes were able to resolve the ‘WDF_VIOLATION’ error, the last option that you have is to reset the Windows. While resettling the Windows, you have the option to either keep the files while removing the programs and settings or to completely wipe the PC.
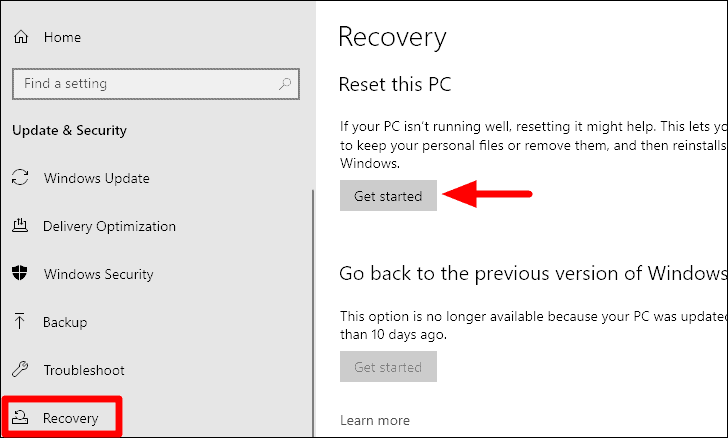
To reset the Windows, press WINDOWS + I to launch the system ‘Settings’ and then select ‘Update & Security’ from the list of options.
Next, select the ‘Recovery’ tab from the left and then click on ‘Get started’ under ‘Reset this PC’.
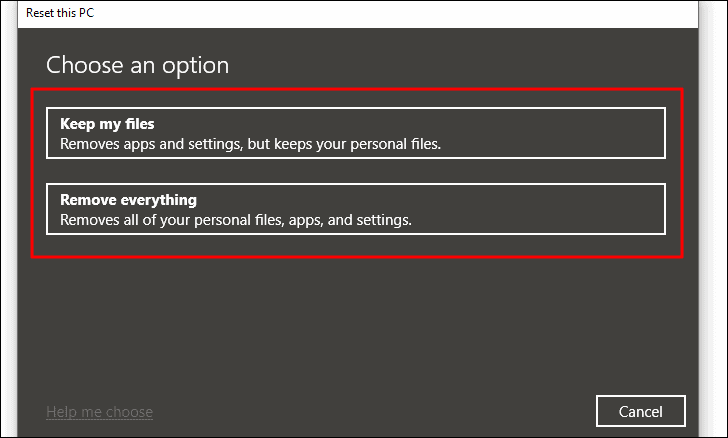
The ‘Reset this PC’ window will launch and you will find two options, ‘Keep my files’ where only the apps and settings are removed while the files remain untouched, and ‘Remove everything’ where files, apps, and settings are all cleared. Select the desired option. We have chosen the first option for this article, however, the process is similar for both.
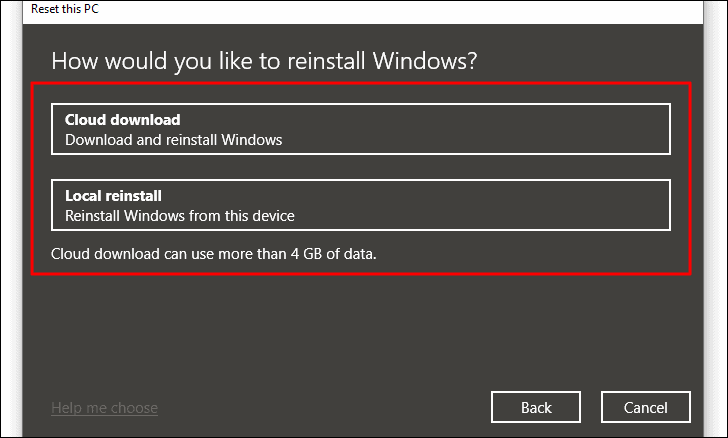
Next, select whether you would like to reinstall the Windows from ‘Cloud’ by downloading it or reinstall it from the system itself.
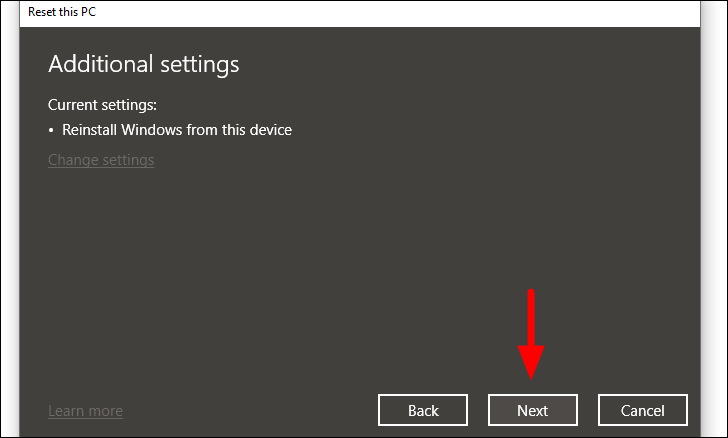
On the ‘Additional settings’ screen, you can view the current settings and change them by clicking on ‘Change settings’ and modifying them as per your preference. Once done, click on ‘Next’ to proceed.
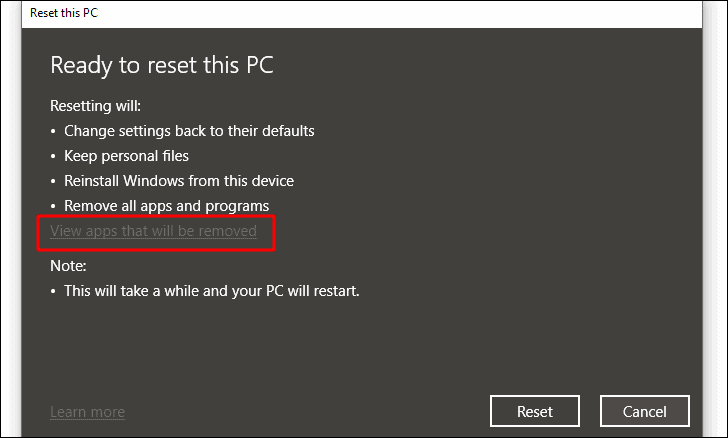
This is the final screen before the Windows is reset. You can view here what changes will be made once the reset is done. Also, you can view the apps that will be removed after reset.
Finally, click on ‘Reset’ at the bottom. It will take some time for the Windows to reset and your computer will boot several times during the process.
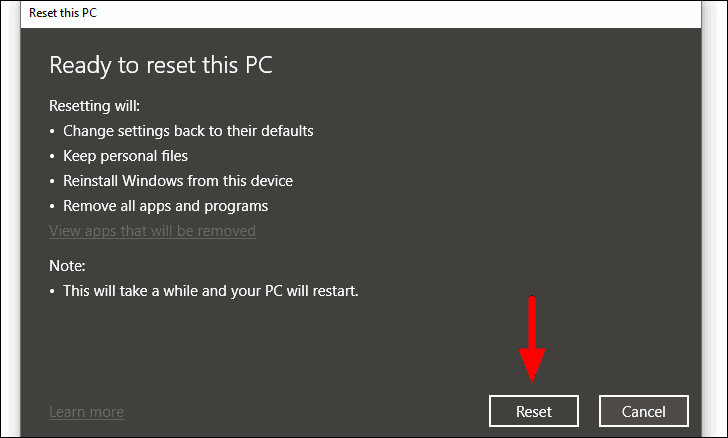
If you have chosen options other than the one chosen above, the last screen will always be ‘Ready to reset this PC’ and the changes will be displayed.
Now that you have tried the fixes mentioned in the article, your computer must be working fine and the ‘WDF_VIOLATION’ error fixed. Also, remember to always follow the fixes in the sequence that they are mentioned since those mentioned at the start are quick and simple while those at the end are critical and time-consuming.


