
The cursor is the most important tool when it comes to navigating through your macOS device. Not many people know this, but you can easily change the size and the color of your cursor! By default, all macOS devices come with a cursor that is black in color with a white outline and set to the smallest size out of the available 7 settings. Until recently, you couldn’t change the color of your cursor but Apple changed that with the macOS 12 Monterey update in 2021.
People suffering from visual impairment often complain about not being able to see the cursor clearly on its default setting, others discuss how comfortable it is to navigate through their system when the cursor is larger than the default setting. Many users change the color of their cursor to help it stand out and be more visible. Whatever your reason might be we hope this guide helps you achieve your goal.
Changing the Cursor Size
First, launch ‘System preferences’ also known as settings from the launchpad.

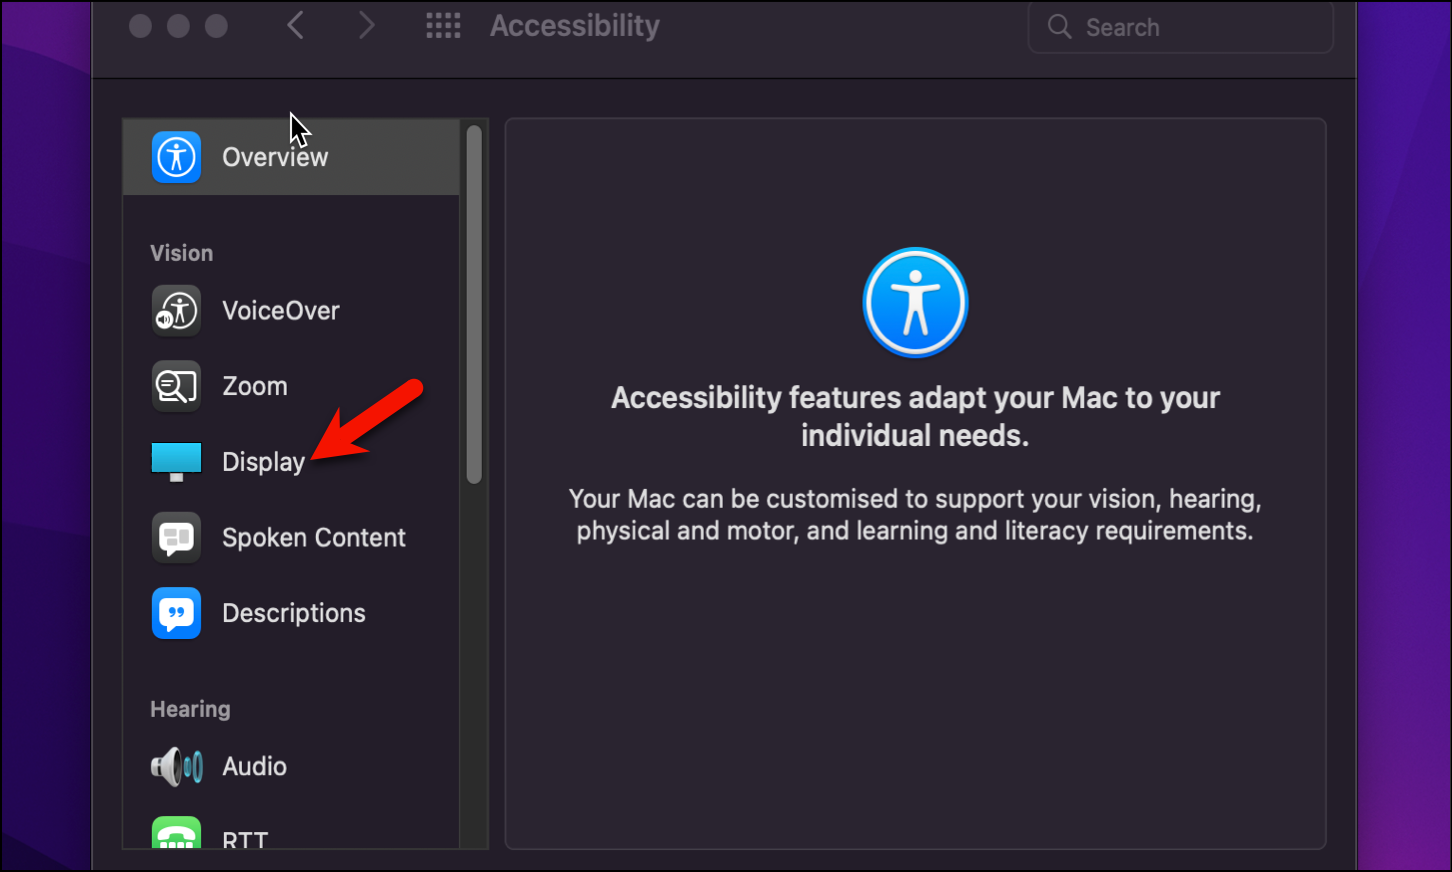
From the settings window, select the ‘Accessibility’ option.

Now, under the vision section, click on the ‘Display’ option.
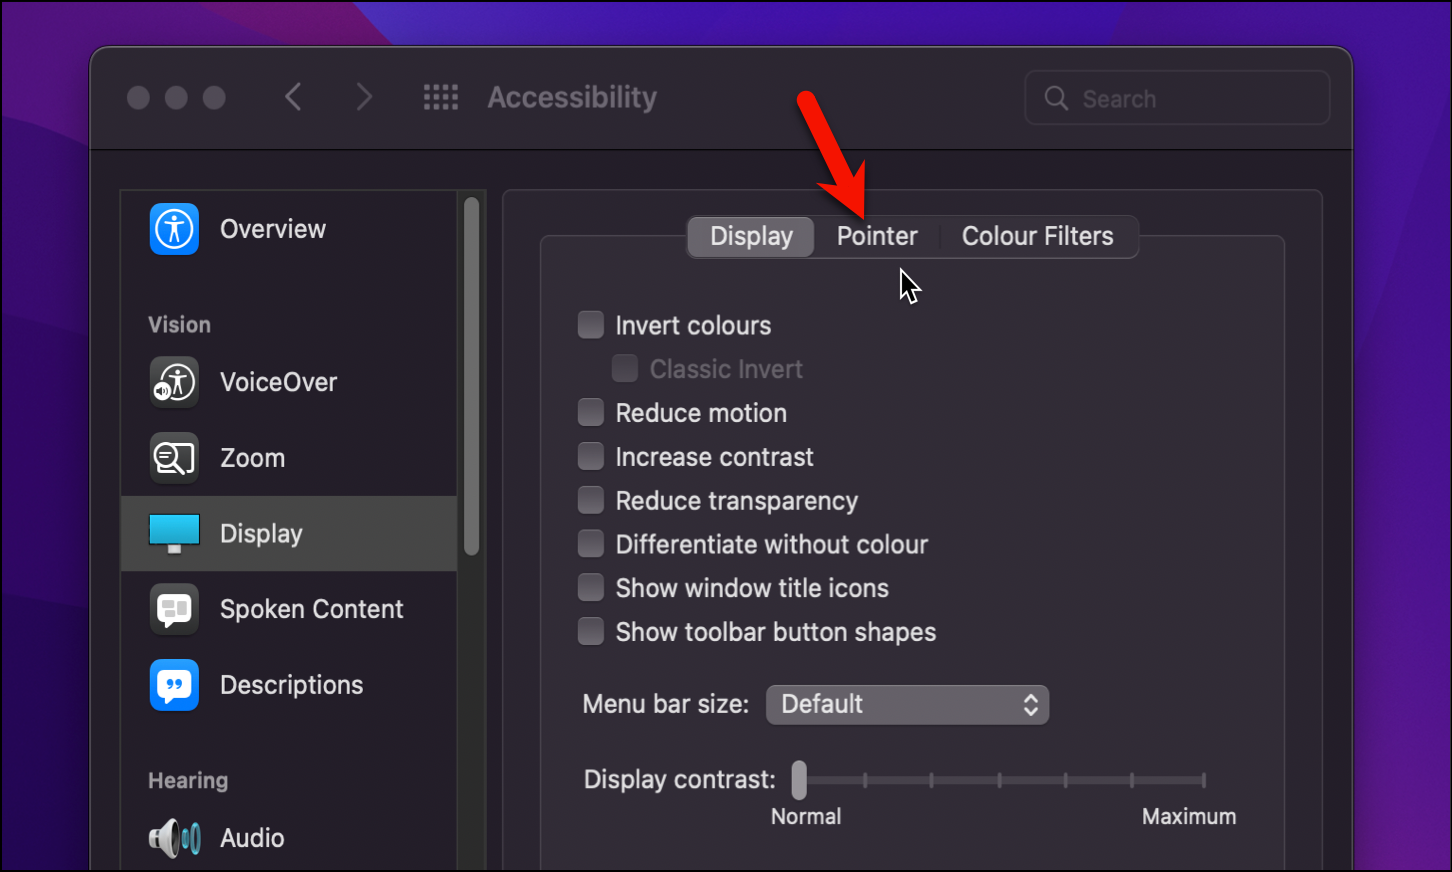
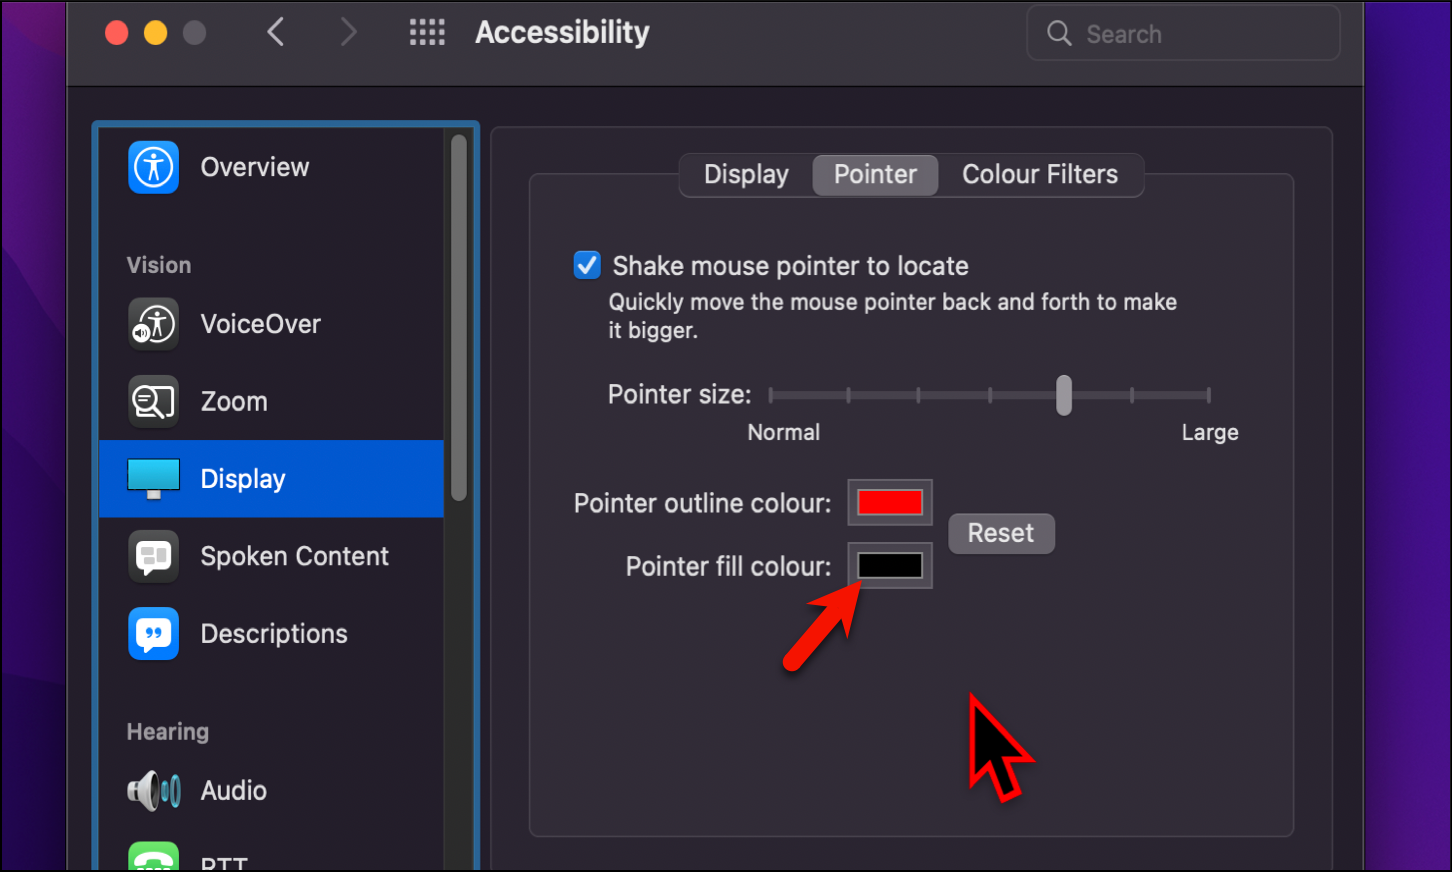
Next, click on the ‘Pointer’ tab.
Now finally, drag the slider next to the ‘Pointer size’ option to the right or left to increase or decrease the cursor size on your mac.
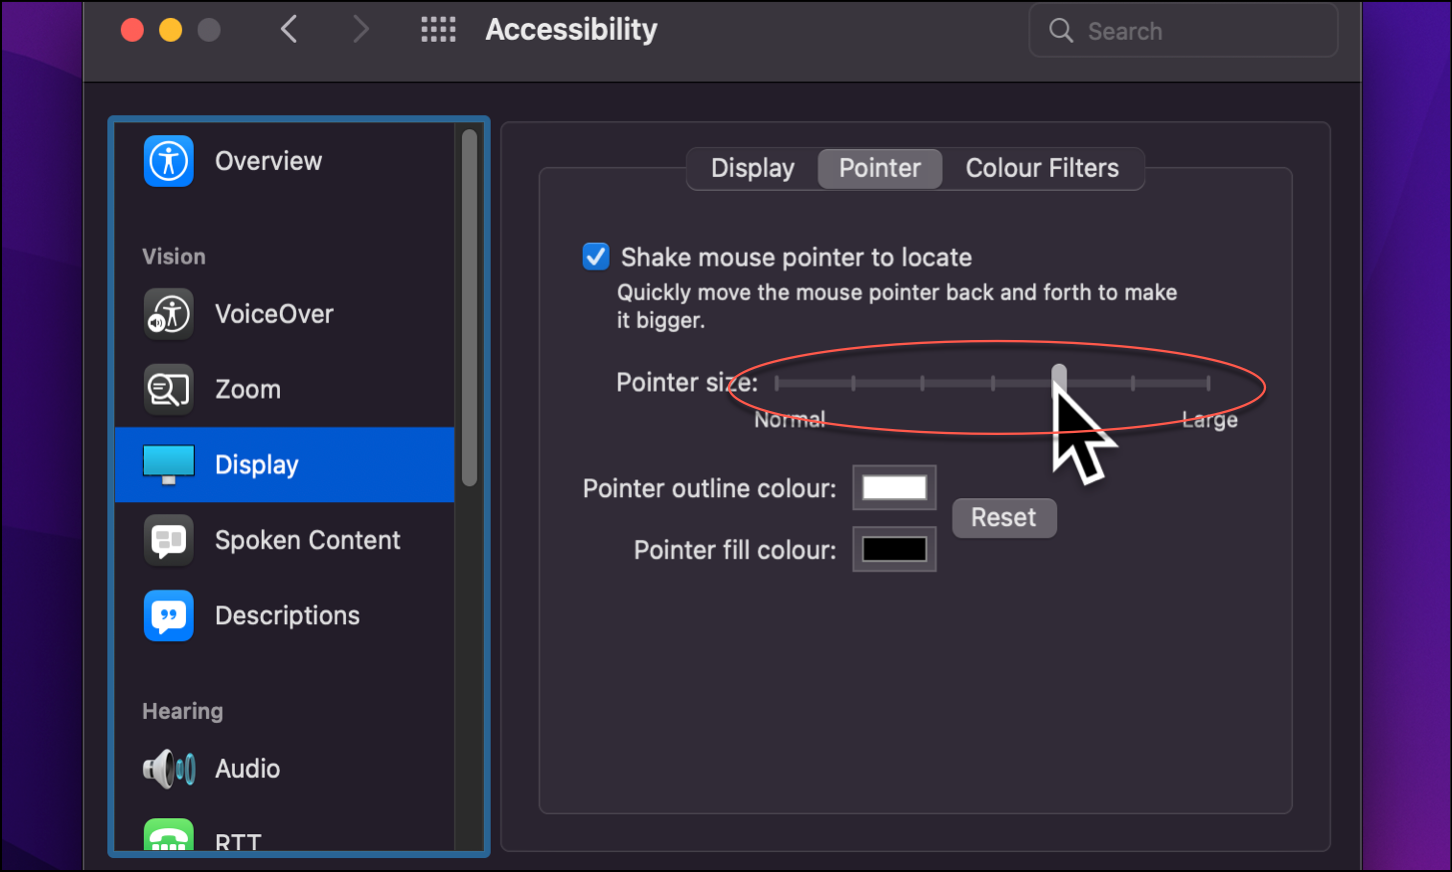
You have successfully changed the size of your cursor. Next, let’s change the color of your cursor!
Changing the Cursor Color
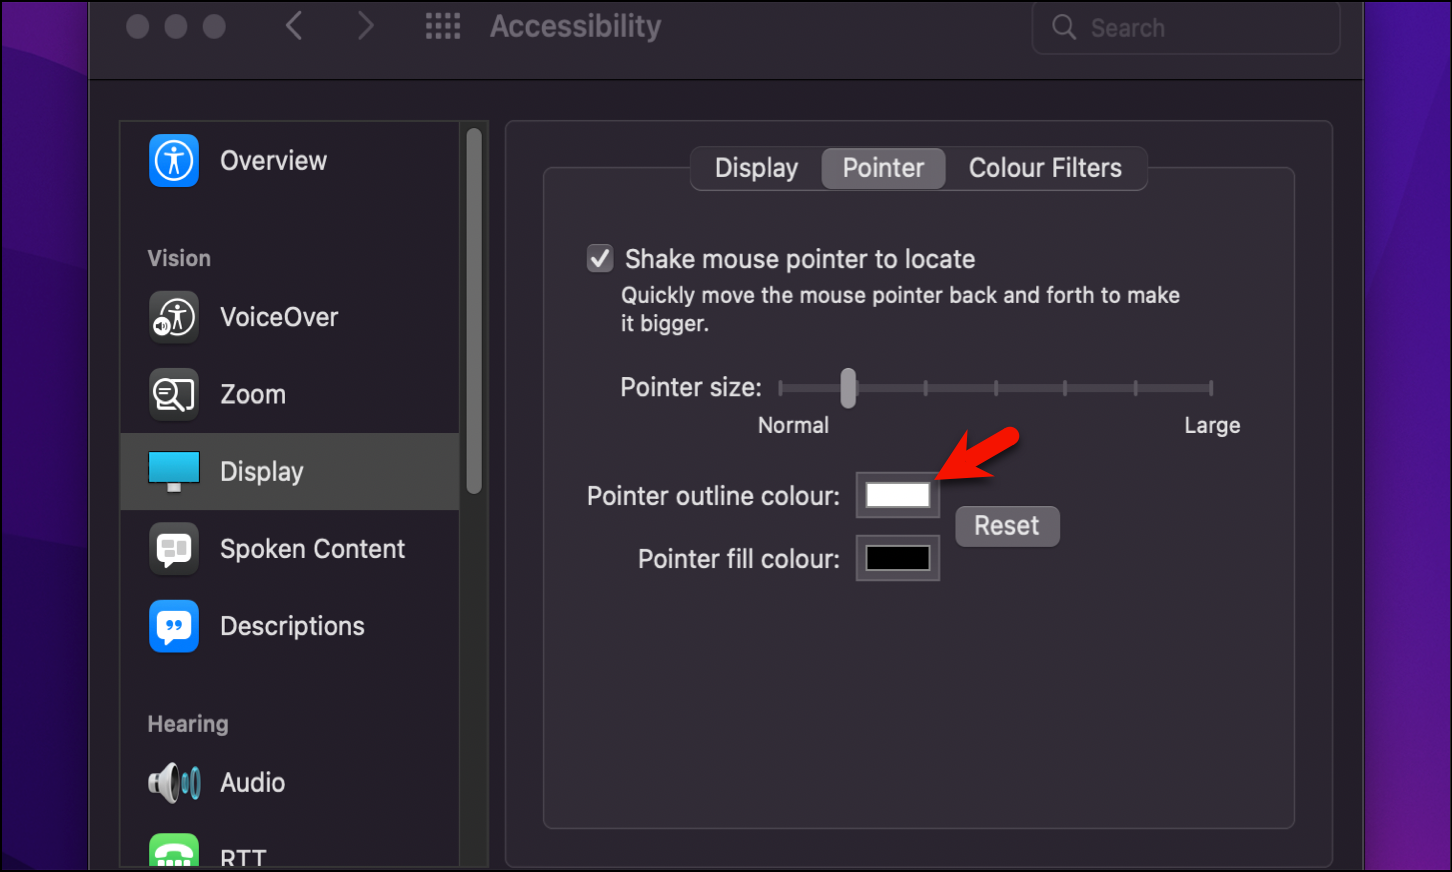
You can change the cursor color under the same Pointer settings tab as mentioned above.
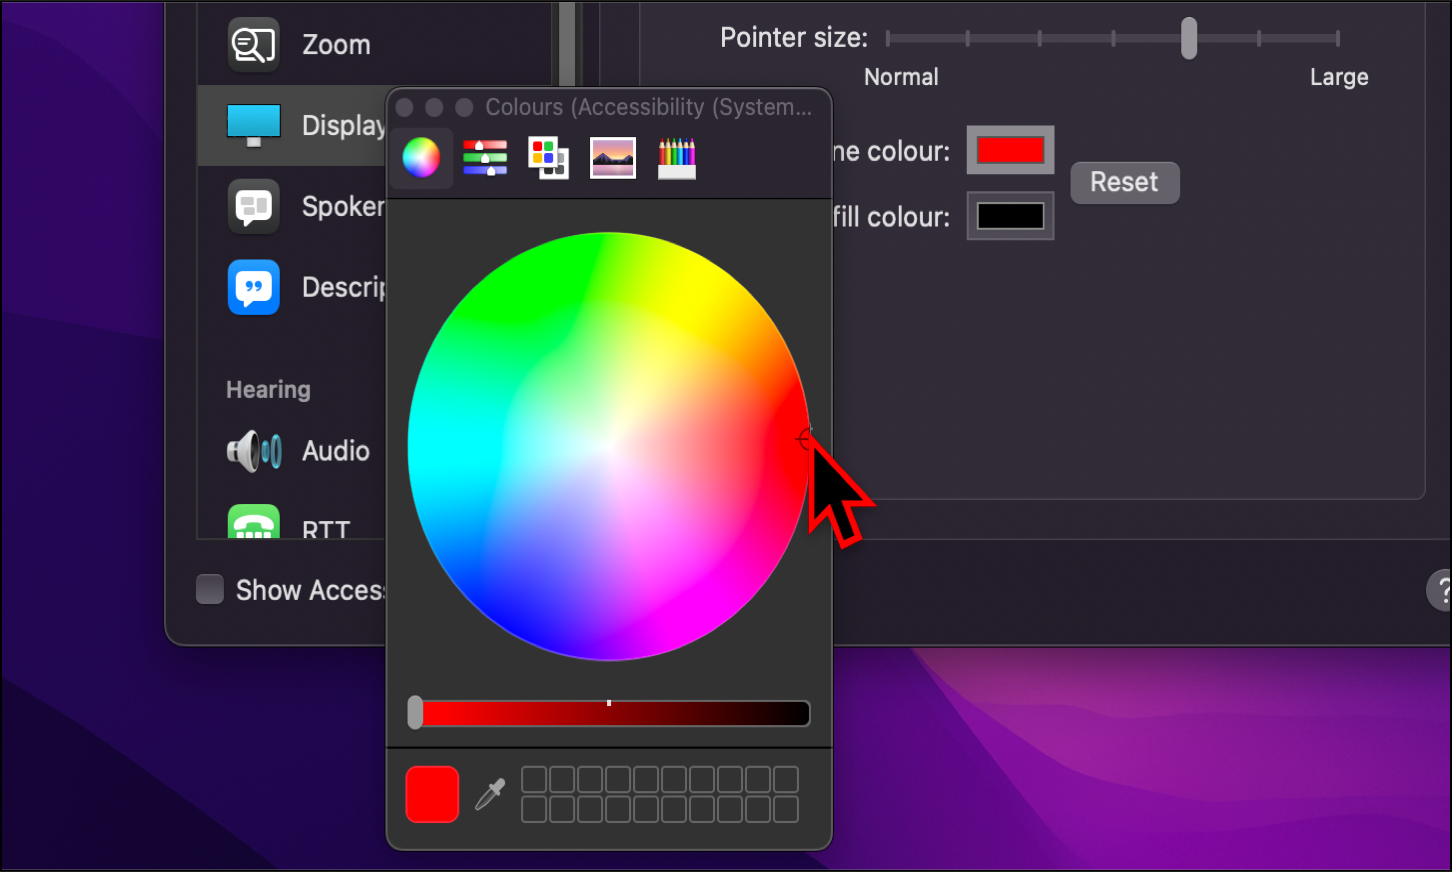
To change the outline color of the cursor, click on the color-fill box next to the ‘Pointer outline colour’ option.
Next, choose the desired color for your cursor outline and close the pop-up window.
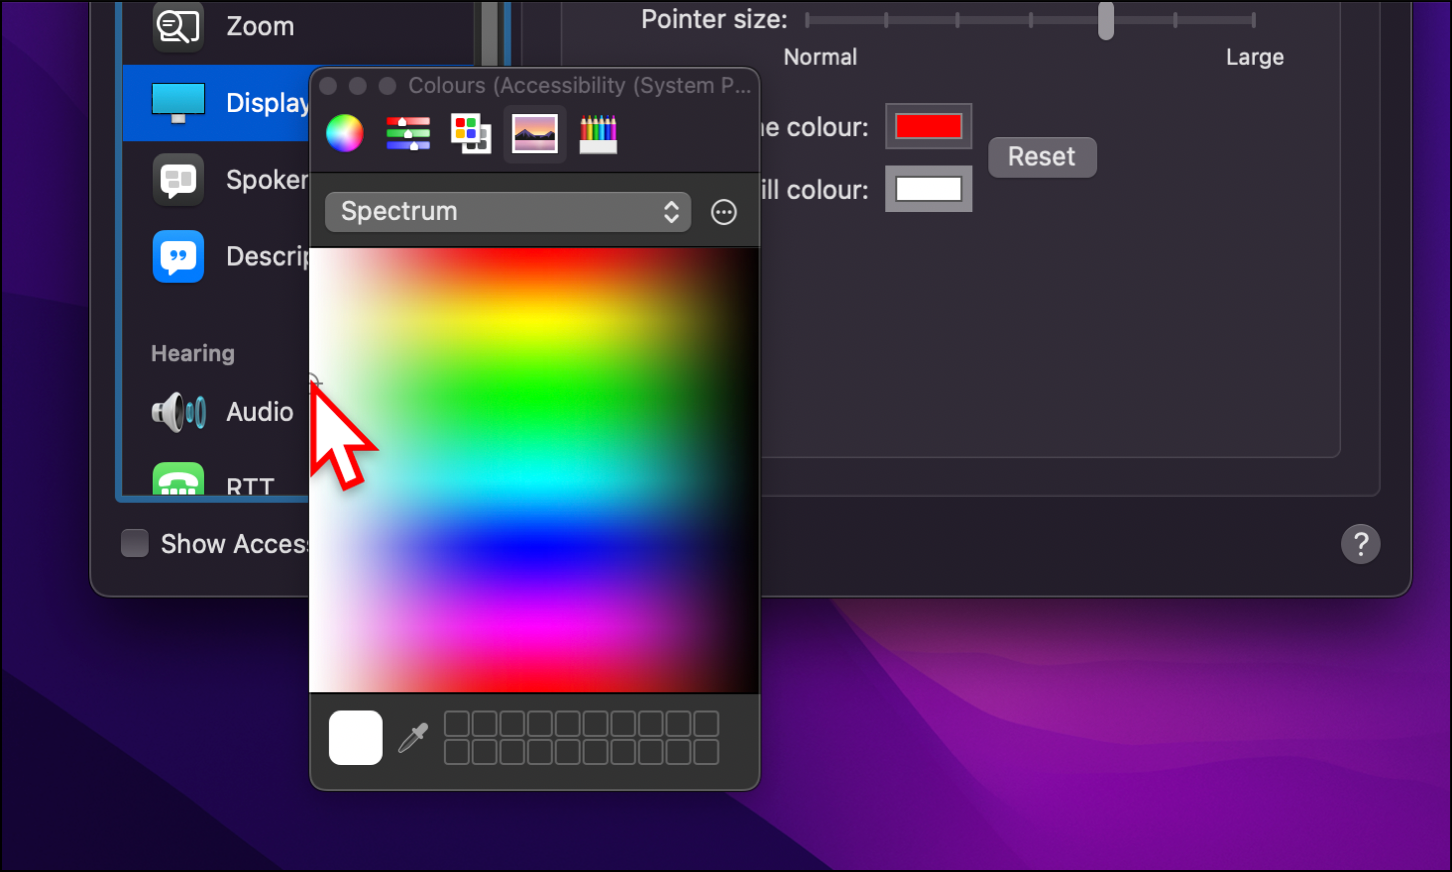
To change change the cursor color as well, click on the color selector box next to the ‘Pointer fill color’ option.
Then finally, choose your desired cursor color and close the pop-up window.
Congratulations, you have successfully customized your cursor color and size!