
The Win+X Power User Menu in Windows 11 offers quick access to essential system management tools, but what if you could customize it with shortcuts to your favorite apps and files? Although not officially supported, there’s a simple method that allows you to add custom shortcuts to this menu using a tool from GitHub.
Download and run the hash file to add a custom shortcut
Adding your own shortcuts to the Win+X menu is easier than it might appear. Just follow these steps to personalize your menu.
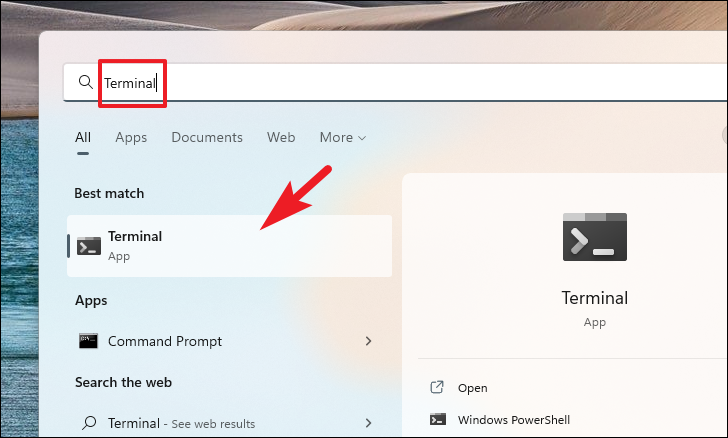
Open your web browser and go to the Hashlnk GitHub page. Click on the ‘Download’ button to save the
hashlnk_xxx.zip file to your computer.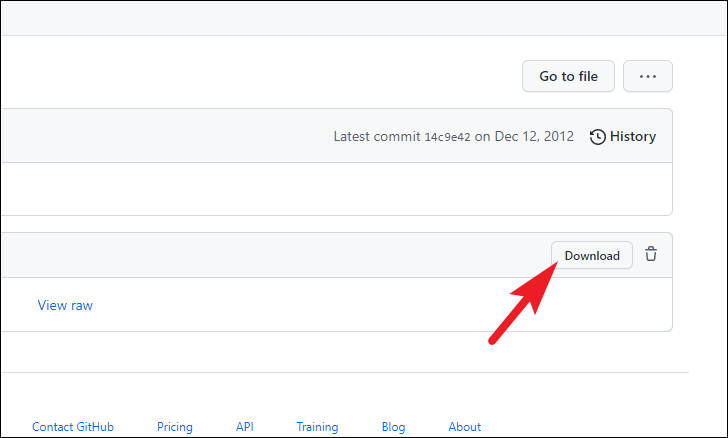
Once the download is complete, navigate to the folder where you saved the zip file. Right-click on
hashlnk_xxx.zip and select ‘Extract all’ from the context menu to open the extraction wizard.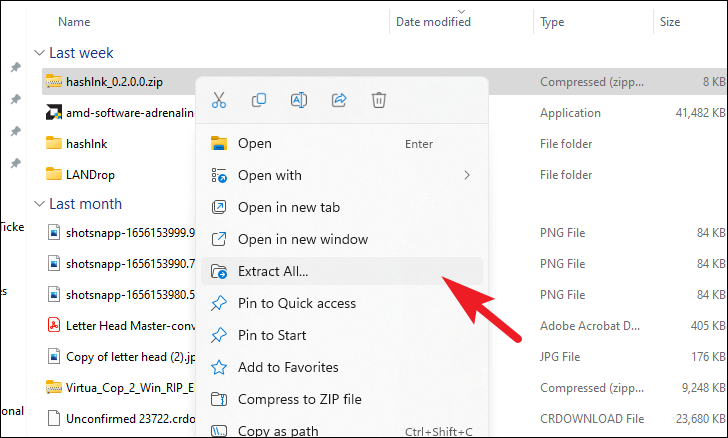
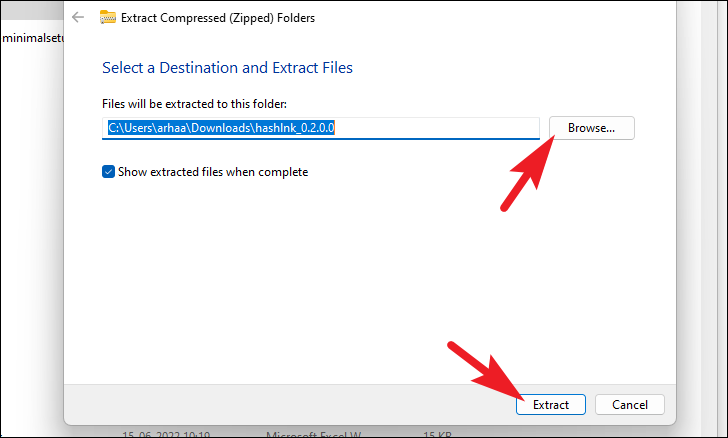
In the extraction window, click ‘Extract’ to unzip the contents to the default location. If you prefer a different folder, click ‘Browse’ and select your desired destination before extracting.
After extraction, locate the
hashlnk.exe file in the unzipped folder. Right-click on it and select ‘Properties’ to open the file’s properties window.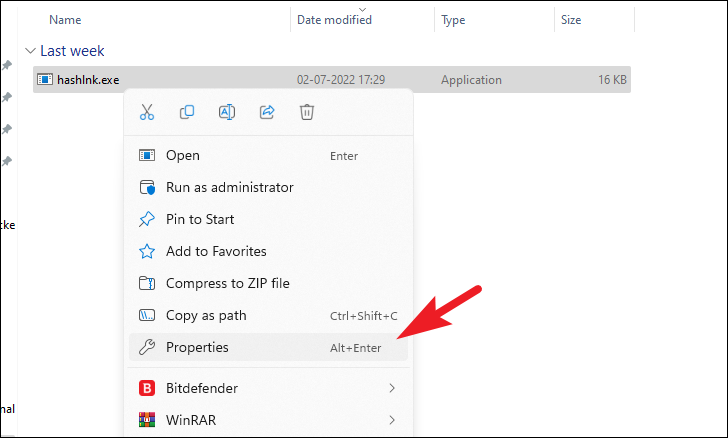
In the Properties window, highlight the file path next to ‘Location’ and copy it by pressing
Ctrl+C. Paste this path somewhere accessible, like a Notepad file, as you’ll need it later.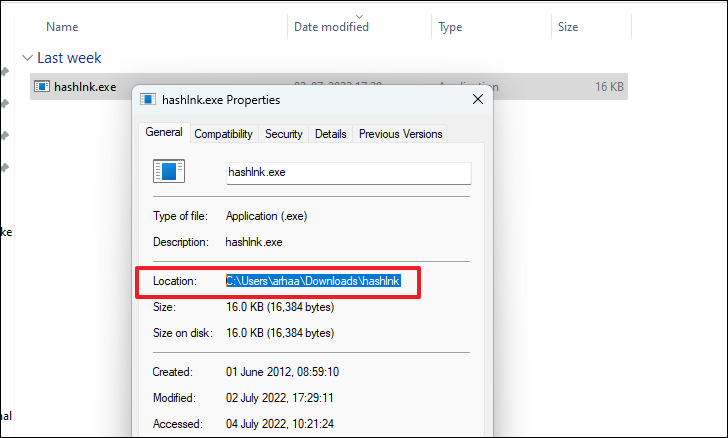
Open File Explorer and navigate to the WinX folder by entering the following path in the address bar and pressing
Enter:C:\Users\Default\AppData\Local\Microsoft\Windows\WinX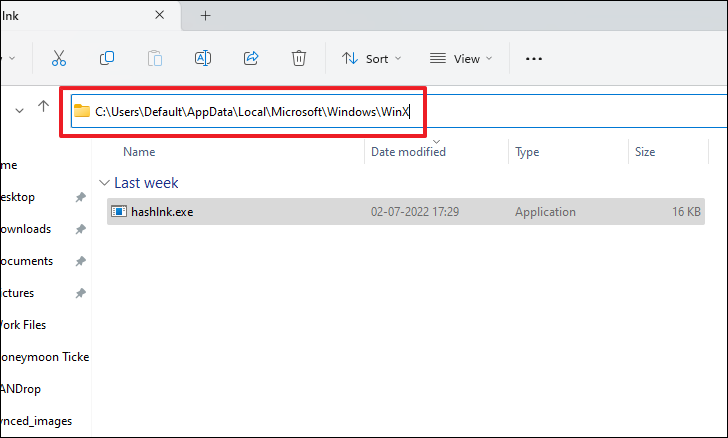
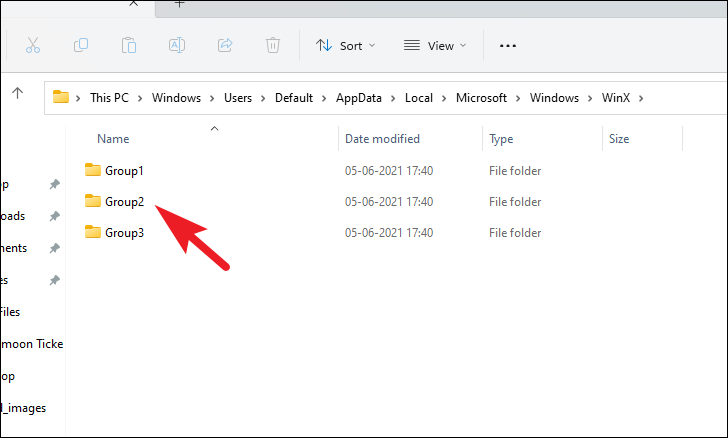
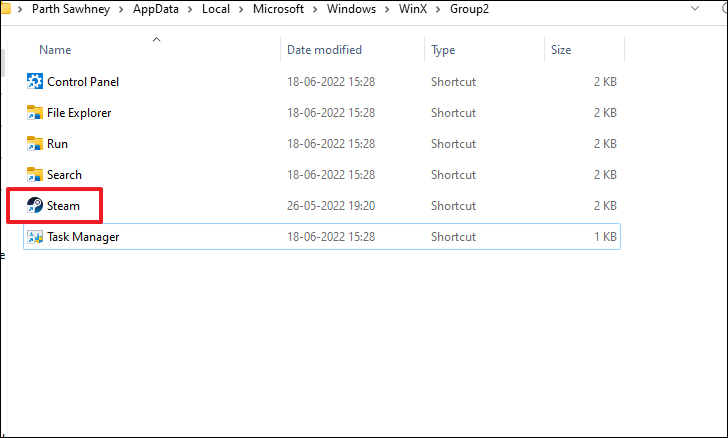
Within the WinX folder, you’ll see three group folders: ‘Group1’, ‘Group2’, and ‘Group3’. These correspond to different sections of the Win+X menu. Open the group folder where you want your custom shortcut to appear. ‘Group1’ represents the bottom section, ‘Group2’ is the middle, and ‘Group3’ is the top.
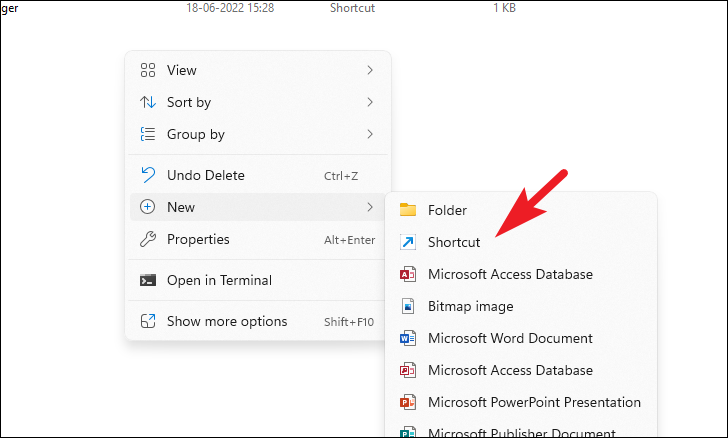
In your chosen group folder, right-click on an empty area, hover over ‘New’, and select ‘Shortcut’ to create a new shortcut.
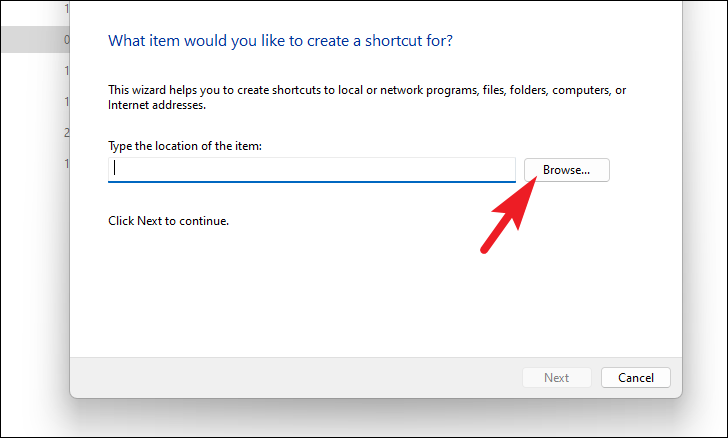
In the ‘Create Shortcut’ window that appears, click ‘Browse’ to locate the app, file, or folder you want to add to the Win+X menu.
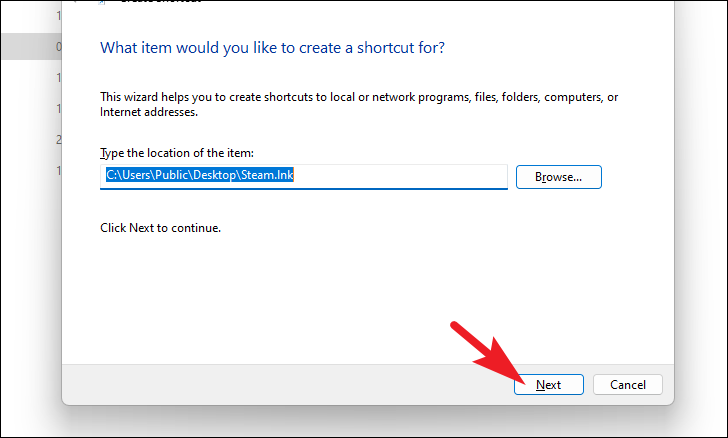
Navigate to the item you wish to add, select it, and click ‘OK’. This will populate the shortcut’s location in the wizard.

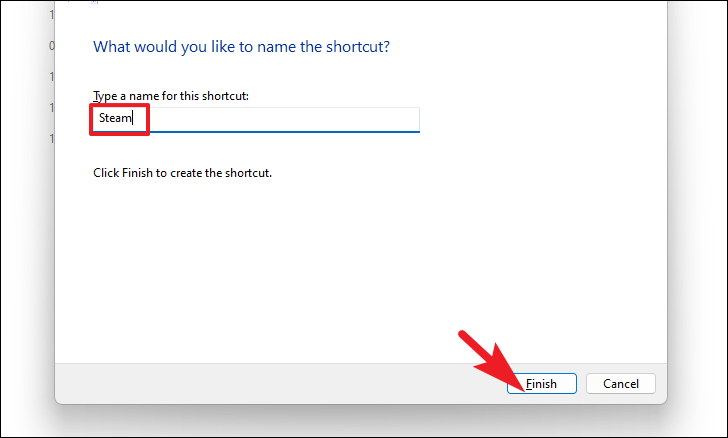
Enter a name for your shortcut or leave it as the default. Then, click ‘Finish’ to create the shortcut in the group folder.
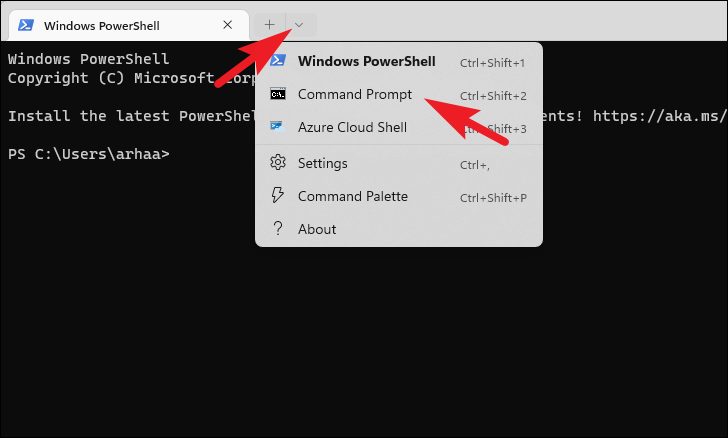
In the Terminal window, click the dropdown arrow and select ‘Command Prompt’ to open it in a new tab.
In the Command Prompt, you’ll need to execute the hashlnk utility on your newly created shortcut. Type the path to
hashlnk.exe (the one you copied earlier) enclosed in quotes, followed by the path to your shortcut, also enclosed in quotes. Make sure there’s a space between the two paths. Press Enter to run the command.Note: Here’s an example of what the command might look like (replace the paths with your actual file locations):
"C:\Users\YourUsername\Downloads\hashlnk\hashlnk.exe" "C:\Users\YourUsername\AppData\Local\Microsoft\Windows\WinX\Group2\YourShortcut.lnk"
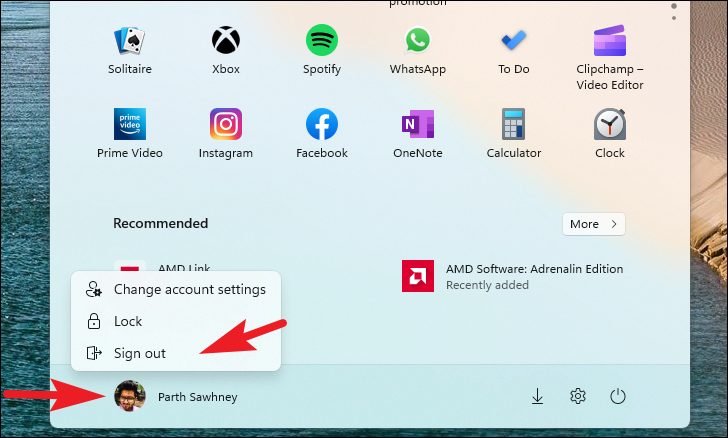
After running the command, sign out of your Windows account to apply the changes. Click on the Start menu, select your user account icon, and choose ‘Sign out’. Then, sign back in to your account.
Press
Win+X on your keyboard to open the Power User Menu. You should now see your custom shortcut listed in the group you added it to.By customizing the Win+X menu with your own shortcuts, you can streamline access to your most-used apps and settings, making your workflow more efficient.


