
iOS 16 touts a lot of new features for iPhone users. Among these is the ability to buy a custom domain directly through iCloud. If you’re not privy to the finer details, here’s a crash course.
When Apple introduced iCloud+ with iOS 15, one of the features that came along with the package was Custom Email Domain. iCloud+ subscribers could use iCloud Mail to send and receive emails from a custom email address for a domain they already owned at no extra cost. But that was the catch: You needed to own the domain already. And if you’re not someone who spends a lot of time buying domains, the whole prospect could seem so daunting that you might have ended up abandoning the idea altogether.
The sheer volume of domain providers out there is enough to confuse a person. But with iOS 16, Apple has made even that aspect of the process easier. You can buy a domain while setting up the Custom Email Domain with iCloud itself. That means you don’t have to try to figure out which domain registrar to use.
Apple has partnered with Cloudflare to provide you with a domain. We have a complete guide on setting up a Custom Email Domain on iPhone here.
But when you buy the domain using iCloud, is it a part of your iCloud subscriptions? It certainly isn’t and that’s where it can get a little confusing. You might have bought the domain with iCloud (sort of), but you can’t manage it from there. If you change your mind and decide you no longer want the custom email domain or the domain itself, here’s how to stop using both.
Removing the Custom Email Domain from iCloud
If you only want to stop using the custom email domain in iCloud Mail, that has nothing to do with the domain itself. iCloud Mail is just one of the services you could be using for your custom email domain hosting requirements. You can shift to another email host, even if you bought the domain from iCloud. Or you can stop using the custom email domain altogether while still using the domain you bought for your web hosting needs.
To stop using the Custom Email Domain with iCloud, open the Settings app on your iPhone.
Then, tap your name at the top.
Tap the option for ‘iCloud’ from Apple ID settings.
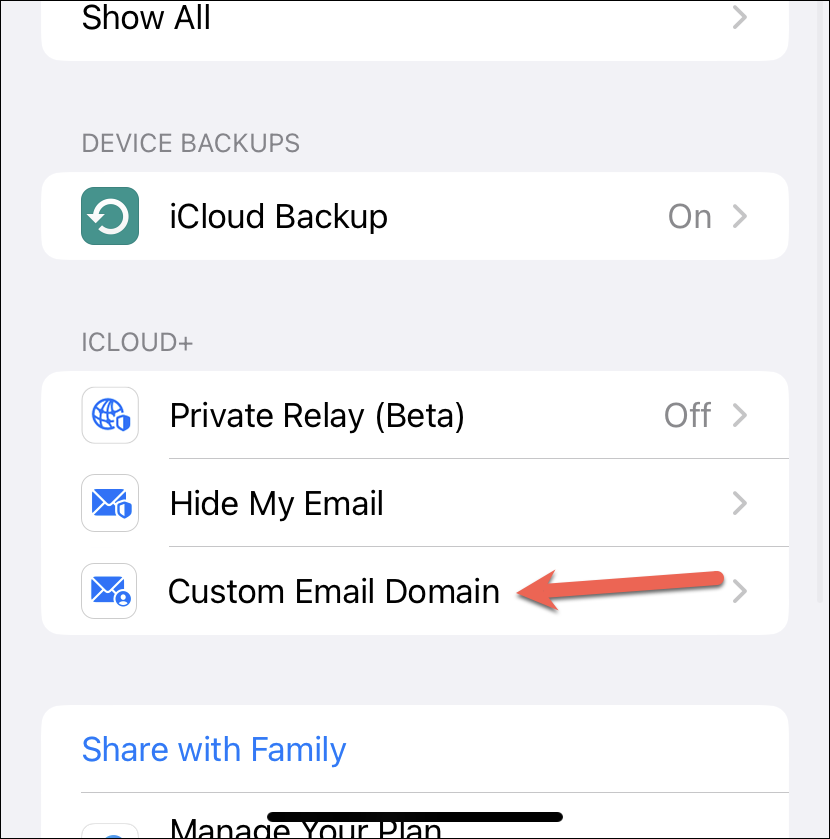
Then, tap the option for ‘Custom Email Domain’.
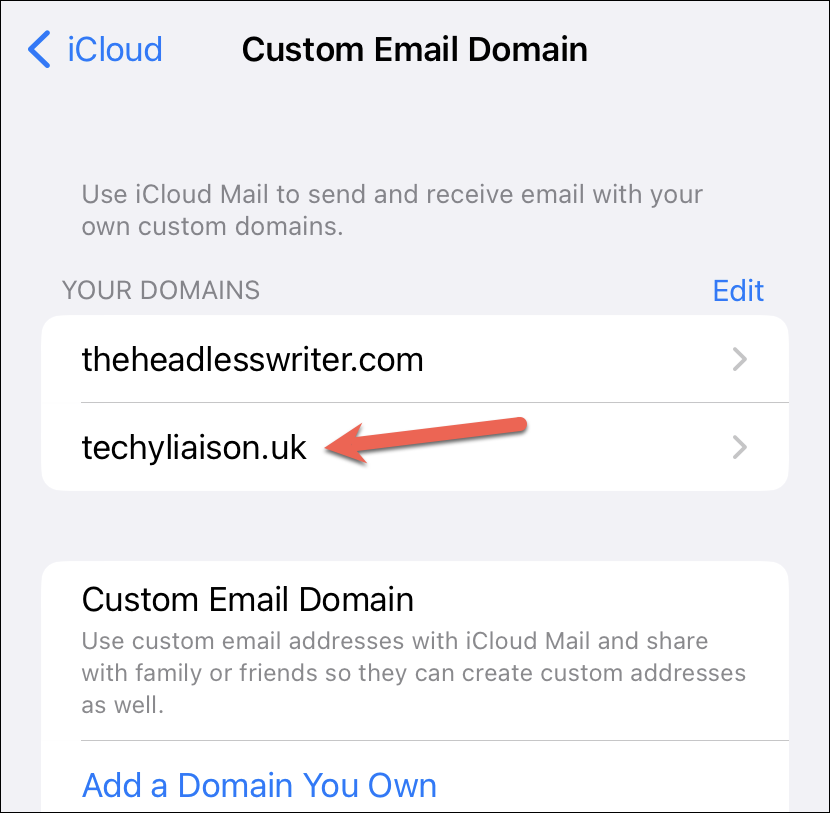
Tap the domain you no longer want to use with iCloud Mail.
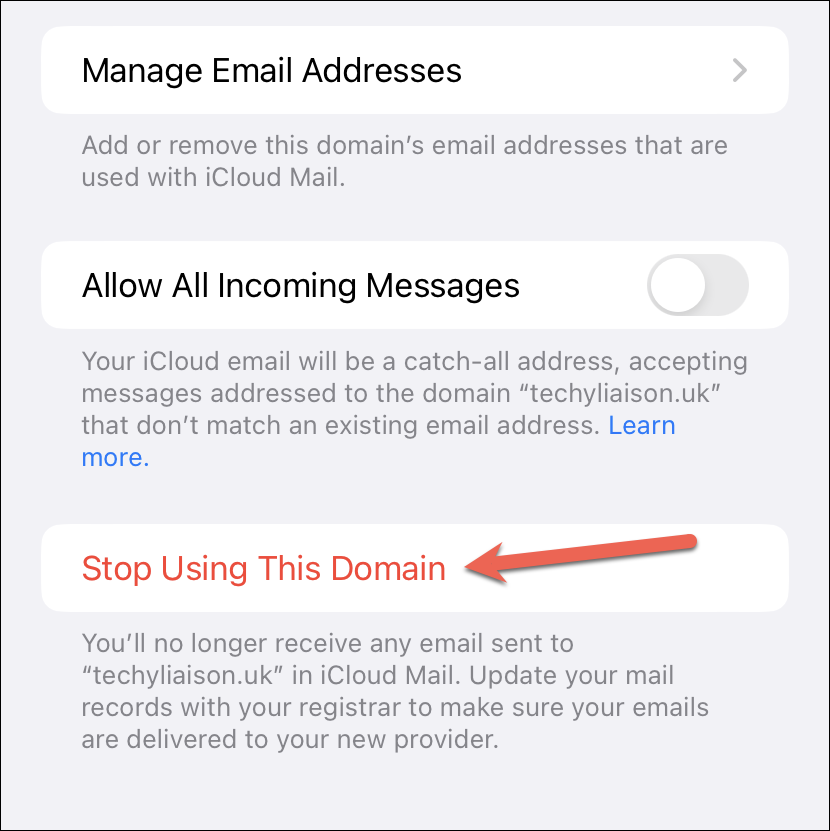
Now, tap the option for ‘Stop Using this Domain’ at the end.
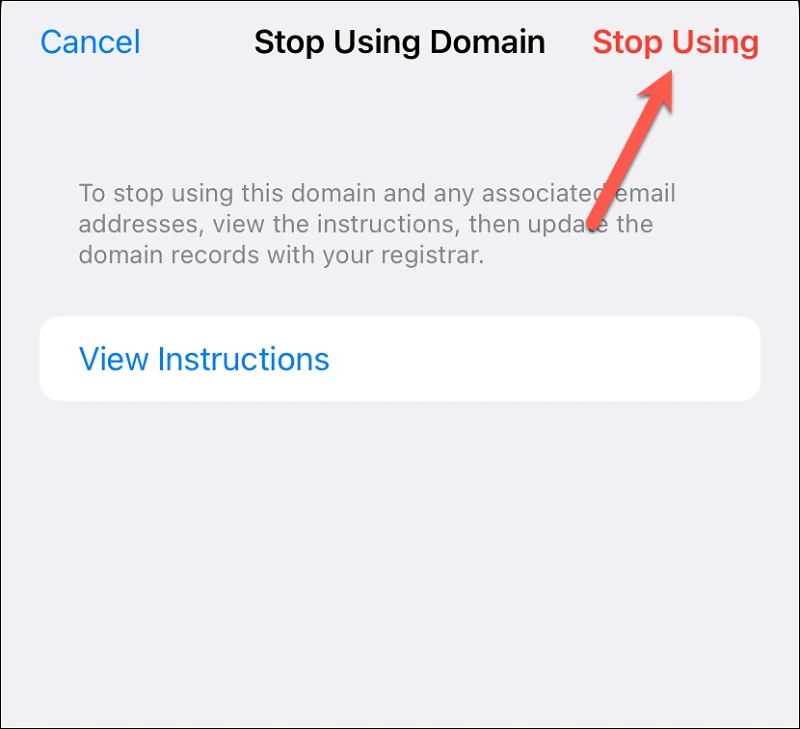
An overlay screen will appear. Tap ‘View Instructions’ once so that the option for ‘Stop Using’ in the top-right corner of the window becomes active, then tap ‘Stop Using’.
Now, you’ll no longer receive any emails sent to your custom domain in your iCloud Mail mailbox, nor can you send them. If you were sharing the custom email domain with family members using Family Sharing, they won’t be able to use any custom addresses they created to send and receive mails either.
Any mails you sent or received using the custom email address from iCloud Mail before you stopped using the domain with iCloud will still be available in your mailbox. You can still use the primary @icloud.com email address you created even if you stop using the custom email domain.
If you don’t want to use the custom email addresses altogether, then your work is done.
But if you want to move to a new email provider, your work isn’t over. You’ll need to set up the new email addresses with your new email provider and update those details with your domain registrar. Go to your domain provider, delete any iCloud-related records and update those records with the details from your new email provider to set up the entire thing.
The above instructions work whether you bought the domain through Cloudflare using iCloud, or you already owned it.
Canceling the Domain Subscription
If you no longer want to use the domain you purchased using iCloud, i.e., through Cloudflare, you can’t cancel it from your iCloud subscriptions. Although Apple has made the process for purchasing the domain seamless by integrating it within Custom Email Domain settings itself, you must have noticed that the purchase wasn’t made within iCloud. iOS 16 redirects you to Cloudflare in an overlay window to complete the purchase.
So, to manage your domain once you have bought it, whether it’s for cancelation or renewal, you’ll need to go to Cloudflare itself. Even from Cloudflare, you cannot cancel the purchase you’ve already made. So, if you bought the domain for a year, you’ll have it for the year. But you can stop it from renewing further.
Note: Cloudflare generally tries to auto-renew the domain 30 days before the expiration date. So, you should disable auto-renewal at least 30 days prior to the date to avoid charges.
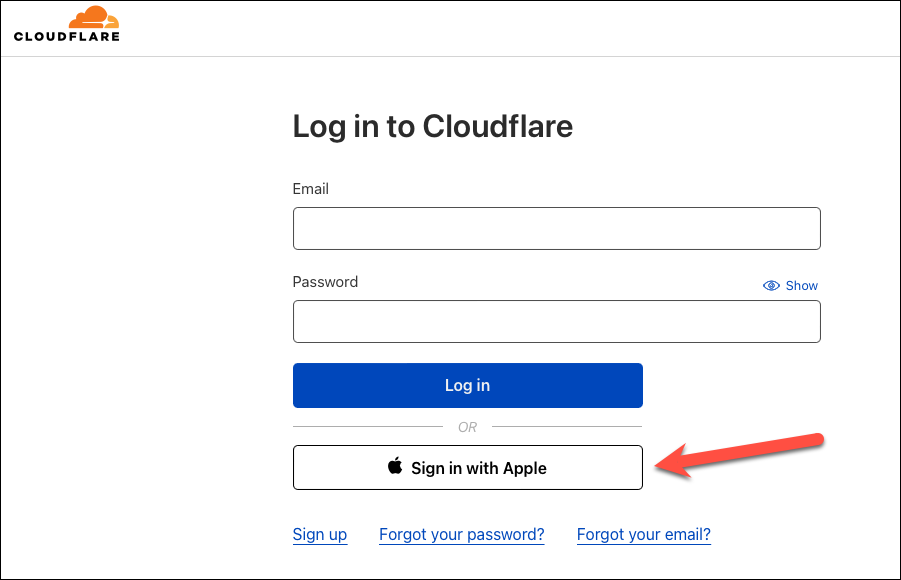
From any browser on your computer or iPhone, go to cloudflare.com. Then, sign in to your account. If you used your Apple ID to sign in while purchasing the domain, then click on ‘Sign in with Apple’ to log in.
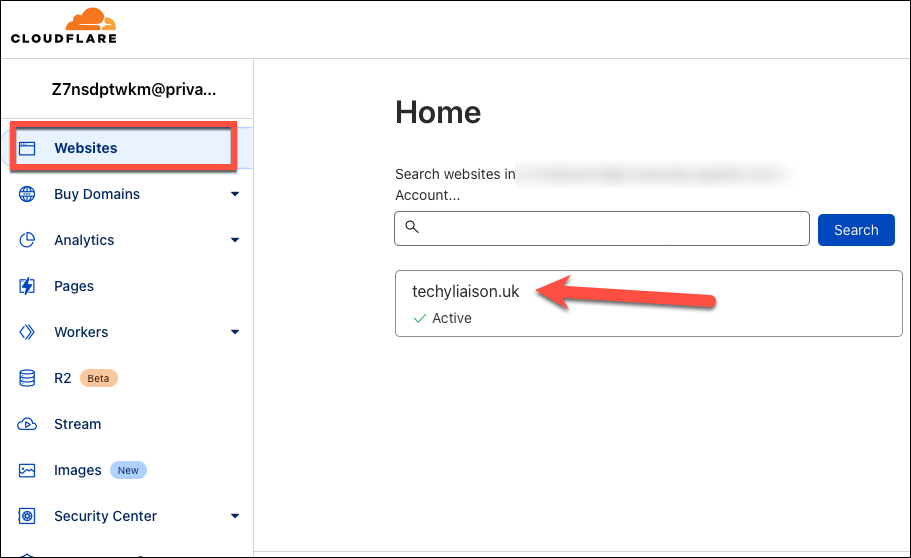
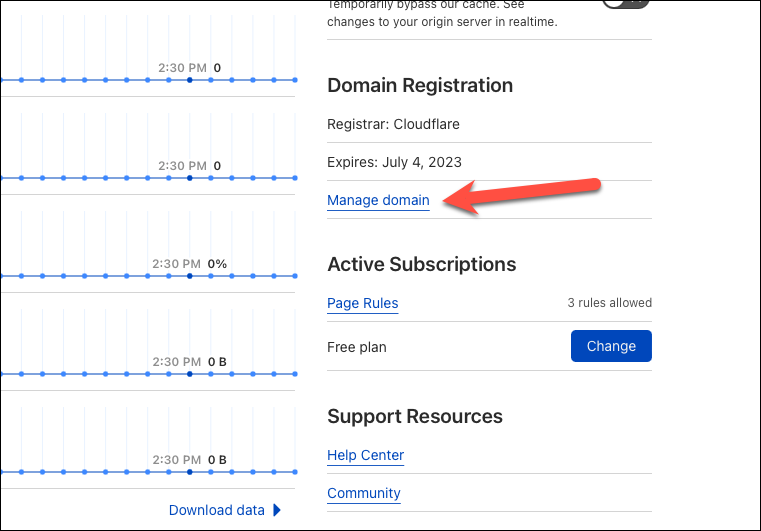
Make sure you’re on ‘Websites’ from the navigation menu on the left. You’ll see your active domain(s) on the right. Click the one you want to cancel.
Then, click ‘Manage Domain’ under Domain Registration.
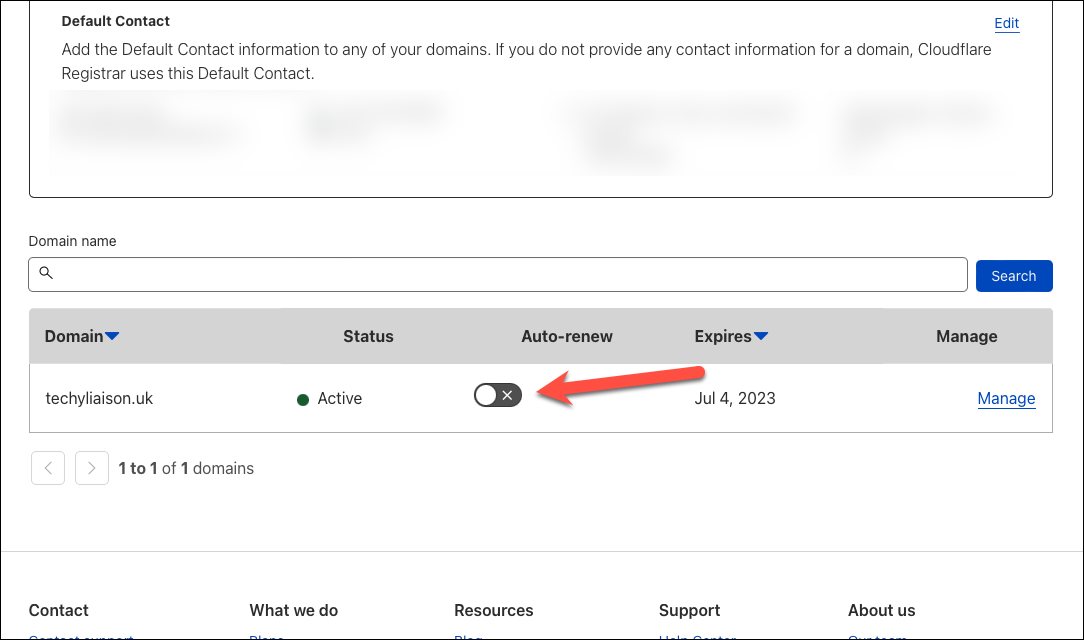
Now, turn off the toggle for ‘Auto-Renew’.
And that’s it. Once your domain expires, it will enter a Redemption Grace Period (RGP) for 30 days within which time you can try to restore it to your account. But it might require additional charges. But if you don’t want to restore it, you don’t have to worry about anything else.
With iOS 16, using a custom email domain is easier than ever. You can buy a domain and start using the custom email address in a couple of minutes. And when you decide you no longer want to use it, it’s easy to do that also.


