When you use multiple Google accounts in Chrome, the first account you sign into becomes the default, influencing how your data is synced and which account is used across Google services. Setting the appropriate default account helps keep your personal and professional activities separate.
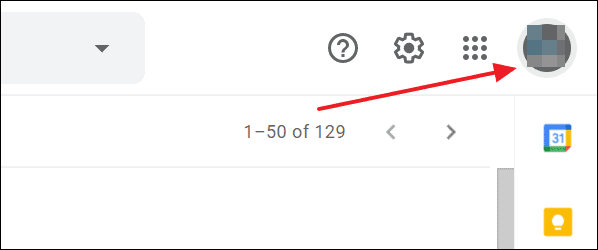
Step 1: To check which Google account is currently set as the default, open Gmail in a new tab. Click on your profile picture located in the top-right corner of the page.

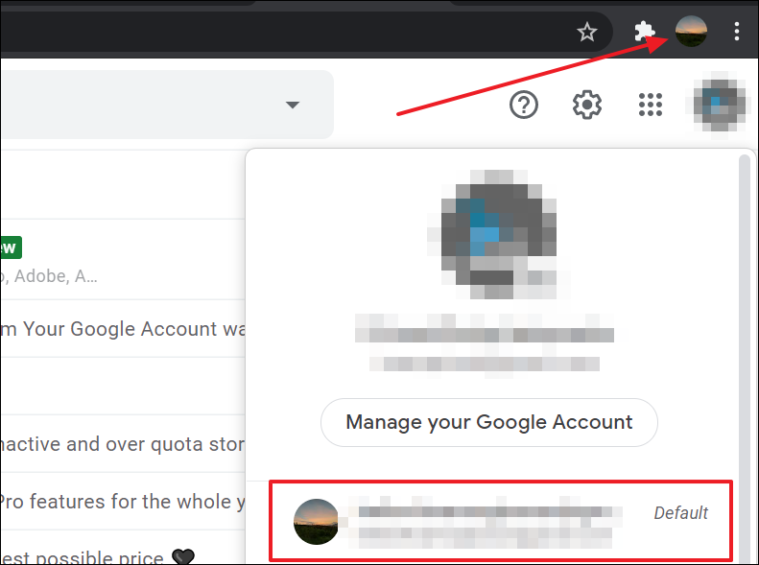
This will display a list of all the Google accounts you're signed into. The default account will have "Default" indicated next to it.
Step 2: You can also identify the default account by looking at the toolbar in Chrome. The profile picture or icon displayed corresponds to the default Google account.

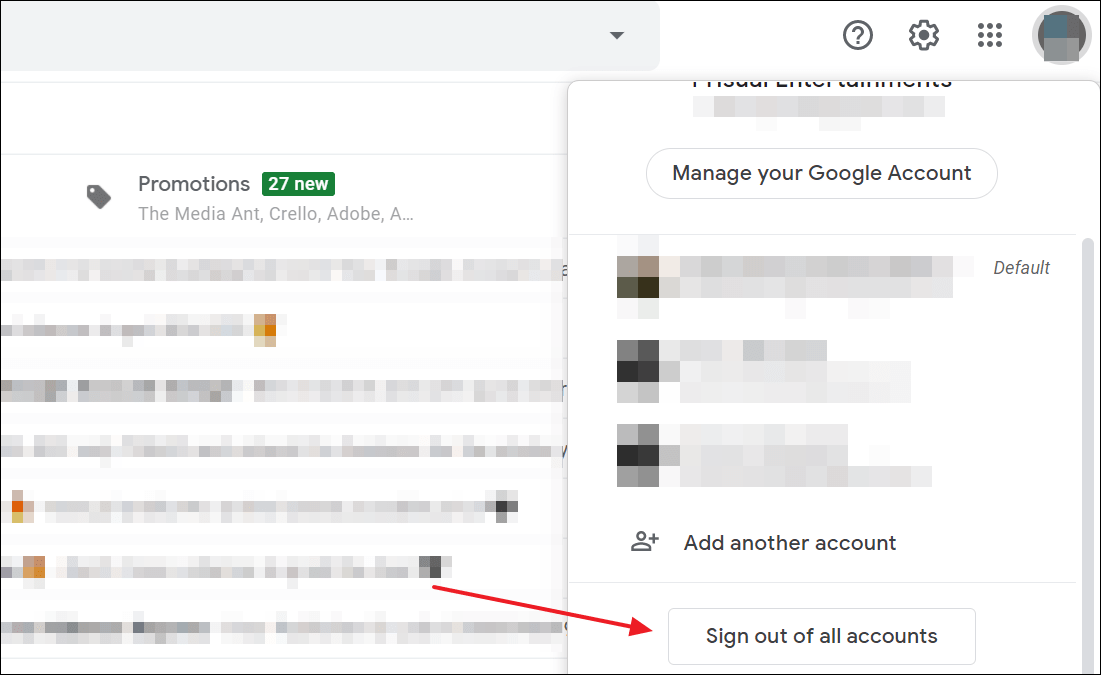
Step 3: To change the default account, you'll need to sign out of all your Google accounts. Click on your profile picture again in the top-right corner of the Gmail screen. In the dropdown menu, select "Sign out of all accounts."

Step 4: After signing out, you'll be directed to the Google sign-in page. Sign in with the account you want to set as the default. Remember, the first account you sign into becomes the default in Chrome.
Step 5: Once you're signed in with your chosen default account, you can add other Google accounts as needed. Click on your profile picture again and select "Add another account" to sign in with additional accounts.
By managing the order in which you sign into your Google accounts, you control which account is set as the default in Chrome. This approach allows you to keep your browsing activities organized and ensures that the correct account is used for syncing and accessing Google services.
Changing your default Google account in Chrome is a straightforward process that helps tailor your browsing experience to your preferences.

