
Modifying image colors directly in Microsoft Office applications like Word, Excel, and PowerPoint allows you to tailor visuals to align with your document's theme or presentation design. Whether you're crafting a business report, preparing a presentation, or compiling data, adjusting image colors enhances the overall aesthetic without requiring advanced graphic design software. Microsoft Office offers built-in tools to change color saturation, tone, and apply recolor effects using presets or custom colors. The process is consistent across all Office apps, making it straightforward to customize images as needed.
Change image color in Microsoft Office
The methods for adjusting image colors are identical in Word, Excel, and PowerPoint. Once you understand how to modify an image's color in one application, you can easily do the same in the others using the options in the Picture Format tab.
Step 1: Open Microsoft Word, Excel, or PowerPoint, and create a new document or open an existing one. If the image you wish to modify is already in the document, click on it to select it.
Step 2: If the image is not yet inserted, place your cursor at the desired location in the document. Navigate to the Insert tab, and in the Illustrations group, click on Pictures. From the dropdown, choose This Device to insert an image from your computer, Stock Images for Microsoft's stock photos, or Online Pictures to search for images online.

Step 3: Browse and select the image file you want to use, then click Insert to add it to your document.
Step 4: Alternatively, you can copy an image from another source and paste it directly into your document.

Step 5: Once the image is in your document, click on it to select it. Then, go to the Picture Format tab that appears at the top of the Ribbon, and click on the Color button in the Adjust group.
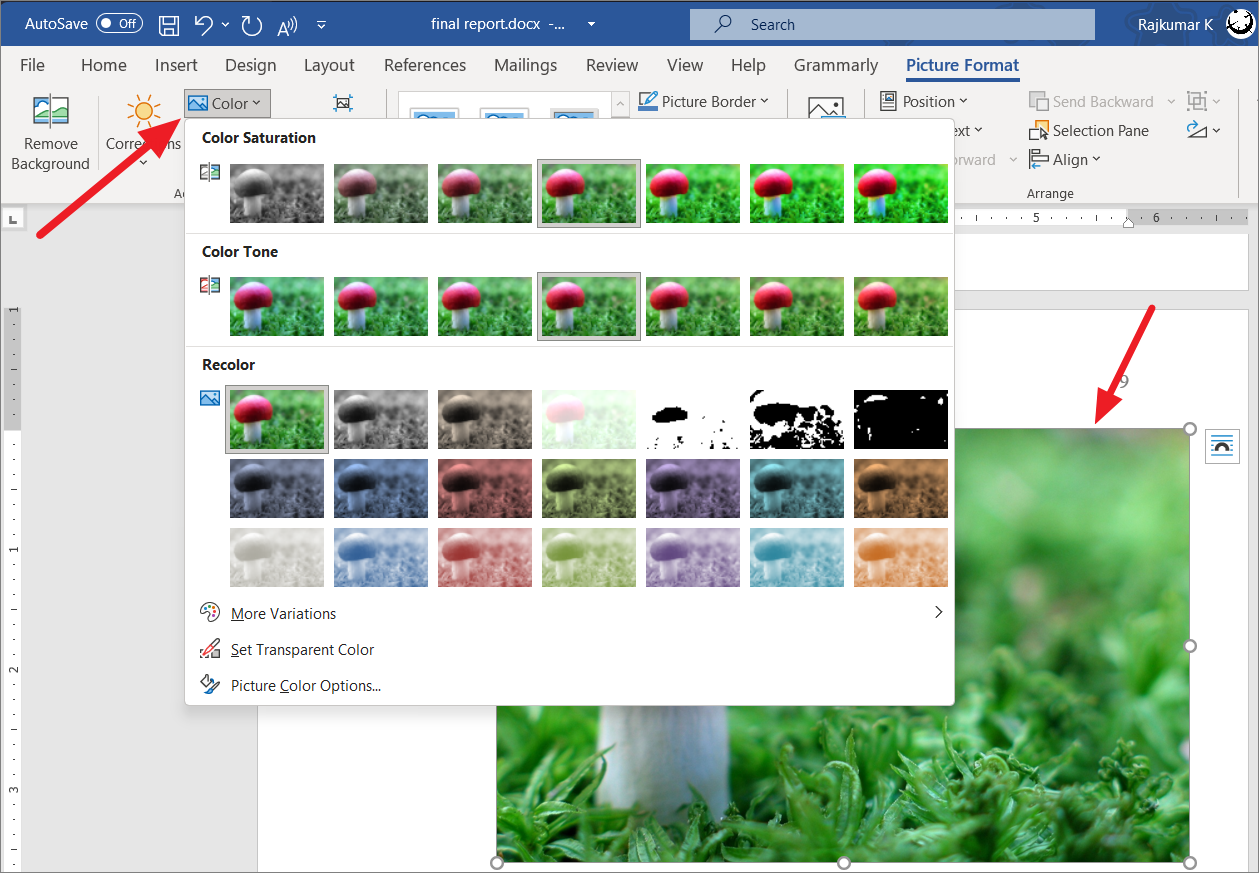
From the Color dropdown menu, you'll see several preset options categorized under three sections:
- Color Saturation
- Color Tone
- Recolor
Color Saturation
Color saturation determines the intensity and vividness of the colors in an image. Increasing saturation makes colors appear more vibrant and rich, while decreasing it reduces color intensity, eventually turning the image into shades of gray at the lowest levels.
In the Color Saturation section, you can select from seven preset levels ranging from 0% (grayscale) to 400% (maximum saturation). Pick the saturation level that suits your needs.

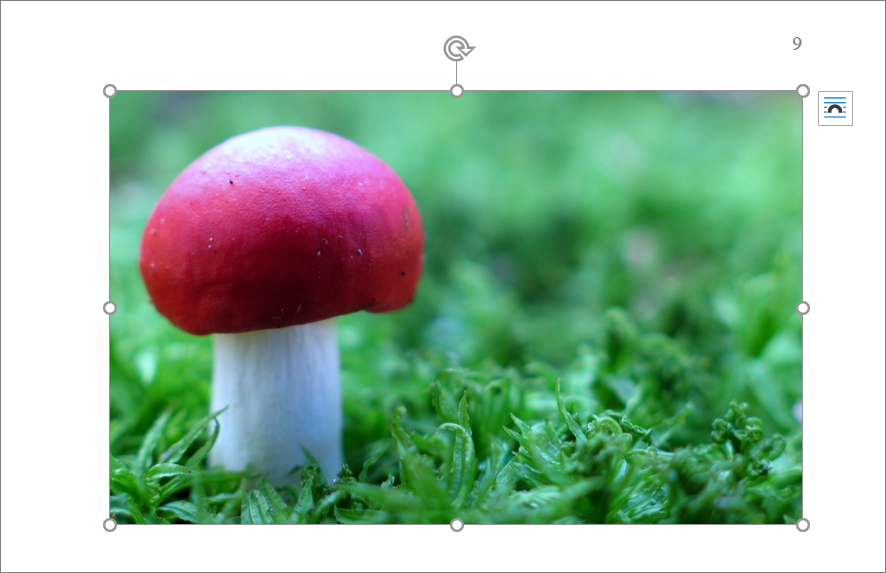
For example, here's how the image appears at 400% saturation (the default is 100%):

Step 6: If you want more precise control over the saturation level, click the Color button again and select Picture Color Options... at the bottom of the menu.

Step 7: The Format Picture pane will appear on the right. In the Picture Color section, adjust the Saturation slider or enter a specific percentage between 0% and 400% to fine-tune the saturation.

Color Tone
Color tone adjusts the temperature of the colors in your image, making them appear warmer or cooler. This effect is achieved by altering the color temperature, measured in Kelvin (K). Lower values produce warmer tones (more red and yellow hues), while higher values create cooler tones (more blue hues). In this section, you can choose from seven preset temperature adjustments to modify the color tone of your image.

For instance, selecting Temperature: 4700K applies a cooler tone to the image (the default temperature is 6500K).
Step 8: To specify an exact color temperature, click the Color button again and select Picture Color Options.... In the Format Picture pane, under Picture Color, adjust the Temperature slider or input a value between 1500K and 11500K.

Recolor
The Recolor feature allows you to completely transform the colors in your image, applying a new hue or color effect to harmonize with your document's theme. There are 21 preset recoloring options available, such as Sepia, Grayscale, Washout, and various color overlays.

Below is an example of the image recolored with the Red, Accent color 2 Dark preset:

If you'd like to choose a different color, hover over More Variations at the bottom of the Recolor menu to access the full color palette. Select a color that best fits your needs.

To apply a custom color using a specific hex code, hover over More Variations and click on More Colors....

In the Colors dialog box, go to the Custom tab. Here, you can input the hex code of your desired color or adjust the Red, Green, and Blue values to create a custom color. Click OK to apply the color to your image.

Change the picture to black and white
If you want to convert your image to black and white (grayscale) to match a certain aesthetic or for printing purposes, follow these steps:
Step 9: Click on your image to select it, then navigate to the Picture Format tab and click the Color button. To convert the image to black and white, choose either Saturation: 0% under the Color Saturation section or Grayscale under the Recolor section.

The result:

Set Transparent Color
The Set Transparent Color feature enables you to make a specific color in your image transparent. This is useful if you want to remove a background or certain elements of the image. Here's how to use this feature:
Step 10: Select the image you wish to edit. Navigate to the Picture Format tab, click the Color button, and choose Set Transparent Color from the dropdown menu.

Step 11: Your cursor will change to a pen icon. Click on the specific color in the image that you want to make transparent. For example, clicking on an orange area in the image will make all pixels of that exact color transparent.

The selected color will immediately become transparent throughout the image. In the example below, the orange areas have become transparent.

Note that this feature only affects pixels that exactly match the color you click on, including the hue, saturation, and brightness.

In the following example, only the areas with the precise color selected have been made transparent, leaving other similar colors unaffected.

Invert the color of an image
Inverting an image's colors means reversing the colors to their opposites on the color spectrum. For instance, red becomes cyan, white turns to black, black to white, magenta to green, and orange to blue. To invert the colors of an image in Microsoft Office, follow these steps:
Step 12: Click on your image to select it. In the Picture Format tab, click on the Artistic Effects button in the Adjust group. From the dropdown menu, choose the Invert Colors option.

Use Microsoft Paint to invert the image
In recent versions of Microsoft Office, the Invert Colors effect may not be available. If that's the case, you can use Microsoft Paint to invert the image colors and then insert it back into your Office document.
Step 13: Place the image into your document if it's not already there. Click on the image to select it, then press Ctrl+X to cut it to the clipboard.

Step 14: Open Microsoft Paint. With a new blank canvas open, press Ctrl+V to paste the image from the clipboard into Paint.

Step 15: Right-click on the pasted image and select Invert color from the context menu.

The colors of the image will now be inverted. Select the image again and press Ctrl+X to cut it back to the clipboard.

If the image becomes deselected, click the Select tool in Paint and draw a rectangle around the image to select it again. Then, copy or cut the image to the clipboard.

Step 16: Return to your Office document and paste the inverted image by pressing Ctrl+V where you previously cut the original image.

Change color for only part of the image
Sometimes, you might need to change the color of just a specific part of an image—for instance, altering the background color of a photo. You can achieve this using the Remove Background feature in Microsoft Office. Here's how:
Step 17: Open Microsoft Word or PowerPoint and insert the image you wish to modify.

Step 18: Click on the image to select it, navigate to the Picture Format tab, and click on Remove Background in the Adjust group.

The background removal tool will automatically identify and mark the background areas for removal by highlighting them in magenta. Since this automatic selection might not be perfect, you can manually adjust it using the Mark Areas to Keep and Mark Areas to Remove options.

Step 19: Use the Mark Areas to Keep tool to highlight parts of the image you want to retain, or the Mark Areas to Remove tool to select additional areas to remove. Click and drag over the sections accordingly.

If you make a mistake, press Ctrl+Z to undo the last action. To discard all changes and start over, click Discard All Changes.
Step 20: Once you're satisfied with your selection, click Keep Changes to apply the background removal.

Step 21: With the image still selected, go to the Picture Format tab, click the Color button, and choose Picture Color Options... from the dropdown.

Alternatively, you can right-click the image and select Format Picture from the context menu.
The Format Picture pane will open on the right side of your window. Click on the Fill & Line tab (represented by a paint bucket icon) and select Solid fill under the Fill section.

Step 22: Click on the color box next to Color to open the color palette, and select the new color you want to apply to the removed background area.

This will change the background (or the part you removed) to the color you selected, as shown in the example below.

These steps can also be applied in PowerPoint and Excel to change the color of only part of an image.
Revert image to the original colors
If you want to undo all the color adjustments and restore your image to its original state, you can easily reset it. Here's how:
Step 23: Click on the image you wish to reset. In the Picture Format tab, click the Reset Picture button in the Adjust group, and choose Reset Picture from the dropdown menu.

Your image will now return to its original colors and settings.

By utilizing these tools, you can easily modify and enhance images within Microsoft Office to suit your documents and presentations.