Transferring photos from iPhone to Windows has never been a big hassle since there are several ways you can transfer them. If you are importing a large number of pictures, the process is fairly straightforward and relatively fast.

However, when it comes to transferring Windows and iOS still haven’t achieved the middle ground of a native solution that is as fast and convenient as AirDrop that can be used among Apple devices to transfer photos, files, and a lot more.

Thankfully, you do not need to wait around till the time Apple and Microsoft can arrive at a conclusion. There are many methods using which you can transfer photos from your iPhone to a Windows PC lightning fast.

Though not all methods boast of wireless sharing of pictures, some also are achieved when the devices are connected through a supported cable but are equally fast if not more.

1. Import All Pictures from your iPhone to the Windows PC using File Explorer

If you are transferring pictures in bulk, this could prove as the most convenient and suitable method for you, as all required from your side are a couple of clicks and you are good to go.

Note: Before proceeding, make sure you have connected your iPhone to your PC using a cable.

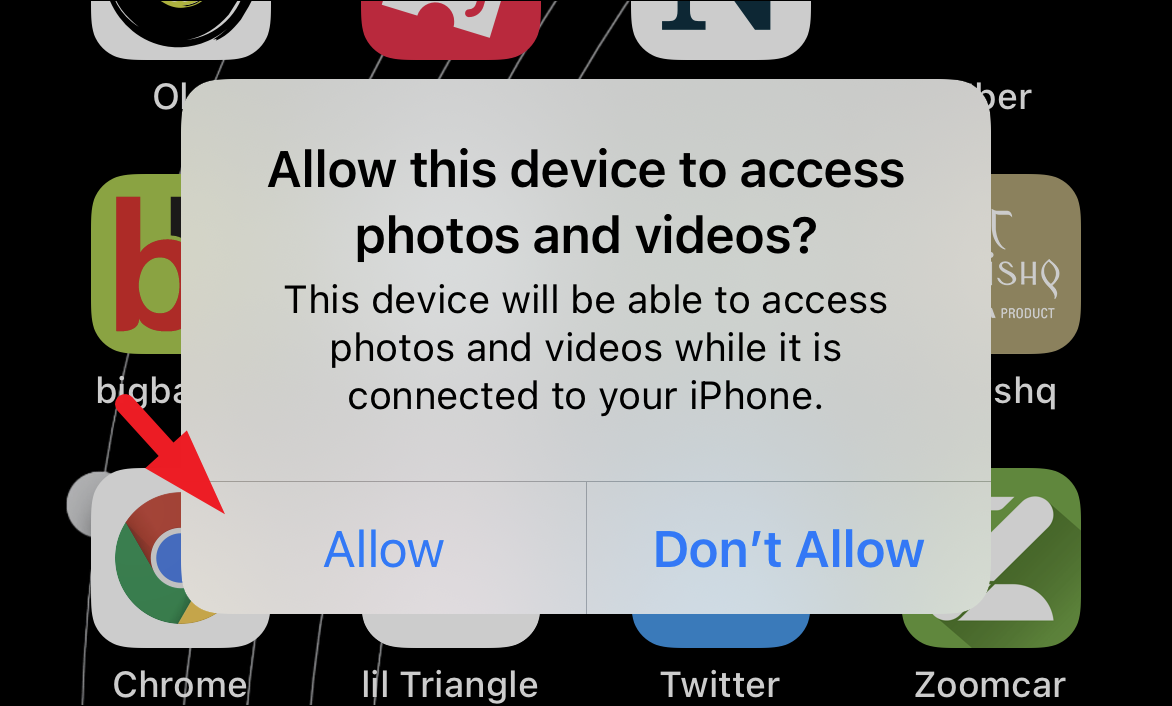
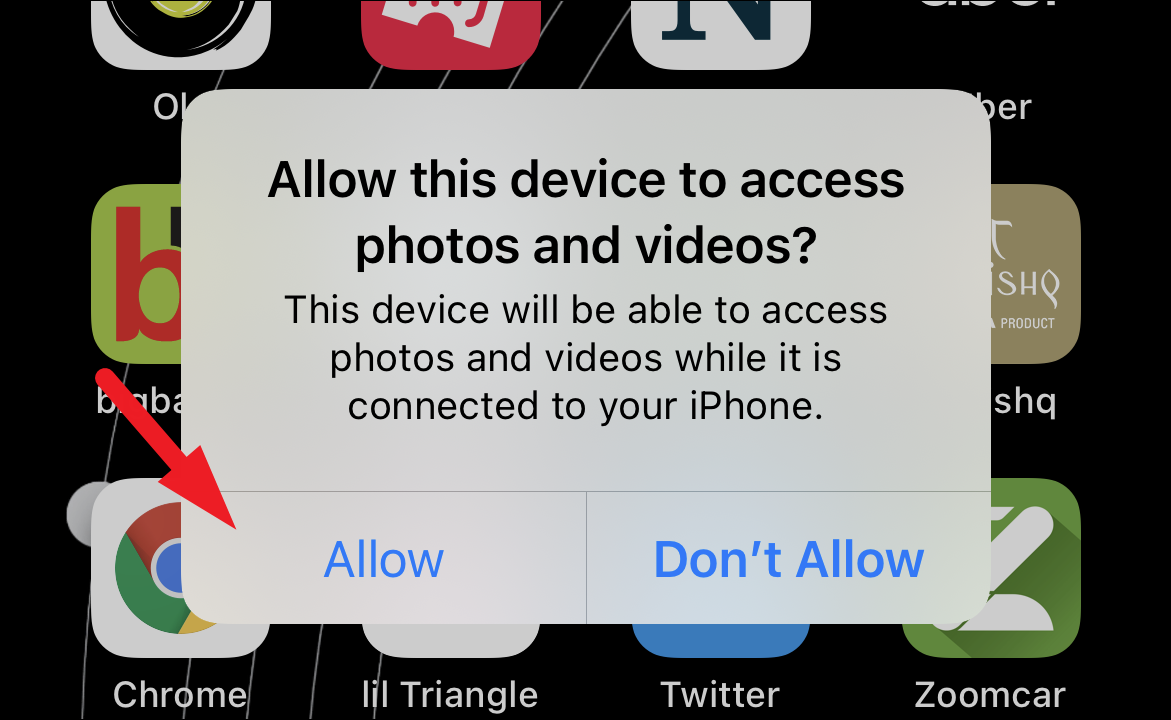
In case this is the first you are connecting your iPhone to your computer, you will receive a prompt on your device asking if you wish to allow the PC to access the photos. To provide access, tap on the ‘Allow’ button.

Then, from the Desktop of your PC, double-click on the ‘This PC’ icon to open the File Explorer window. Alternatively, you can also press the Windows+E keys together on your keyboard to open the window.

Next, on the ‘This PC’ screen, locate and right-click on the ‘Apple iPhone’ tile to reveal the context menu. Then, click to select the ‘Import Photos and Videos’ option from the list to continue. This will open a separate window on your screen.

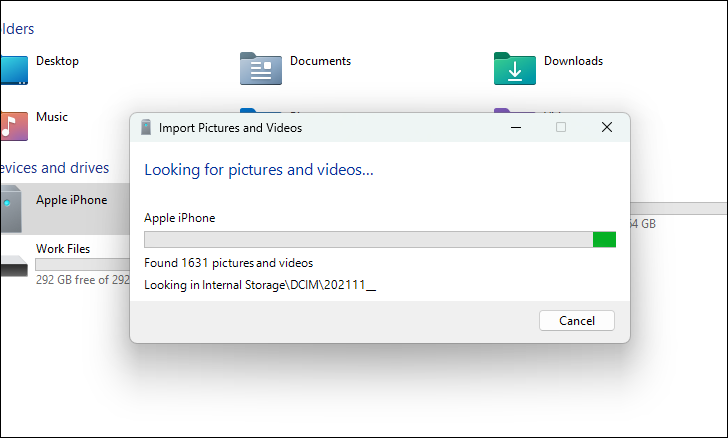
Now, from the separately opened window, Windows will first find all the photos and videos present on your device.

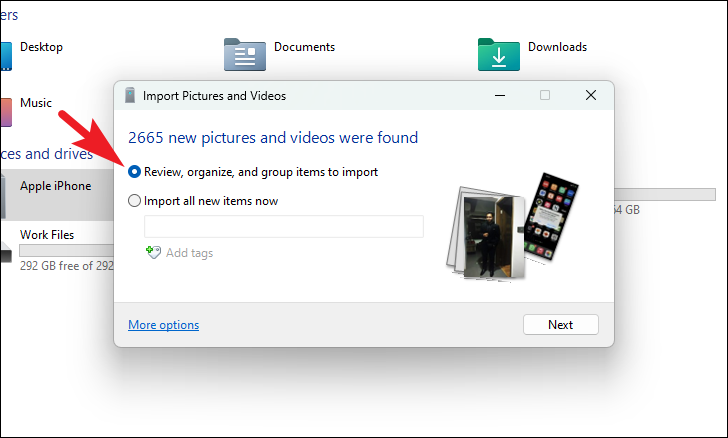
Once Windows has found all the media that can be imported onto your computer, it will display the number of files along with the thumbnails on the ‘Import Window’. You can even organize the media on the basis of a time period if you prefer, by clicking on the checkbox preceding the ‘Review, organize, and group items to import’ option.

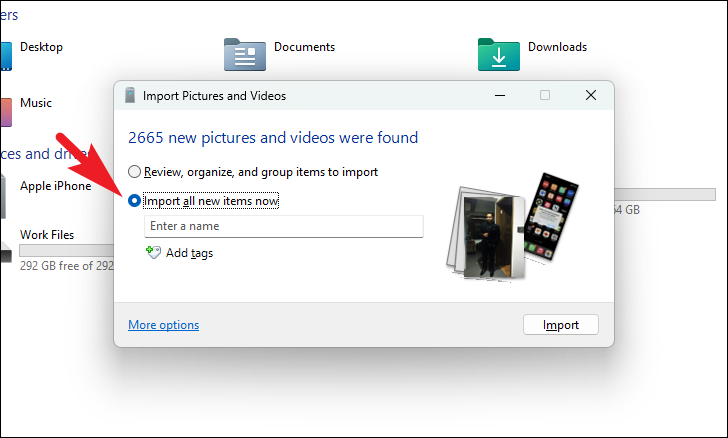
Otherwise, to make the process of importing faster, you can simply click on the ‘Import Now’ button to start importing all media.

Note: If this is the first time you are importing photos and videos, Windows will import all the media present on the device. Otherwise, it will exclude the media that have been already imported to the same Windows computer.

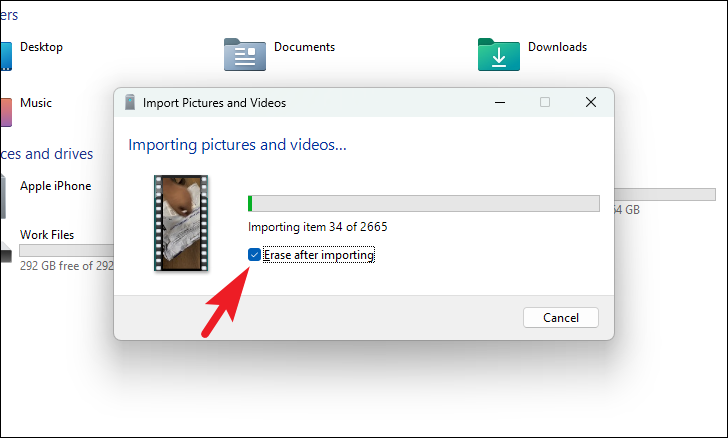
Once the importing has started, you can also click on the checkbox preceding the ‘Erase after importing’ option to delete all the media from your iOS device after importing to free up space.

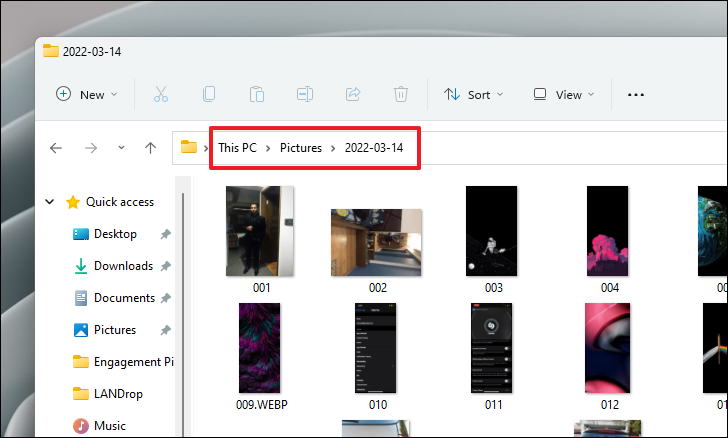
After the import is successfully completed, Windows will open the directory in a separate File Explorer window for your ease of convenience. If you had chosen to import the media without any organization, all of it will be placed under a single folder named the date of import.

And that’s it, you have successfully imported pictures and videos to your Windows device from your iPhone.


2. Use LANDrop to Share Media Instantly

LANDrop is a third-party app that you can install on your Windows PC and iOS device. Then, simply transfer media files from the iOS device to the PC by simply tapping a button when connected to the same Wi-Fi network.

This will be a two-part process, first, you will have to download the app onto your PC and then on the iPhone from the AppStore, then you can transfer the photos.

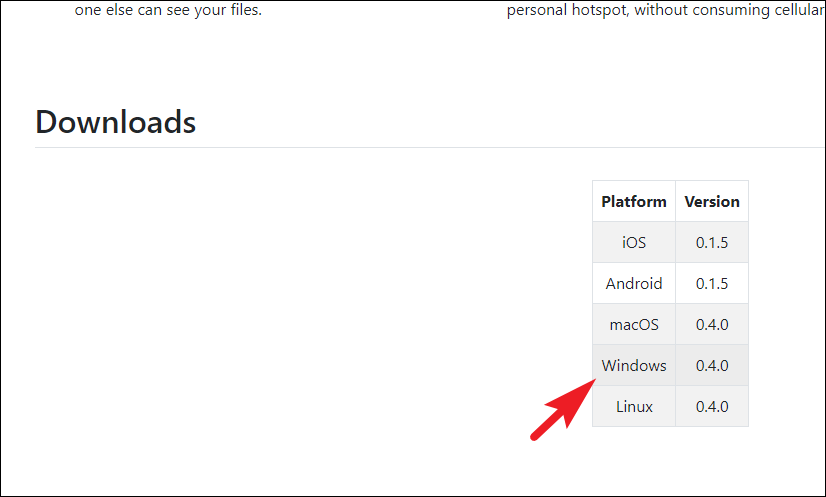
First, on your computer, head to landrop.app/downloads using your preferred browser. Then, once the website is loaded, click on the ‘Try it now’ button to initiate the download.

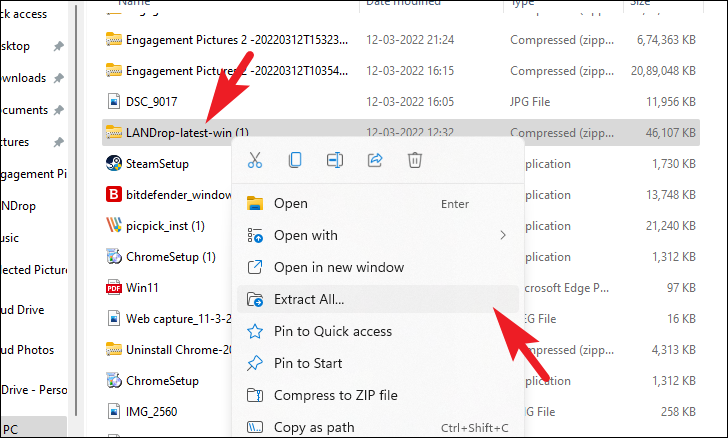
Once downloaded, head to your default downloads directory and right-click on the .ZIP file that you just downloaded. Next, from the context menu, click on the ‘Extract All’ option to extract the files. This will open a separate window on your screen.

From the separately opened window, click on the ‘Extract’ button present on the bottom right section of the window to extract the files in the same directory.

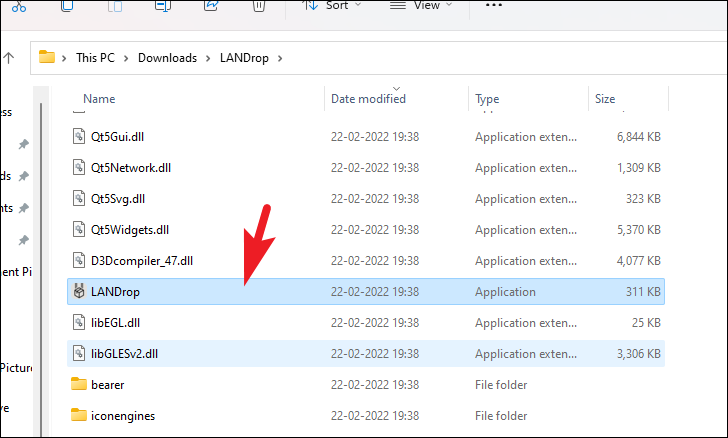
Once successfully extracted, Windows will open the contents of the folder in a separate window. Now, locate and double-click on the ‘LANDrop’ app to run it.

Note: LANDrop is a portable app, and hence, does not require any installation.

Once the app has started, you will receive a notification on your screen stating the same.

Now, you will need to download the LANDrop app on your iPhone in order to transfer the media to your Windows PC.

Hence, on your iPhone, head to the App Store either from the home screen or from the App Library of your iOS device.

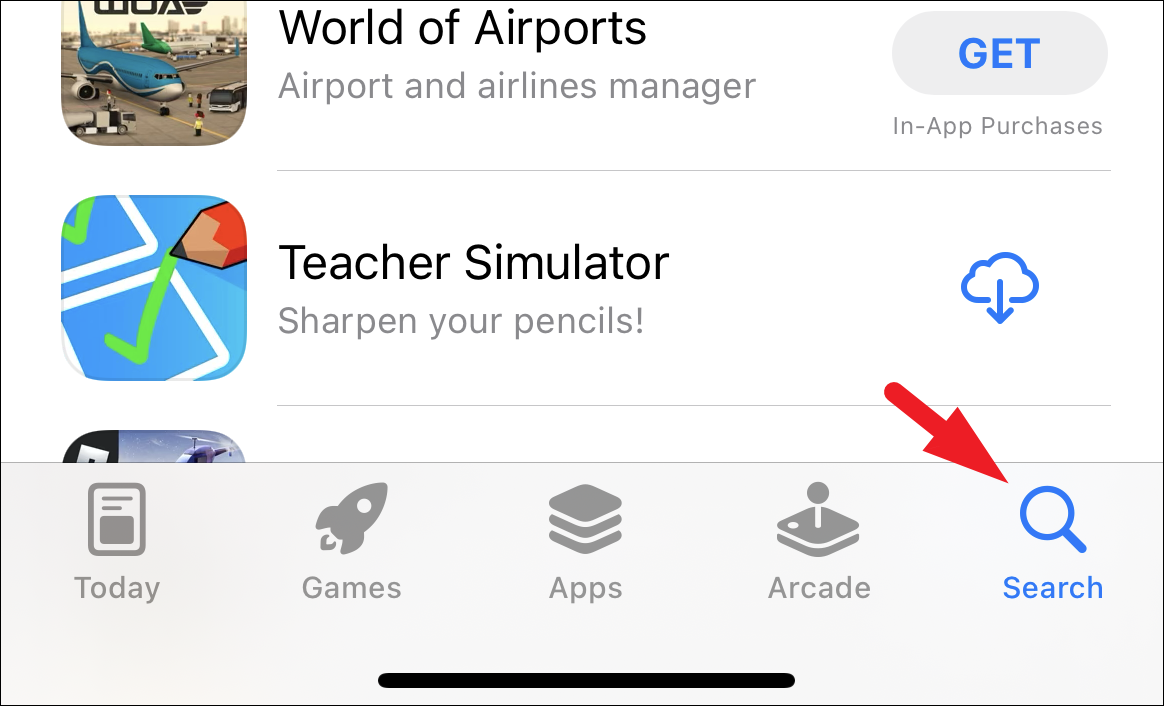
Next, on the App Store screen, tap on the ‘Search’ tab present on the bottom-right corner of the screen to continue.

After that, type LANDrop in the ‘Search bar’ present on the top section of the page and tap on the ‘Search’ button present in the bottom-right corner of the on-screen keyboard.

Next, from the search results, locate the ‘LANDrop’ tile and tap on the ‘Get’ or ‘Cloud’ icon button present on the far-right edge of it to continue. Next, provide credentials for your Apple ID using your preferred method of authentication.

Once the app has been downloaded, launch the ‘LANDrop’ app either from the home screen or from the App Library of your device.

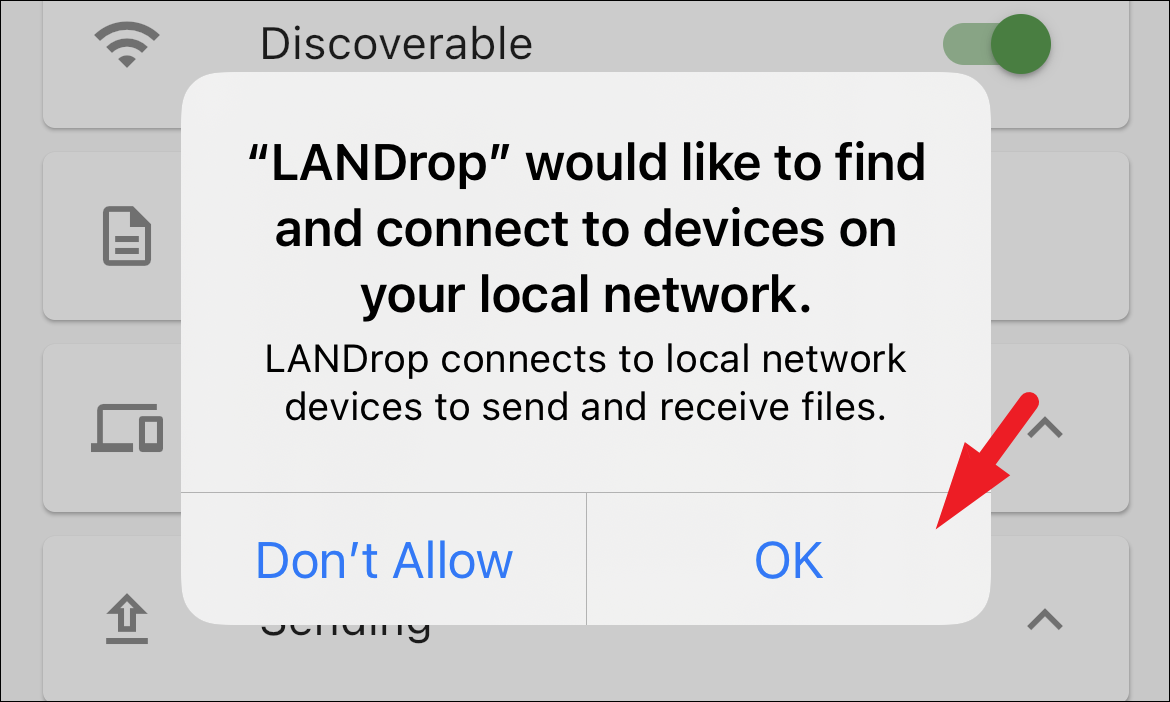
Then, you will receive a prompt on your screen, to allow LANDrop to find your locally connected devices, tap on the ‘OK’ button to proceed.

After that, to select media from your gallery, tap on the ‘Image’ icon present on the top right section of the screen to open your photos library.

You might receive a prompt on your screen asking if you wish to allow the app to access the photos. Tap on the ‘Allow access to all photos’ to proceed.

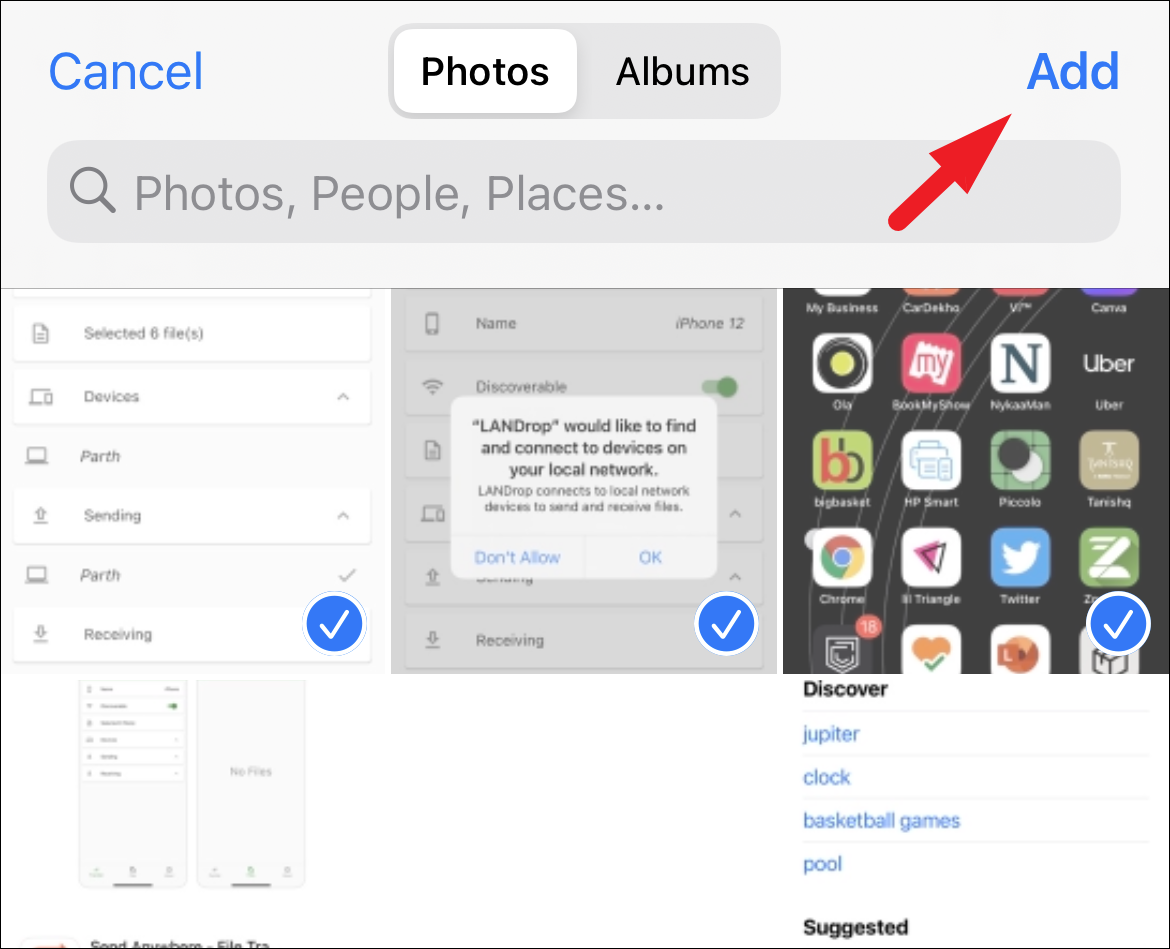
Then, in your photos library, tap on each individual thumbnail to select the photos. Once selected, tap on the ‘Add’ button to proceed.

Now, tap on the ‘Devices’ tab to reveal the list of all available devices. In case there are no devices available. Close the app and launch again.

Once you have relaunched the LANDrop app, again select the photos by tapping on the ‘Image’ icon present on the top right corner. After selecting the media from your gallery, tap on the ‘Devices’ tab to reveal the list of available devices. Then, tap on the device name you wish to share the media.

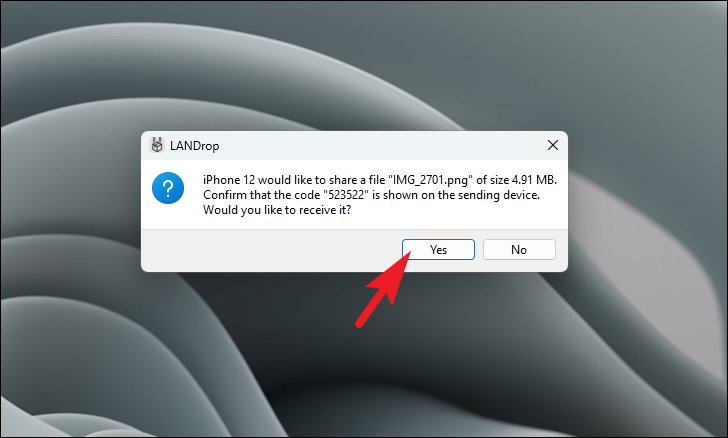
Now, on your Windows PC, you will receive a prompt asking if you wish to receive the file. Click on the ‘OK’ button to commend the transfer of media.

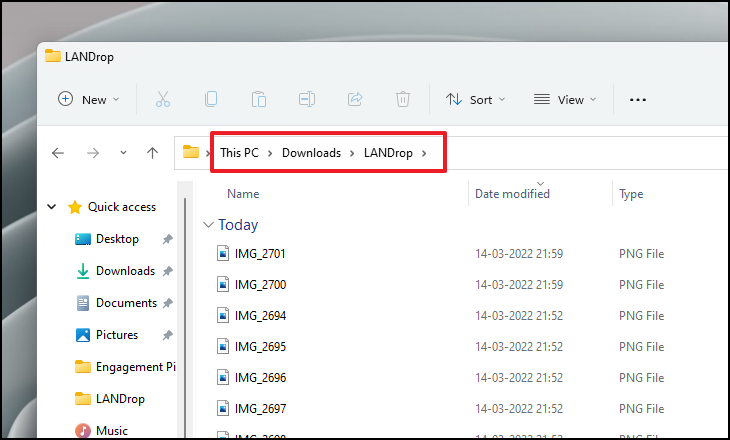
Once all the files have been received, Windows will open a new Explorer window of the directory the media has been saved to. By default, all the media is stored in your default Downloads directory.


3. Use a Cloud Storage to Transfer Media

All major cloud storage services have apps for AppStore that can be downloaded onto your iOS device, which you can then use to upload photos to the service. Then, use the account credentials to log in to their Desktop apps or web interface and download the uploaded media on your computer.

This method has multiple use-cases, this would be best suitable if you wish to import smaller chunks of media that are highly categorized or when a wired connection between the two devices is not possible. For this guide, we will be showcasing the method with Google Drive.

Upload the Files from your iPhone Using the Google Drive App

In order to share the files, you will first need to upload them to Google Drive which is linked to your Google Account. In case you do not have the app downloaded to your phone, follow the below-mentioned instructions to do so.

First, on your iPhone, head to the AppStore either from the home screen or from the App Library of your device.

Next, tap on the ‘Search’ icon present at the bottom right section of the screen to continue.

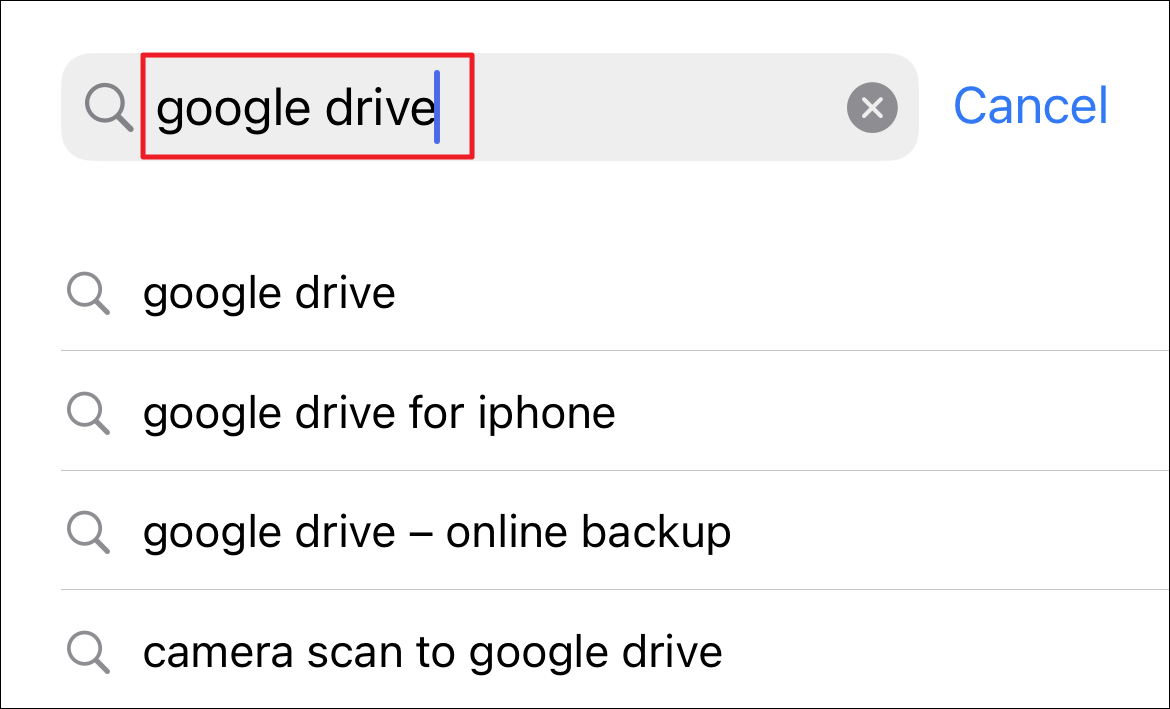
On the next screen, locate the search bar present on the top section of the page and type Google Drive in it. Then, tap on the ‘Search’ button present in the bottom right corner of your on-screen keyboard to proceed.

Then, from the search results, locate the ‘Google Drive’ tile and tap on the ‘Get’ button or the ‘Cloud’ icon to initiate the download of the app. If this is your first-ever download of the app, you will need to provide your credentials using your preferred way of authentication.

Once the app has been downloaded to your device, launch the app either from the home screen or from the App Library of your iPhone.

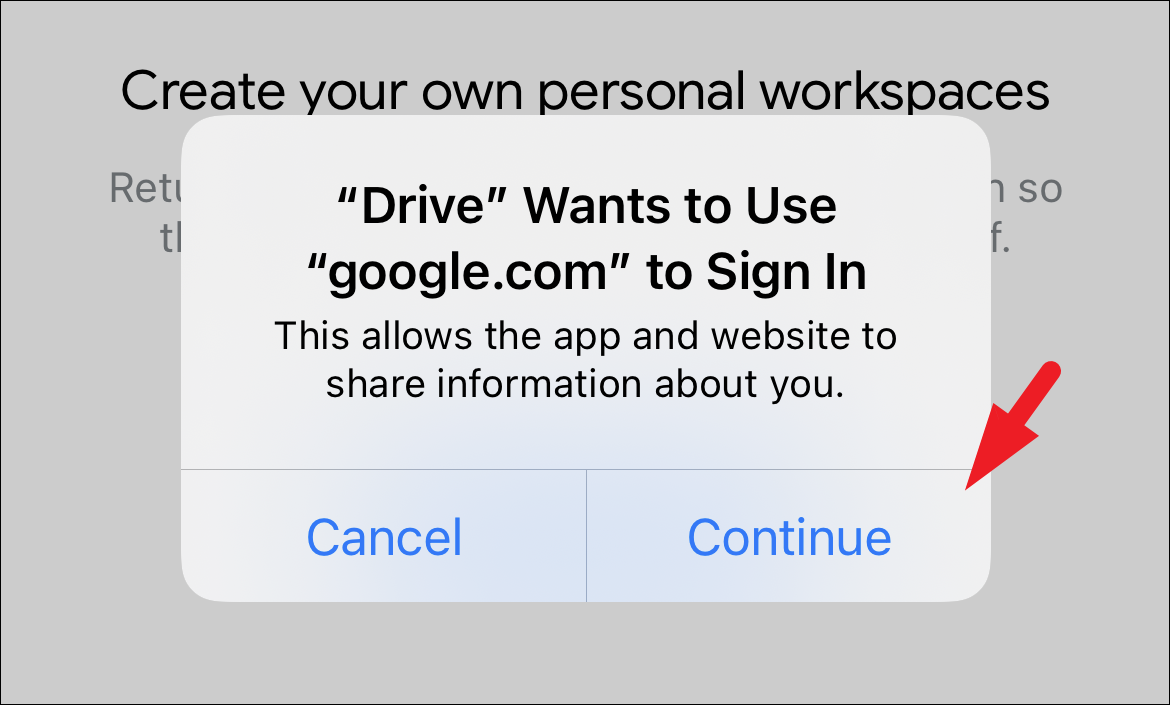
Next, you will receive a prompt on your screen, tap on the ‘Continue’ button to proceed. This will open an overlay screen on your device.

After that, you will need to sign in to your Google account, enter your credentials and click on the ‘Next’ button to continue.

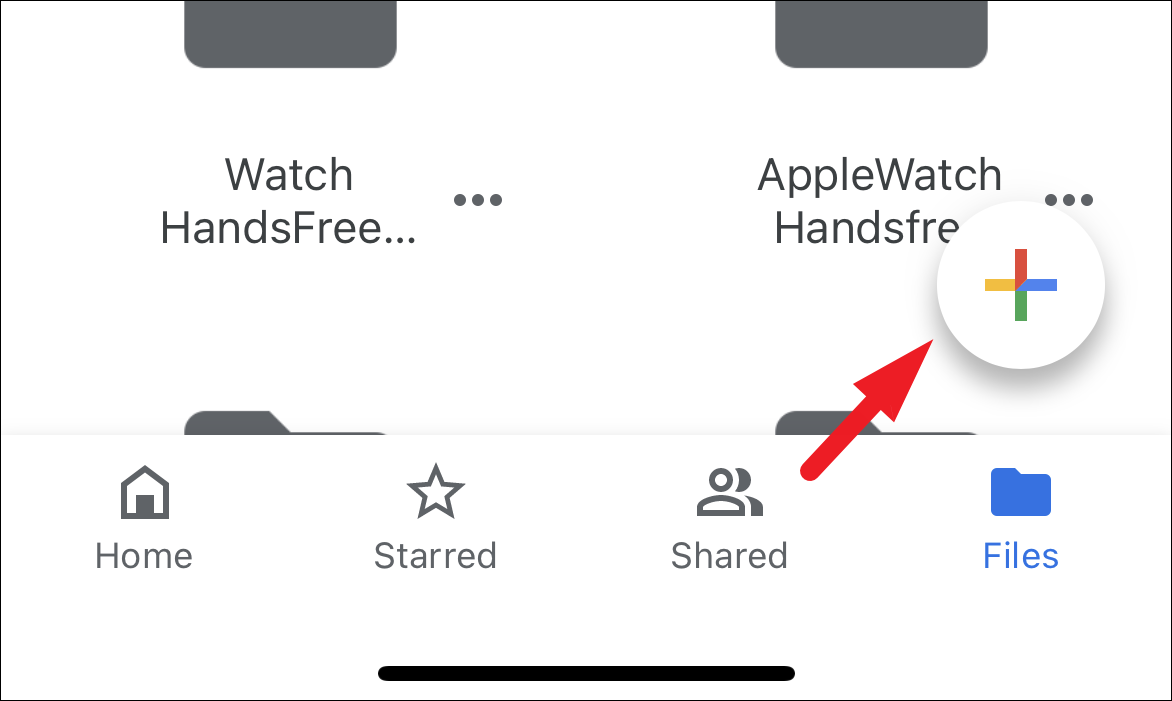
Once logged in successfully, you will be redirected to the app screen. Now, tap on the ‘+’ sign present on the bottom right corner of the screen. This will bring an overlay menu from the bottom of the screen.

Then, from the overlay menu, tap on the ‘Upload’ option to continue. This will bring up another overlay menu on the screen.

Next, tap on the ‘Photos and videos’ option to continue. If you are uploading the media for the very first time on Google Drive, it will bring up a prompt on your screen to ask you for permission to access media on your device. Tap on the ‘Allow Access to all Photos’ to proceed.

After that, on the next screen, tap on the album you wish to upload pictures from to continue.

Then, tap on individual thumbnails of the pictures to select them. Once selected, click on the ‘Upload’ button present on the top right corner of the screen to proceed.

Download the Files to your PC from Google Drive

Once you have successfully uploaded the files from your iOS device to the Drive, you can now use the web interface of Google Drive to download all the files to your PC.

First, from your computer, head to drive.google.com using your preferred browser.

If you are not signed in already, provide your credentials to sign in. Make sure you use the credentials for the account to which you have uploaded the photos from the mobile app.

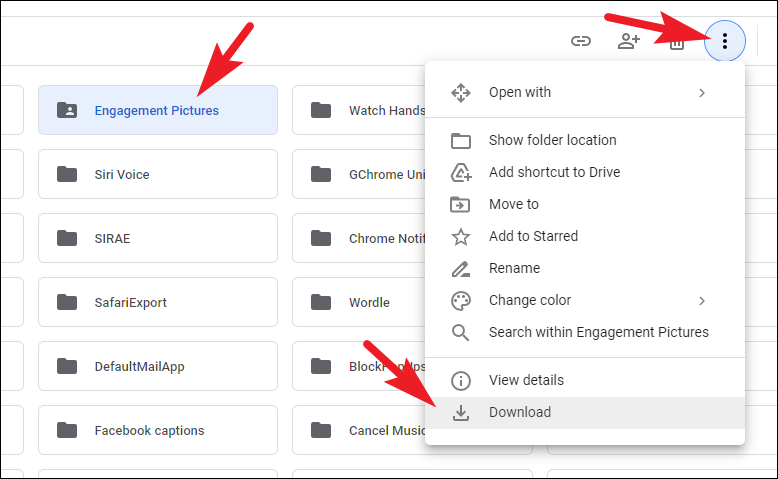
Once signed in, locate and click on the individual photos tile to select all that you wish to download on your PC, in case you uploaded the photos under a folder, just select the folder and click on the ‘Kebab’ menu icon. Then, click on the ‘Download’ option from the list to initiate the download of the media.

The photos/folder you selected will now be zipped and downloaded to the default downloads directory of your Windows PC.


4. Use the Photos App on your Windows PC

You can also use the native Photos app that came preinstalled on your Windows PC to import all the media to your computer. This method is fast, simple, and pretty straightforward.

Note: Before proceeding, make sure you have connected your iPhone with your Windows PC using a cable.

In case you have connected your iPhone to the PC for the first time, you will receive a prompt on your iOS device asking you if you wish to allow the PC to read the media files. Tap on the ‘Allow’ button to continue.

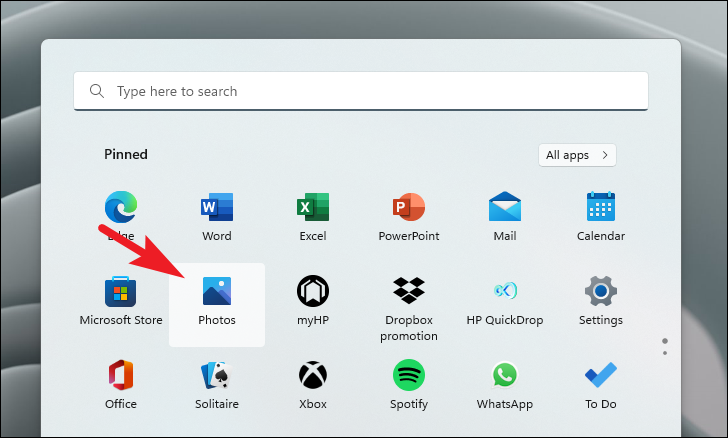
After that, on your Windows PC, head to the Start Menu and click on the ‘Photos’ app tile present under the ‘Pinned apps’ section. Alternatively, type Photos in the menu to perform a search for it.

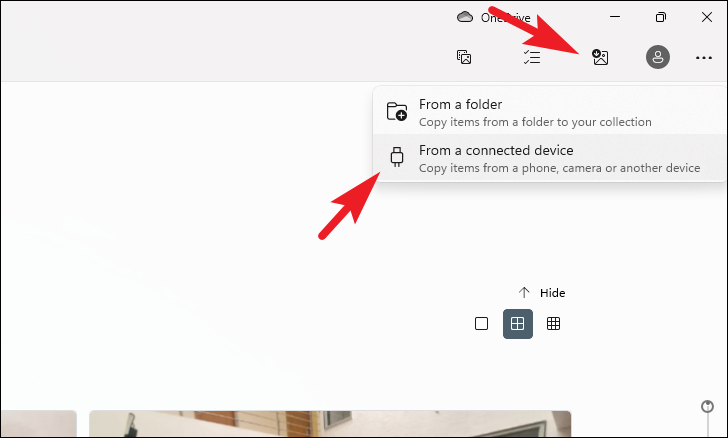
Next, on the Photos window, click on the ‘Import’ button present on the top right section of the window to reveal an overflow menu. Then, click on the ‘From a connected device’ option to proceed.

Photos app will now look for media on your iOS device. Once scanned, a separate ‘Import items’ window will open on your screen.

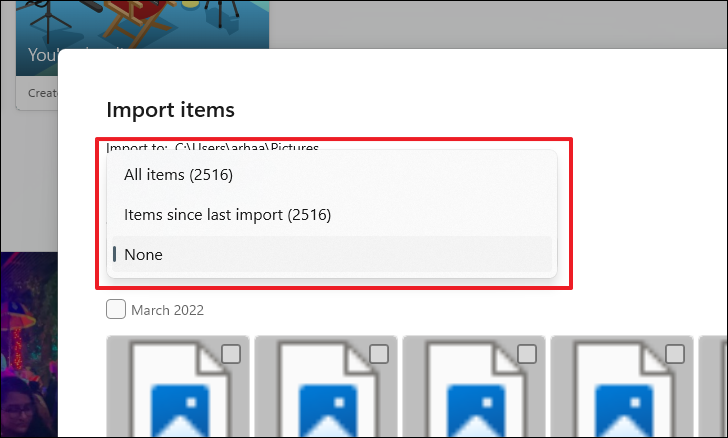
Now, click on the drop-down menu present under the ‘Select’ option.

Then, choose either the ‘All items’ to import the complete media library of your iPhone to the Windows PC. Otherwise, click to select the ‘Items since last import’ to exclude the media that has been imported earlier on this computer.

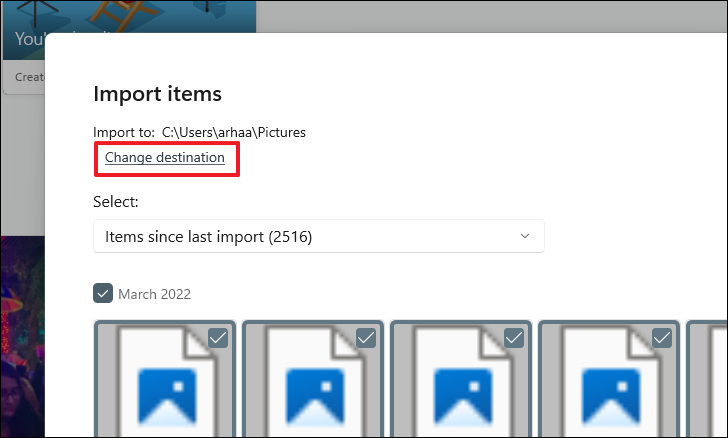
You can also change the directory to save the import media by clicking on the ‘Change destination’ button present in the window. This will open a separate File Explorer window on your screen, which you can then use to browse and select the directory of your choice.

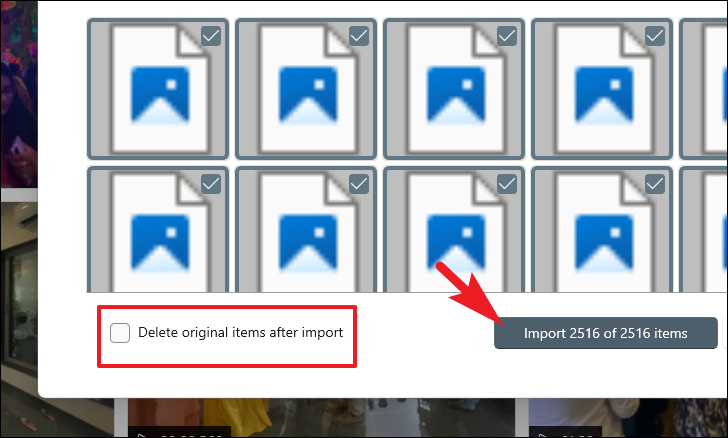
You can also choose to delete the media from your iPhone once the import process is completed. To do so, click on the checkbox preceding the ‘Delete original items after import’. Once you have adjusted all the settings according to your preference, click on the ‘Import’ button to import the selected media.

Use iCloud to Transfer Media Between PC and iPhone

If you do not wish to use a third-party service or even a Windows service to transfer media files among your devices. However, do keep in mind the number of media files that you can transfer at a single go will completely depend upon your iCloud Storage.

Before proceeding, it is necessary that you enable iCloud for Photos on your iOS device to share the media files. If you have not enabled or are not sure about it, follow the below steps to enable the feature or just to make sure that it is enabled.

To change the settings on your iPhone, first, head to the ‘Settings’ app either from the home screen or from the App Library of your iOS device.

Next, on the ‘Settings’ screen, tap on your Apple ID card to proceed.

Then, locate and tap on the ‘iCloud’ option to continue.

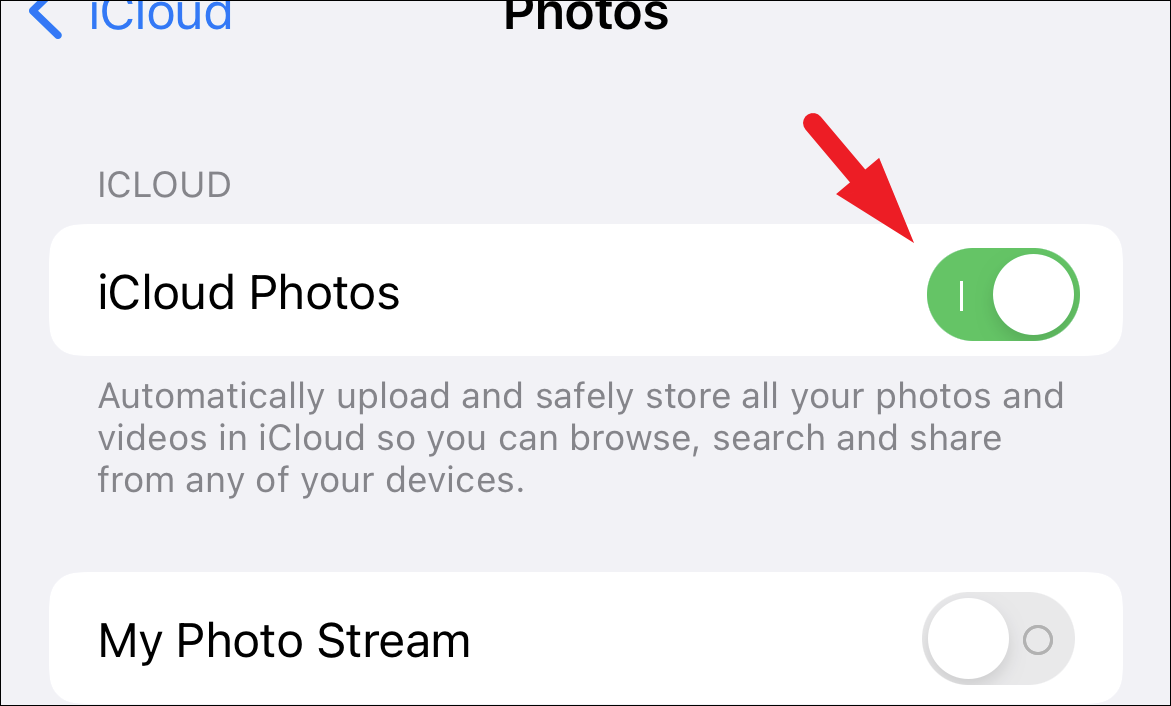
Now, on the next screen, tap on the ‘Photos’ option from the list to proceed.

After that, locate the ‘iCloud Photos’ option and tap on the toggle switch present on the far right edge of the tile to bring it to the ‘On’ position.

Once turned on, your iPhone will upload all the media in your gallery to iCloud storage.

Now to download pictures on your PC, first, head to the Start Menu and click on the ‘Microsoft Store’ tile present under the ‘Pinned apps’ section. Alternatively, you can also type Store in the menu to perform a search for it.

Next, on the Store window, click on the search bar and type iCloud, and hit Enter on your keyboard to proceed.

From the search results, click on the ‘Get’ button present on the far right edge of the iCloud app tile to download and install the app.

Once downloaded, you will need to sign in to your Apple ID. To do so, head to the Start Menu and type iCloud to perform a search for it. Then, from the search results, click on the ‘iCloud’ tile to open the app.

After that, a UAC window will appear on your screen. If you are not logged in with an admin account, enter the credentials for one. Otherwise, simply click on the ‘Yes’ button to proceed.

After that, you will have to enter credentials for your Apple ID. Once entered, click on the ‘Sign In’ button to proceed.

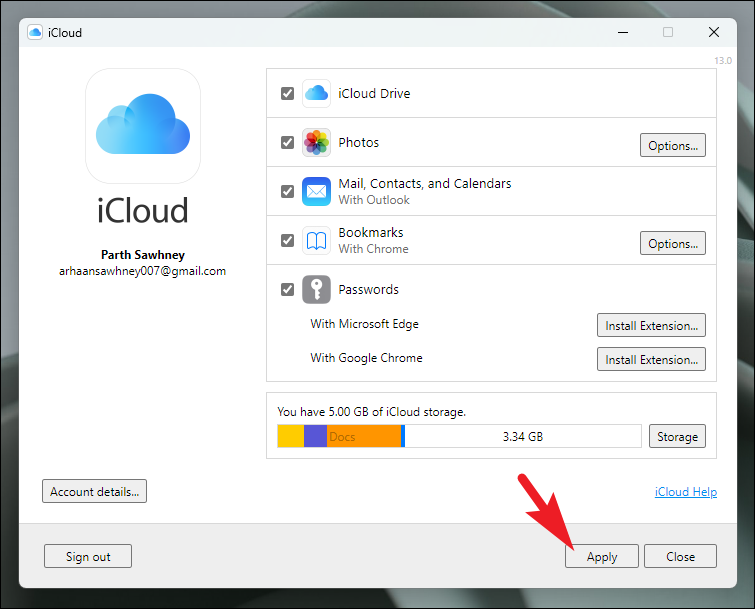
On the next screen, iCloud will confirm your sync settings, if you do not wish to change the existing settings, click on the ‘Apply’ button to proceed.

Once the settings have been applied, head to the Start Menu again and type Shared Albums to perform a search for it. Then, from the search results, click on the ‘iCloud Shared Albums’ tile to open the app.

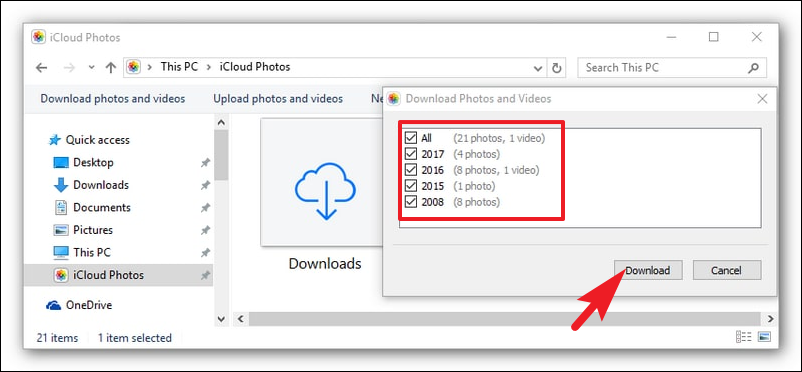
After that, on the ‘iCloud Shared Albums’ screen, click on the ‘Download photos and videos’ tile present on the top left section of the window. This will open a separate window on your screen.

Then, from the separately opened window, click on the checkboxes preceding each time juncture. Once selected, click on the ‘Download’ button to download the pictures on your computer.

Once downloaded, you will be able to locate the media files under the ‘Downloads’ directory.


There you go folks, hopefully, using one of these methods, you will be able to transfer media files between your PC and iPhone in a much faster and more efficient way.