
Microsoft Word offers the flexibility to change its display and editing languages, catering to users who prefer working in languages other than English or need to include special characters and accent marks from different languages. Adjusting these settings can enhance your productivity and make document creation more comfortable.
Changing the display and help languages
To modify the language of the Word interface, including menus, tabs, and help options, you need to install the desired language pack and set it as your preferred language. Here are two methods to do this:
Adding language packs via Word options
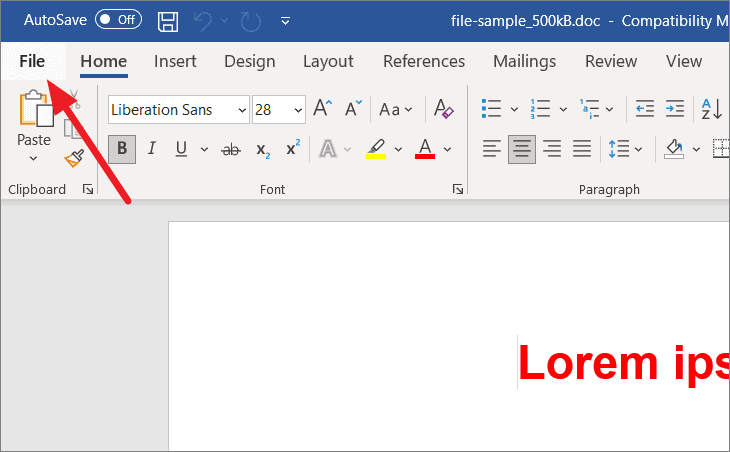
Step 1: Open Microsoft Word and click on the File tab.
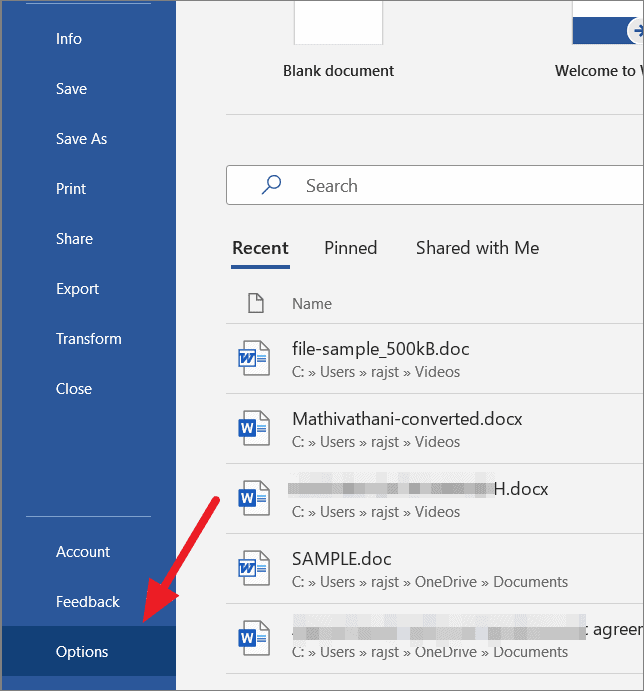
Step 2: In the sidebar, select Options to open the Word Options dialog box.
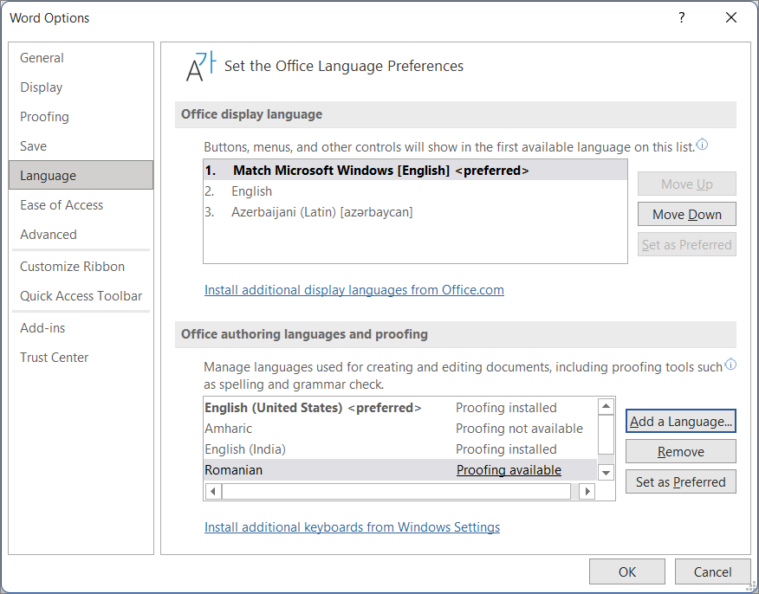
Step 3: In the Word Options window, choose the Language tab. Under the Office display language section, you'll see a list of installed languages.
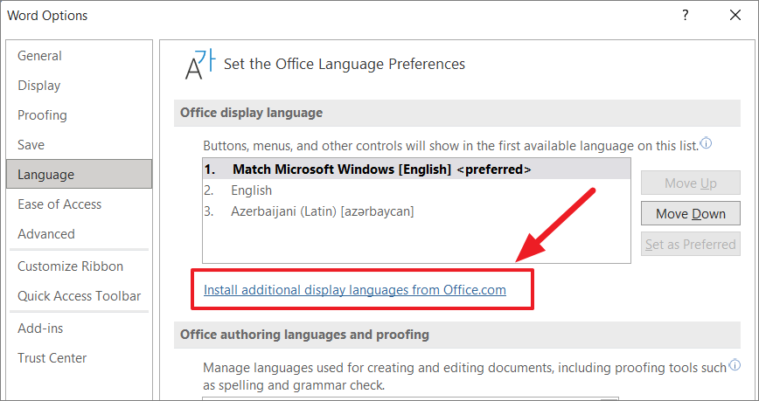
Step 4: If your desired language isn't listed, click the link Install additional display languages from Office.com located below the language list.
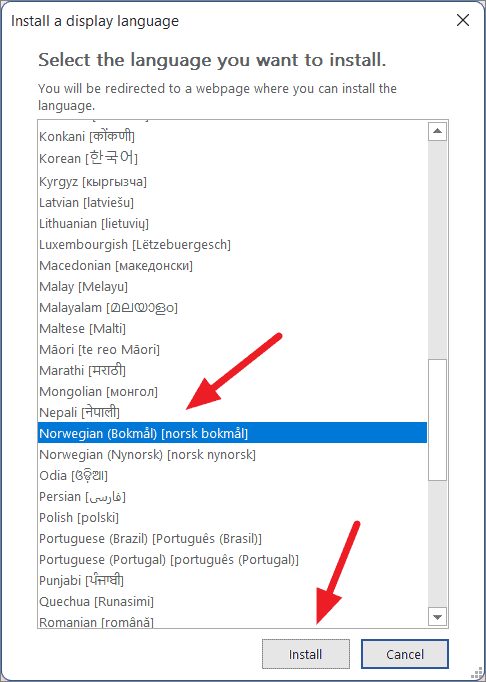
Step 5: In the dialog that appears, select your language and click Install.
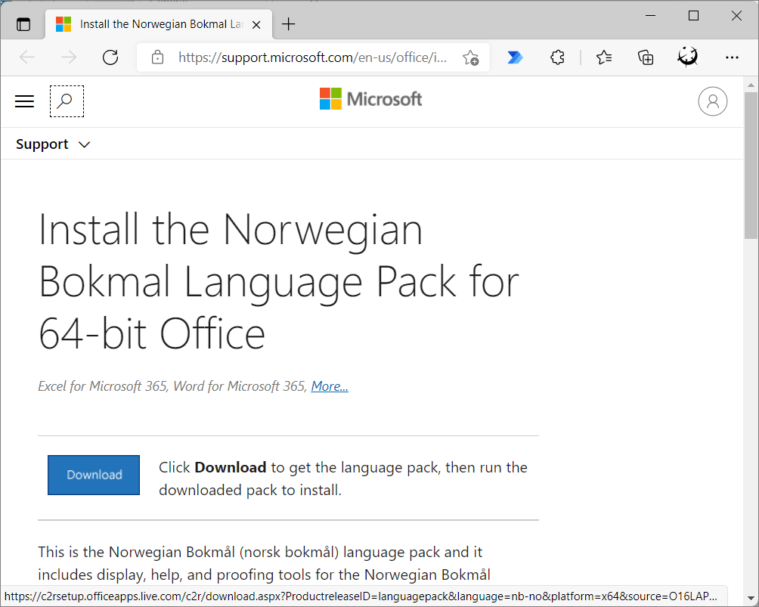
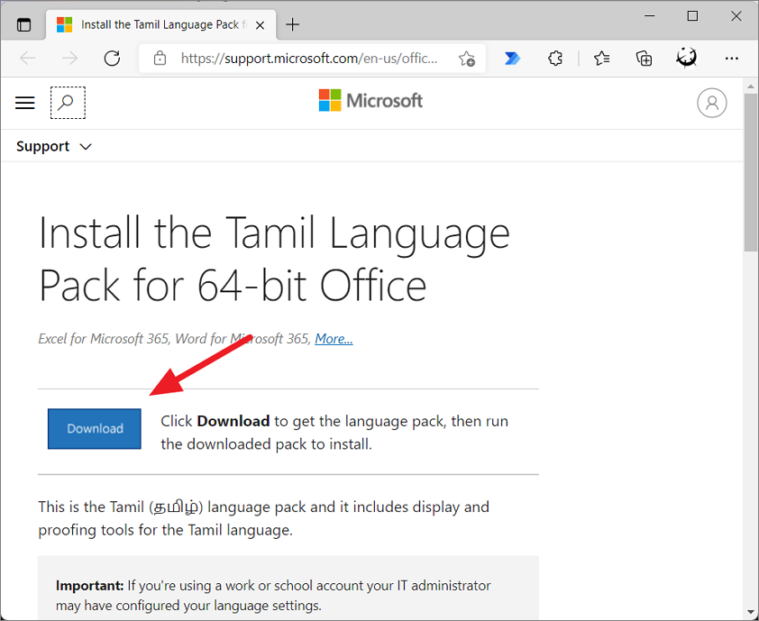
Step 6: This will redirect you to the Microsoft website to download the language pack. Click the Download button to obtain the installer.
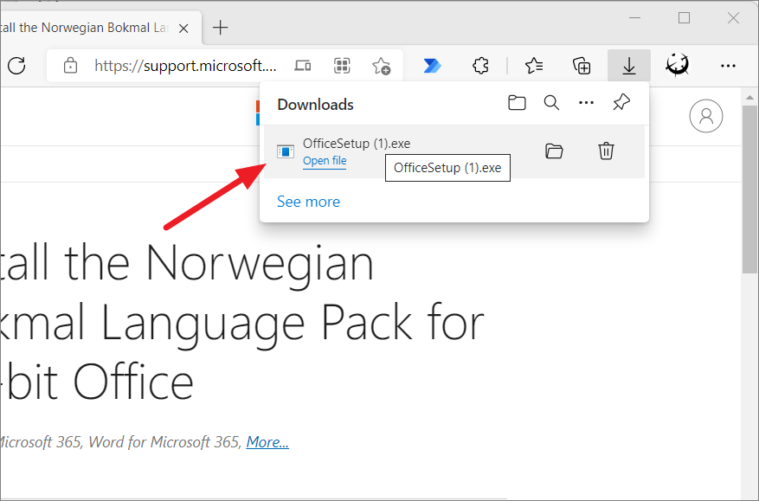
Step 7: Run the downloaded setup file to install the new language pack.
Step 8: After the installation completes, restart Microsoft Word. You may also need to reboot your computer for the changes to take effect.

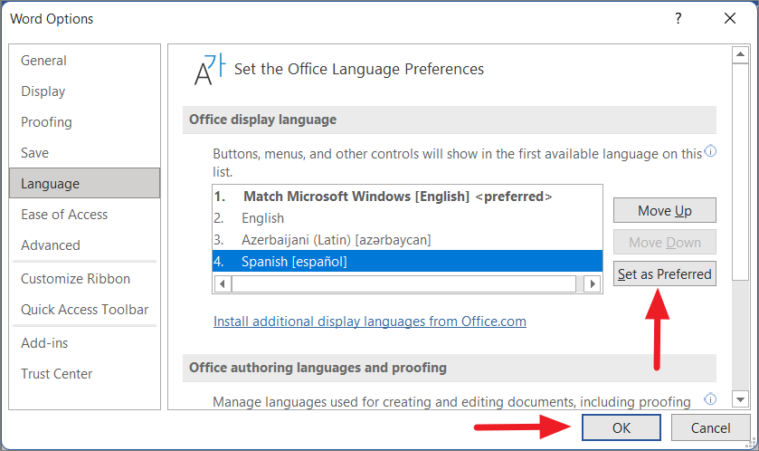
Step 9: Open Word again and navigate to File > Options > Language. Under Office display language, select your newly installed language and click Set as Preferred (or Set as Default in older versions).
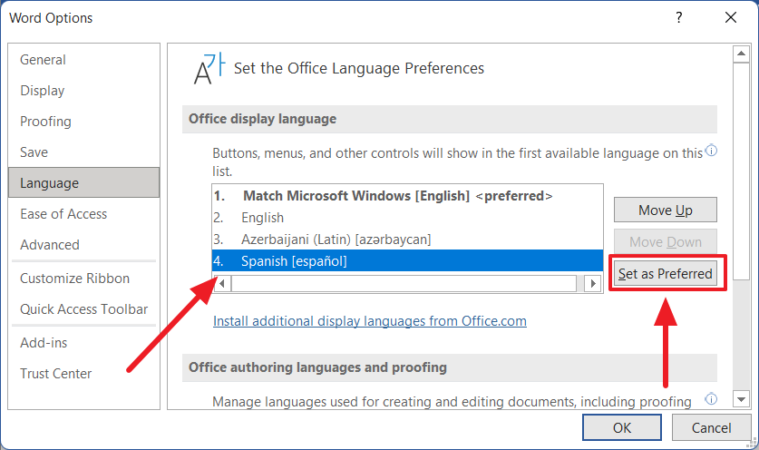
Step 10: The selected language should now show as <Preferred>. Click OK to apply the changes.
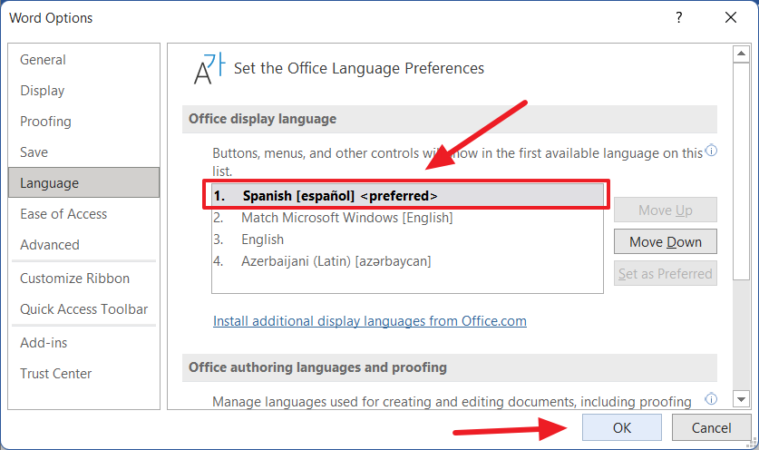
Your Microsoft Word interface will now display in the chosen language.
Adding language packs from the Office website
Alternatively, you can download language packs directly from the Microsoft Office website:
Step 1: Visit the Language Accessory Pack for Office page on the Microsoft website.
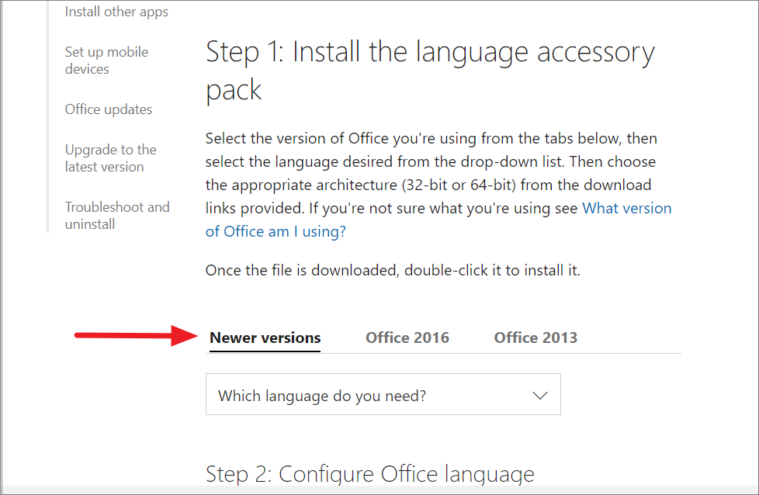
Step 2: Scroll to the section labeled Step 1: Install the language accessory pack and select your Office version.
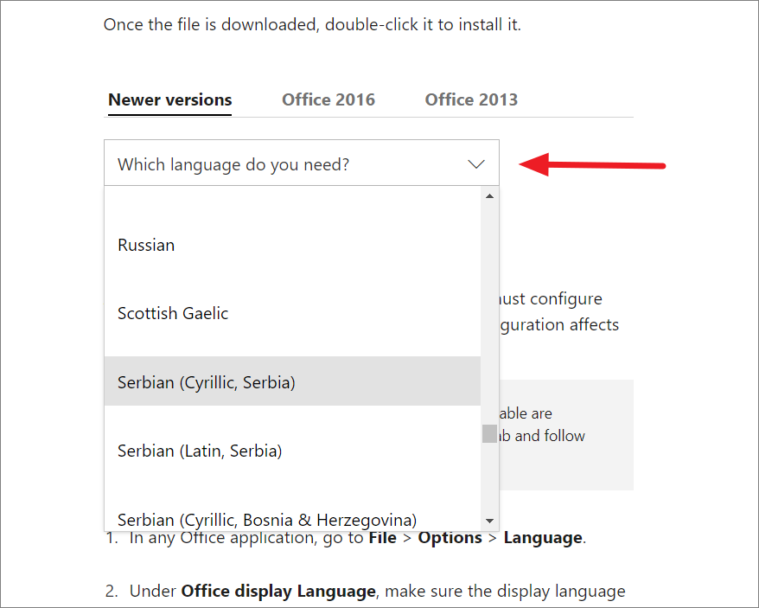
Step 3: Choose your desired language from the drop-down menu under Which language do you need?
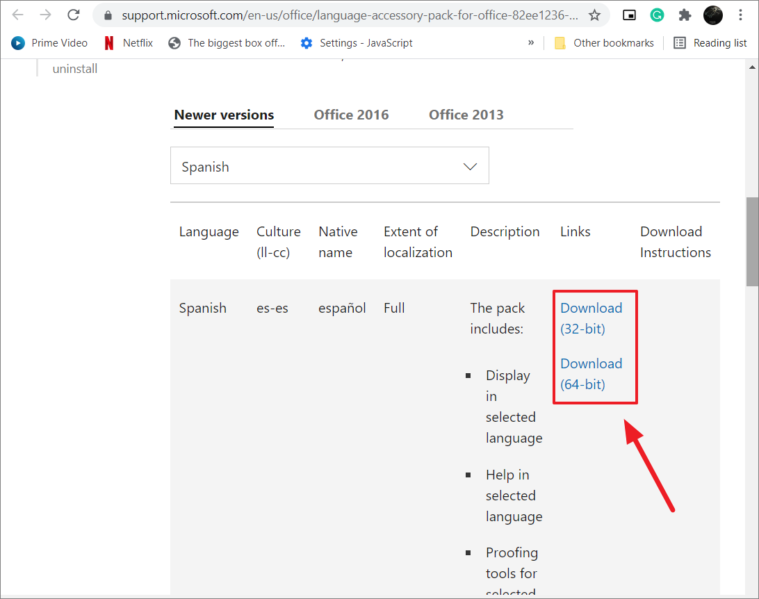
Step 4: Click the appropriate download link for your system architecture (Download (32-bit) or Download (64-bit)).
Step 5: After the download is complete, run the installer to add the language pack to your system.
Step 6: Open Microsoft Word and go to File > Options > Language. Under Office display language, select the new language and click Set as Preferred, then click OK.
Restart Word to see the interface in the new language.
Changing the editing and proofing language
Adjusting the editing and proofing language allows you to write and check your documents in a different language. Follow these steps to change the editing language and install the necessary proofing tools:
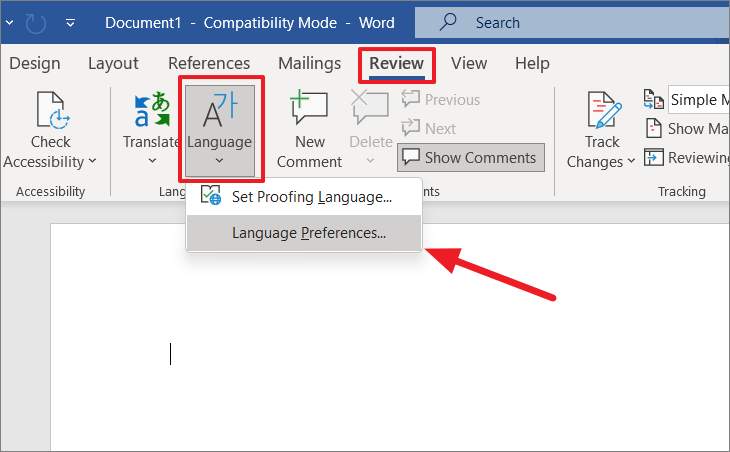
Step 1: Open Word and click on the File tab, then select Options. Alternatively, go to the Review tab, click on Language, and choose Language Preferences.
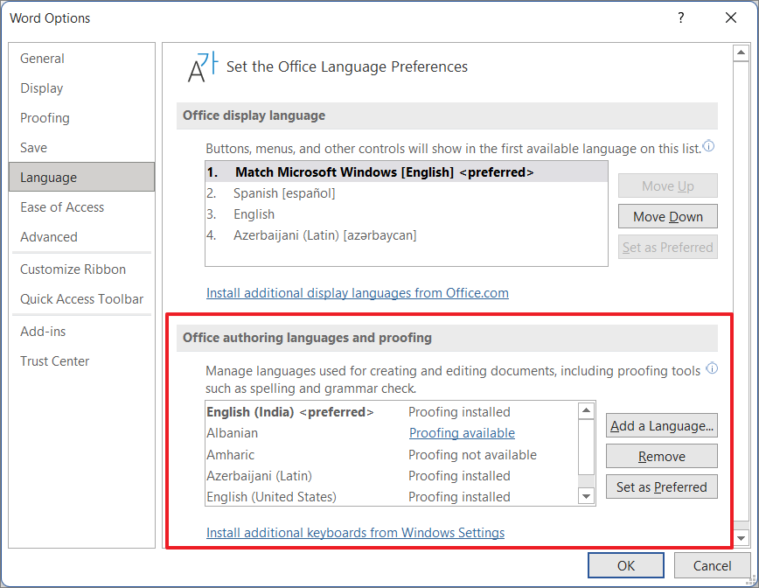
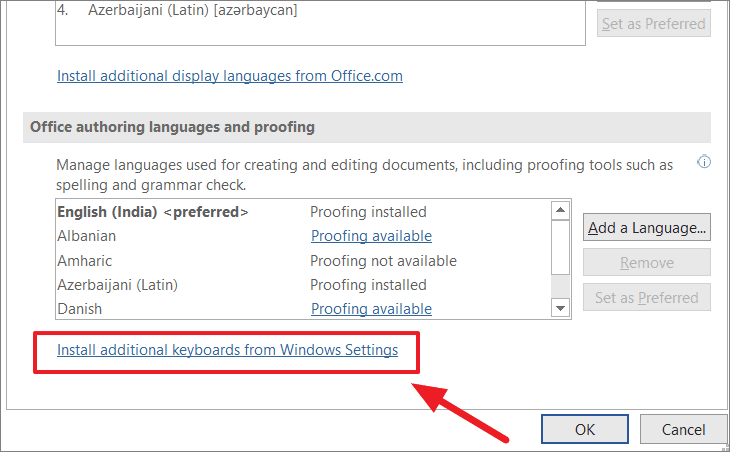
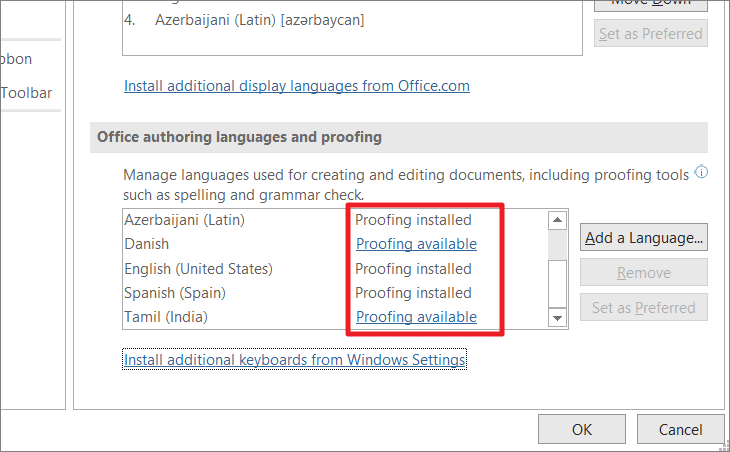
Step 2: In the Word Options dialog, select the Language tab. Under the Office authoring languages and proofing section, you'll see the list of installed languages for editing and proofing.
Step 3: If your desired language is listed, select it and click Set as Preferred (or Set as Default in older versions).

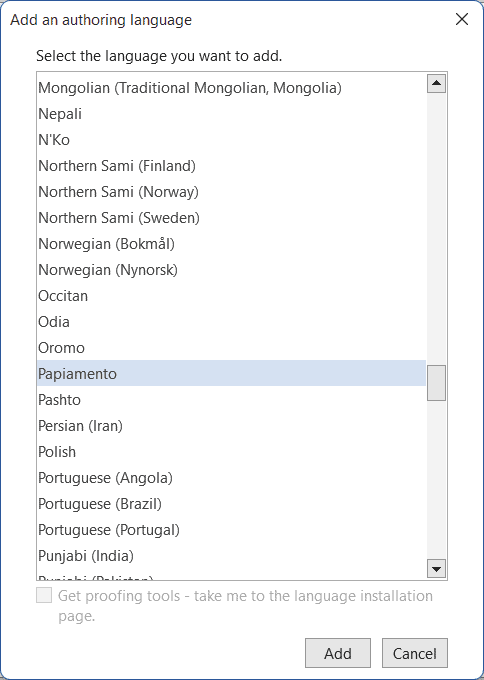
Step 4: If the language isn't listed, click on Add a Language... to include it.
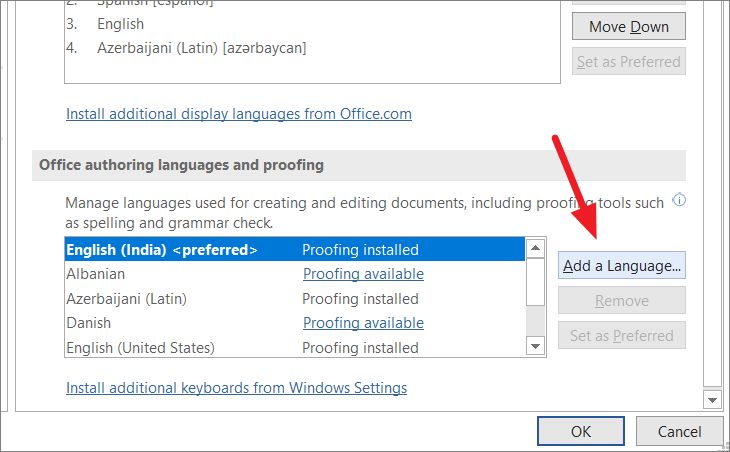
Step 5: Choose your language from the list and click Add.
Step 6: You may need to install additional proofing tools. If so, click the link Install additional keyboards from Windows Settings below the language list.
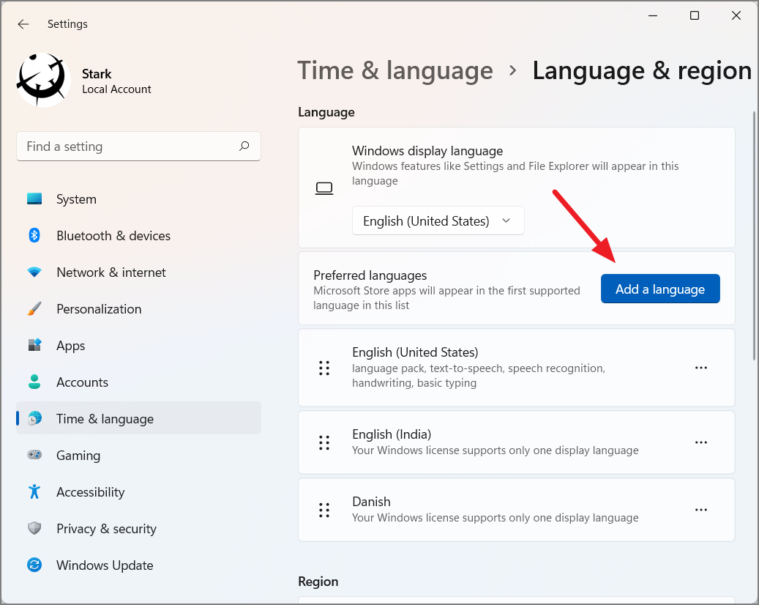
Step 7: This will open the Windows Settings. Click on Add a language to install the new language pack on your system.
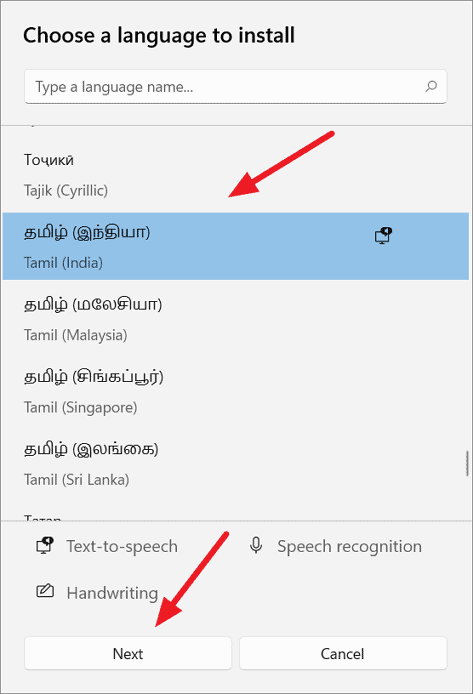
Step 8: In the dialog, select your language and click Next, then click Install on the following screen.

Step 9: After installation, the language will appear in your list of preferred languages.

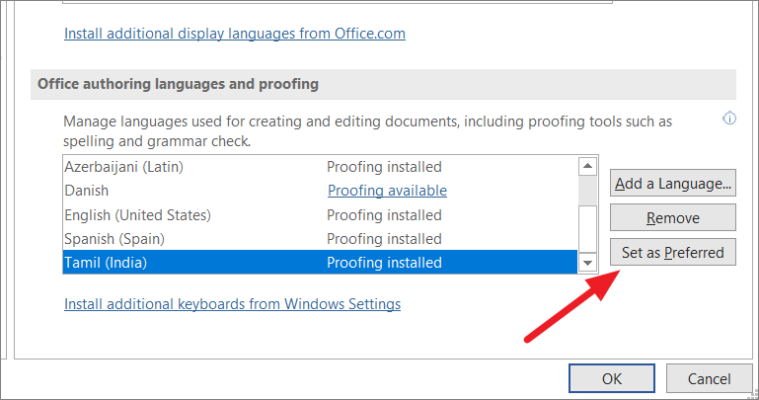
Step 10: Return to Word and go to File > Options > Language. The new language should now be available under Office authoring languages and proofing. Select it and click Set as Preferred.
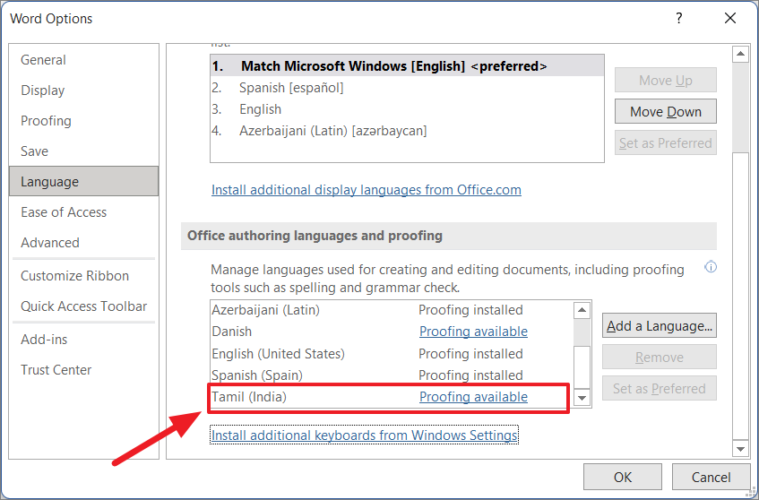
Step 11: If prompted to install proofing tools, click on the Proofing available link next to the language, which will direct you to download the necessary tools.
Step 12: Download the language pack from the Microsoft website by clicking Download, then run the installer.
Step 13: After installation, restart Word. The proofing tools should now be installed, and you can set the language as preferred.
Word may prompt you to restart the application for the changes to take effect fully.
Switching between keyboard layouts
To type in the newly added language, you'll need to switch your keyboard layout:
Step 1: On your Windows taskbar, click on the language abbreviation (e.g., ENG for English).
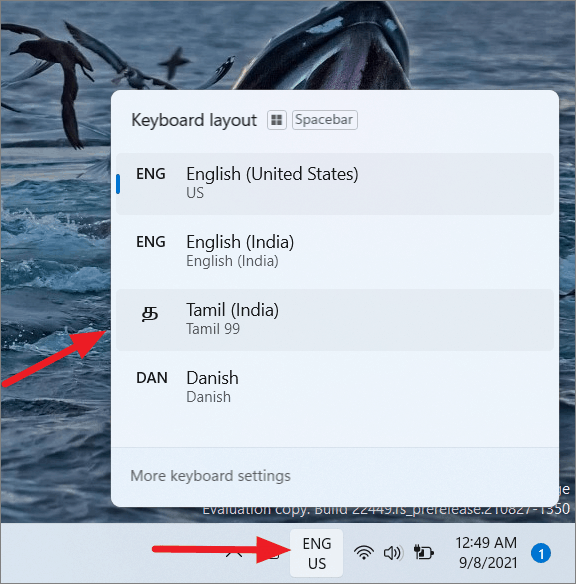
Step 2: Select the language you want to switch to from the list of installed keyboard layouts.
Step 3: Alternatively, use the keyboard shortcut Windows + Spacebar to toggle between languages.
Your keyboard input will now correspond to the selected language, allowing you to type characters specific to that language.
Proofreading in different languages
Microsoft Word enables you to proofread text in multiple languages within the same document:
Step 1: Highlight the text you wish to proofread in a different language.
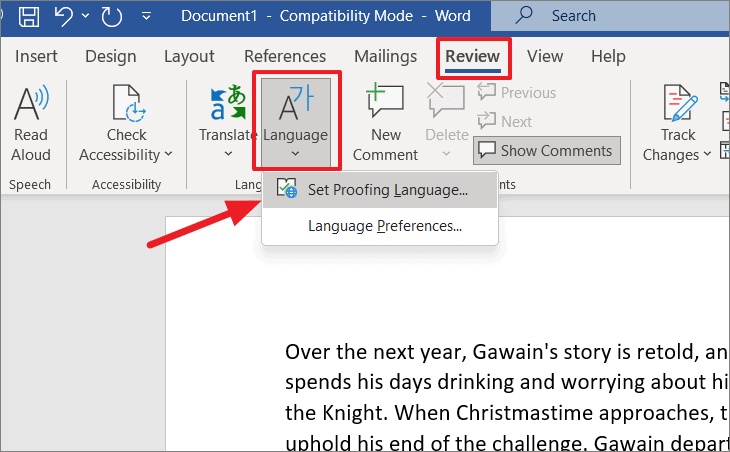
Step 2: Navigate to the Review tab, click on Language, and select Set Proofing Language....
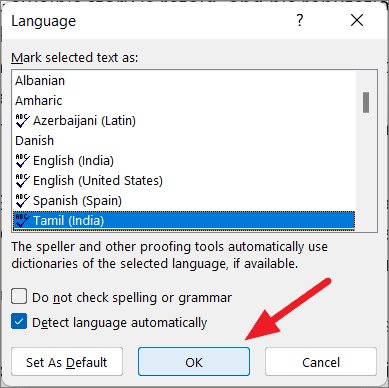
Step 3: In the Language dialog box, choose the desired proofing language and click OK. You can also set options to detect the language automatically or set it as default.
Word will now check the selected text using the spelling and grammar rules of the chosen language.
By customizing the display, editing, and proofing languages in Microsoft Word, you can create documents more efficiently and accommodate multilingual content with ease.