
Microsoft Word allows users to customize the application's theme, making it possible to switch between light and dark modes according to personal preference or environmental lighting. Adjusting these settings can enhance readability and reduce eye strain, providing a more comfortable experience when working with documents.
Changing to Light Mode in Microsoft Word
The Light Mode in Microsoft Word displays dark text on a bright background, resembling traditional ink on paper, which can improve the readability of text in well-lit environments. By default, Office applications might use the 'Colorful' theme or follow your system settings, but you can manually select the 'White' theme to enable Light Mode across all Office apps.
Step 1: Open Microsoft Word on your computer. Click on the File menu located at the top-left corner of the window.

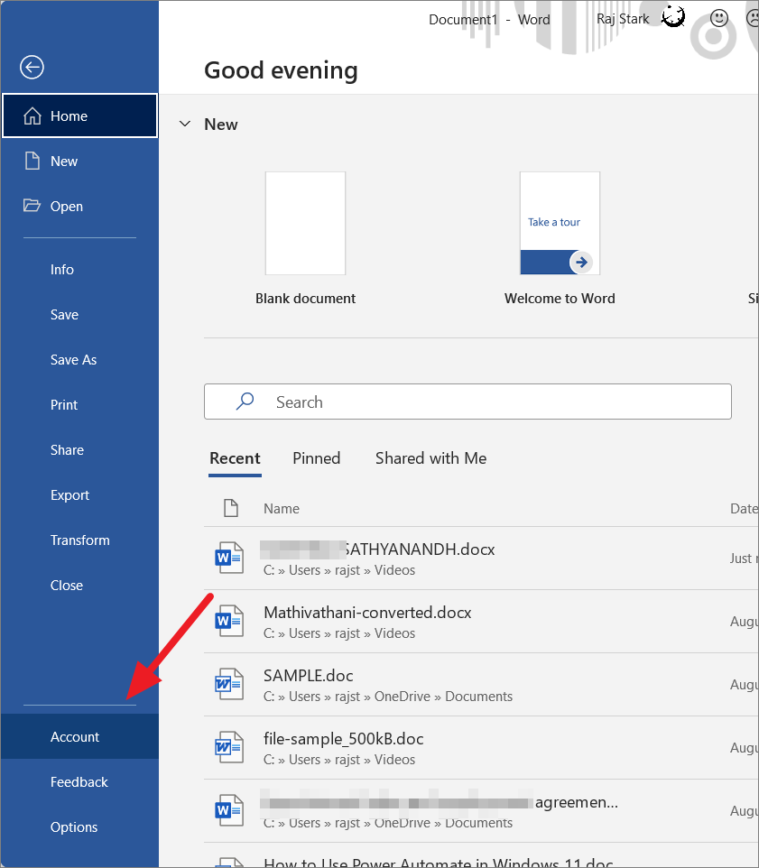
Step 2: In the sidebar of the Backstage view, select Account to access your Office account settings.
Step 3: On the Account page, locate the Office Theme dropdown menu. Click on it and choose White to switch to Light Mode.

After selecting the 'White' theme, the interface of Microsoft Word, including the title bar, ribbon, and document background, will switch to a bright appearance.
The 'White' theme provides a clean, all-white interface, whereas the default 'Colorful' theme features a colored title bar and a light gray ribbon. Choosing the 'White' theme ensures a consistent light appearance throughout the application.
Alternative Method: Switch to Light Mode from Word Options
Step 1: Launch Microsoft Word and click on the File tab in the ribbon.
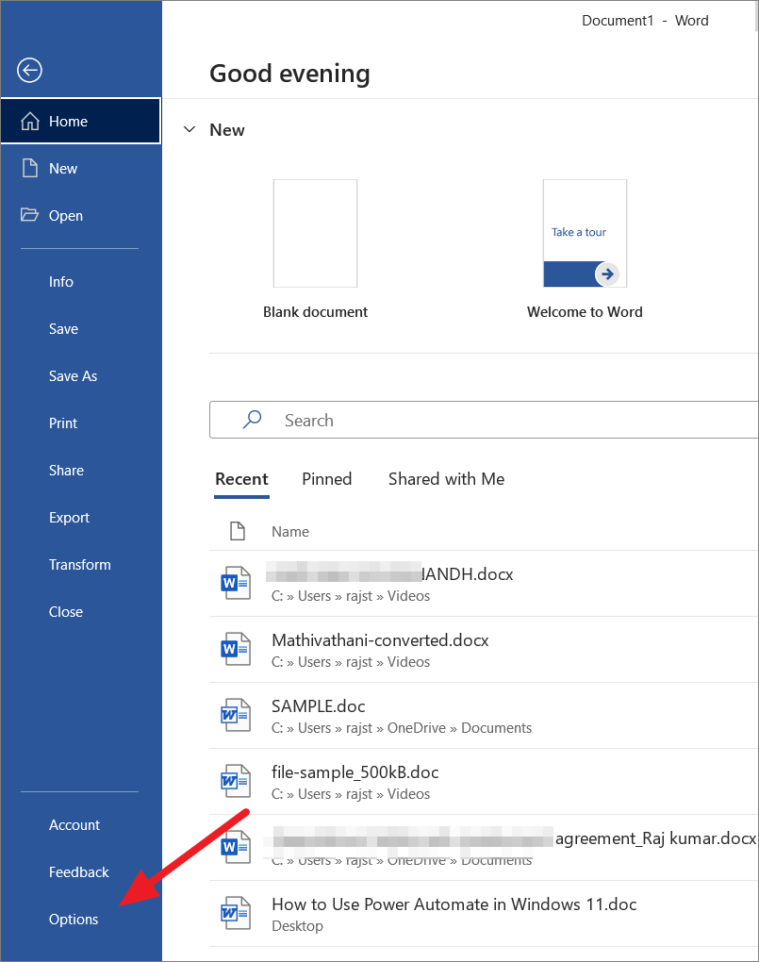
Step 2: From the sidebar, select Options to open the Word Options dialog box.
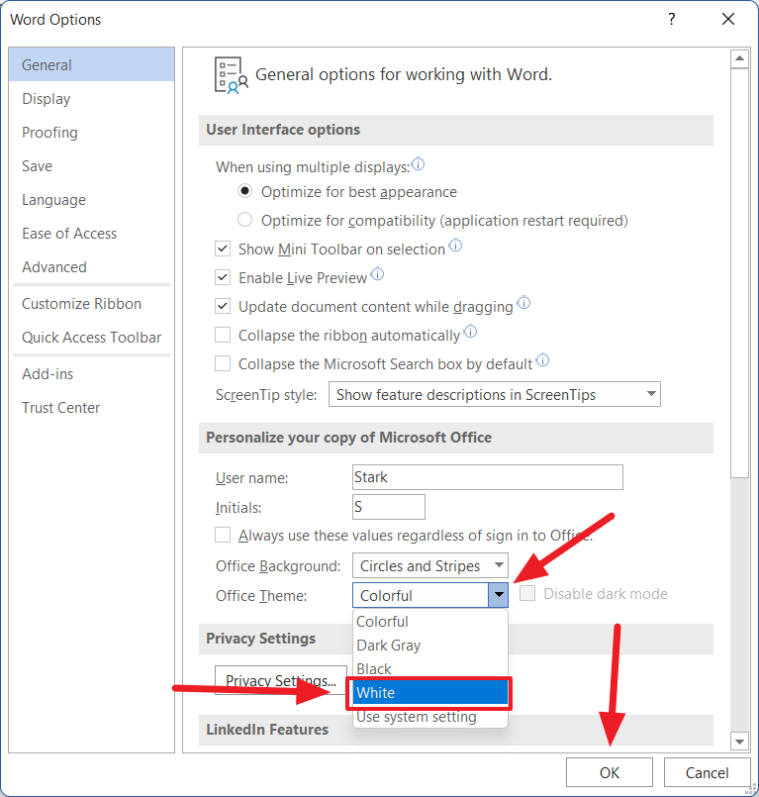
Step 3: In the Word Options window, ensure the General tab is selected. Scroll down to the section titled Personalize your copy of Microsoft Office.

Step 4: Click on the Office Theme dropdown menu and select White. Click OK to apply the changes.
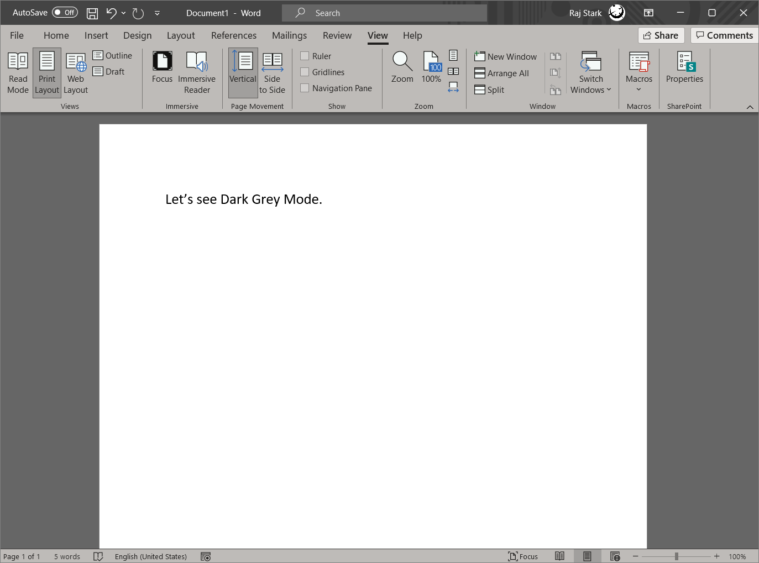
Explore the Dark Gray Theme
If you're interested in a theme that's easier on the eyes without being completely dark, you can try the Dark Gray theme.
Step 1: Follow the same steps as above to access the Office Theme settings.
Step 2: Choose Dark Gray from the dropdown menu and click OK.

The 'Dark Gray' theme provides a darker interface without turning the background of your document to black.
Customizing the Office Background
In addition to changing the theme, Microsoft Word allows you to personalize the application's background with various patterns.
Step 1: Open Word and click on the File tab, then select Options from the sidebar.
Step 2: In the Word Options window, under the General tab, find the section labeled Personalize your copy of Microsoft Office.
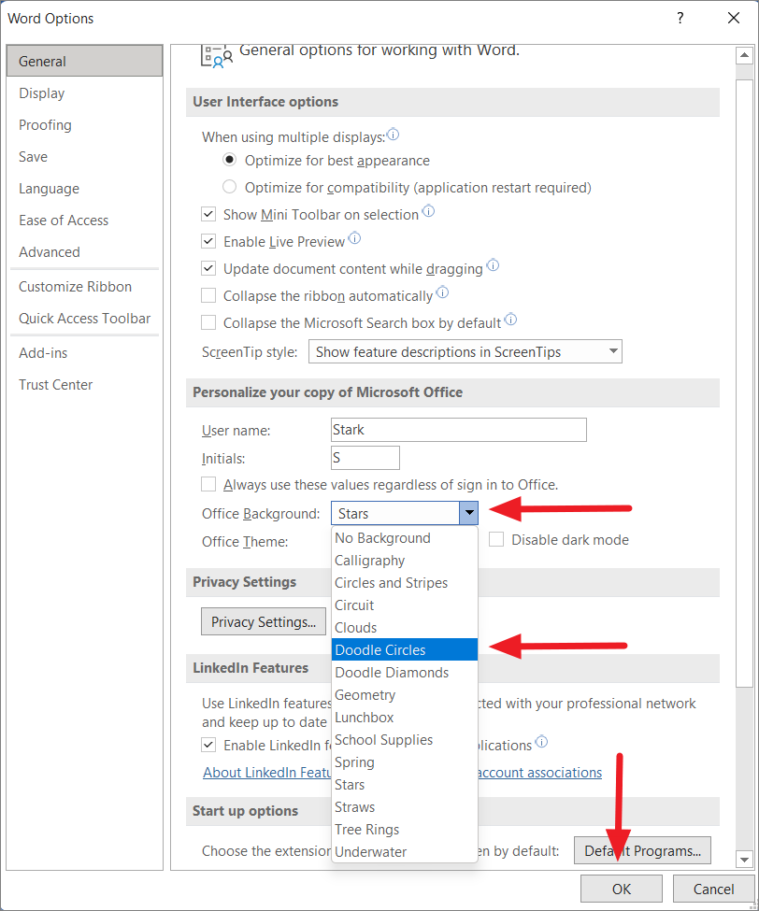
Step 3: Click the Office Background dropdown menu and select a background pattern that you prefer.
Enabling Dark Mode in Word
For users who work in low-light conditions or prefer a dark interface, Microsoft Word offers a Dark Mode that changes not only the interface but also the document background to black. This feature helps reduce eye strain and can be particularly beneficial when working for extended periods at night.
Step 1: Open Microsoft Word and click on the File tab in the ribbon.
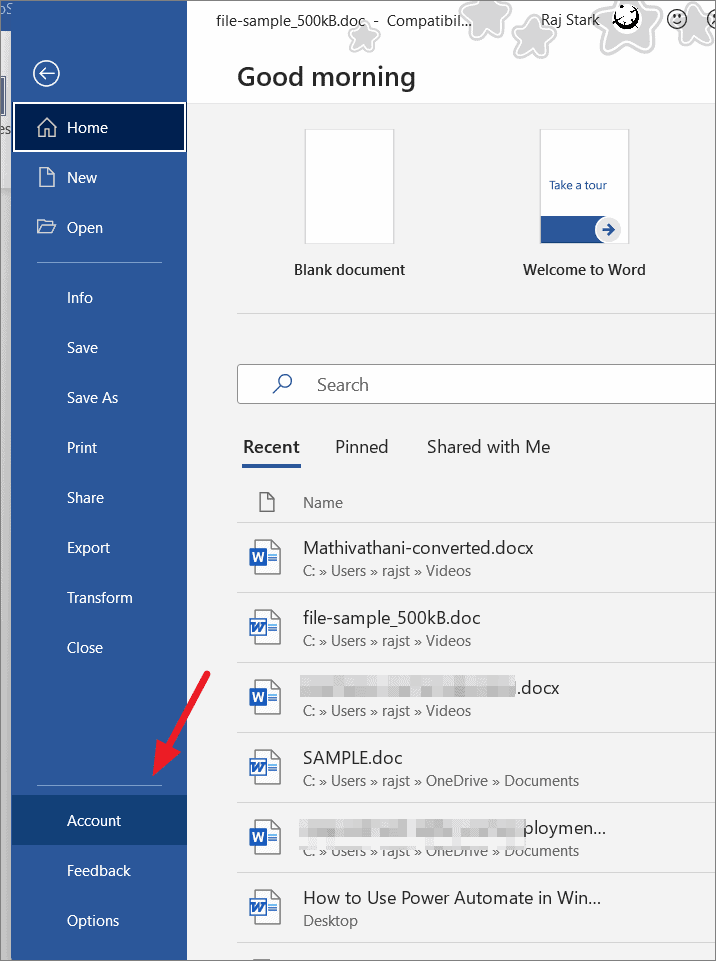
Step 2: Select Account from the sidebar to access your account settings.
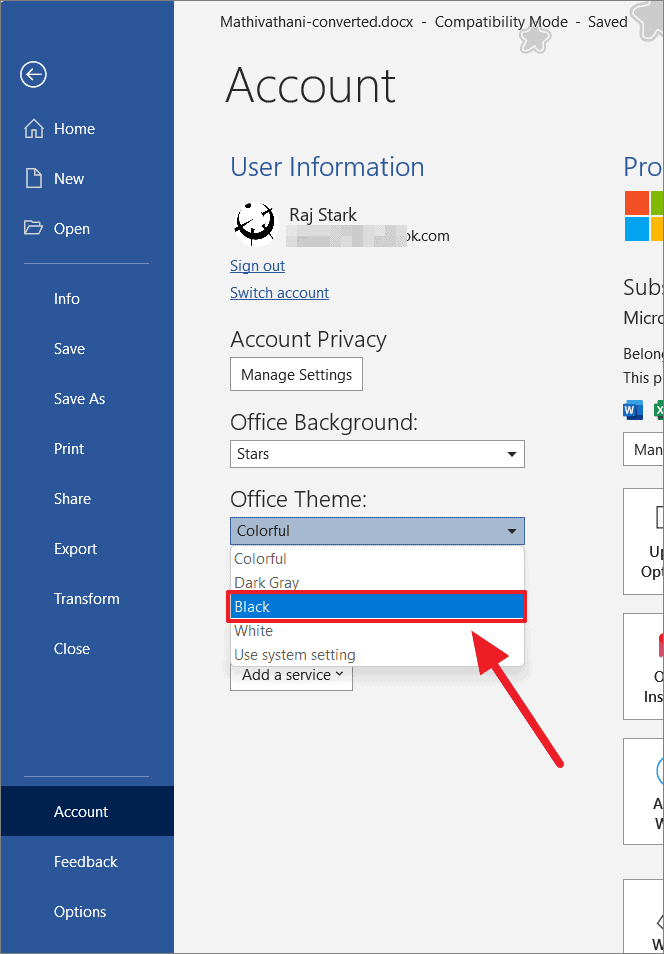
Step 3: In the Account page, locate the Office Theme dropdown and choose Black to enable Dark Mode.
Alternatively, you can access this setting through the Word Options dialog box:
Step 1: Click on the File tab and select Options.
Step 2: In the Word Options window, under the General tab, go to the Personalize your copy of Microsoft Office section.
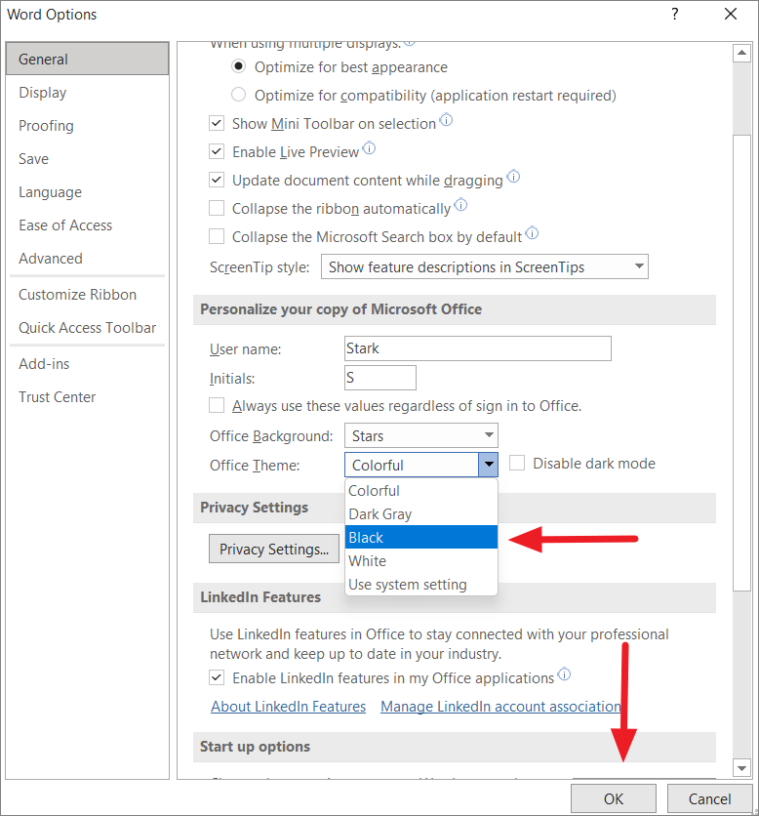
Step 3: Choose Black from the Office Theme dropdown menu and click OK.
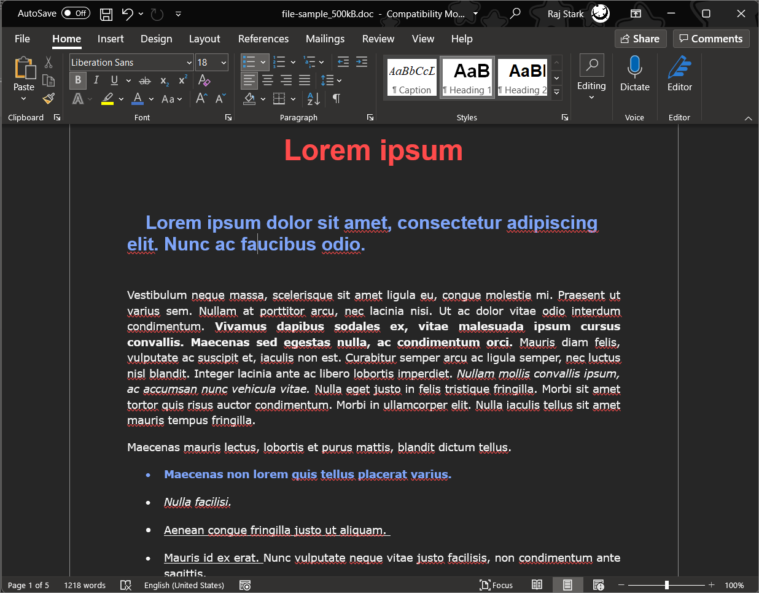
Once Dark Mode is enabled, Microsoft Word will display a black theme across the application, including the ribbon and document background.
Quickly Switching Between Dark and Light Document Backgrounds
Even when Dark Mode is enabled, you might prefer to view your document with a light background while keeping the application interface dark. Microsoft Word provides a quick toggle to switch the document background without changing the overall theme.
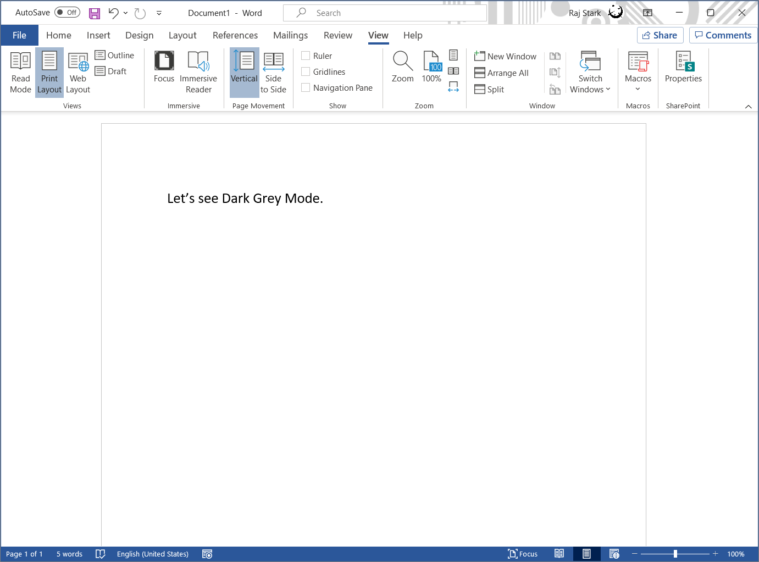
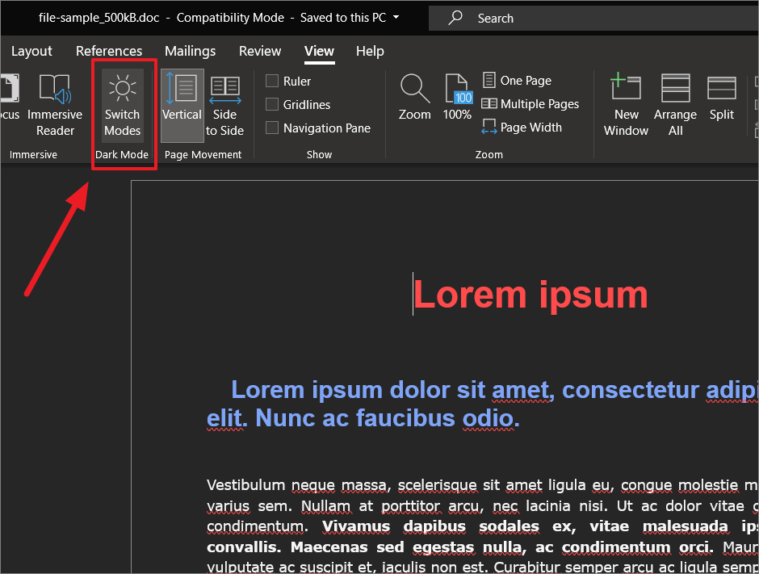
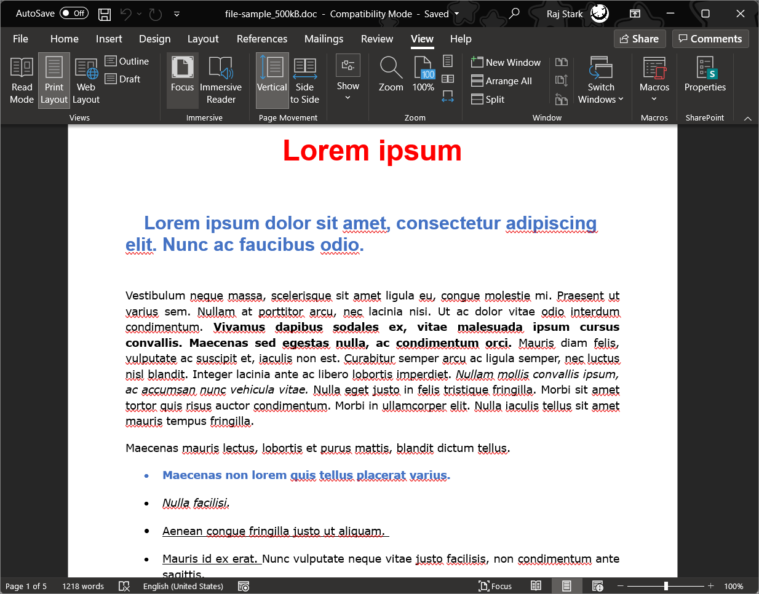
Step 1: With Dark Mode enabled, navigate to the View tab in the ribbon.
Step 2: In the Dark Mode group, click on the Switch Modes button (represented by a sun or moon icon) to toggle the document background between dark and light.
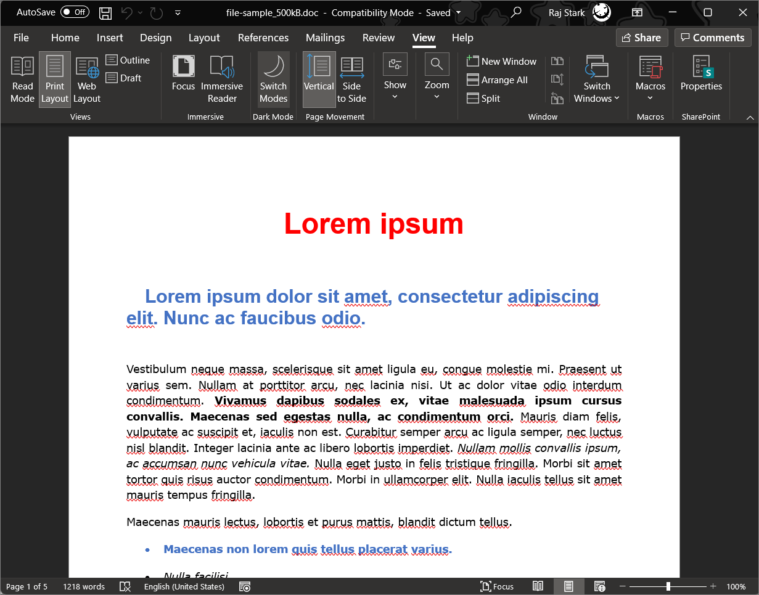
This allows you to work on a document with a white background while retaining the Dark Mode theme for the rest of the application.
You can toggle back to a dark document background by clicking the Switch Modes button again.

Disabling Dark Mode for the Document Editor
If you prefer to keep the Dark Mode theme for the interface but always want your document background to remain white, you can disable Dark Mode for the editor while retaining the black theme elsewhere.
Step 1: Go to File and select Options to open the Word Options dialog box.
Step 2: In the General tab, under the Personalize your copy of Microsoft Office section, check the box that says Disable dark mode.
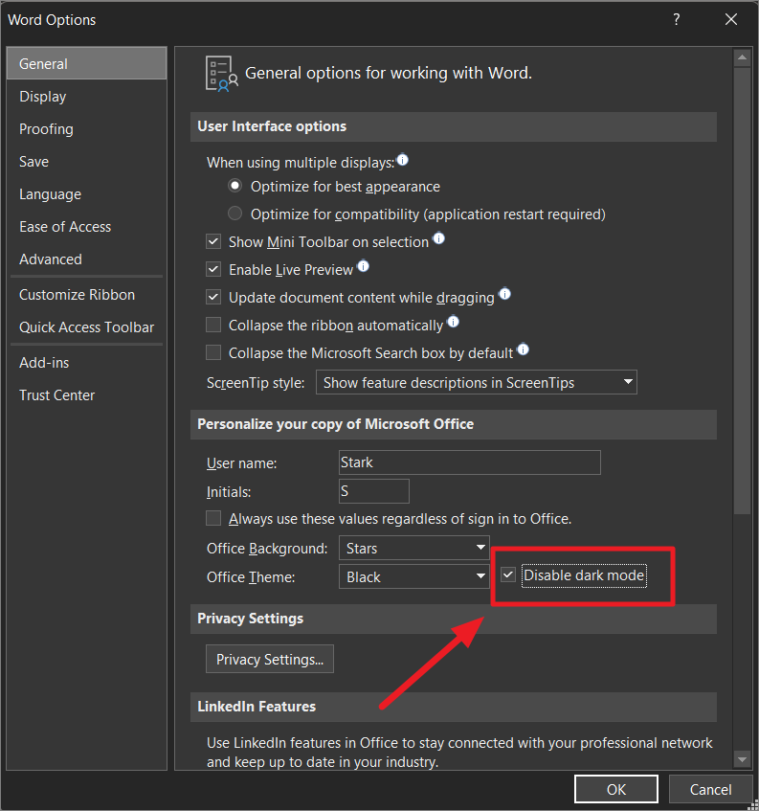
Step 3: Click OK to apply the changes. Your document background will now remain white, while the rest of the application continues to use the Dark Mode theme.
By customizing these settings, you can create a Microsoft Word environment that is comfortable and tailored to your preferences.
Adjusting the theme and background in Microsoft Word enhances your overall experience by providing flexibility based on your needs. Whether you prefer Light Mode for its readability or Dark Mode to reduce eye strain, Word makes it simple to switch between themes and customize your workspace.