
If the built-in Windows File Explorer doesn't quite meet your needs, you're not alone. Many power users prefer alternative file managers such as OneCommander, XYplorer, Total Commander, or File Pilot for their additional features like tabbed browsing, dual-pane views, and advanced customization. Fortunately, it's possible to set your preferred third-party tool as the default file explorer in Windows. Here's how you can do it safely and effectively.
Why Change the Default File Explorer?
Windows File Explorer has improved over the years, adding features such as tabbed browsing and better archive management. However, it still lacks certain functionalities that specialized third-party file managers offer, such as:
- Tabbed interfaces and dual-pane views for easier file management.
- Advanced search capabilities and filtering options.
- Customizable interfaces and themes.
- Built-in integration with cloud services like Google Drive and OneDrive.
- Automated scripting for repetitive tasks.
For example, OneCommander offers a modern interface, advanced filtering, and built-in cloud integration. XYplorer provides scripting support and powerful search features, while Total Commander excels in batch processing and file comparisons.
How to Set Your Preferred File Manager as Default
Some file managers like OneCommander allow you to set them as default directly from their settings. To do this in OneCommander, click the gear icon (bottom-left corner), navigate to the "Advanced" tab, and select the "Register as default file manager" checkbox.
If your chosen file manager lacks this built-in feature, you'll need to set it manually through the Windows registry. Here's a detailed, step-by-step guide:
Step 1: Locate your third-party file manager's executable file. Open the Start menu, type the name of the program, right-click the app, and select "Open file location." Then, right-click the executable file and choose "Copy as path."
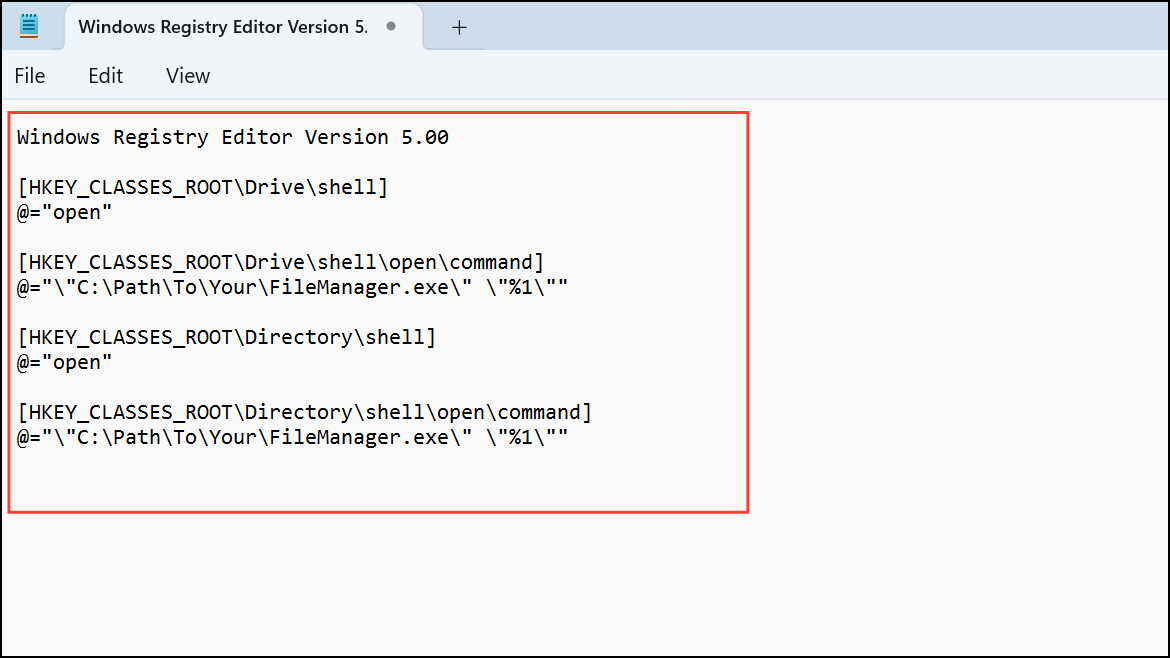
Step 2: Open Notepad and paste the following registry script. Replace both instances of "C:\Path\To\Your\FileManager.exe" with the file path you copied in Step 1.
Windows Registry Editor Version 5.00

[HKEY_CLASSES_ROOT\Drive\shell]
@="open"

[HKEY_CLASSES_ROOT\Drive\shell\open\command]
@="\"C:\Path\To\Your\FileManager.exe\" \"%1\""

[HKEY_CLASSES_ROOT\Directory\shell]
@="open"

[HKEY_CLASSES_ROOT\Directory\shell\open\command]
@="\"C:\Path\To\Your\FileManager.exe\" \"%1\""
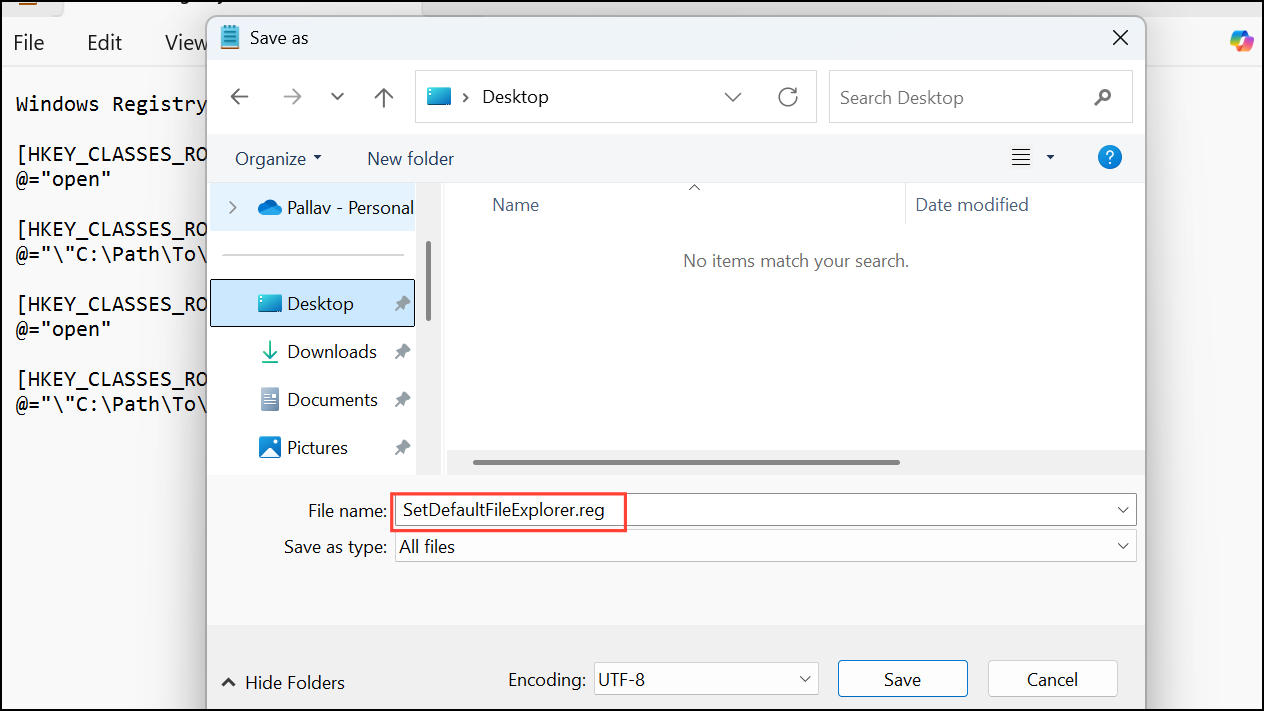
Step 3: Save the file as SetDefaultFileExplorer.reg. Be sure to select "All Files" under "Save as type."
Step 4: Double-click the saved .reg file to merge it into your registry. Confirm any prompts that appear.
Step 5: Restart your computer. Your third-party file manager will now open by default whenever you access folders or drives.
If you ever decide to revert to the original Windows File Explorer, open the Registry Editor, navigate to HKEY_CLASSES_ROOT\Drive\shell and HKEY_CLASSES_ROOT\Directory\shell, and delete the "open" keys you created.
Make the Win+E Shortcut Open Your Third-Party File Manager
By default, pressing Win+E opens Windows File Explorer. To redirect this shortcut to your third-party file manager, you can use AutoHotkey:
Step 1: Download and install AutoHotkey.
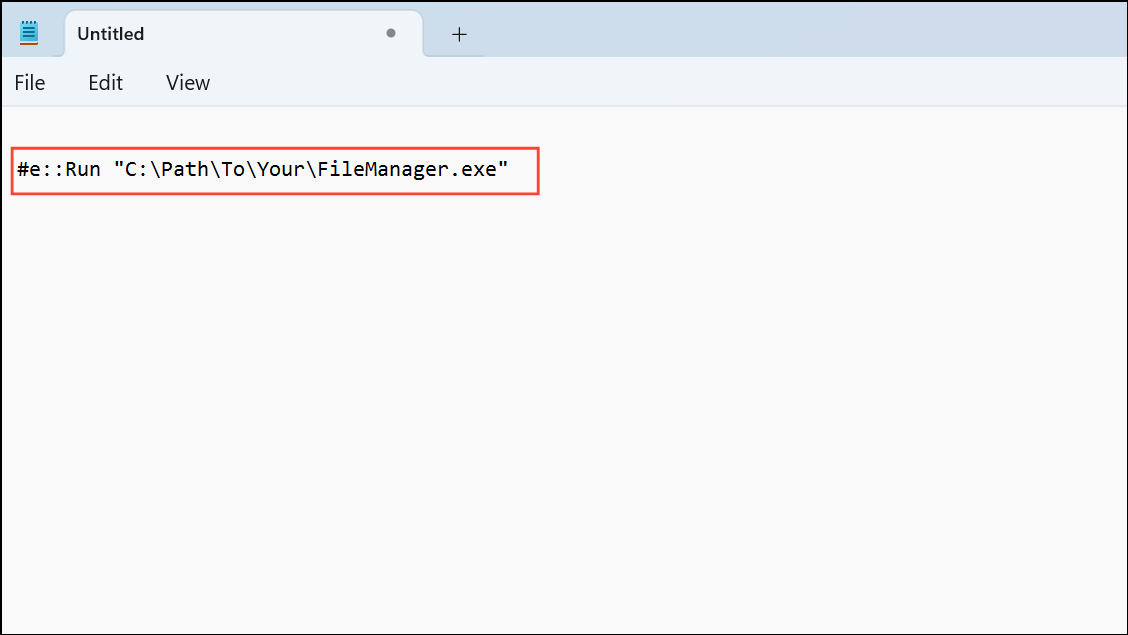
Step 2: Open Notepad and type the following script, replacing the path with your file manager's executable:
#e::Run "C:\Path\To\Your\FileManager.exe"
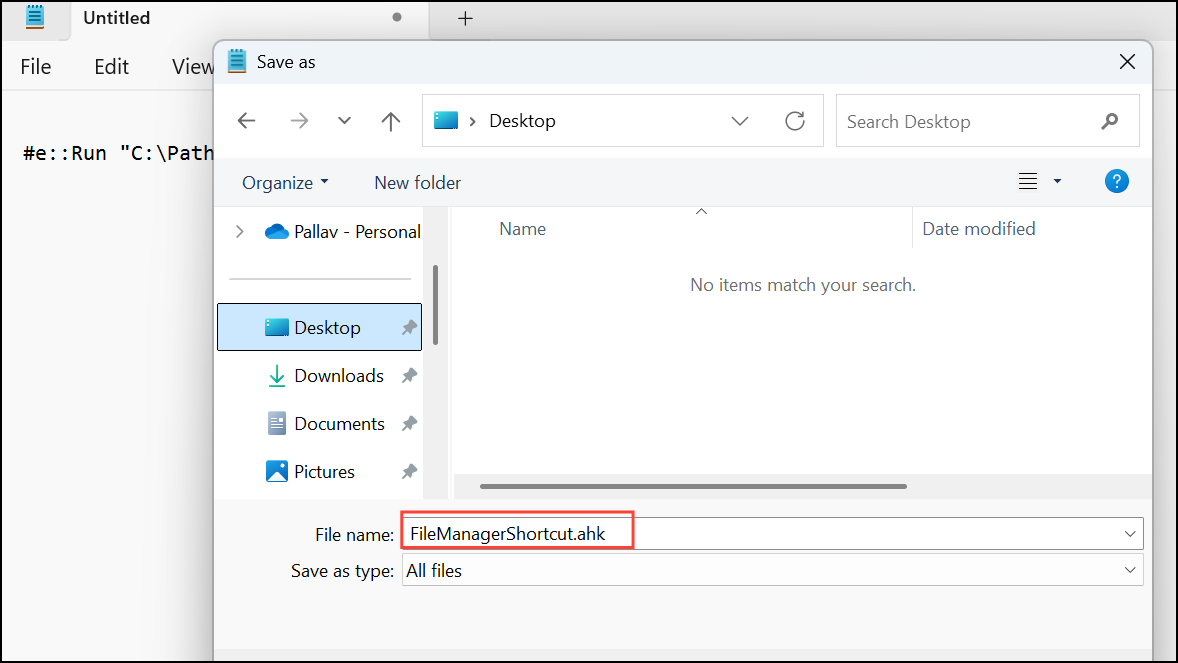
Step 3: Save the file with an .ahk extension (e.g., FileManagerShortcut.ahk).
Step 4: Double-click the file to run the script. Now, pressing Win+E will launch your preferred file manager.
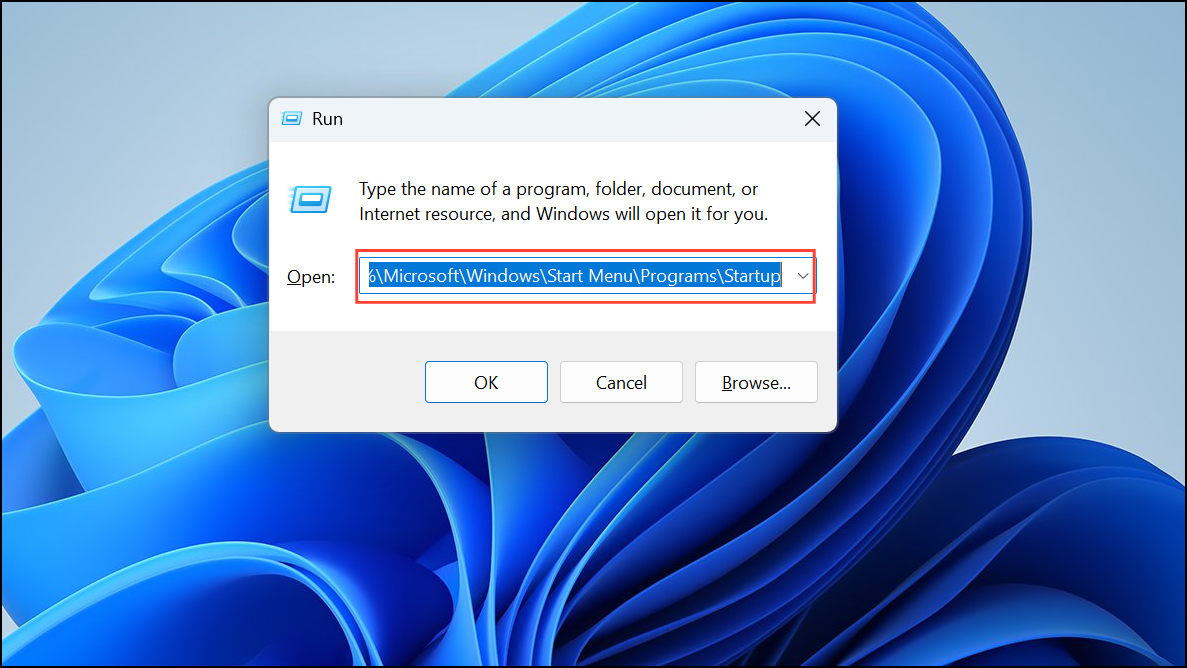
Step 5: To ensure the script runs at startup, copy the .ahk file to the Startup folder. Open the Run dialog (Win+R) and type %AppData%\Microsoft\Windows\Start Menu\Programs\Startup, then paste the script file there.
Switching your default file explorer in Windows can make your workflow smoother and more efficient. With these steps, you can easily set up your favorite third-party file manager to handle your daily file management tasks.