PowerPoint can reshape a photo into a circle, a rounded rectangle, a star, or almost any outline without sending you to a separate image editor. The fastest route is the Crop to Shape tool, which trims the picture to a preset shape while keeping its proportions. You can also start from a blank shape and pour an image into it, or change one shape into another with Edit Shape.
Quick answer: Select the picture, open the Picture Format tab, click the arrow under Crop, choose Crop to Shape, then pick a shape to apply it instantly.
Crop a picture to a shape in PowerPoint
Cropping to a shape resizes the image to match that shape while holding its proportions. This works the same way in PowerPoint, Word, Outlook, and Excel.
Tip: To crop the same picture into several different shapes, copy the original first and crop each copy separately. You can also select multiple pictures and crop them at once, but they will all take the same shape.
Fit vs Fill: control how much of the photo shows
After applying a shape, the Crop menu gives you two ways to size the image inside its new outline. These options decide whether the picture fills the whole shape or sits neatly within it.
| Option | Result |
|---|---|
| Crop > Fill | The picture covers the entire shape. Some outer edges may be trimmed off, with no empty space at the margins. |
| Crop > Fit | The whole picture stays visible inside the shape. There may be empty space at the margins. |
When you choose either option, black crop handles appear on the edges and corners. Drag a corner handle to crop two adjacent sides together. Hold Ctrl while dragging a side handle to crop two parallel sides evenly. Click Crop again, or press Esc, when you are done.
Start with a shape and fill it with a picture
If you prefer to lay out your shape first, you can drop an image into it instead of reshaping an existing photo. The shape stays fully editable afterward.
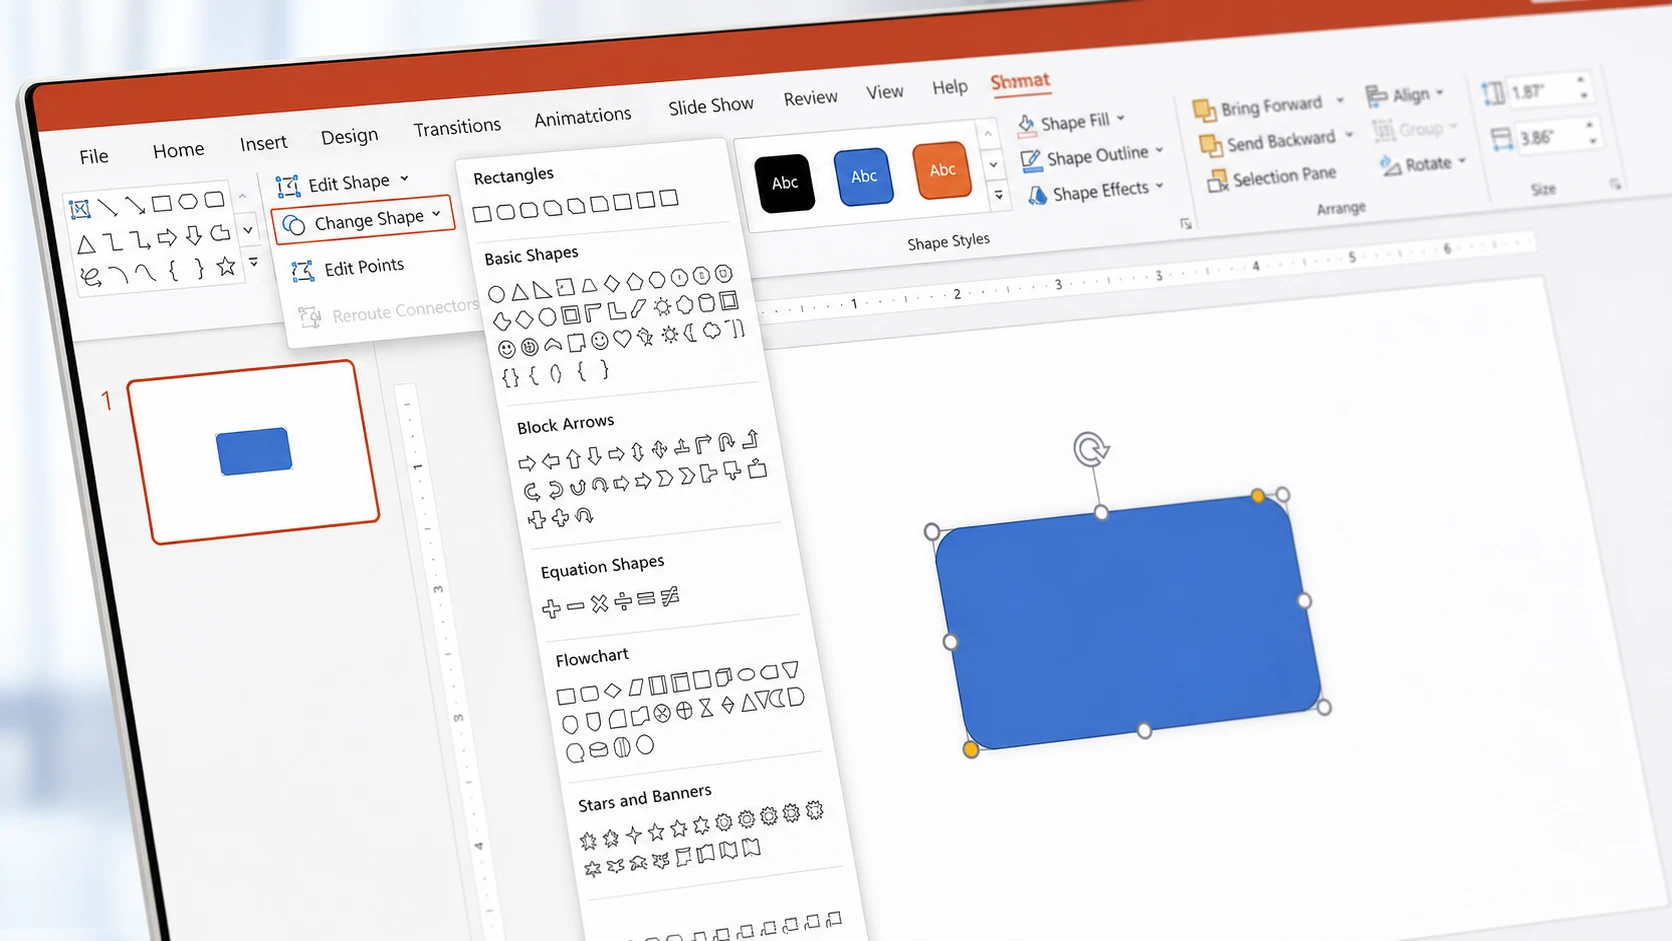
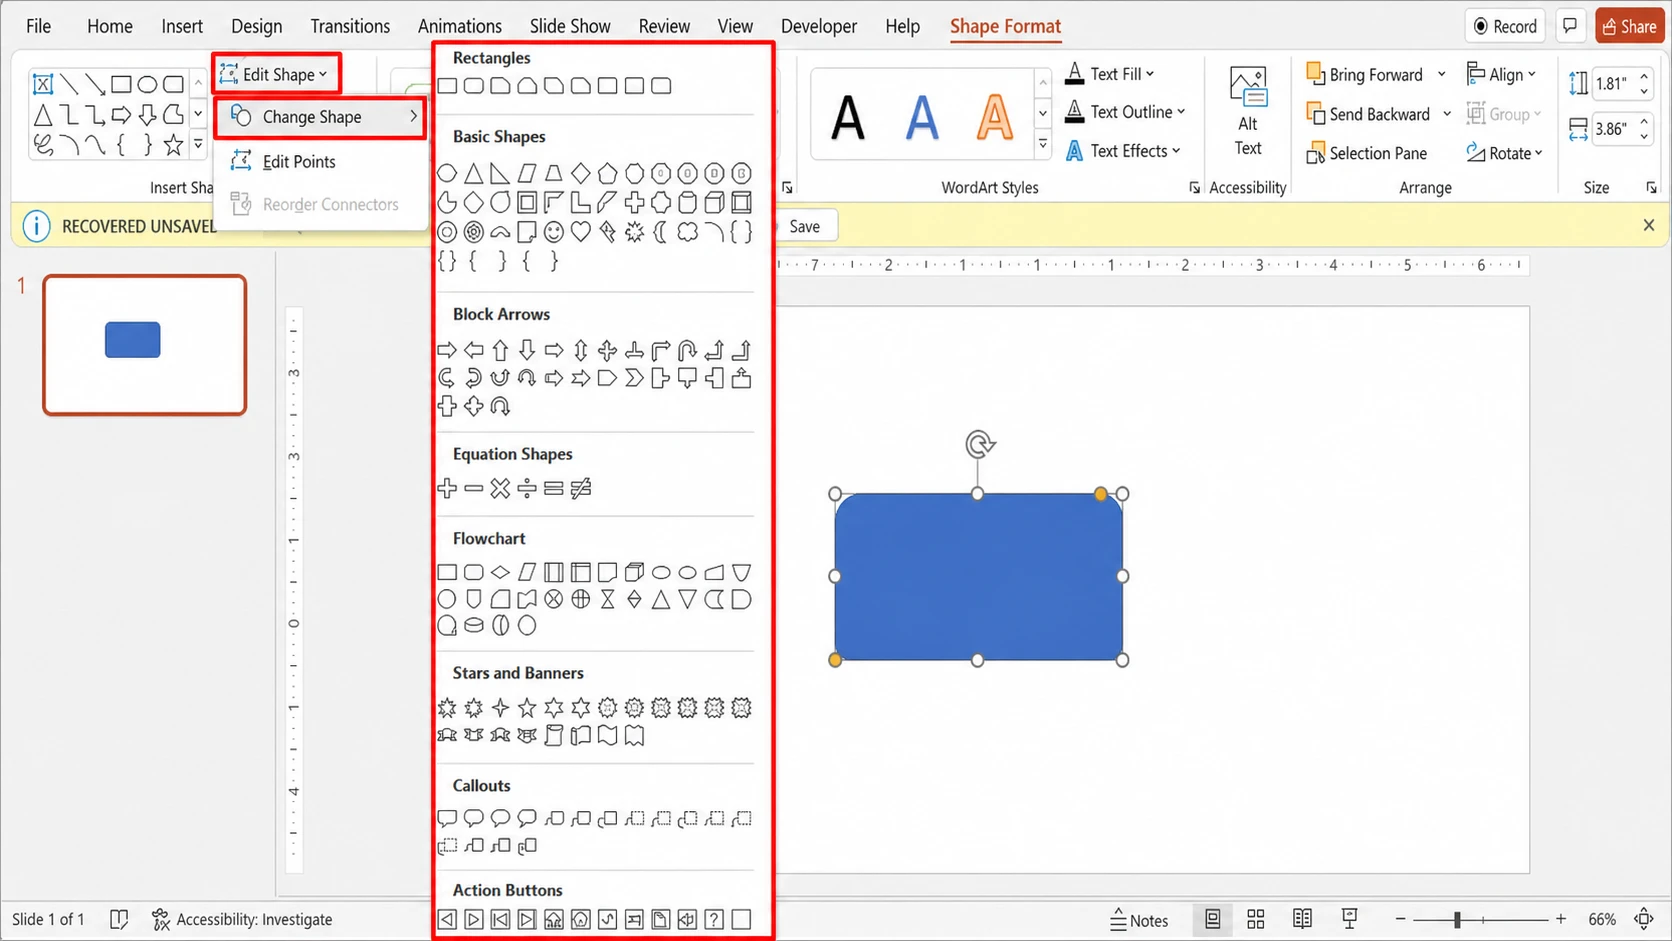
Change one shape into another with Edit Shape
The Change Shape feature swaps a selected shape for a different one without deleting it or starting over. It also works on a picture that has already been cropped to a shape, since the cropped image keeps a shape outline you can change.
PowerPoint groups its shapes into nine categories, so you have plenty to swap between. Lines, Rectangles, Basic Shapes, Block Arrows, Equation Shapes, Flowchart, Stars and Banners, Callouts, and Action Buttons each hold their own set of options.
Adjust a custom outline with Edit Points
Cropping tools are not available for plain shapes, but Edit Points lets you reshape a shape’s outline by hand. Select the shape, open Shape Format, click Edit Shape in the upper-left corner, and choose Edit Points. Drag the black vertex points to move the corners and curves of the outline wherever you want.
Confirm it worked and undo if needed
You know the change took effect when the picture’s outline matches the shape you selected on the slide. Reshaping a photo does not lower its resolution, so the image stays as crisp as the original file.
To go back to the original square or rectangular picture, select it and choose Reset Picture from the Picture Format tab. Keep in mind that cropping does not erase the trimmed area on its own. The hidden portion stays in the file until you use Compress Pictures in the Adjust group, which removes the cropped data permanently and shrinks the file size. Before you compress, you can recover any cropped area with Reset Picture.
Once your picture sits in the right shape, you can layer on borders, shadows, or other picture styles to match the rest of the slide. The shape itself stays editable, so you can resize it, swap it for another shape, or fine-tune its points at any point in your presentation.