
Windows automatically keeps your system time accurate by syncing with the Internet and using your location to set the right time zone. Usually, this works well and your computer shows the correct time. However, there might be times when Windows doesn’t display the correct time or time zone. If that happens, here are four easy ways to fix the time and time zone on your Windows 11 computer.
Manually Change or Adjust Time in Windows 11
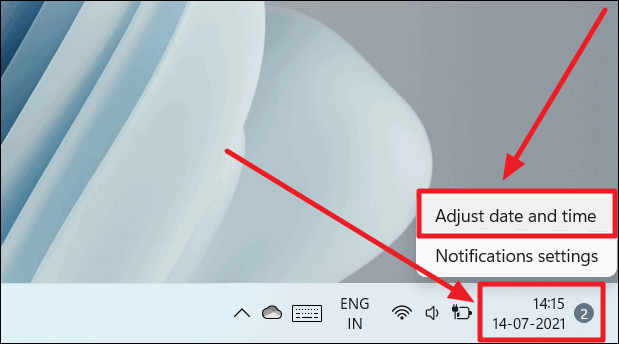
Right-click the date, time, and notifications box on the rightmost corner of the taskbar. Then, select ‘Adjust date and time’ from the menu options.
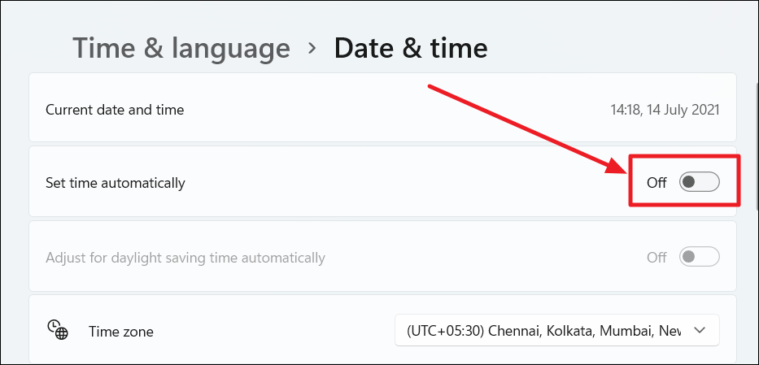
The ‘Date & time’ settings page will open. Click the toggle bar adjacent to the ‘Set time automatically’ option to turn it OFF.
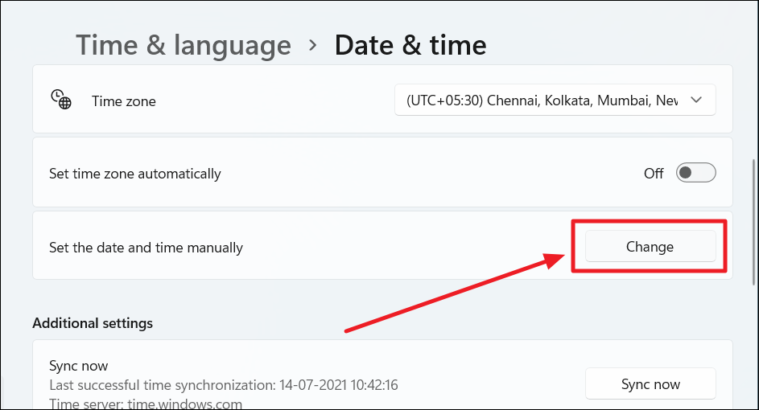
Then scroll down a bit and you’ll see the ‘Set date and time manually’ option. Click the ‘Change’ button next to it.
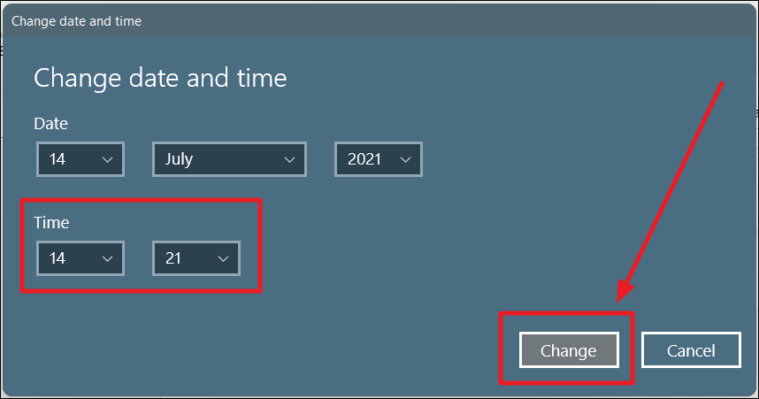
The ‘Change date and time’ dialog box will open. Click the downward-facing arrowheads next to the hour and the minute boxes under ‘Time’ to change them respectively. Once you’re done, click ‘Change’ to apply the changes.
The changed time will appear on your taskbar and will be set system-wide on your computer.
How to Change Time Zone on Windows 11
Changing the time zone is super easy. For this, you need to access the same ‘Date & Time’ settings as described in the above section.
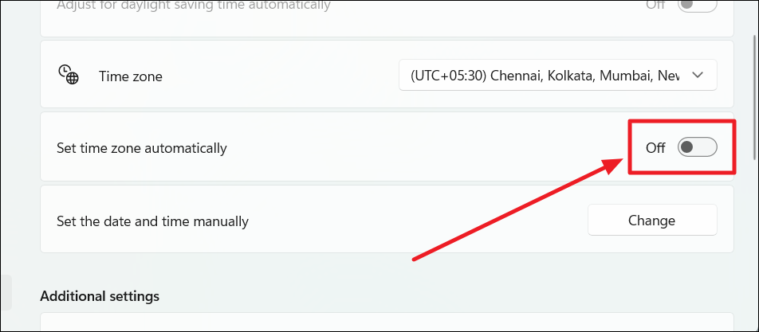
On the ‘Date & Time’ settings screen, scroll down a bit and you’ll see the ‘Set time zone automatically’ option. Click on the toggle switch next to it to turn it OFF.
Next, click the ‘Time Zone’ drop-down on the same screen to choose your time zone.
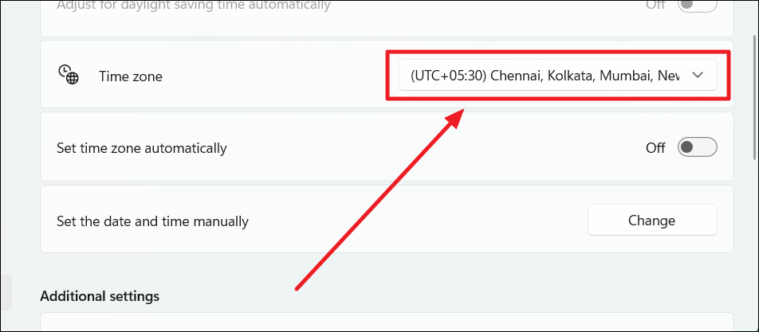
The time zone will be changed and with that, the time as well.
To change the time and time zone to their original settings, just click the time and time zone toggles to set them both to ON. This will display the default time and time zone.
Change Time on Windows 11 From Control Panel
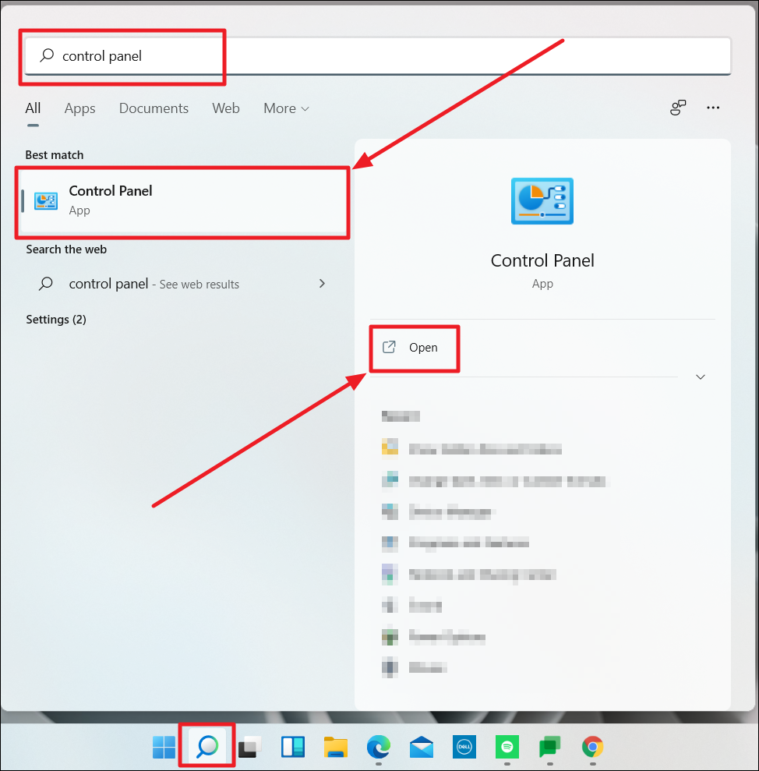
Click the ‘Search’ button in the taskbar and type ‘Control Panel’ in the search bar. To launch the application, select the app name on the left side of the search results (under Best Match) or click the ‘Open’ option below the app name and icon on the right.
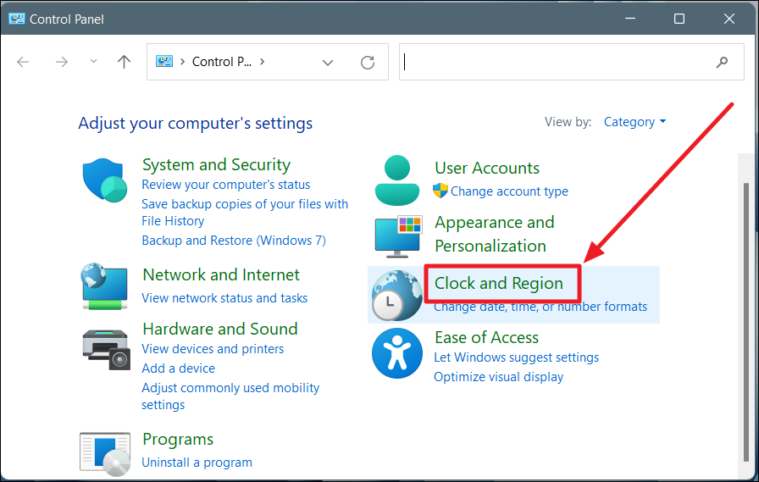
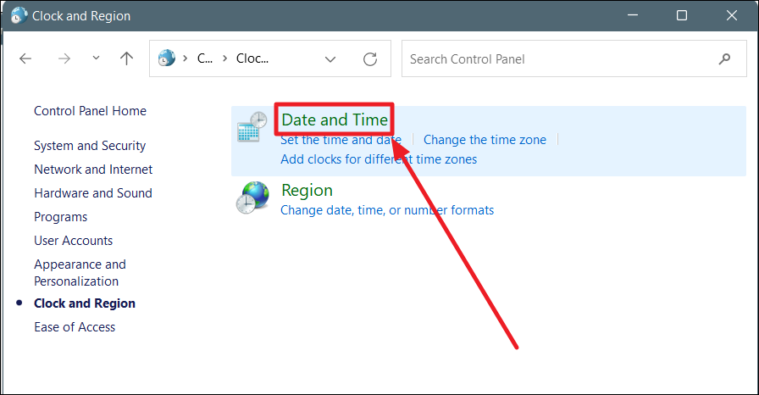
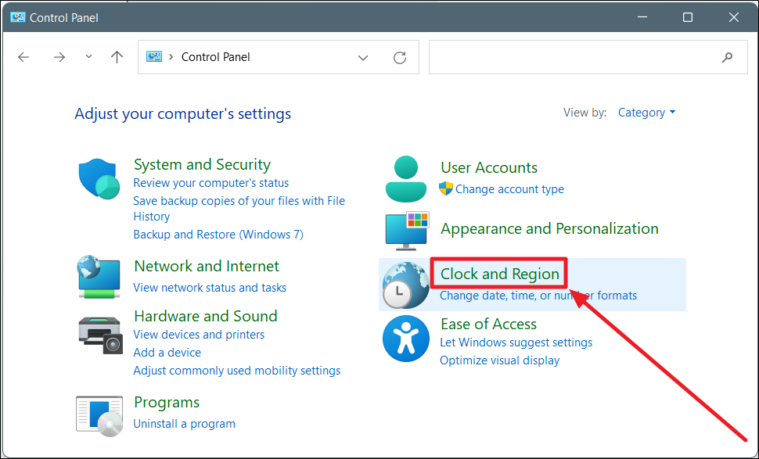
On the Control Panel window, select ‘Clock and Region’.
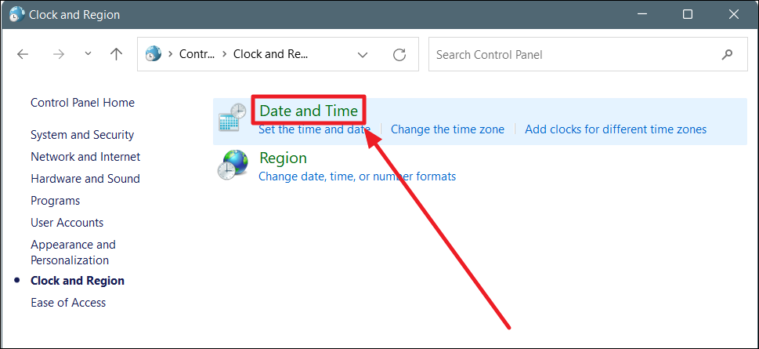
Now, click on ‘Date and Time’ on the ‘Clock and Region’ page.
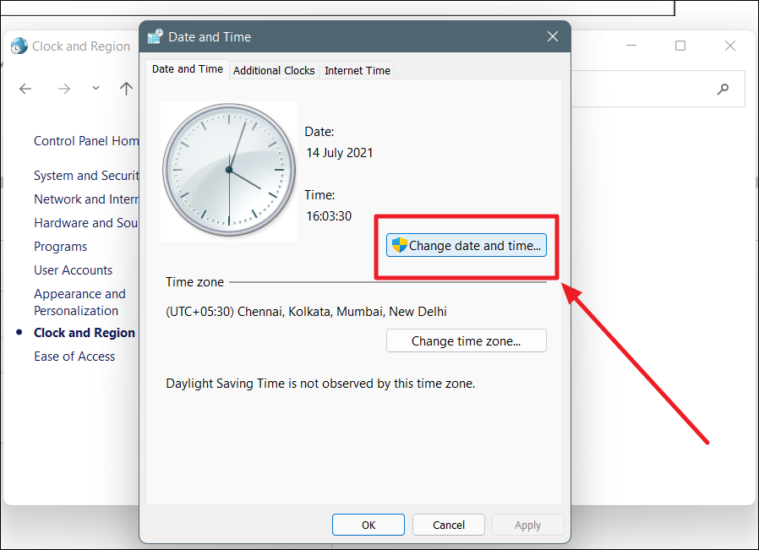
Click the ‘Change date and time’ button on the ‘Date and Time’ tab of the ‘Date and Time’ dialog that opens next.
This will direct you to the ‘Date and Time Settings’ dialog box. Here, you can change the time in two ways.
You can either type in the time (hour, minute, and second) below the analog clock in the ‘Time’ section, or you can select any part of the long-time and click the upward or downward arrowhead to reach the right number corresponding to the time.
Click ‘OK’ once done.
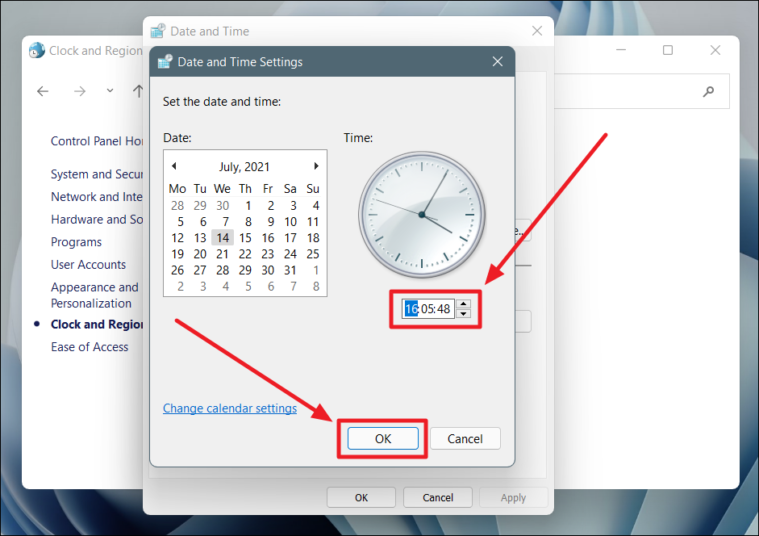
The time is now changed on your device. The time modified in the time box will also reflect on the analog clock above it.
Change Time on Windows 11 from Command Prompt
An instant way to change the time on your device is via command prompt. To change the time using this application, you will need to run the app as the administrator.
Click the ‘Search’ button in the taskbar and enter ‘Command Prompt’ in the search bar. Next, click the ‘Run as administrator’ option below the app name and icon on the right side of the search results.
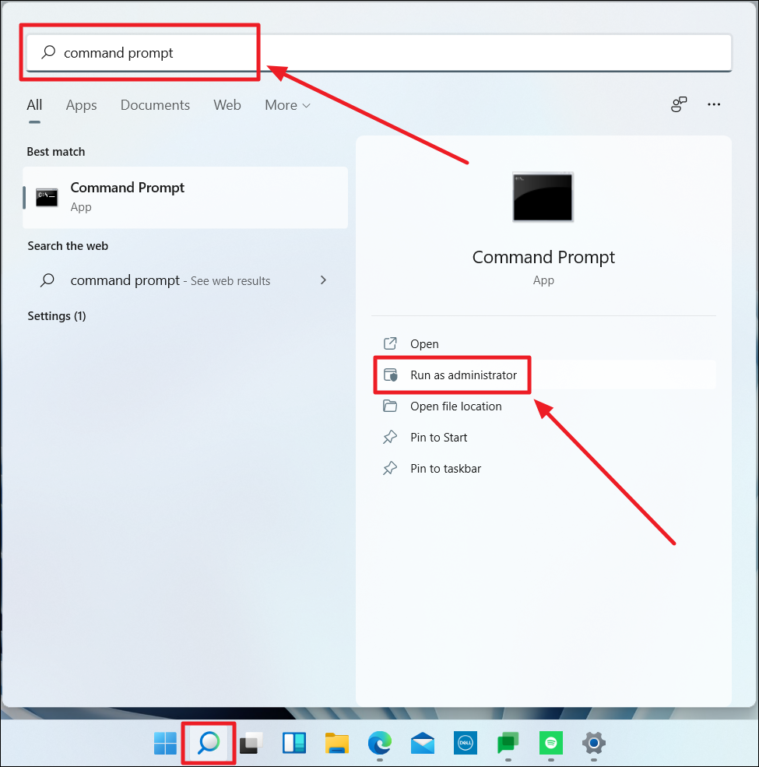
Select ‘Yes’ in the prompt that pops up next. The Command Prompt window then opens.
Type the command time hour:minute on the command prompt screen and hit Enter. Replace hour and minute with the right hour and minute that you wish to set as time on your computer.
For example, to change the time to 08:40, we’ll use the following command in the command prompt.
time 08:40
The time is changed in an instant.
Note: You can use the 12-hour or the 24-hour clock formats while typing the time in the command. The time entered here will reflect as it is on the device.
Change Date and Time on Windows 11 from Windows PowerShell
Another way to change time on your Windows device is via PowerShell. This too will need you to run the app as the administrator.
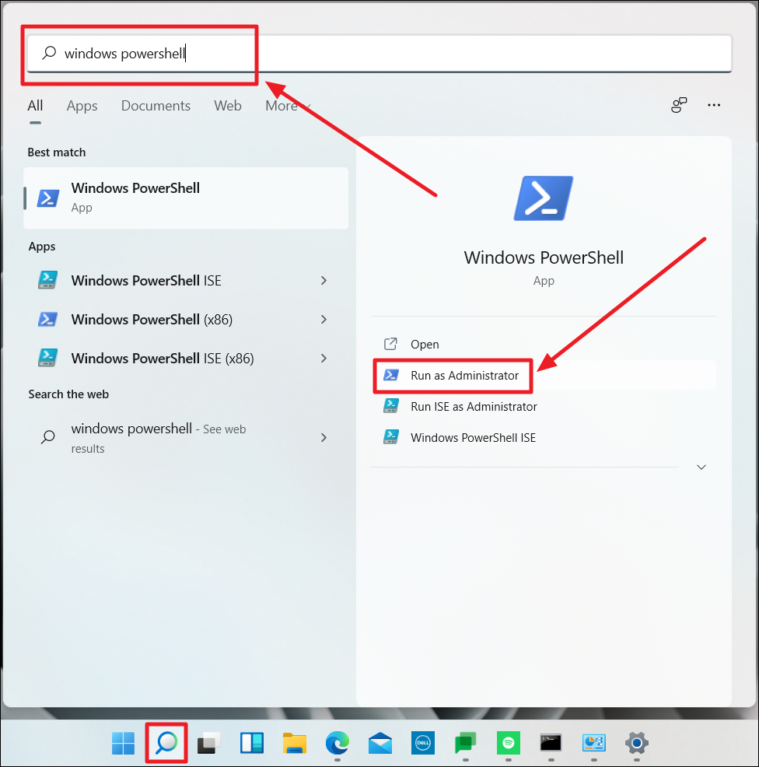
Click the ‘Search’ button in the taskbar and type ‘Windows PowerShell’ in the search bar. Next, click the option ‘Run as administrator’ below the app name and icon on the right.
Select ‘Yes’ if you get a prompt to confirm running PowerShell as an administrator.
Enter any of the following commands depending on your requirement in the Windows PowerShell window (enter the date in the manner of your system’s date format). Hit ‘Enter’ once done.
For 12-hour clock format, use the following commands:
Set-Date -Date "dd/mm/yyyy HH:MM AM"Set-Date -Date "dd/mm/yyyy HH:MM PM"For 24-hour clock format, use the following command:
Set-Date -Date "dd/mm/yyyy HH:MM"For example, we’ll use the following command to set the date to 14/07/2021 (14th July 2021) and time to 21:20 on our Windows 11 PC.
Set-Date -Date "14/07/2021 21:20"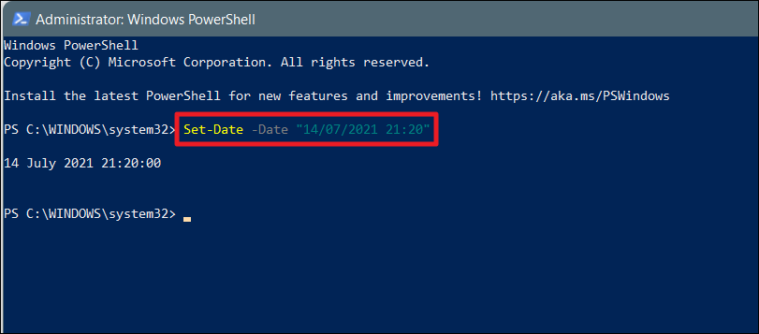
The date and time is now changed. Irrespective of the time format entered in the command, the time will change and appear in your system’s format itself. You could also change the date here, but do follow your system’s format.
Note: If the date does not comply with the system’s date format, you will receive an error message and both, the date and the time remain unchanged.
How to Change Time Format on Windows 11 from Windows Settings
If your system is using a time format that doesn’t sit well with you, you can always change and swap it between the 12-hour and the 24-hour clock formats.
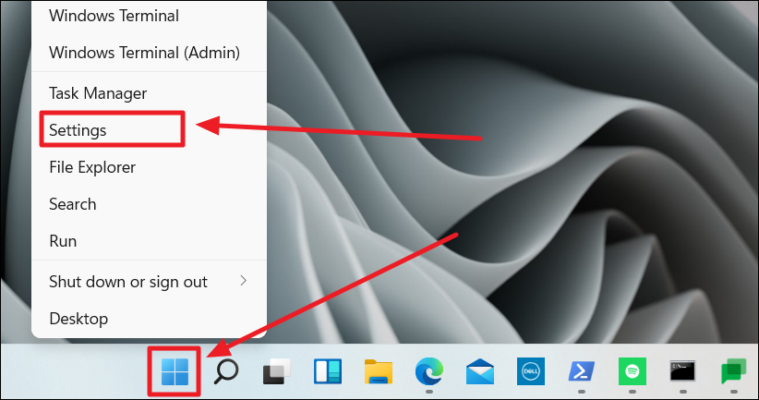
Launch the ‘Settings’ app by right-clicking on the ‘Start’ button and choosing ‘Settings’ from the pop-up menu.
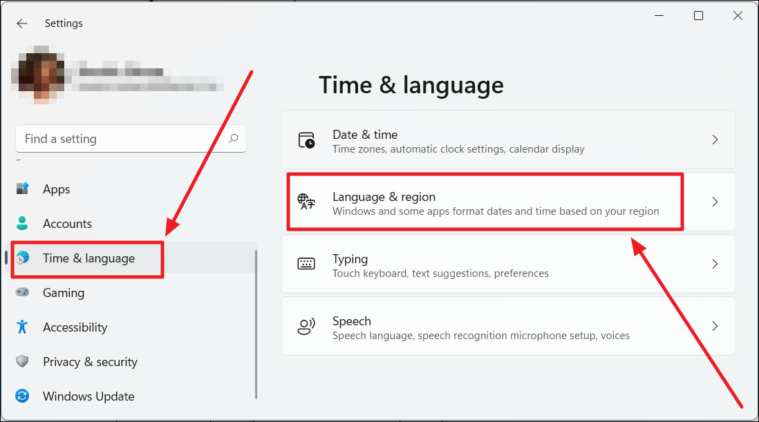
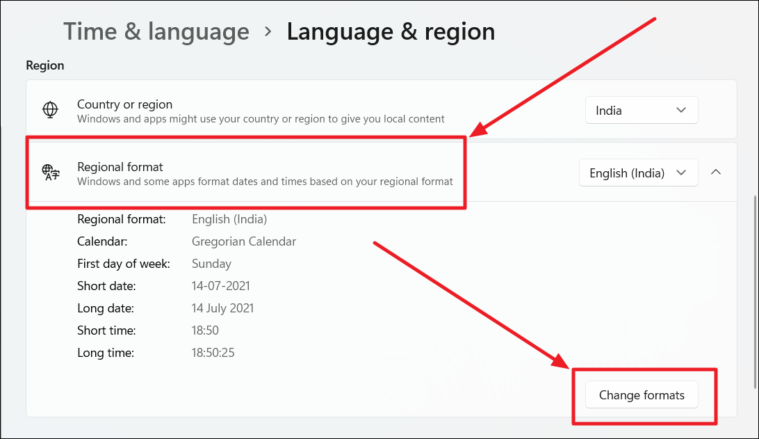
Select the ‘Time & language’ option from the left side of options on the Settings window. Next, click the ‘Language & region’ option on the ‘Time & language’ screen on the right.
Click the ‘Regional format’ option on the ‘Language & region’ page and then click the ‘Change formats’ button at the bottom right corner of the drop-down.
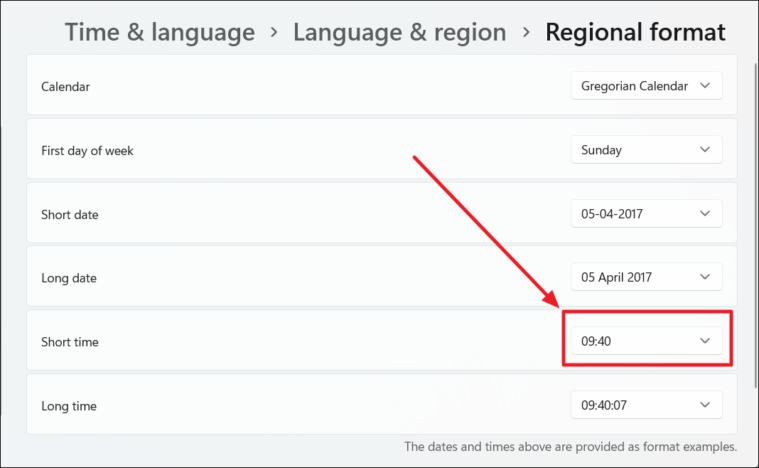
You can now change the time format on the ‘Regional formats’ window. There are two time formats; Short time and Long time. The former appears on the taskbar.
Click the time drop-down on the ‘Short time’ option.
Choose the short time format from the three options in the ‘Short time’ drop-down.
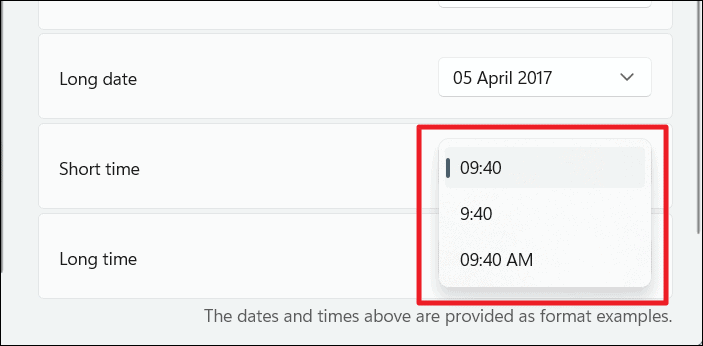
Note: The ‘AM’ option denotes the 12-hour clock format and the other options represent the 24-hour format, only with inclusion or exclusion of a ‘0’ preceding the hour.
The ‘Long time’ format is essentially the same time, only shown with the seconds along with the hour and minute. You can choose to change the ‘Long time’ format or not.
To change the ‘Long time’ format, click the drop-down on the ‘Long time’ option and select the format.
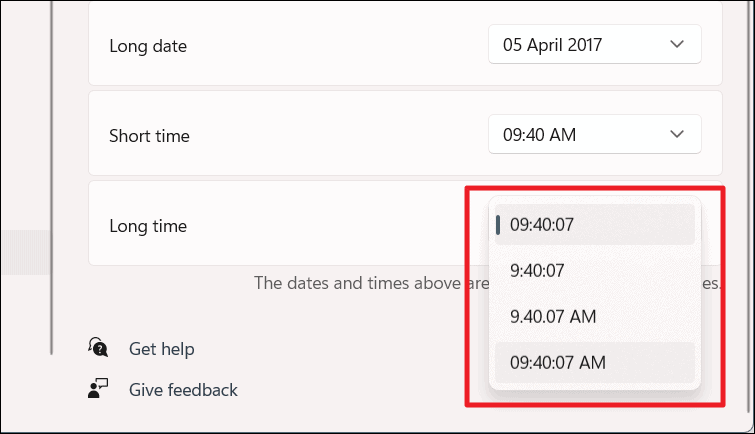
Here, both the 12-hour and 24-hour clock formats have options with ‘0’ in front of the hour, unlike the ‘Short time’ options that have it only for the 24-hour format.
How to Change Time Format on Windows 11 using Control Panel
Launch the Control Panel (refer to the beginning of this guide to know how). Click ‘Change date, time or number formats’ below ‘Clock and Region’ on the Control Panel window.

A ‘Region’ dialog box opens next. Here, you can change the ‘Short time’ and the ‘Long time’ under ‘Date and Time formats’ while observing the changes under ‘Examples’.
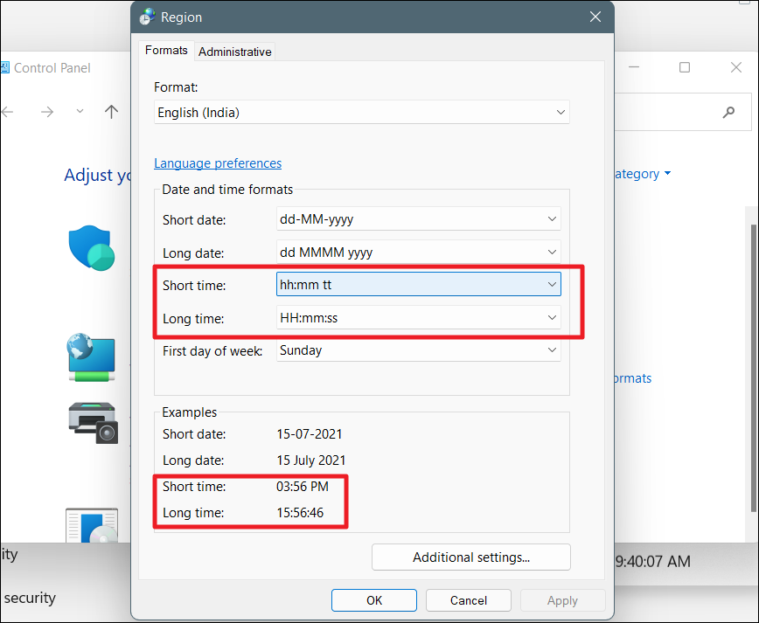
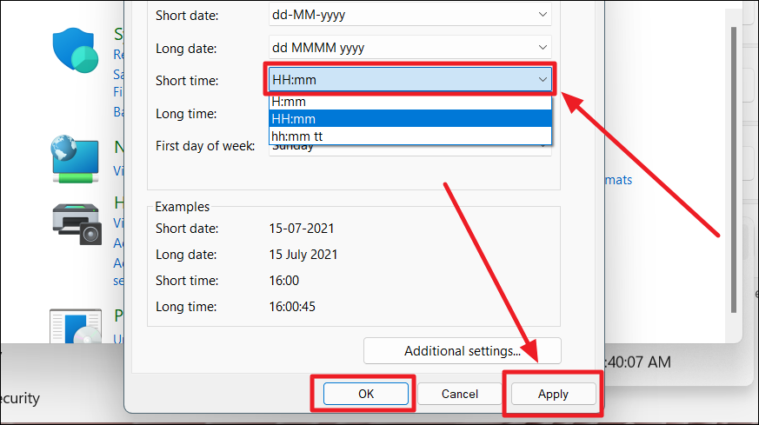
Click the drop-down box next to the time you wish to change and choose the format from the drop-down menu. Click ‘Apply’ once you’re done and then, hit ‘OK’.
The changes made in this section will instantly reflect under ‘Examples’.
Here, the time formats are represented a little differently.
Note: The hours of the 12-hour clock format are shown with lowercase letters (hh) and that of the 24-hour clock format, with uppercase letters (HH).
The time is now changed on your system.
How to Sync Time or Remove Sync with the Internet Time Server
Launch the Control Panel and select ‘Clock and Region’ on the ‘Control Panel’ window.
Click ‘Date and Time’ on the ‘Clock and Region’ page.
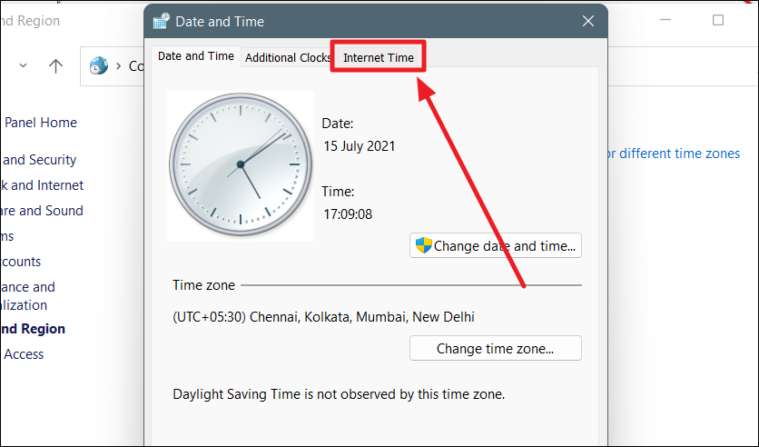
Choose the ‘Internet Time’ tab from the ribbon on the ‘Date and Time’ dialog box.
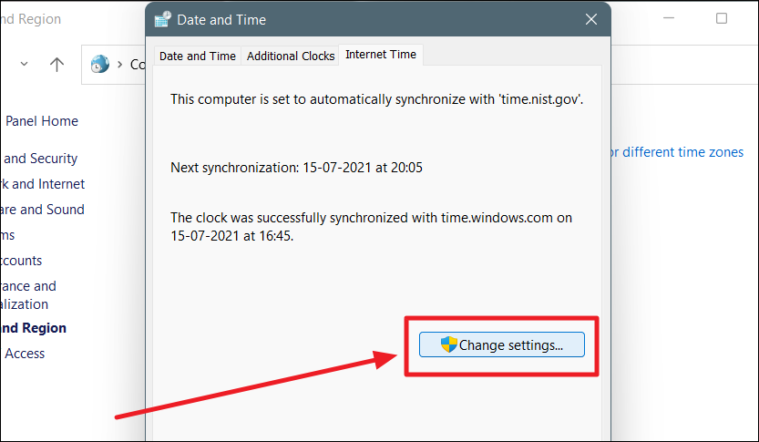
Click the ‘Change Settings’ button on the ‘Internet Time’ tab.
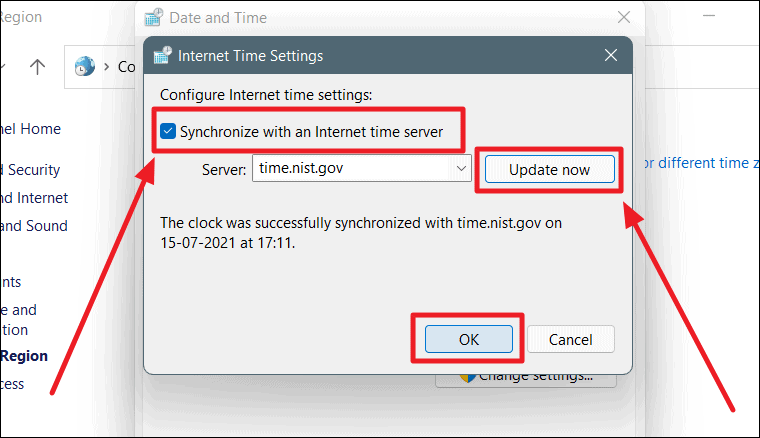
Click and check the box in front of ‘Synchronize with an Internet time server’ option below the ‘Configure Internet time settings:” on the ‘Internet Time Settings’ dialog box. This will sync your system with the internet time server.
Next, click ‘Update now’ and then, finish the process by hitting ‘OK’.
To un-sync the system time from the Internet Time Server, click the box in front of ‘Synchronize with an Internet time server’ on the same ‘Internet Time Settings’ dialog, to deselect the option. Then, click ‘OK’ to apply the changes.
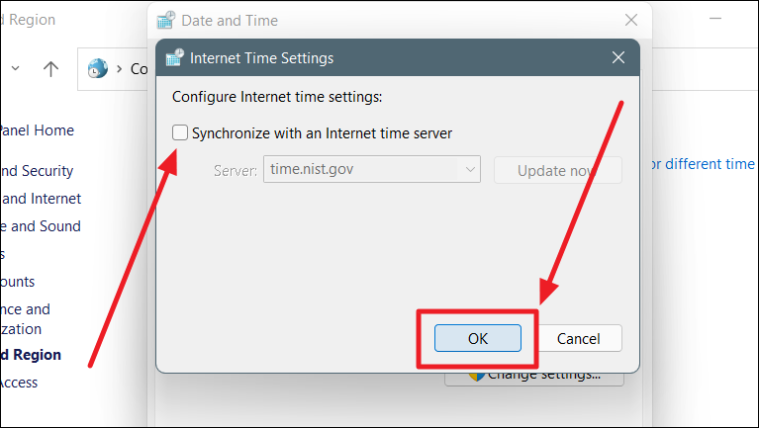
Your system time is now out of sync with the Internet Time Server.