
Sudden restarts or crashes on Windows 11 can disrupt your workflow and leave you wondering what went wrong. Thankfully, Windows 11 includes several built-in tools that allow you to quickly identify the root cause of these unexpected events. This guide explains how to check crash logs effectively using these built-in utilities.
Method 1: Using Event Viewer
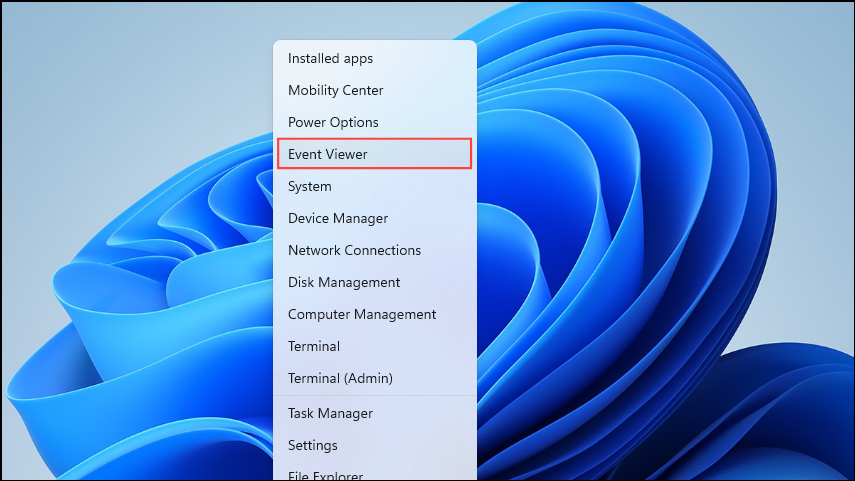
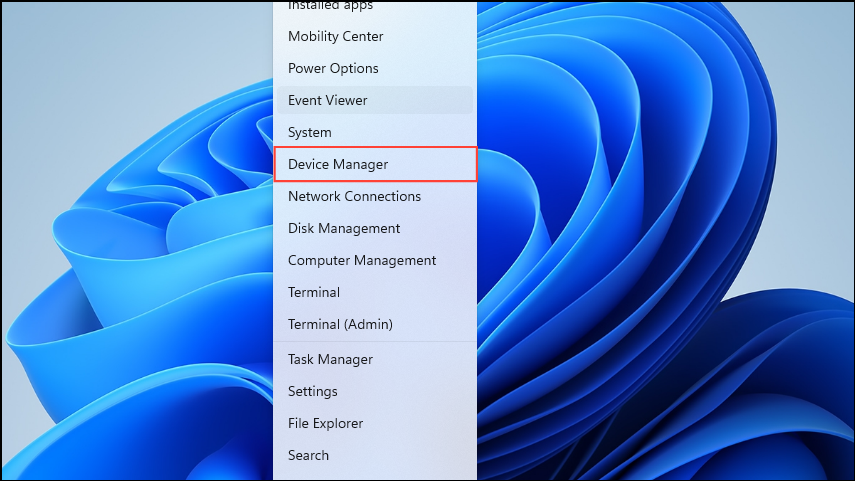
Step 1: Press Windows + X and select Event Viewer from the menu. The Event Viewer tool records detailed information about system and application events, making it ideal for diagnosing crashes.
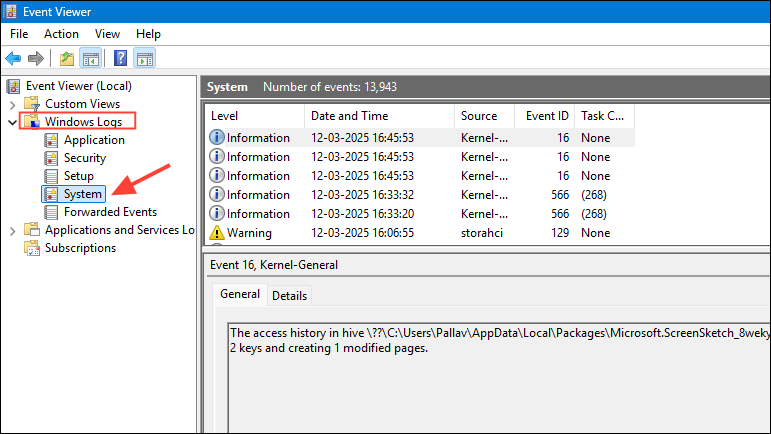
Step 2: In the left pane of Event Viewer, expand Windows Logs, then select System. You will see a chronological list of system events.
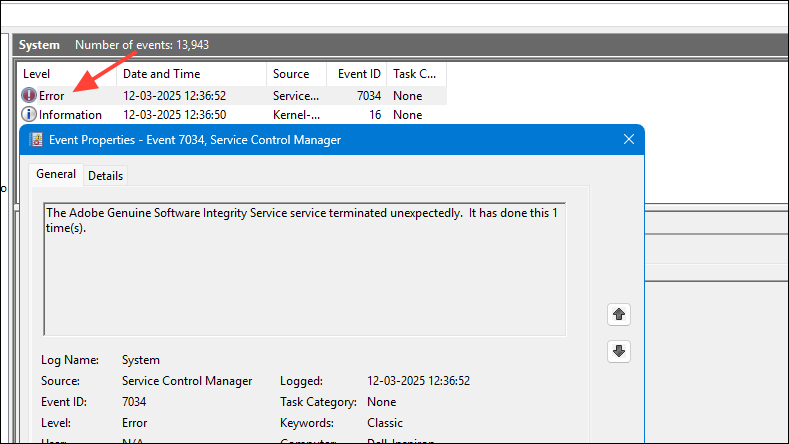
Step 3: Look for entries labeled as "Error" or "Critical" around the time your system crashed. Double-click an entry to open its details. The event description often provides clues about what caused the crash, such as faulty drivers or hardware issues.
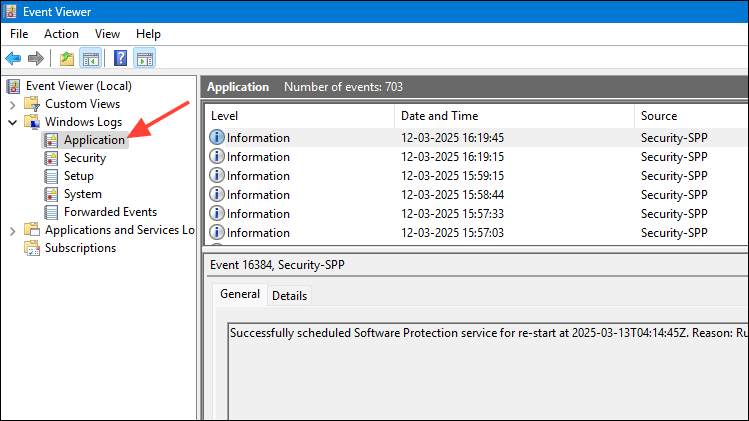
Step 4: If the "System" log doesn't show useful information, also check the "Application" log under Windows Logs, as some crashes originate from software issues.
Method 2: Using Reliability Monitor
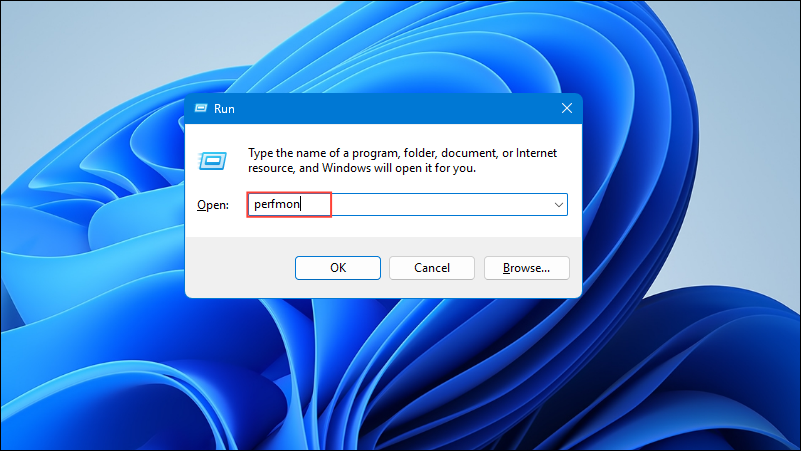
Step 1: Press Windows + R, type perfmon, and press Enter. This opens the Performance Monitor.
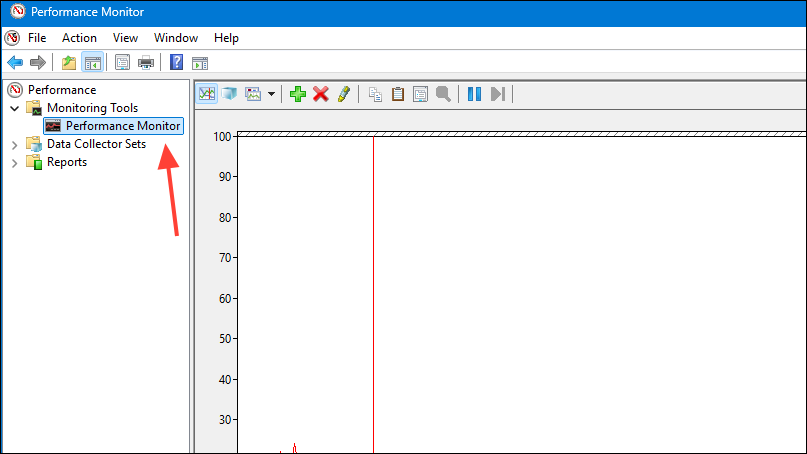
Step 2: In the Performance Monitor window, expand the Monitoring Tools section and select Reliability Monitor. This tool tracks system stability and highlights critical events that have impacted your computer’s reliability.
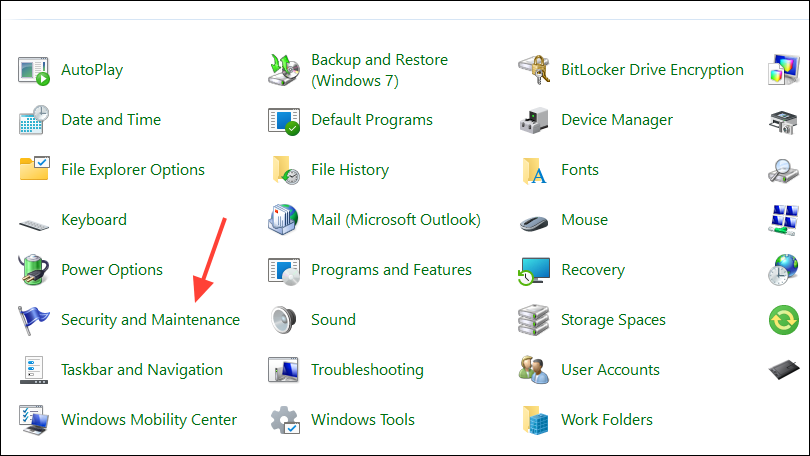
Step 3: If you do not see the Reliability Monitor here, open the Control Panel and navigate to Security and Maintenance.
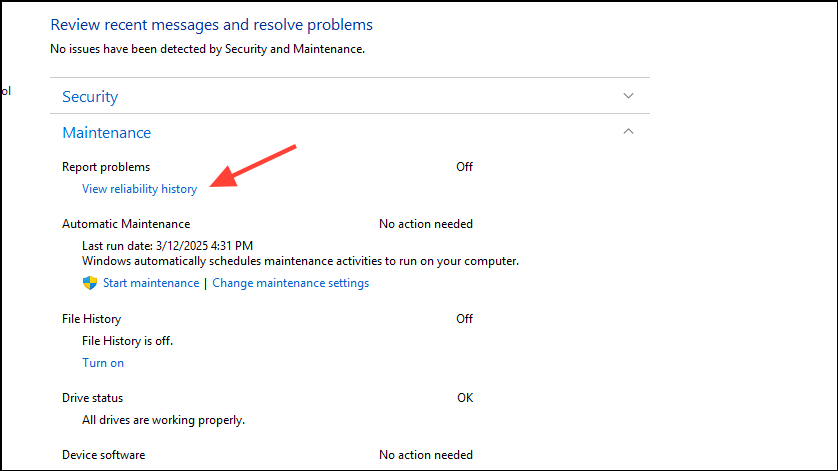
Step 4: Expand the Maintenance section and click on View reliability history.
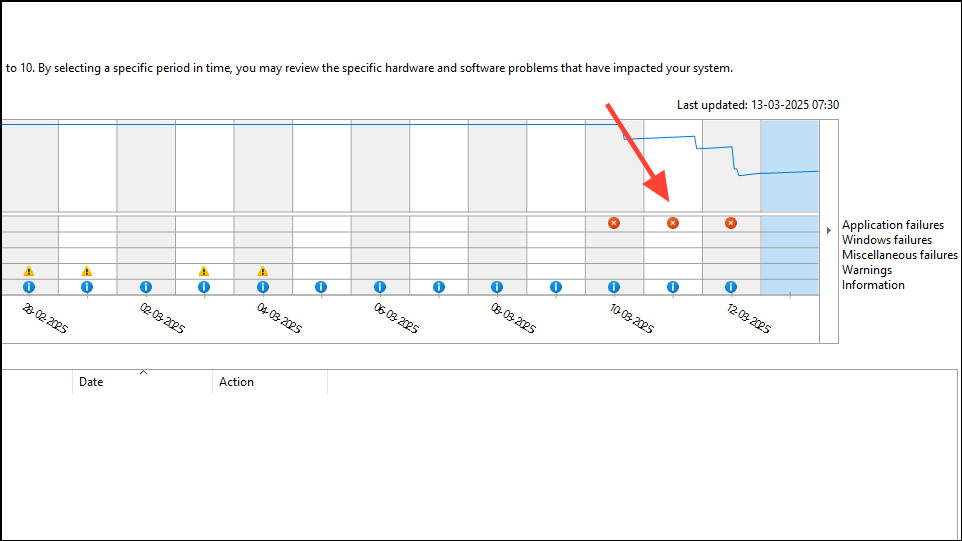
Step 5: In the Reliability Monitor timeline, locate the date of the crash, marked by a red "X" indicating a critical event. Clicking on this event will display detailed information about the crash, including the software or hardware component responsible.
Method 3: Analyzing Crash Dump Files
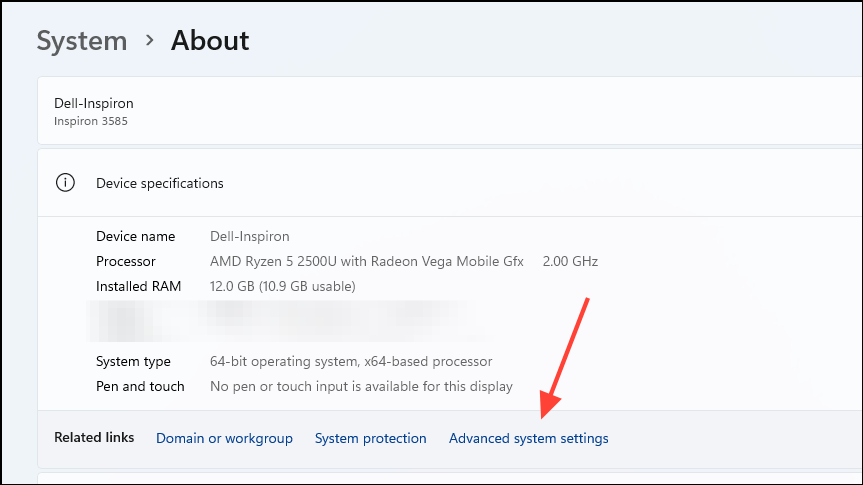
Step 1: First, ensure your system is configured to create crash dump files. Right-click the This PC icon on your desktop or in File Explorer, and select Properties before clicking on Advanced system settings.
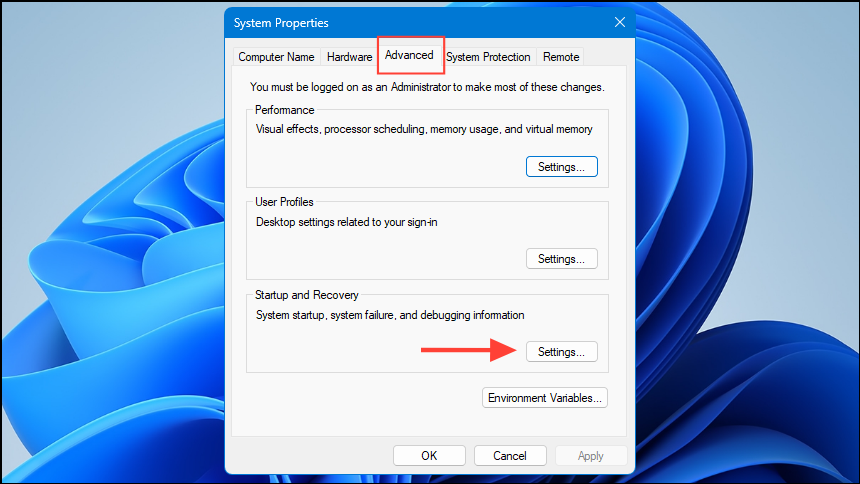
Step 2: Click the Settings button in the Startup and Recovery section under the Advanced tab.
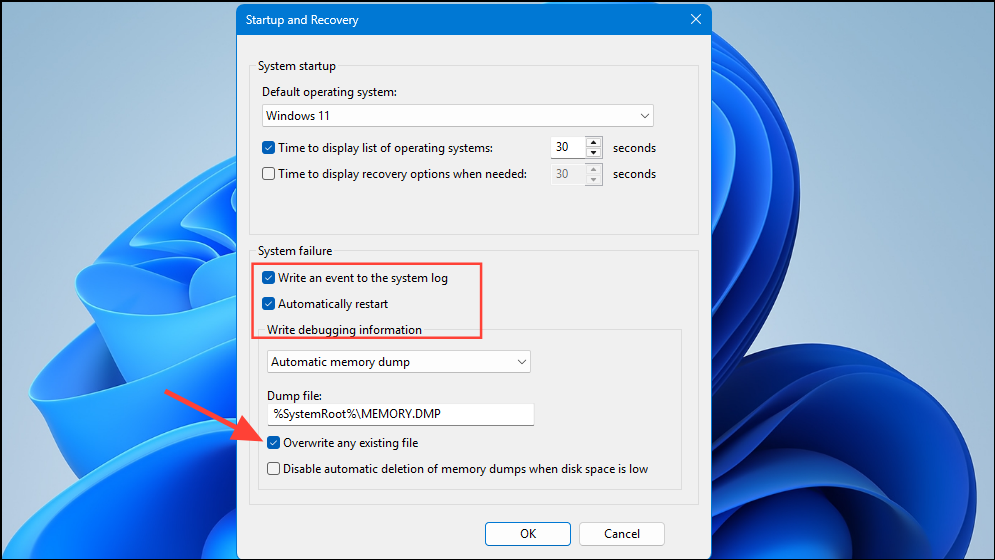
Step 3: In the Startup and Recovery window, confirm that Write an event to the system log and Automatically restart are checked. Set the dump file location to a convenient folder (usually the default is sufficient).
Step 4: After a crash occurs, navigate to the configured dump file location (typically C:\Windows\Minidump). These files end with a .dmp extension.
Step 5: Use debugging tools such as WinDbg to analyze the dump file. WinDbg can pinpoint the exact driver or software component responsible for the crash. You can download WinDbg from Microsoft's official website and follow their documentation for detailed instructions on analyzing dump files.
Method 4: Checking for Driver Issues
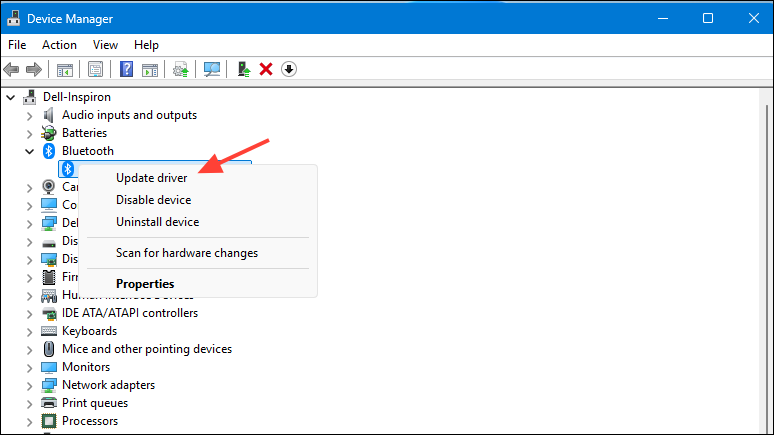
Step 1: Press Windows + X and select Device Manager. This tool displays all hardware devices and their associated drivers.
Step 2: Look for any devices marked with a yellow triangle, indicating a driver issue. Right-click these devices and select Update driver to download the latest version. Alternatively, uninstall and reinstall the problematic device drivers to resolve compatibility issues that may cause crashes.
Regularly checking your crash logs and promptly addressing any identified issues can significantly improve your Windows 11 system's stability. Keep your drivers and software updated, and use the above methods to quickly troubleshoot and resolve crashes when they occur.