We all love shooting videos on our iPhones. Shooting is easy. But if you want to edit or combine those videos? That might not be possible with the Photos app on your iPhone but it is still pretty easy if you use the free video editing app that Apple offers –iMovie. You can edit videos using iMovie in a jiffy and show them to friends, family, colleagues, or post it on social media and brag about your mad editing skills.
iMovie comes as pre-installed on most iPhone models. However, if you don’t have it on your device, you can always download it for free from the App Store (link below).
Once installed, open the iMovie app from your iPhone home screen.
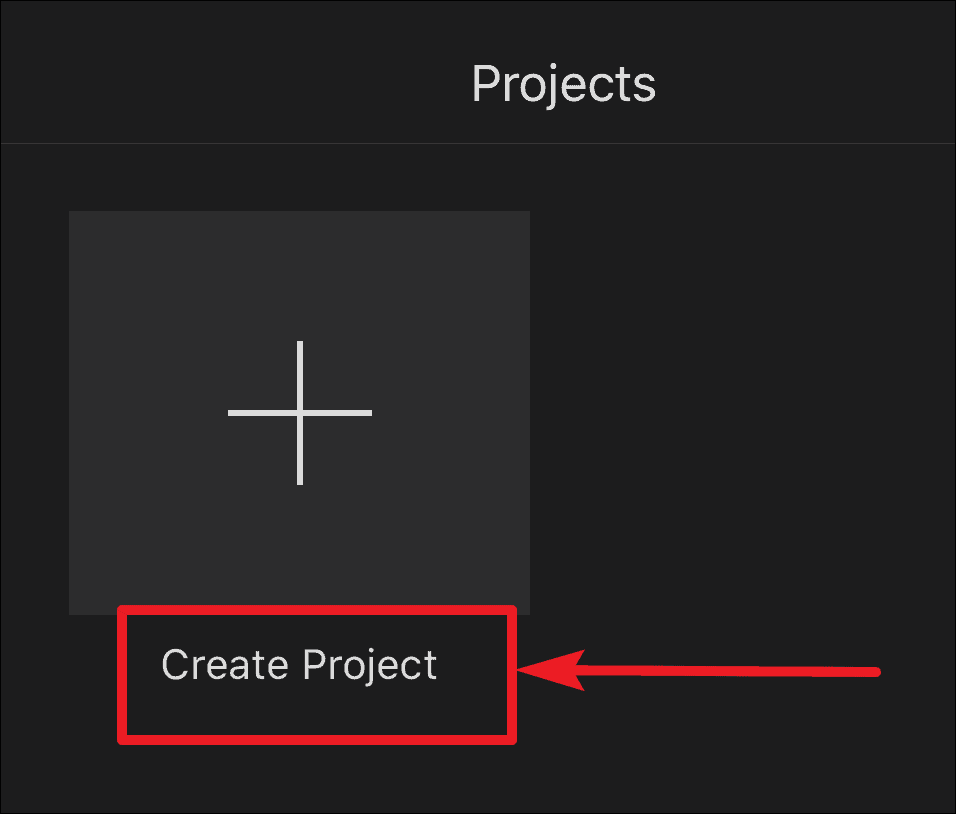
When the app starts, tap on the “+” (plus) icon above the Create Project label to create a project to combine your videos.
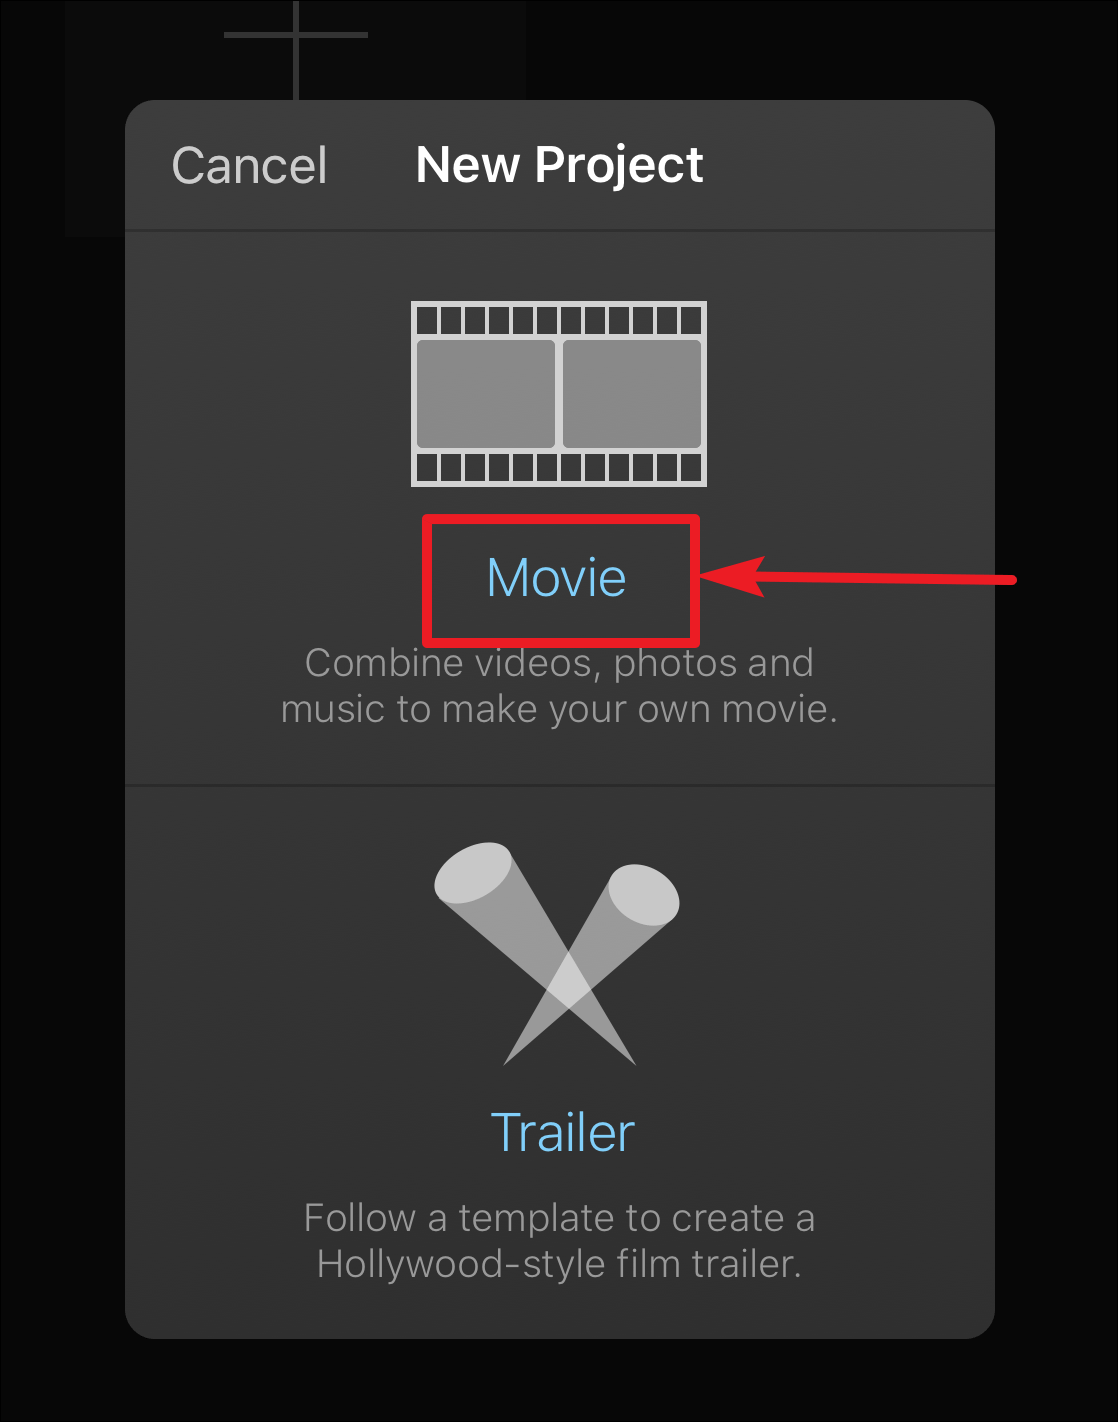
Two options will appear in front of you, namely Movie or Trailer. Tap on the Movie option that says it lets you combine videos, photos, and music to make your own movie.
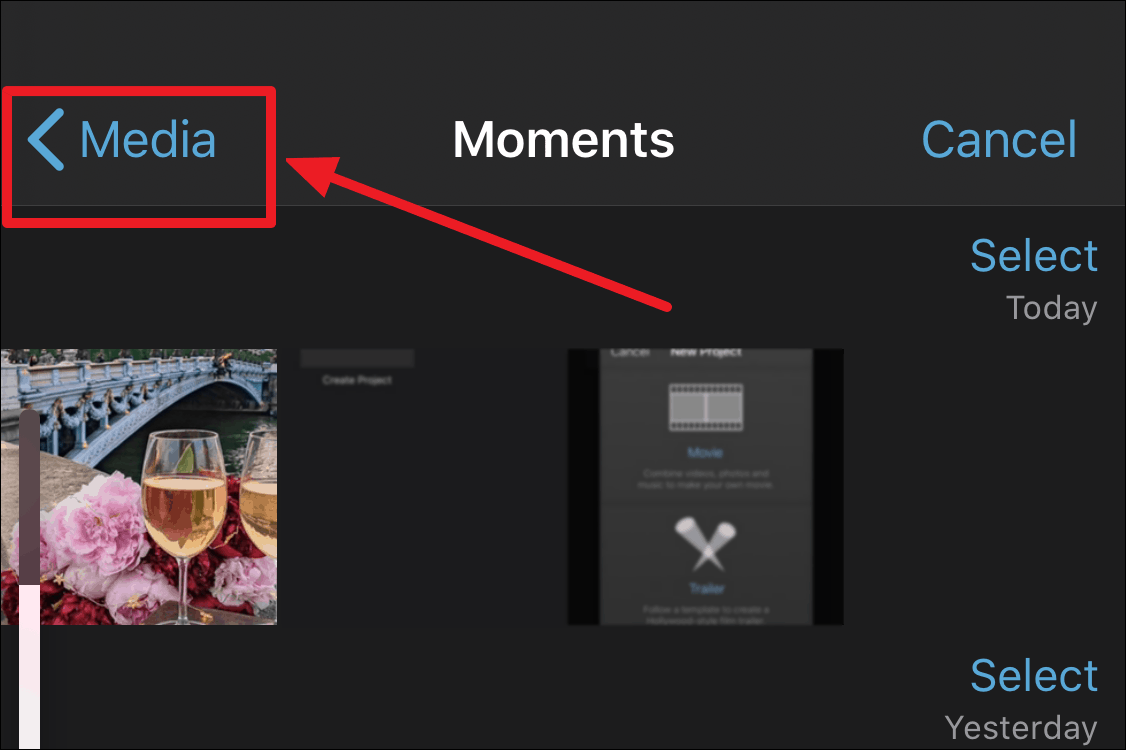
It will open a screen showing all the photos and videos stored on your phone, starting from the most recent ones. To open only videos, tap on the Media option at the top left corner of your screen.
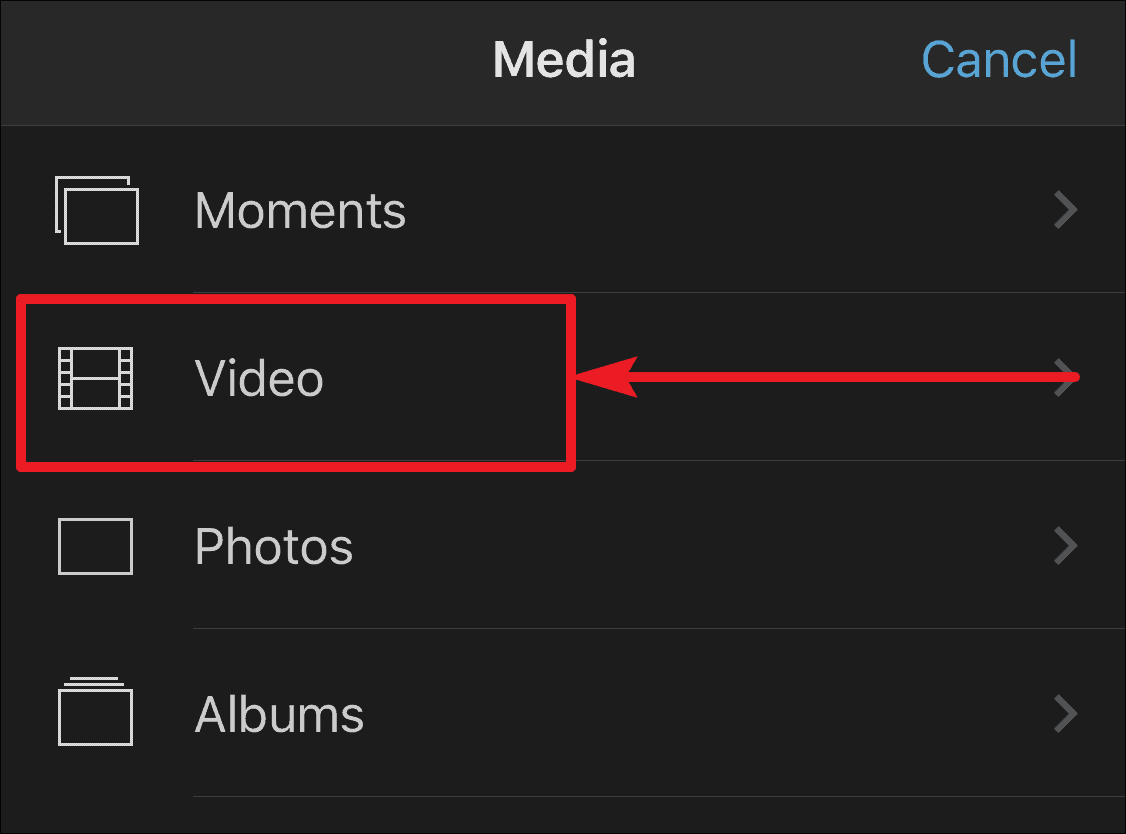
Then tap on Video from the list of the various Media types available on your phone.
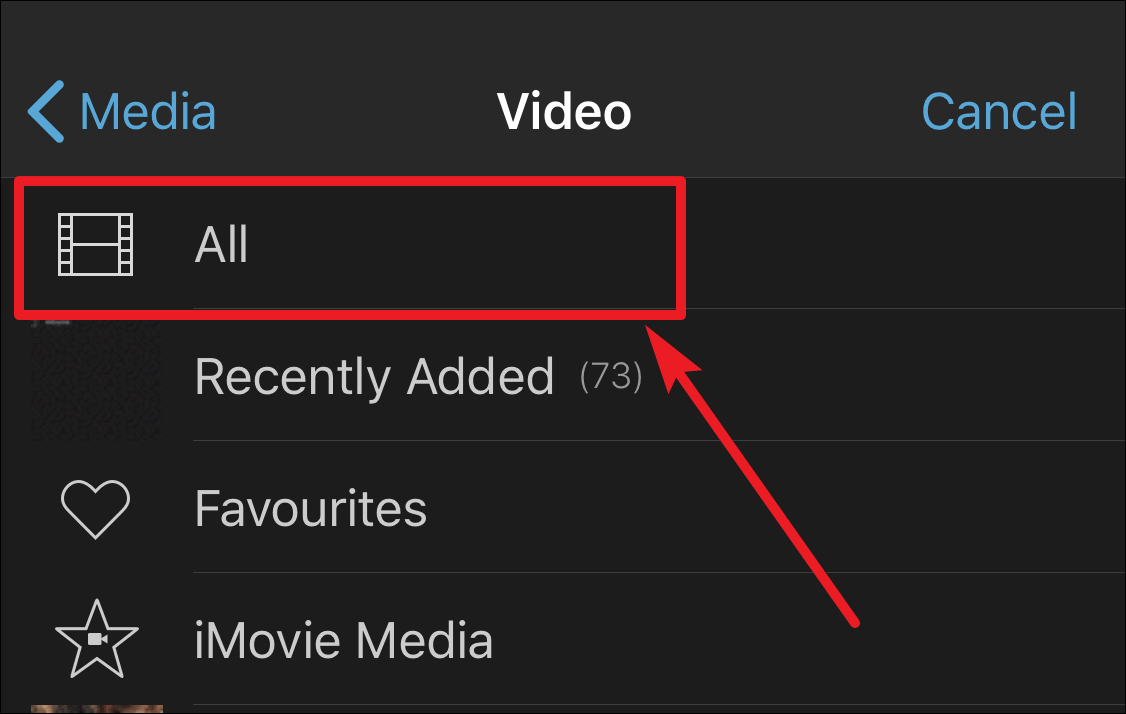
Finally, tap on All option to view all videos stored on your iPhone.
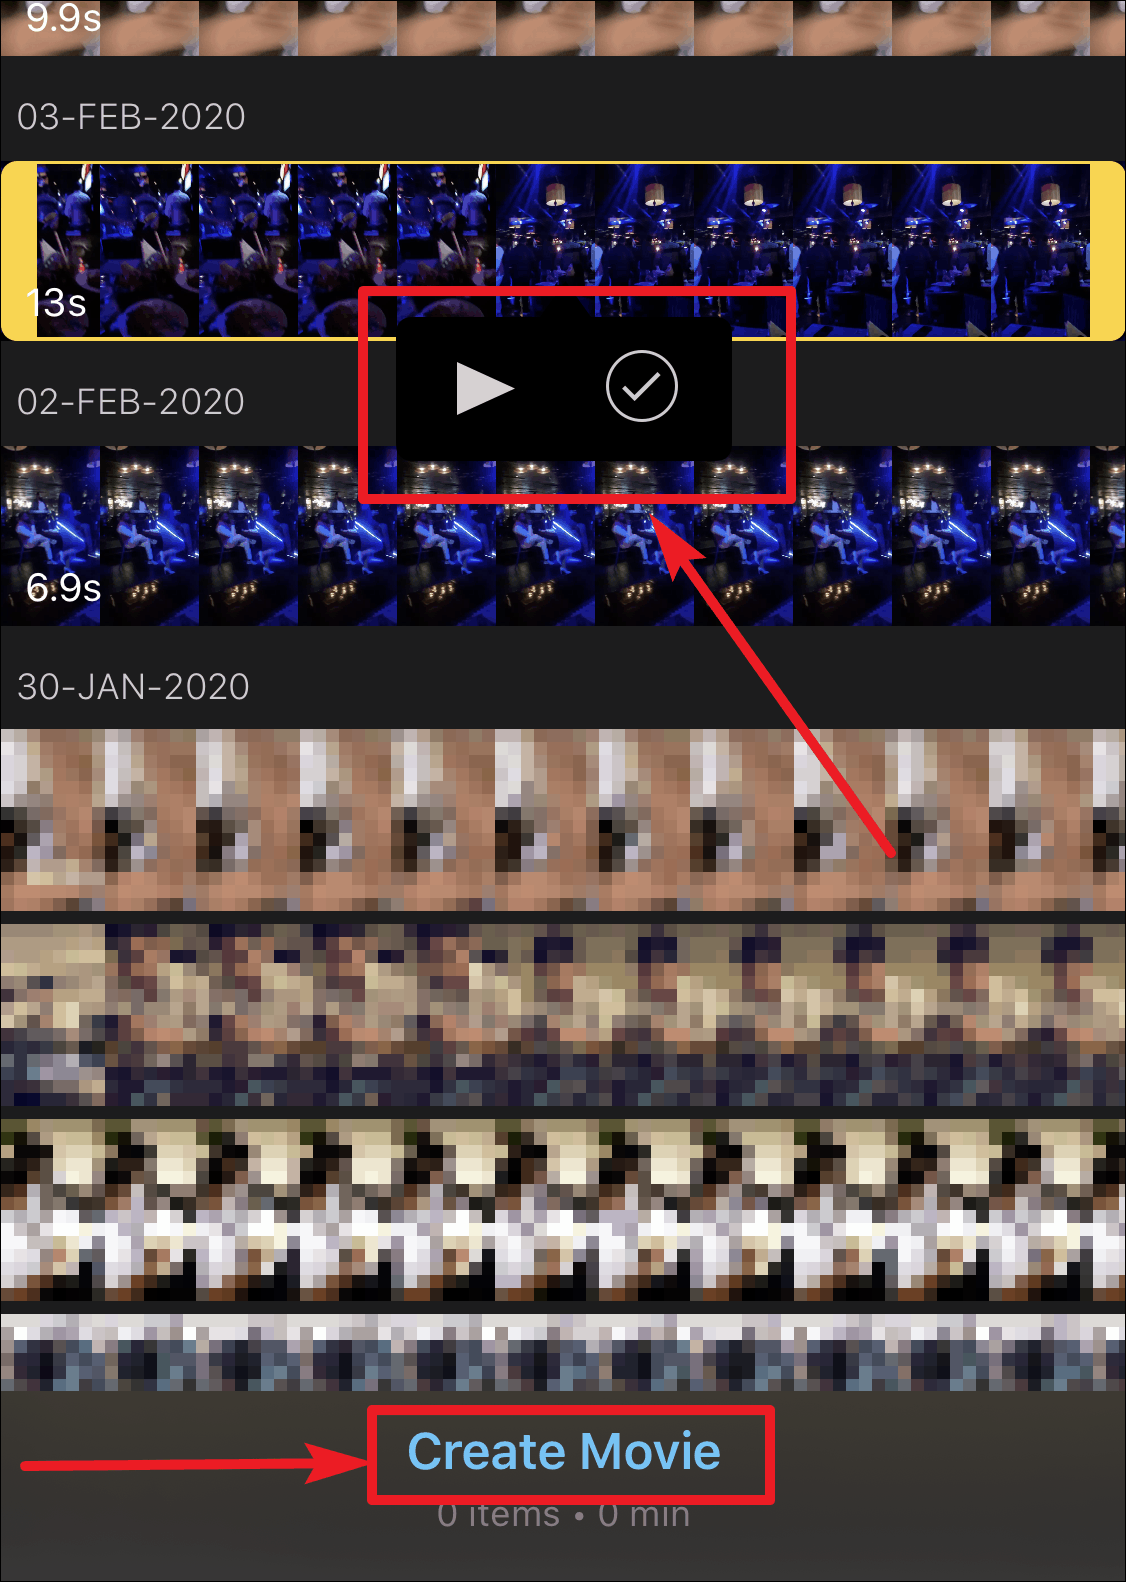
When you tap ‘All’ from the list of options, all the videos stored on your phone will be displayed. You can select any video to start editing it. Tap on the video you want to add to your project. It will be highlighted by a yellow box and a pop-up having two options will be displayed. You can choose to play the video to review whether it’s the one you want to add. To add the video, tap on the tick-mark option.
You can choose to add more than one videos at this point. After you have added one video, tap on the second video that you want to add and then tap on the tick-mark option. After you have selected all the videos you want to combine, tap on Create Movie option towards the bottom of the screen.
Your videos will be combined using the default settings of the app. You can also arrange them in the order you want them to appear. To rearrange them, tap and hold on a video for a couple of seconds. The video will move out of its place. Now you can drag it wherever you want and then release it. You can further edit the videos with many tools available at your disposal in the iMovie app.
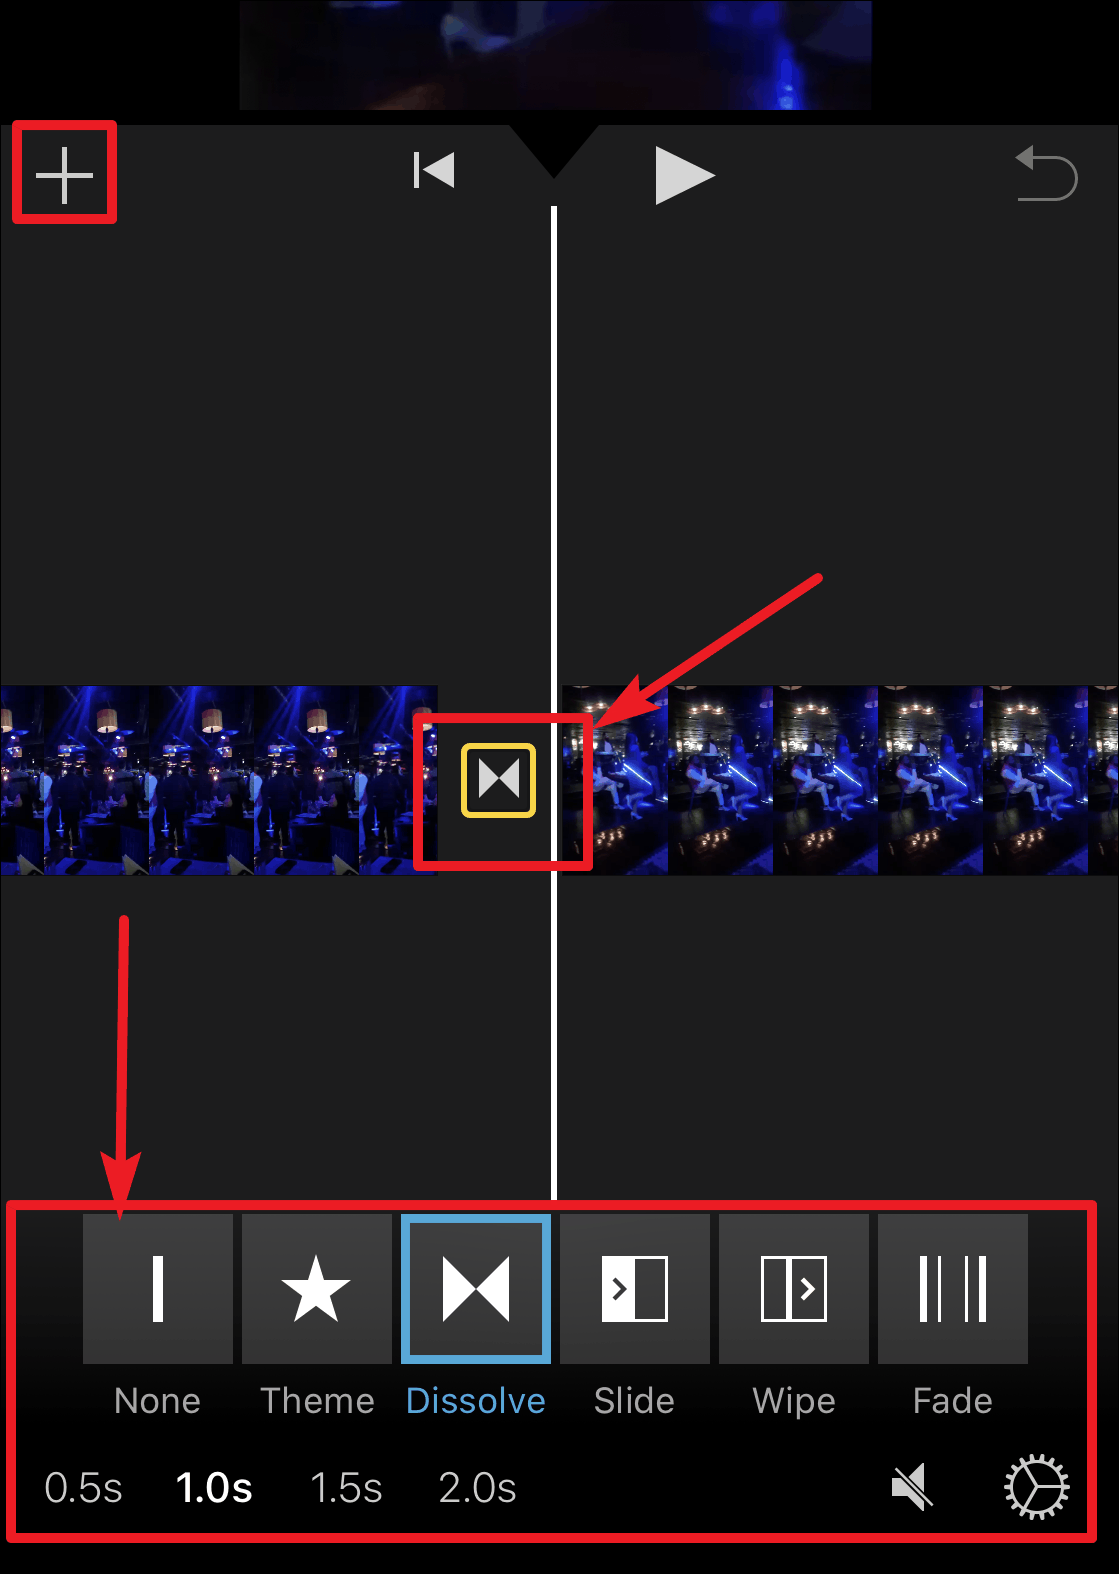
Drag your video to the left or right, and you will see a cut-out where one video ends and the other starts. Tap on the box present in that cut-out space and it will open a menu of editing options. You can adjust the style of transitioning from one video to another from these options. By default, the ‘Dissolve’ style will be selected. You can also adjust the time it takes your videos to transition. At any point while working on your project, you can also add another video to it by tapping on the “+” button.
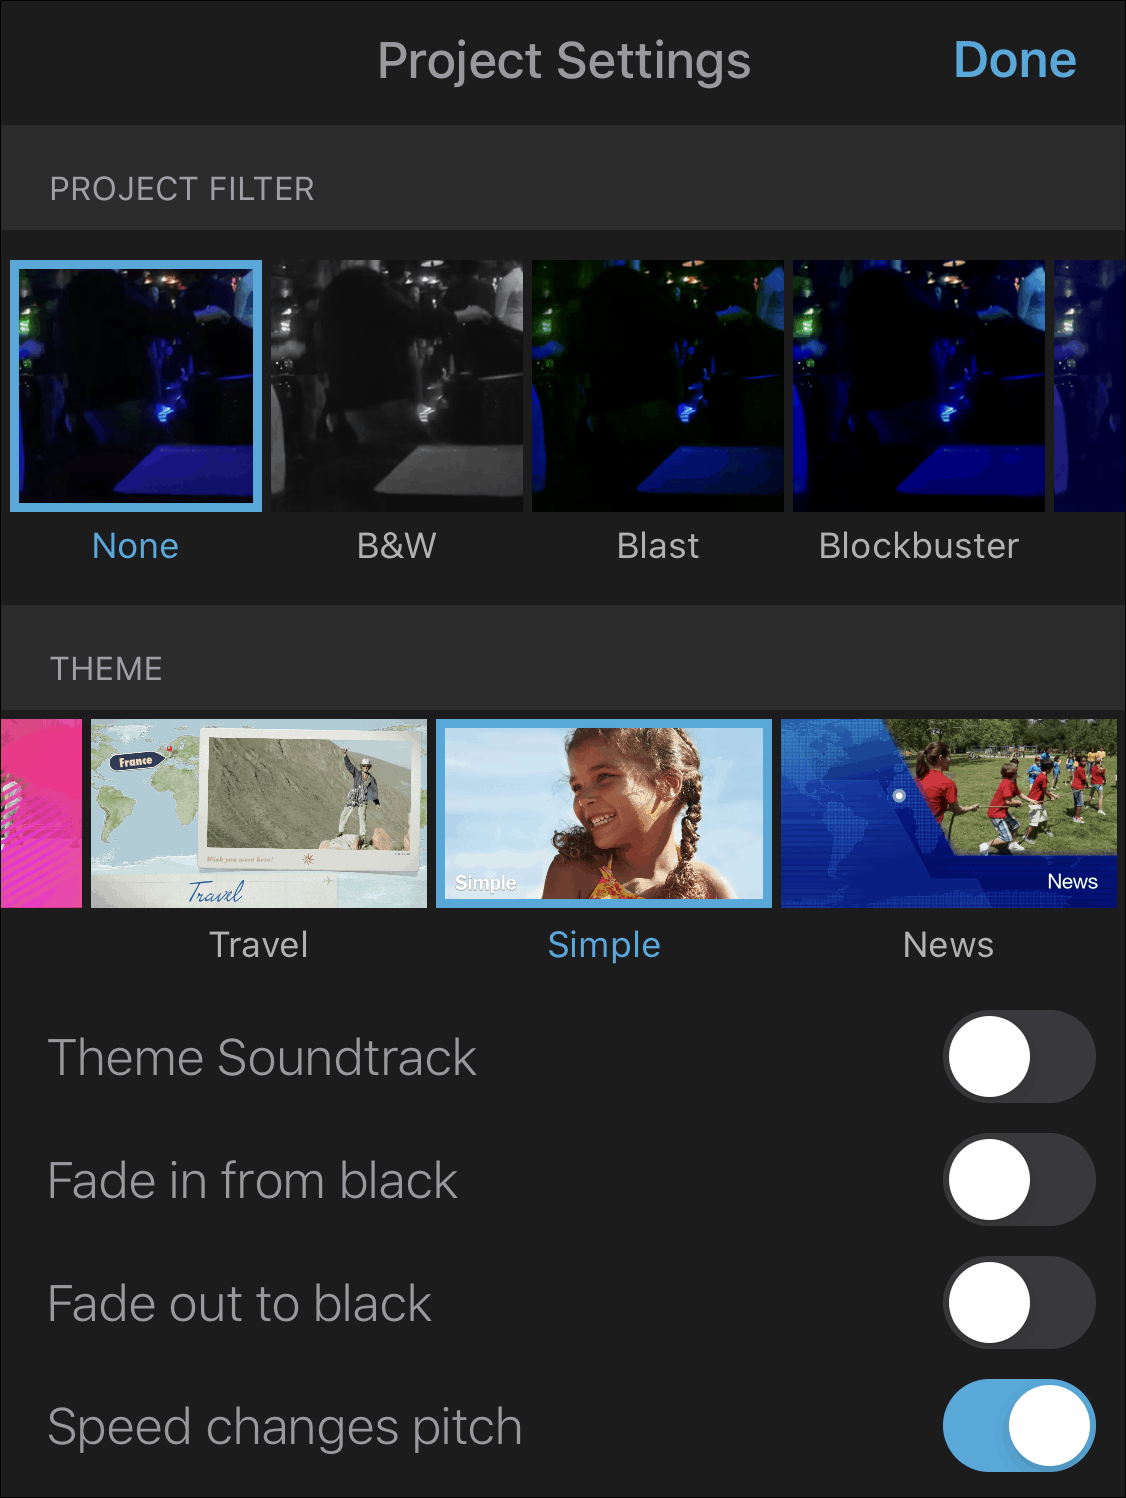
Tap on the Settings option at the bottom right corner of the screen. You can add filters to the whole project, choose a theme, add theme music and adjust other settings for your project from here.
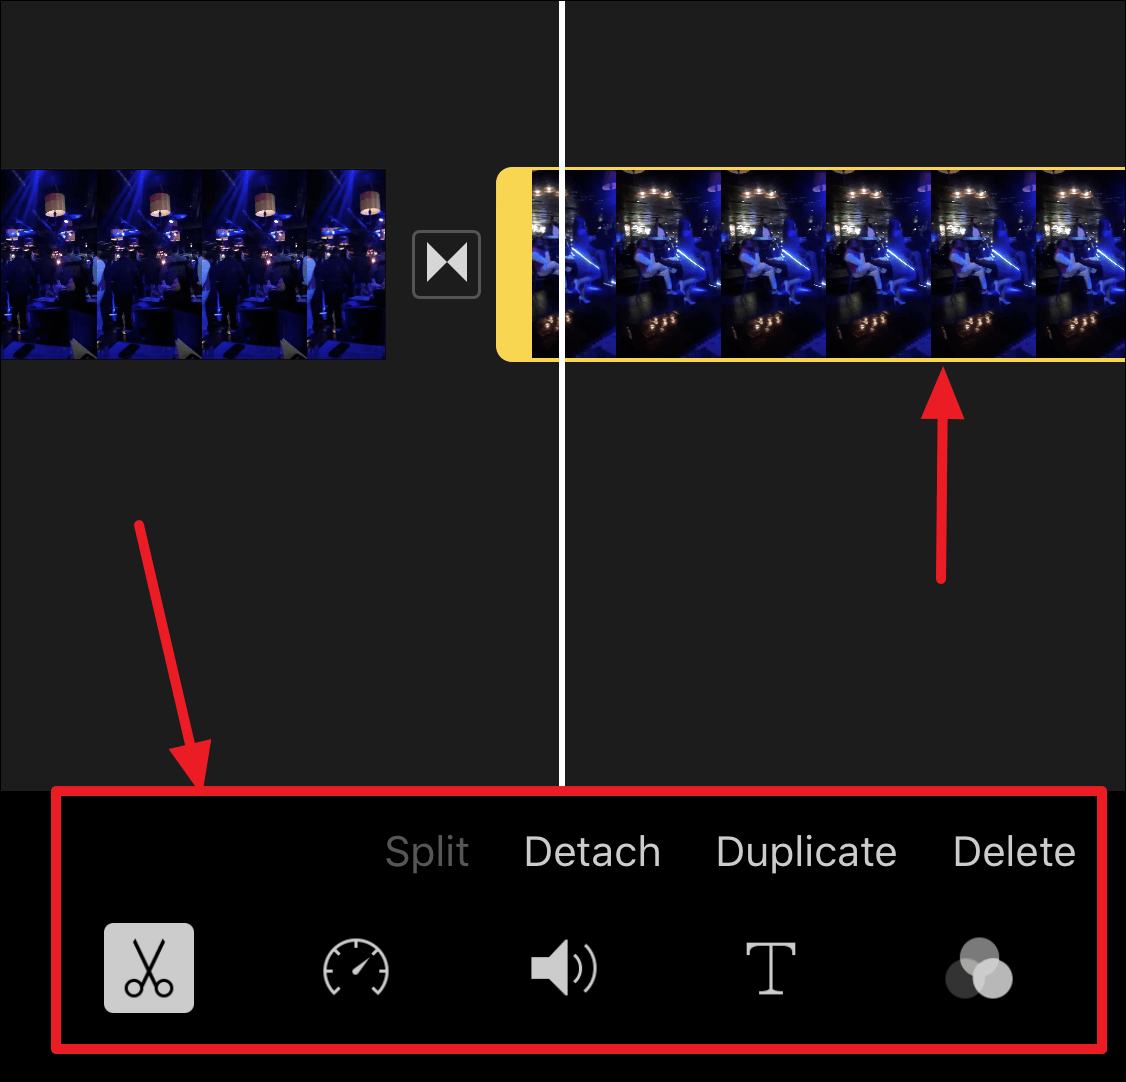
To edit individual videos separately, tap on the video you want to edit. It will be highlighted by a yellow box, and editing tools will appear at the bottom of the screen. You can trim the beginning and end of a video, remove sound from the video, apply an individual filter from these settings.
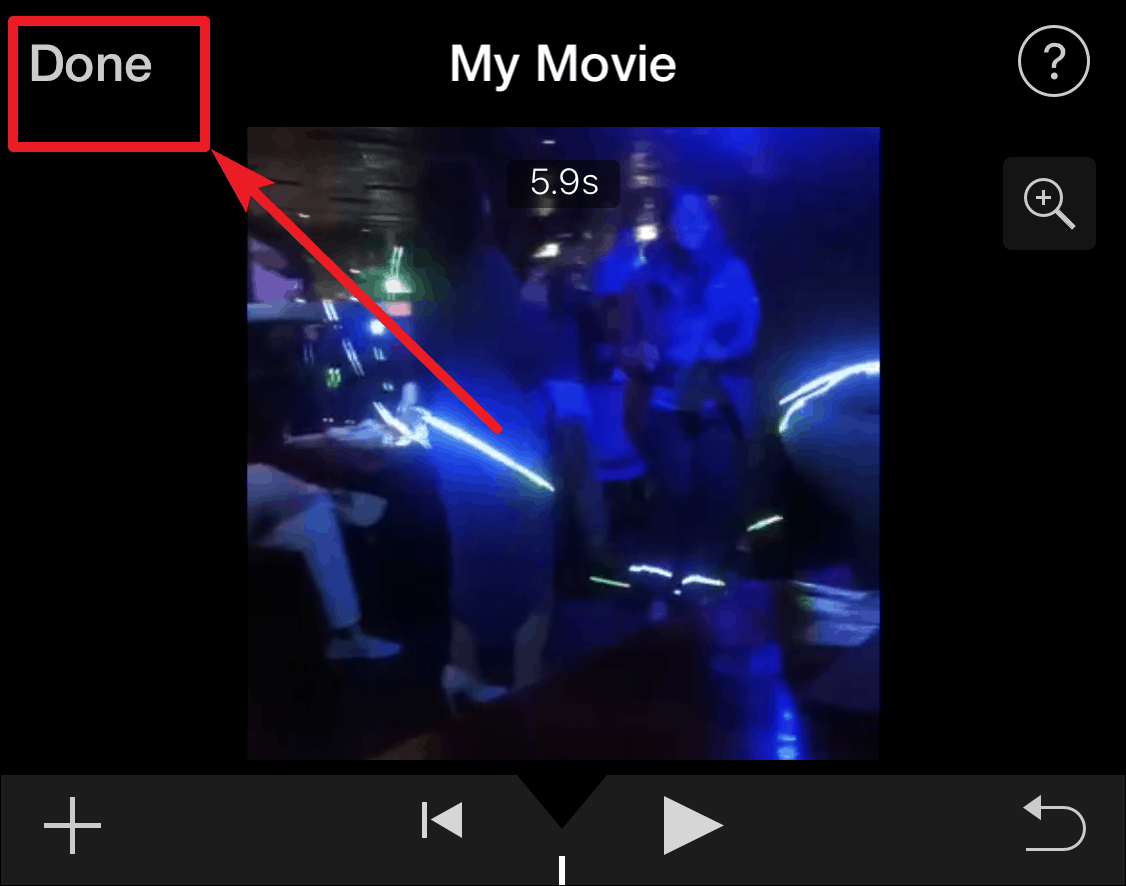
To add music or voice-over to the video, tap on the “+” button towards the left corner of the editing tools, and you will have an option to add an audio, video, voice-over, or record something from your camera. After you are finished, tap Done at the upper left corner of your screen.
You can choose to save this video to your Photos app on the iPhone or upload it to any social media. Even if you don’t, the video will remain in the iMovies app. You can save it in the future, or even edit it again if you want to.
🍻 Cheers!






Member discussion