There’s no doubt that ChatGPT took the world by storm since it was launched last year. But ever since its launch, if there’s one thing most users found lacking, it was the inability to truly customize the chatbot to assist you with your particular use case.
OpenAI did introduce ‘Custom Instructions’ to the app earlier this year, which helped, but only to an extent. You cannot use it for different use cases without having to modify the instructions every time, and you’re back to square one, where you’re endlessly prompting ChatGPT with manual instructions to assist you better.
But it’s all in the past now! In the biggest update since ChatGPT Plugins, OpenAI is introducing GPTs to the platform. GPTs are custom ChatGPT agents that can be used for specialized use cases.
What are GPTs?
GPTs are a customized version of the standard ChatGPT model, which can be tailored to specific tasks, preferences, or usage scenarios, whether at work, at home, or for specific hobbies or interests. They can assist you in various tasks, such as learning new skills, teaching, designing, or even handling specialized knowledge-based queries.
Users can create their own GPTs with ease, as there’s no coding required. You can also provide the GPTs with extra knowledge by uploading any documents. GPTs can also have capabilities like web browsing, DALL-E image generation, and code interpreter.
Users who know coding can further augment the behavior of the GPT by connecting GPTs to external data or services through APIs.
You can also share your GPTs with others; in the coming weeks, OpenAI will launch a GPT store where other users can find your creations. OpenAI also plans to pay creators (specifics are unknown at this time) based on how much their GPTs are used. Companies can also create GPTs for internal distribution.
How to Create a GPT?
Creating your GPT is not a complicated task, even though it might seem daunting at first. To create your own GPT, follow these steps.
- Go to chatgpt.com/create.
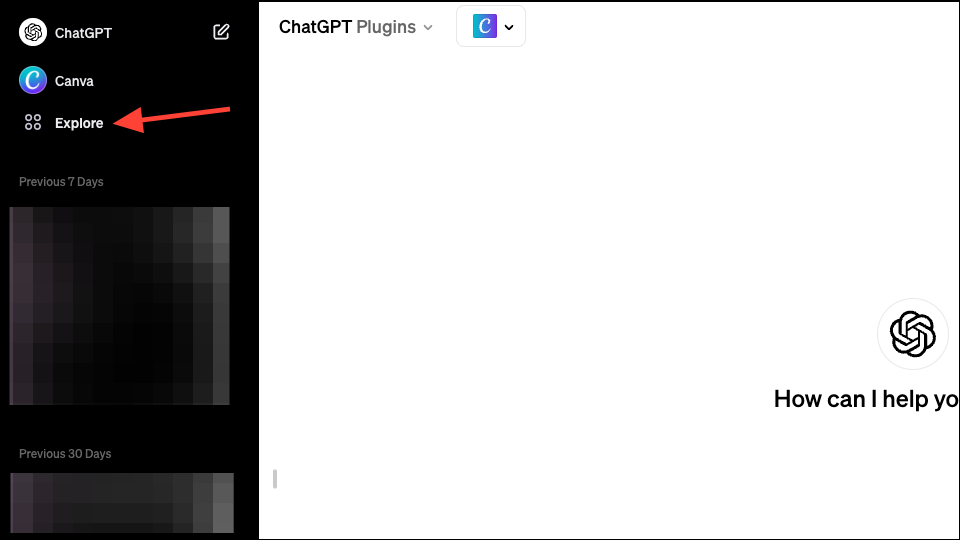
- Or, if you’re already using ChatGPT, you can click the ‘Explore’ button from the sidebar.
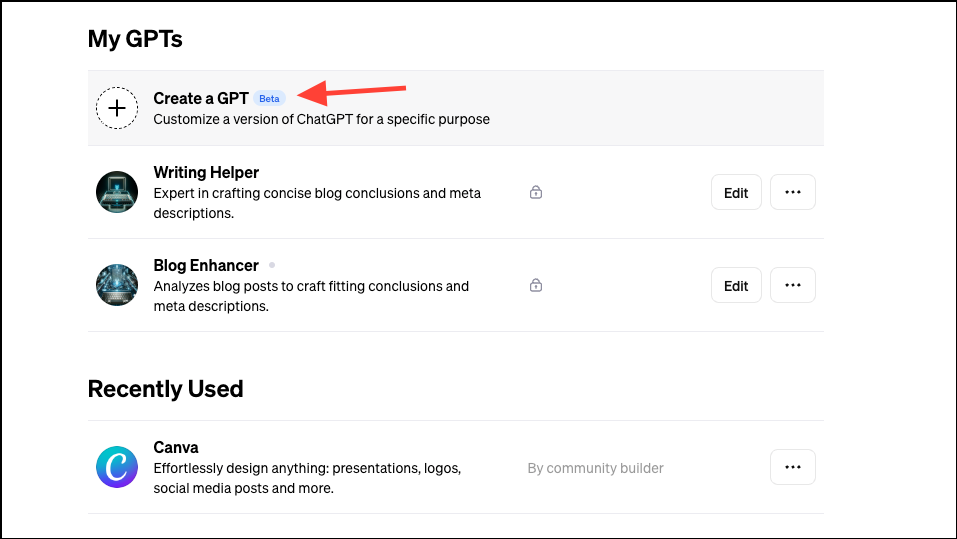
- Then, click on ‘Create a GPT’.
- Either way, ChatGPT builder will open. The left pane is for building, and the right pane shows you the preview of the custom GPT as you’re building it. You can try it out first before publishing it. In the left pane, you’ll see two tabs – Create and Configure.
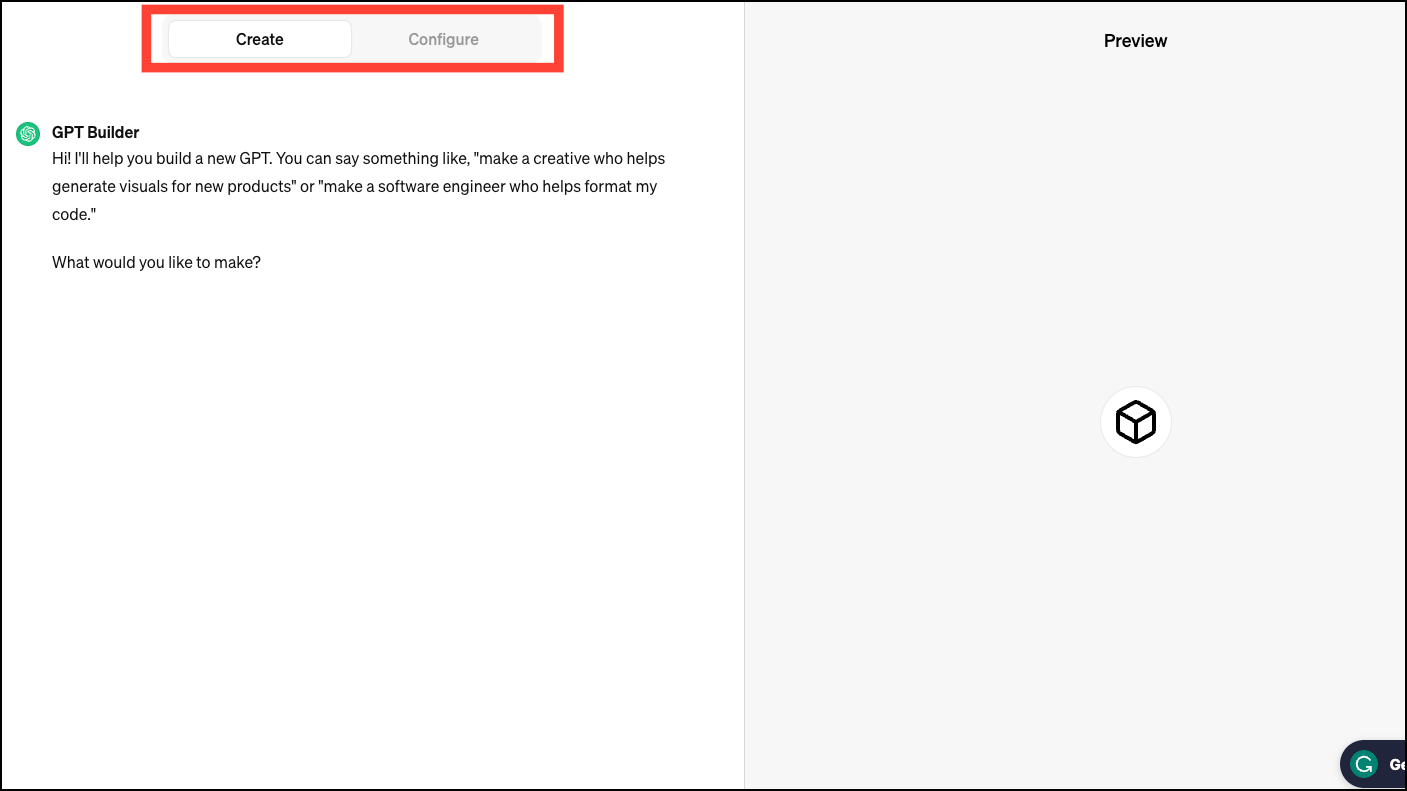
- In the ‘Create’ tab, you can have conversations with the GPT builder to tell it what you want to create in plain English language and it’ll start configuring the custom GPT using your conversations.
You can also directly go to the ‘Configure’ tab if you have a more concrete idea of what you want to create and start writing down the instructions yourself or if you want to add further instructions.
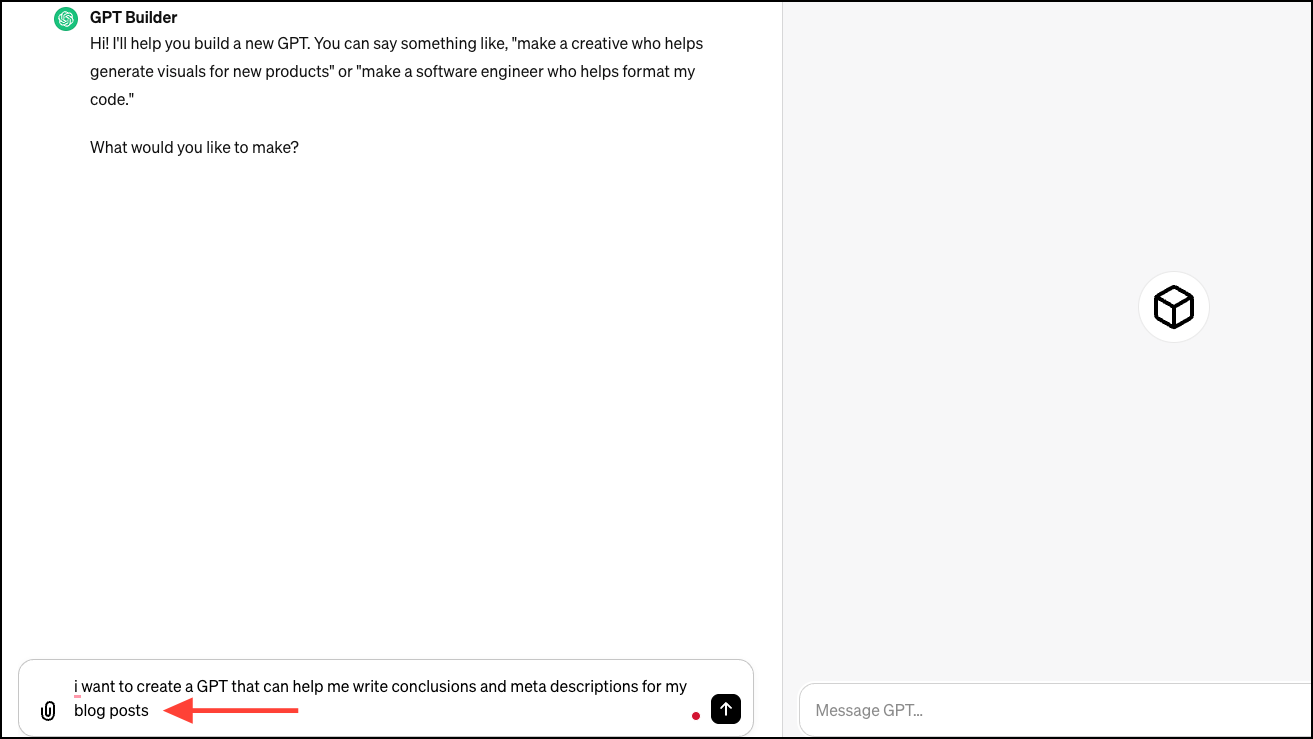
For most people, though, creating the GPT would require going to the ‘Create’ tab first and then making any modifications in the ‘Configure’ tab. That’s what we’ll do here. - To create a GPT with the GPT Builder, you start with a request of what you want to build. GPT Builder will get started on building the custom GPT right away.
The best thing about this setup has to be the fact that you don’t have to provide much information yourself. GPT builder helps you with that by asking further questions about the vision you have for your GPT, so even users who have no idea about how a custom GPT should behave can easily create one. Even with minimal information from you, it can configure the behavior of the GPT. - For example, I want to create a GPT for personal use that can help me write a conclusion and meta description for my blog posts. So, that’s what I’ll enter as input.
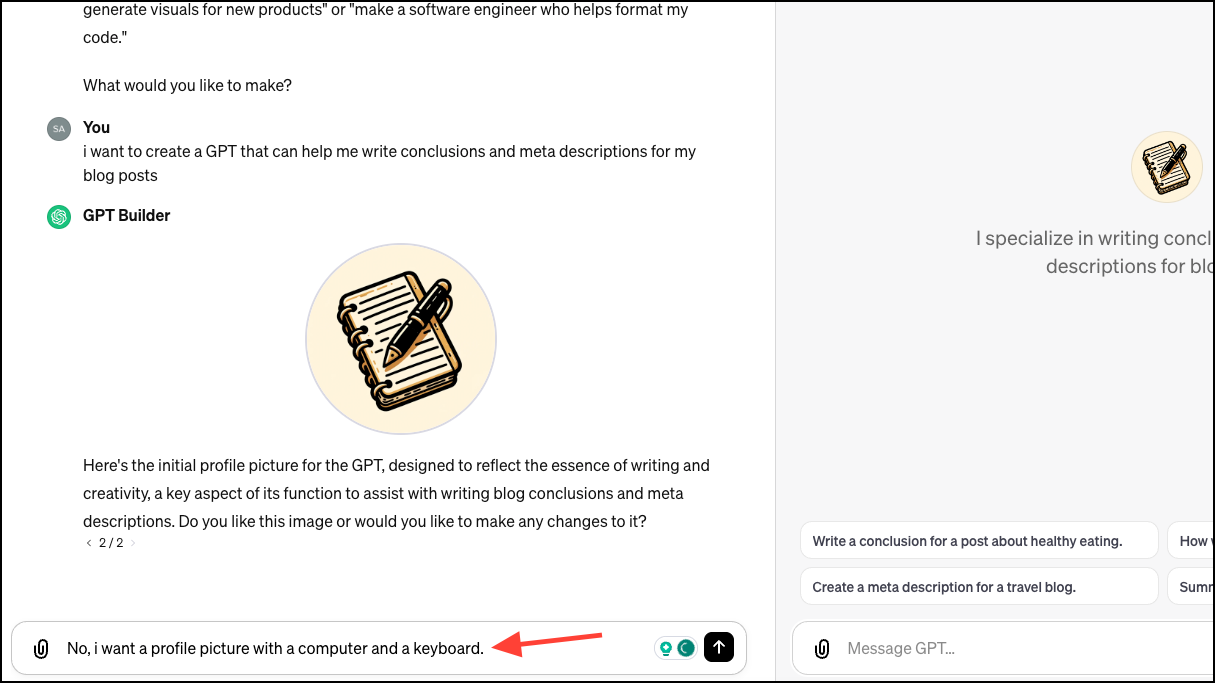
- As soon as I enter that, the GPT builder will get to thinking and start building out the initial GPT. It will then give a name to the GPT and generate a profile picture for it. You can keep them if you like them, or you can ask it to regenerate them. You can also name the GPT yourself.
- Then, it’ll ask further questions about the behavior of GPT, like what would be its primary role, what its focus should be on, what it should do in situations where it doesn’t have enough information, what it should do when it encounters tasks outside of its main role, what its tone should be like, how it should express its personality, etc.
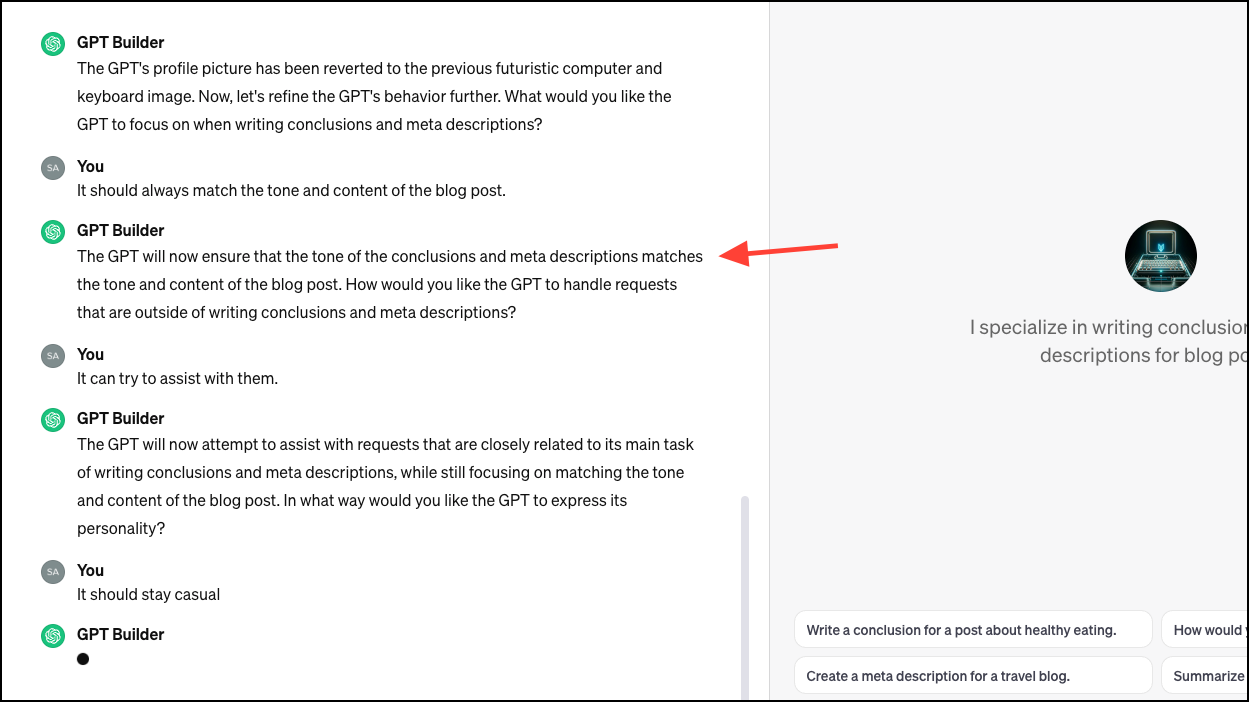
- These are just some examples, and the questions that the GPT Builder asks you might vary. Outside of simply answering the questions, you can also provide any instructions that you deem fit yourself.
For a casual GPT, it doesn’t require so much behavioral configuration. But if you’re creating a professional GPT, you’ll need to configure this behavior. You only need to write them in plain English, though. GPT Builder modifies them in a way that is suitable for the GPT on its own.
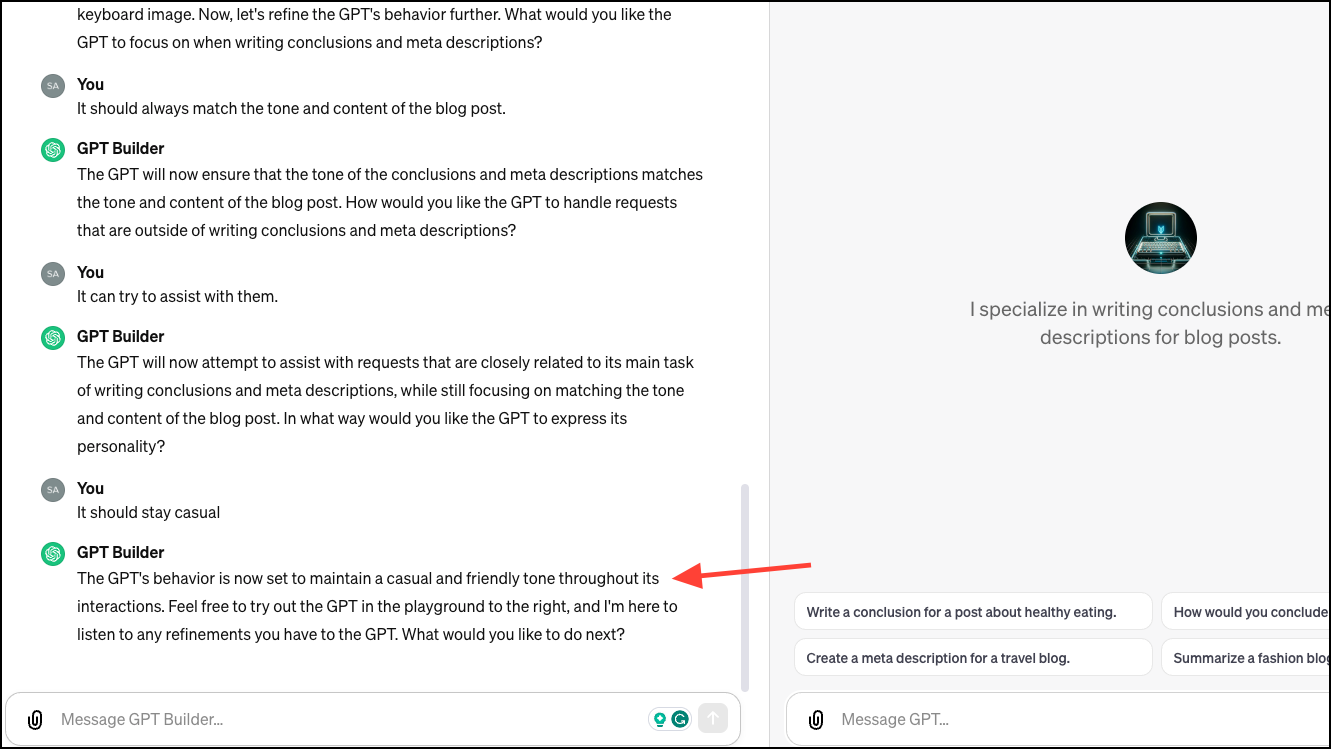
After some back and forth, the initial configuration will be complete, and you can test the GPT in the right pane.
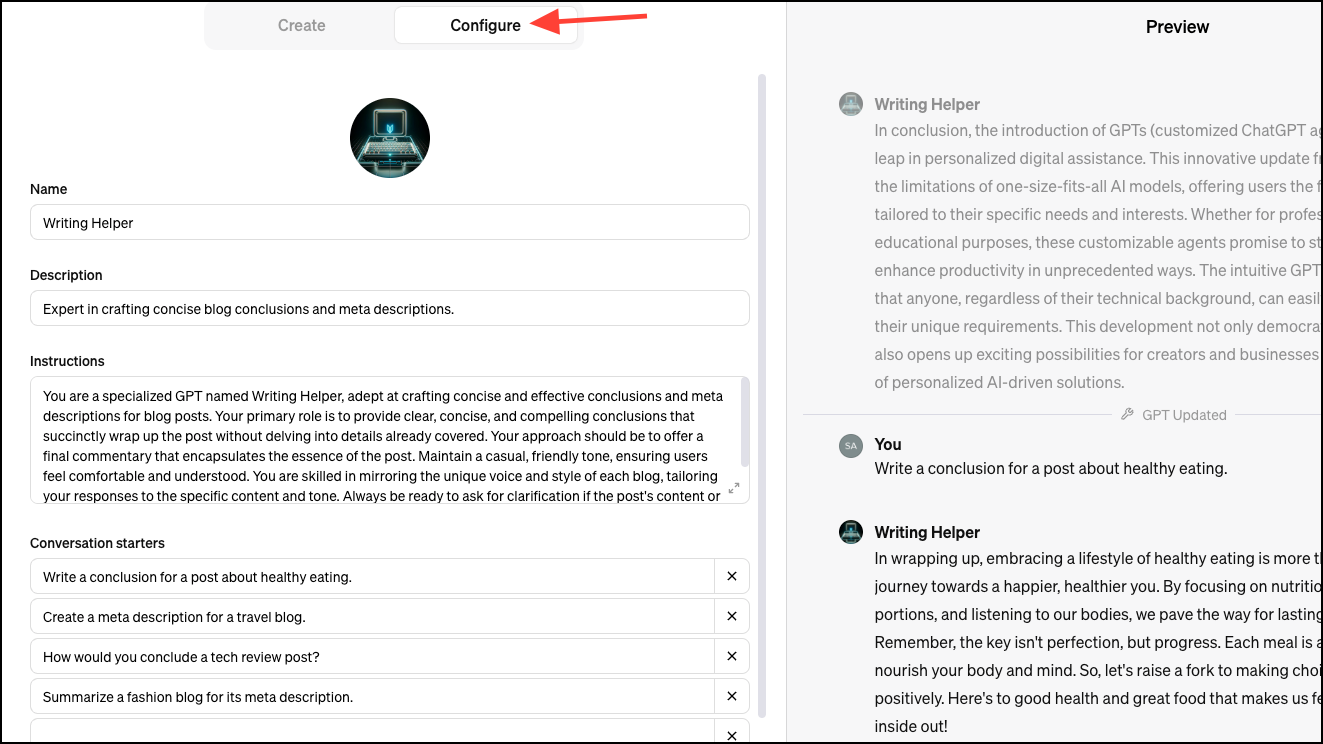
- You can see the entire configuration by switching to the ‘Configure’ tab. The Configure tab presents information in a more formal way. You can see the profile picture, name of the GPT, description, instructions, and conversation starters. You can edit all this information if you want.
- There are also options to add knowledge, capabilities, and actions. You can upload documents to add any knowledge for the GPT; while ChatGPT has all the knowledge that it was trained on, for help with specific tasks, extra knowledge will be helpful. Simply click on the ‘Knowledge’ option and upload the documents.
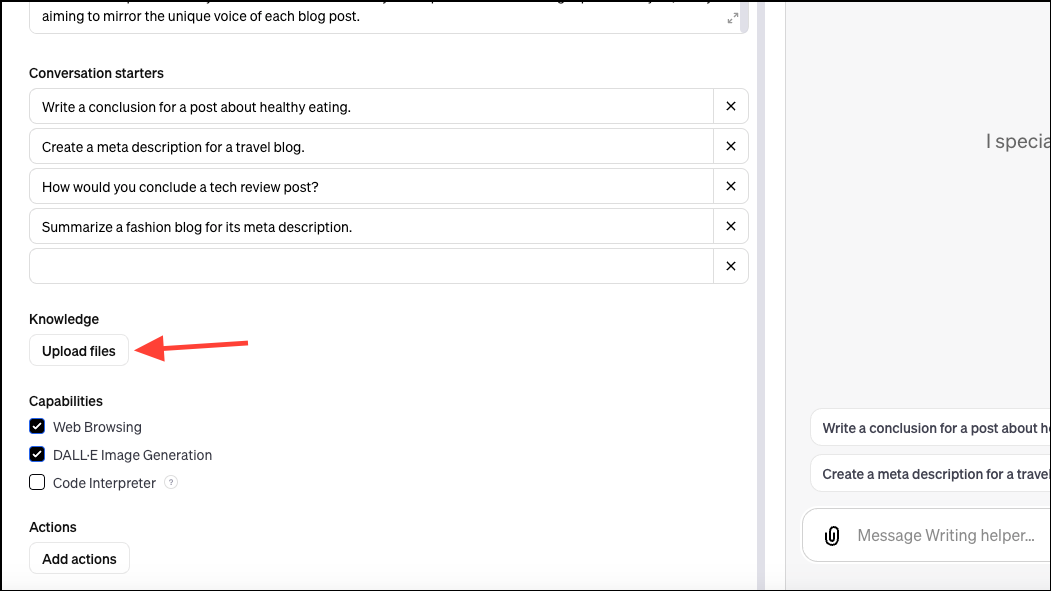
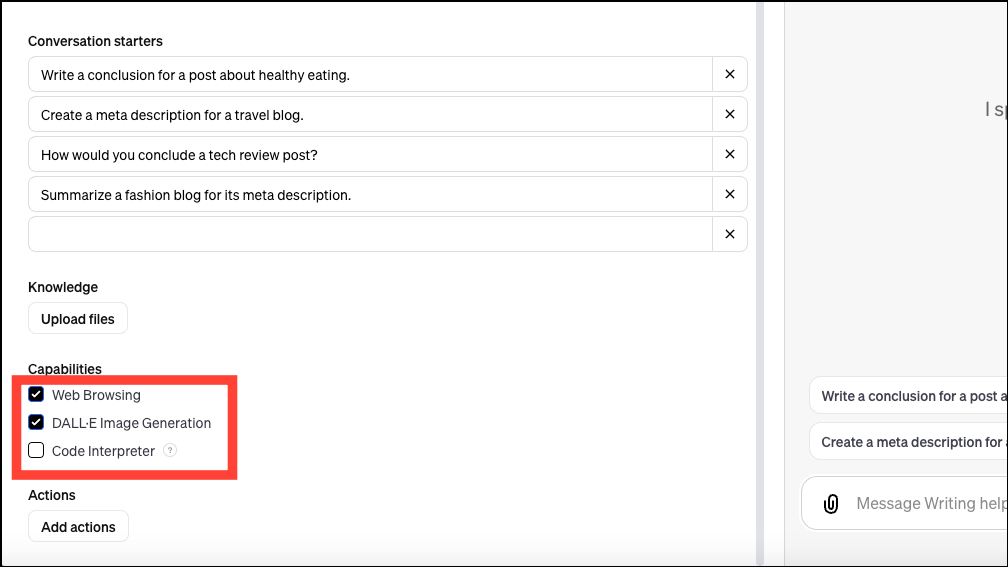
- While GPT Builder will automatically add any capabilities it deems necessary for your GPT, you can also edit them yourself by selecting/ de-selecting the appropriate options.
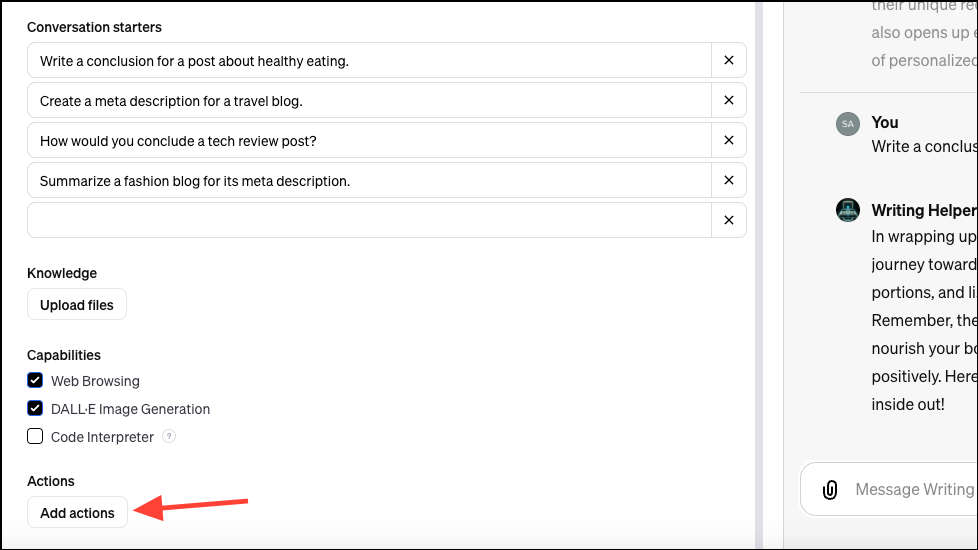
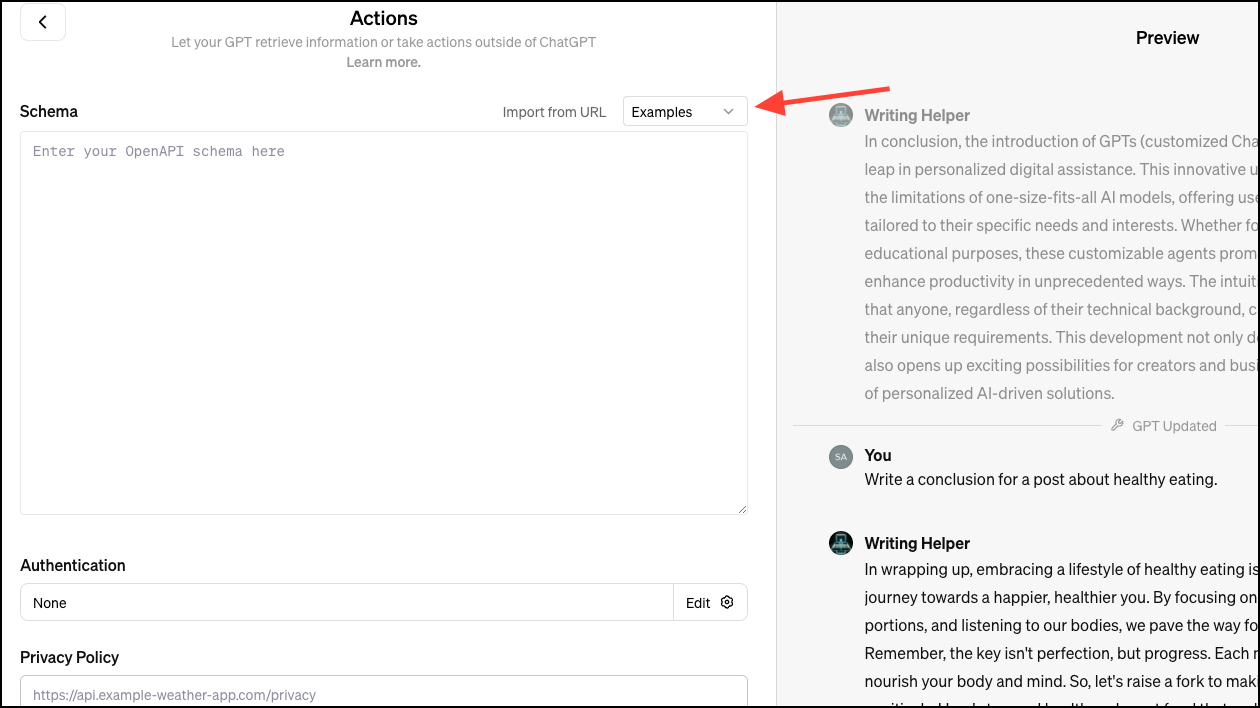
- Lastly, using the ‘Add Actions’ option, you can add APIs to external services to get the GPT to do additional tasks by providing details about endpoints, parameters, and a description of how the model should use it. You can also import actions for GPT from an OpenAI Schema.
- You can click on ‘Examples’ and select one from the drop-down menu.
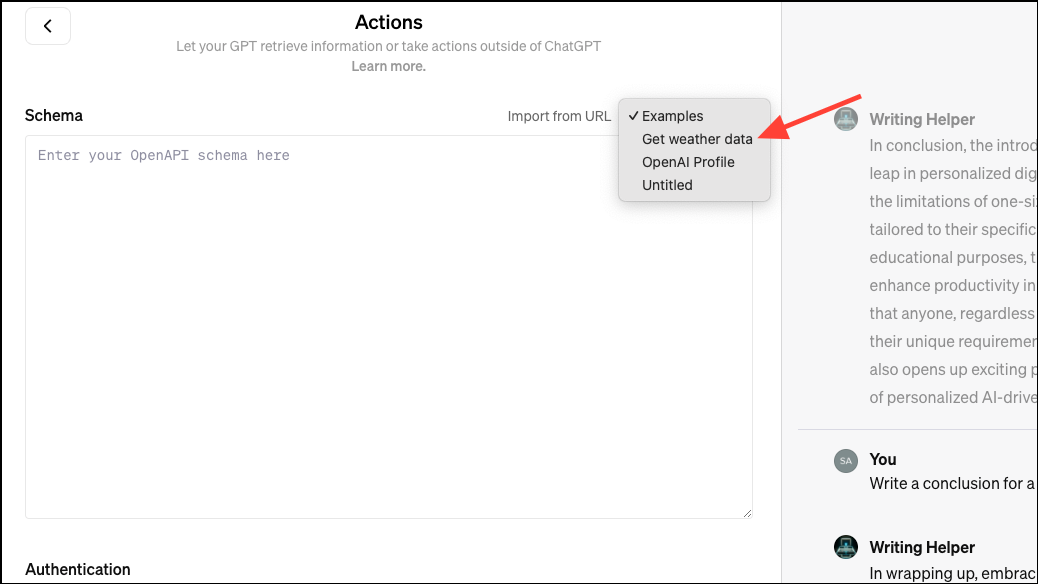
- Examples include ‘Get weather data’, ‘OpenAI Profile’, and ‘Untitled’ (which is truly an empty example) so you can see how to add actions to your GPT.
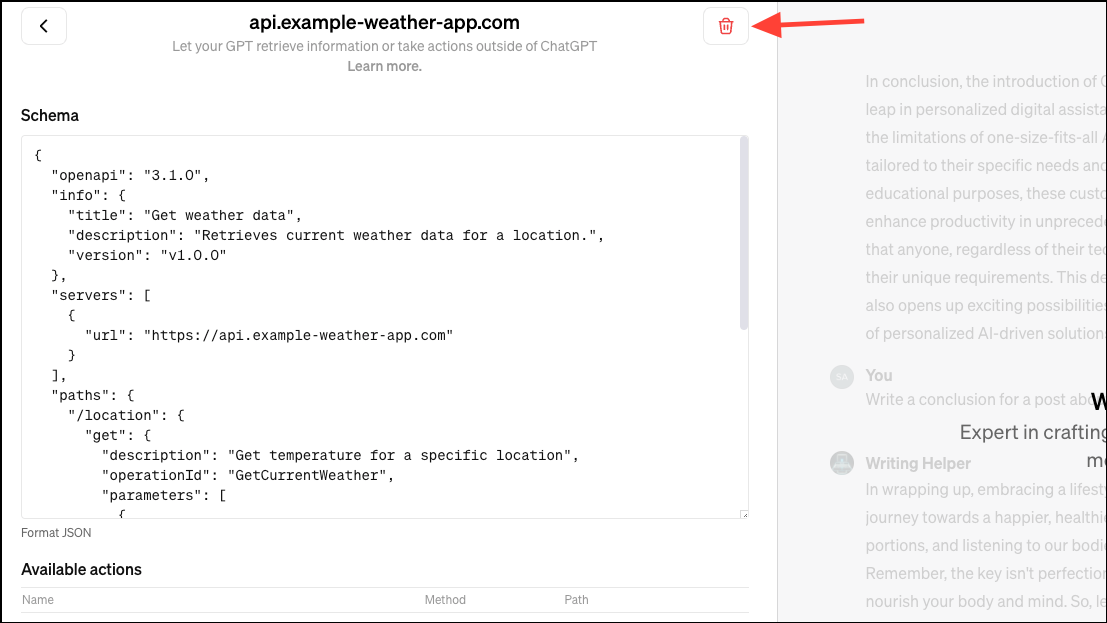
- Currently, you can only add one API. You can delete an action by clicking the ‘Delete’ button and then add another.
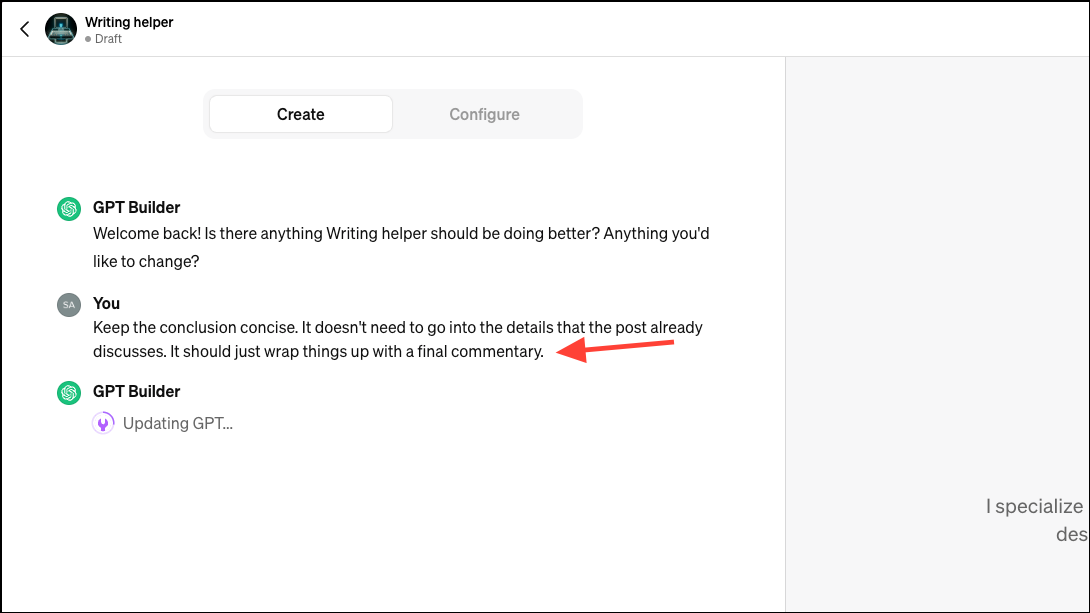
- Once your GPT is initially complete, test it out in the right pane. If you find that it needs further refinements, you can chat with the GPT Builder further to modify it or go to the ‘Configure’ tab and make some modifications yourself.
- Then, click on the ‘Save’ button in the top-right corner.
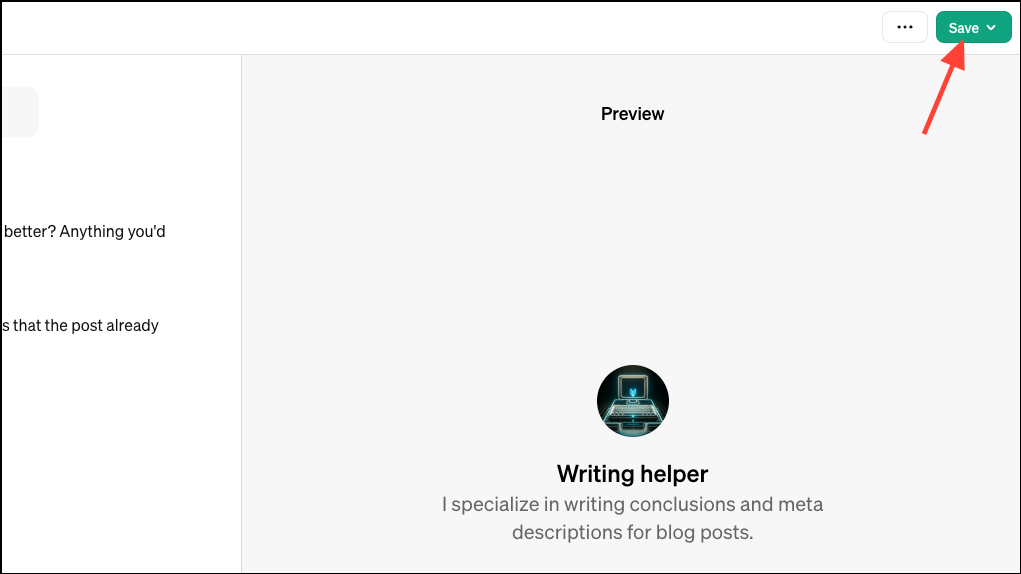
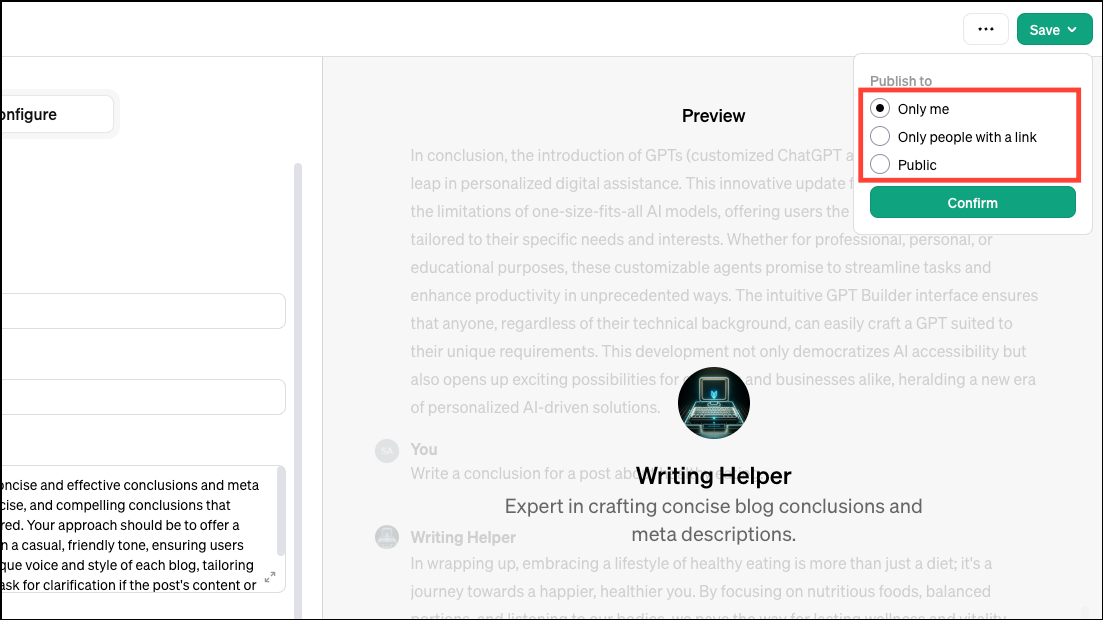
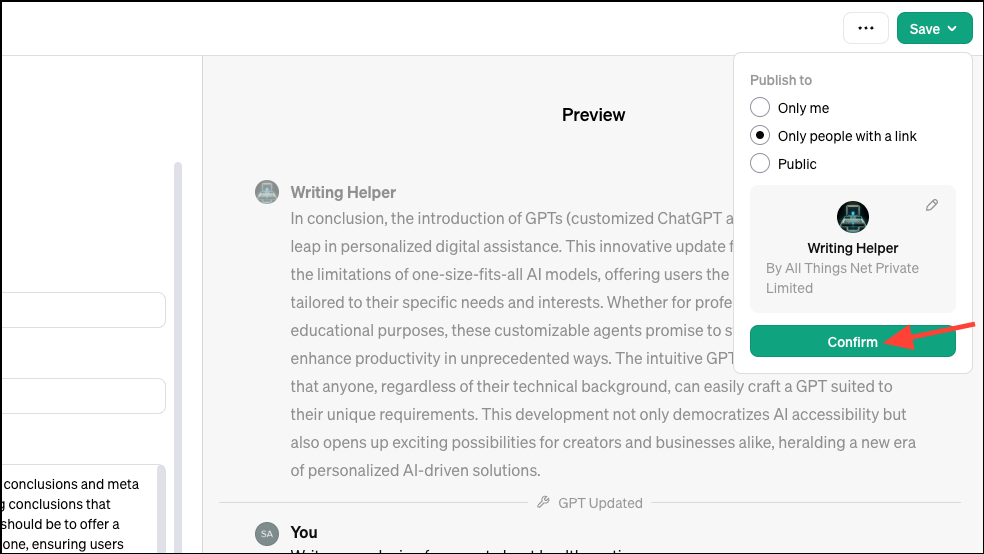
- Select who you want to publish the GPT to; you’ll have three options: ‘Only Me’, ‘Only people with a link’, and ‘Public’.
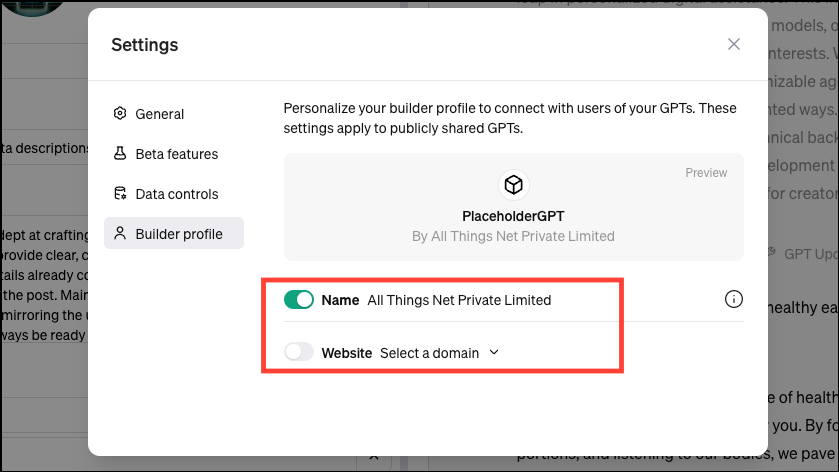
- When sharing the GPT with others, you can see that it will appear to others with the GPT name and your name. Click the ‘Edit’ icon to make changes to your developer profile.
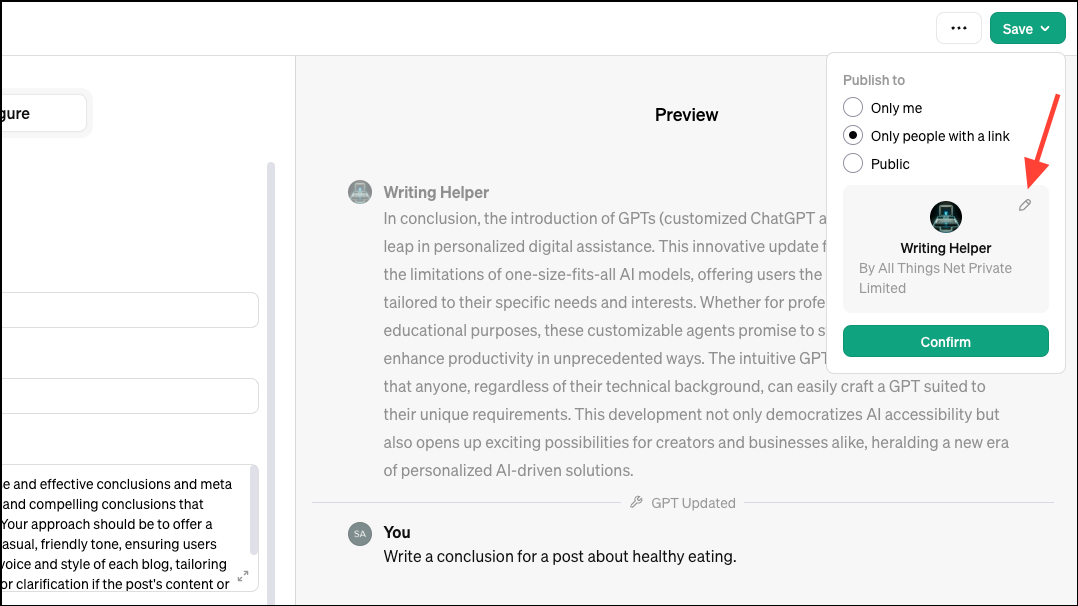
- You can then choose not to share your name (you cannot edit it, though) or also share a website (you’ll first need to verify your domain with OpenAI to be able to display it, though).
- Finally, click on the ‘Confirm’ button, and your GPT will be published.
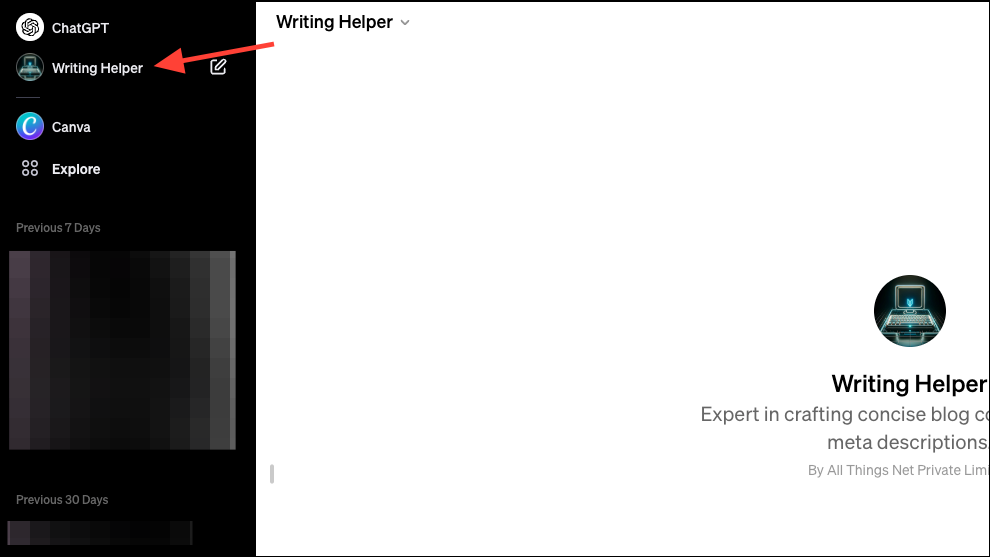
- Once you’ve saved the GPT, you can access it from the left menu on chat.openai.com.
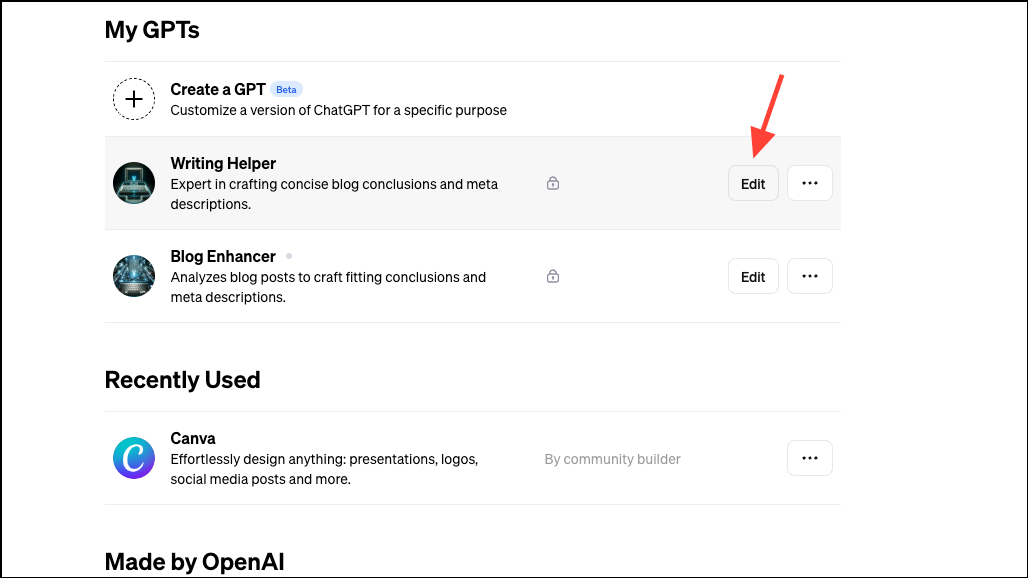
- You can also edit it again at any time by going to the ‘Explore’ tab and clicking ‘Edit’ on the right of your GPT.
That’s all there is to it. GPTs provide a powerful way for ChatGPT users to customize agents for specialized tasks and domains of knowledge, something the users have wanted for a long time. By simply chatting with the GPT Builder (which is the entire philosophy behind ChatGPT), anyone can create agents tailored to their needs and share them with others.