
Automatic document navigation in Microsoft Word relies on a well-structured table of contents (TOC). Word’s built-in features allow you to generate a TOC that updates as you edit your document, but sometimes you need more control—such as hiding page numbers for certain entries or removing them altogether. Here’s how to build a TOC with or without page numbers, and how to selectively omit page numbers for specific heading levels.
Creating a Standard Table of Contents With Page Numbers
Step 1: Place your cursor where you want the TOC to appear, typically near the start of your document.
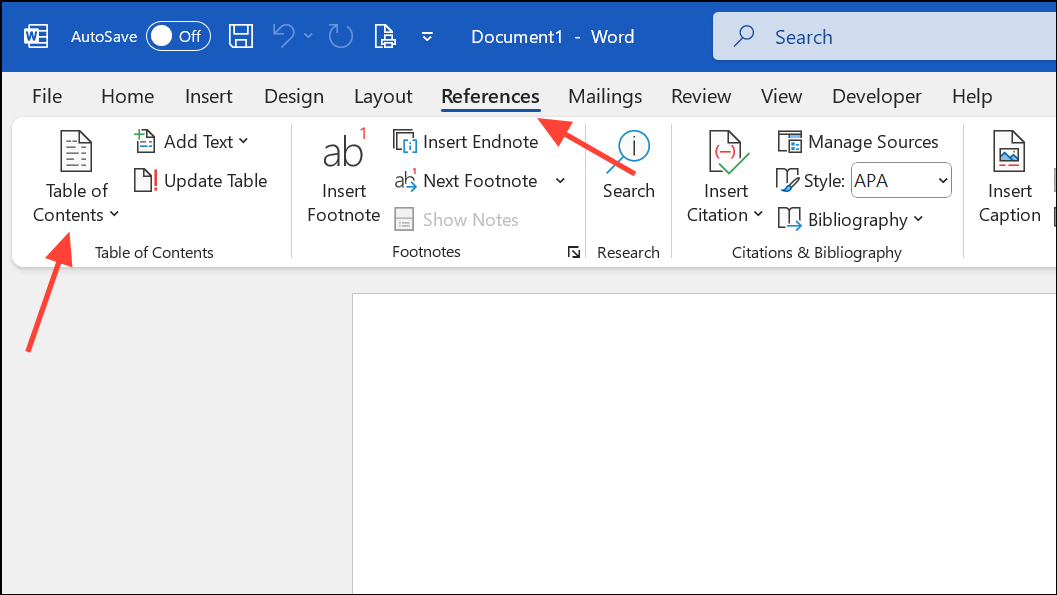
Step 2: Go to the References tab, then select Table of Contents. Choose one of the automatic styles from the dropdown menu. Word will generate the TOC based on the heading styles (Heading 1, Heading 2, etc.) in your document.
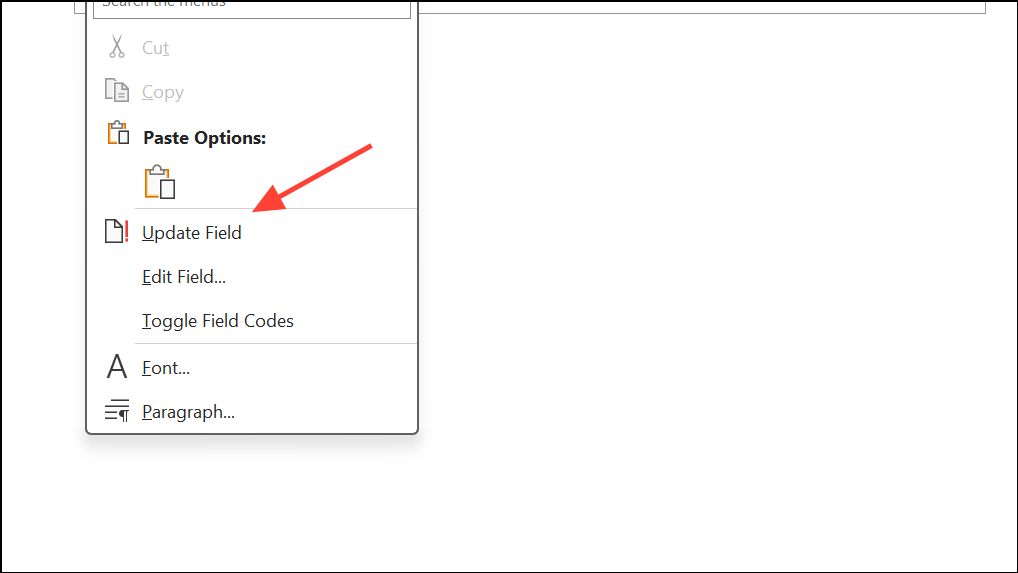
Step 3: If you update your document and need to refresh the TOC, right-click the TOC and select Update Field. You can choose to update just the page numbers or the entire table.
Word uses your document’s heading structure to automatically build and maintain the TOC, ensuring accuracy as your content changes.
Creating a Table of Contents Without Page Numbers
Sometimes you want a TOC that lists section titles but omits page numbers—useful for short documents, digital files, or special formatting requirements.
Step 1: Click where you want to insert the TOC.
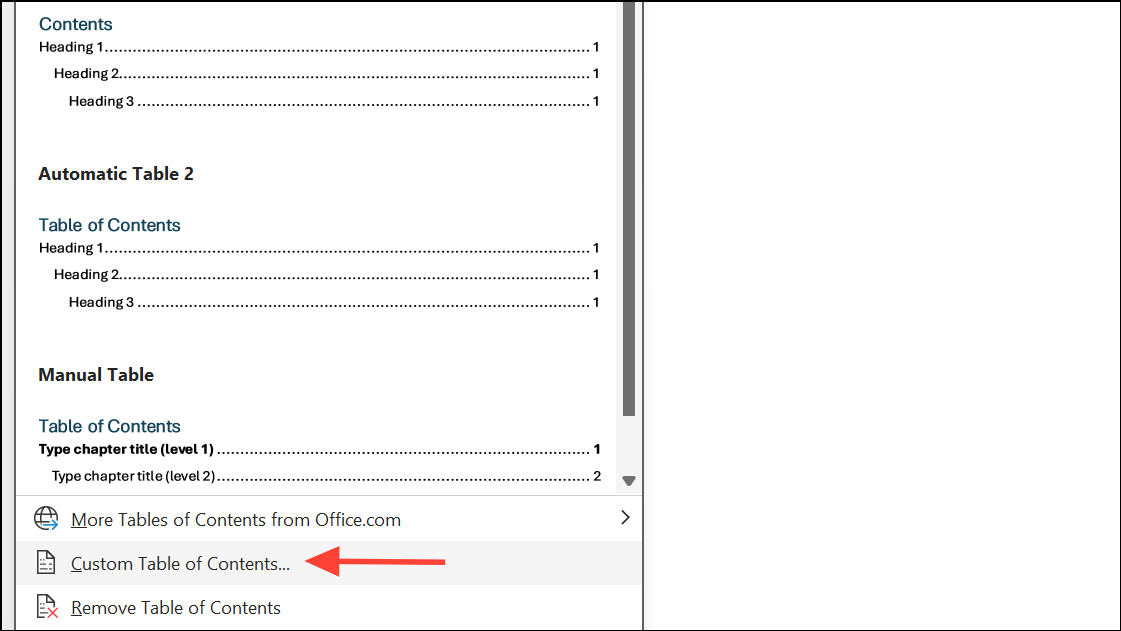
Step 2: Go to the References tab, click Table of Contents, and select Custom Table of Contents from the menu.
Step 3: In the dialog box, uncheck the Show page numbers option. The preview updates to show a TOC without page numbers.
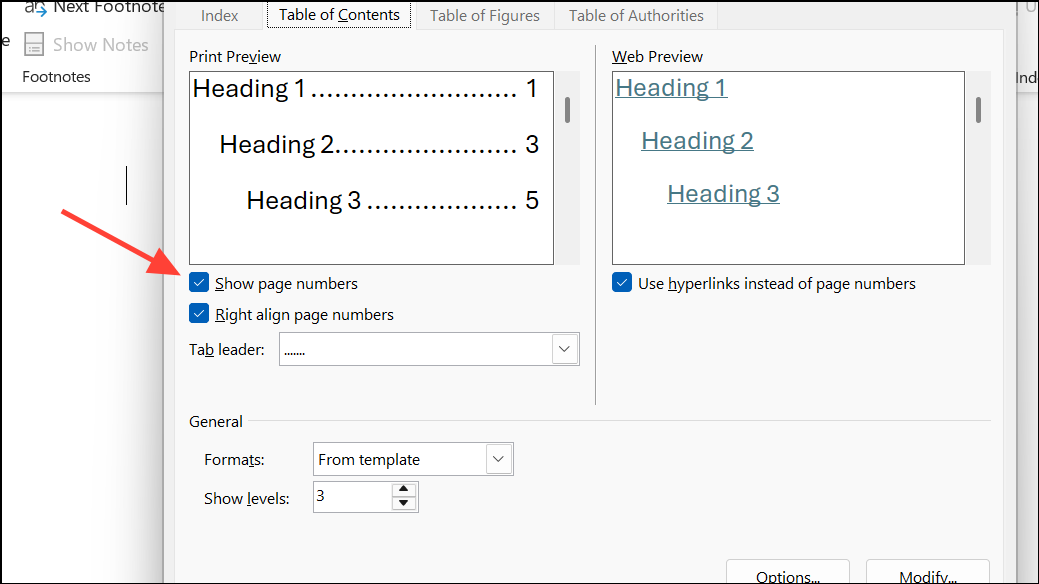
Step 4: Click OK. The TOC is inserted without page numbers for any entry.
This method removes all page numbers from the TOC. If you want to selectively hide page numbers only for certain heading levels or entries, see the next section.
Omitting Page Numbers for Specific TOC Levels Using Field Codes
To hide page numbers for only some TOC levels (for example, for annotations or section titles), you’ll need to modify the TOC field code. This approach gives you granular control, but requires careful editing.
Step 1: Click inside your TOC and press Alt+F9 (Windows) or Option+F9 (Mac) to display the TOC field code. It typically appears as:
{ TOC \o "1-3" \h \z \u }Step 2: To omit page numbers for a specific level, add the \n switch followed by the level or range you want to exclude. For example, to remove page numbers from level 3 only:
{ TOC \o "1-3" \n 3-3 \h \z \u }To omit page numbers from levels 2 and 3:
{ TOC \o "1-3" \n 2-3 \h \z \u }Step 3: Press Alt+F9 or Option+F9 again to hide the field codes.
Step 4: Select the entire TOC and press F9 (or Fn+F9 on some keyboards) to update the field. The specified levels now display without page numbers, while others retain them.
If you need to omit page numbers from non-contiguous levels, you may need to reassign heading styles to different TOC levels in the TOC options dialog, then use the \n switch accordingly. This technique provides flexibility for complex formatting needs.
Adding TOC Entries Without Page Numbers Using TC Fields
For maximum control, especially when you want to include custom entries in the TOC without page numbers, use TC (Table of Contents Entry) fields.
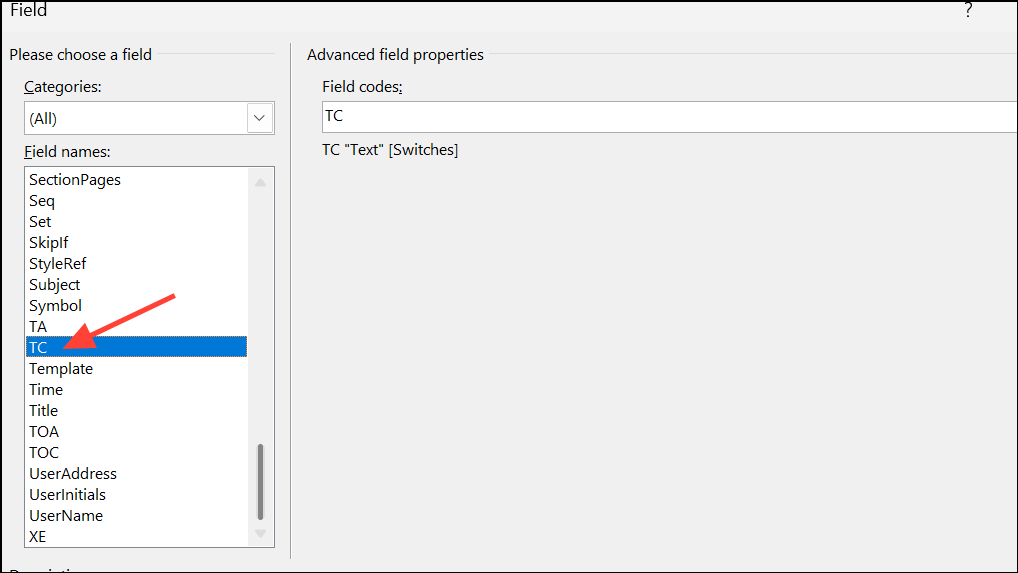
Step 1: Place your cursor where you want the entry in your document, then go to the Insert tab, select Quick Parts, then Field.

Step 2: In the Field dialog, choose TC from the list. Enter the desired entry text, select the TOC level, and check the box for Suppress page number.
Step 3: Click OK to insert the field. When you update the TOC, this entry will appear at the specified level without a page number.
TC fields are useful for custom TOC entries that don’t correspond to a heading in your document, or when you want to exclude page numbers for individual items.
Formatting Dot Leaders Without Page Numbers
Word’s TOC generator links the presence of dot leaders (the dotted lines between the entry and page number) to the inclusion of page numbers. If you remove page numbers for an entry, Word also removes the dot leader by default. There is no built-in way to display dot leaders for TOC entries that do not have page numbers. Manual workarounds, such as inserting tabs with dot leaders, are often lost when the TOC is updated.
Some users attempt to simulate this by manually adding tabs and dot leaders, or by formatting page numbers in white font to make them invisible. However, these methods require manual intervention each time the TOC is updated and are not reliable for long-term document maintenance.
Managing Page Numbers for TOC and Other Document Sections
To control page numbering so that the TOC or front matter uses different numbering (such as Roman numerals) or is excluded from the main page count, insert section breaks before and after the TOC. Set up page numbering for each section separately using the Insert > Page Numbers and Format Page Numbers options. This allows you to restart numbering or use a different format for various sections of your document.
For example, you can use lowercase Roman numerals for the TOC and Arabic numerals for the main content, starting at 1. This setup is common in academic and professional documents.
Word’s flexible TOC features let you tailor navigation and formatting to your needs. Whether you want to show, hide, or selectively manage page numbers in your TOC, these methods provide reliable solutions for a polished and functional document.