
Junk files can take up a lot of space in your system, and you have to delete them every now then. This becomes necessary when your system is running out of space. Moreover, it also affects the performance of your computer, and functions start to lag. Many people delete junk files every couple of weeks or months like a periodic affair.
You can easily delete the junk files in your system within a couple of minutes. You can use the ‘Disk Cleanup’ app built into the system to delete the files or other third-party apps. Moreover, several other methods can be used to delete the junk files that are completely safe for your computer like emptying the recycle bin or using storage sense.
Creating a System Restore Point
It is recommended to create a restore point on your system before you start deleting junk files. Creating a restore point ensures that you can always get back in time to access the files you deleted. Moreover, sometimes users end up deleting some important files that are required for the proper functioning of a program, a restore point can resolve this as well.
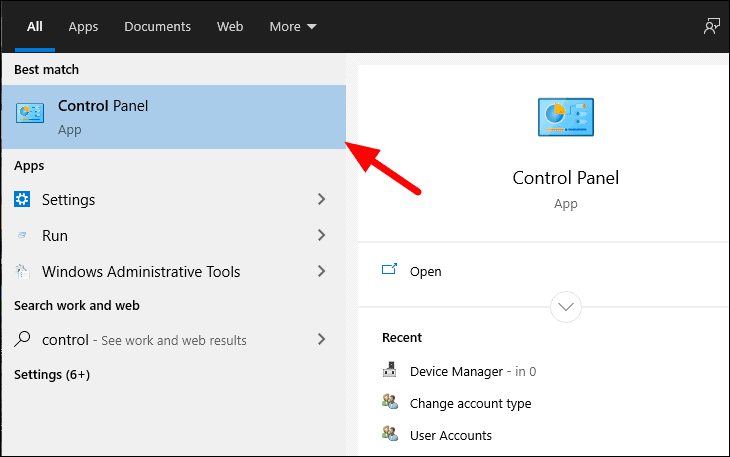
To create a System Restore Point, search for ‘Control Panel’ in the Start Menu and then click on it to open.
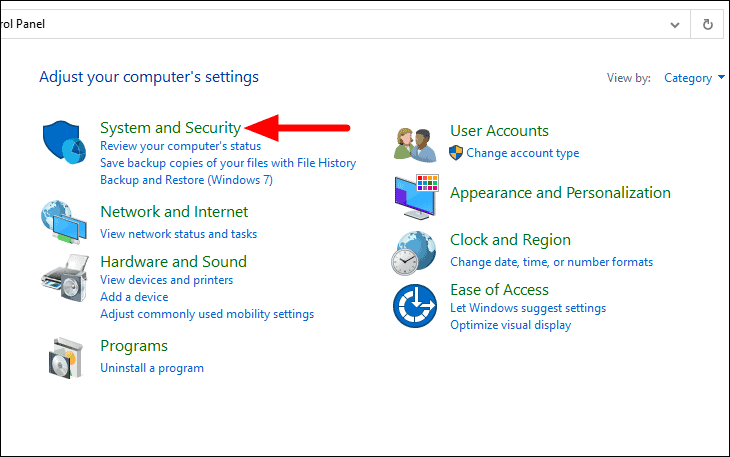
Next, click on ‘System and Security’, the first option.
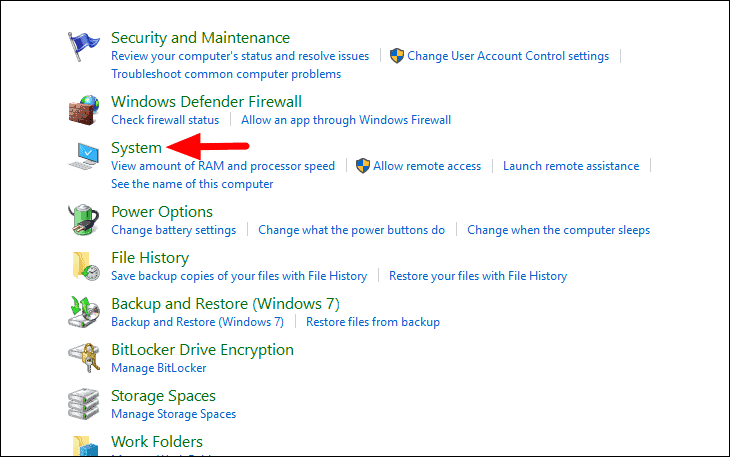
In System and Security, select ‘System’, the third option in the list.
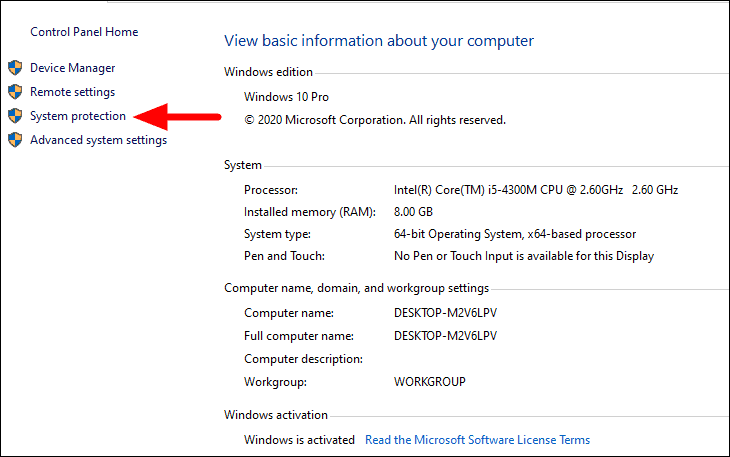
Now, click on ‘System Protection’ from the sections on the left.
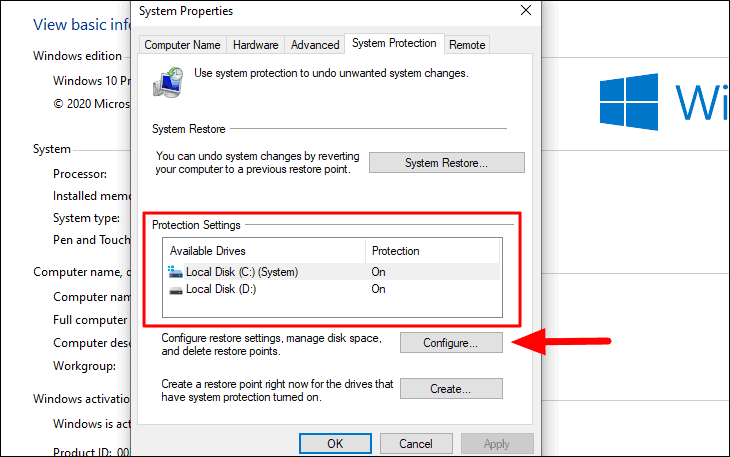
The ‘System Protection’ tab of ‘System Properties’ will open. Before you create a restore point, check if protection has been enabled for the system drive. If not, select the drive and click on ‘Configure’ at the bottom to enable it.
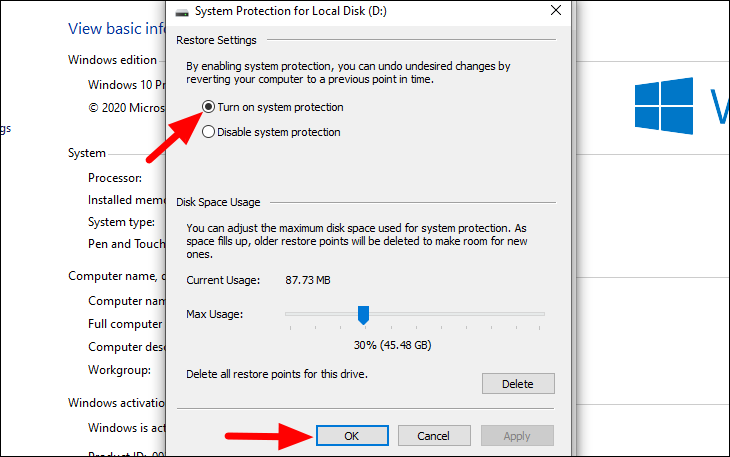
Next, select the checkbox for ‘Turn on system protection’ and then press ‘OK’ at the bottom to apply the change.
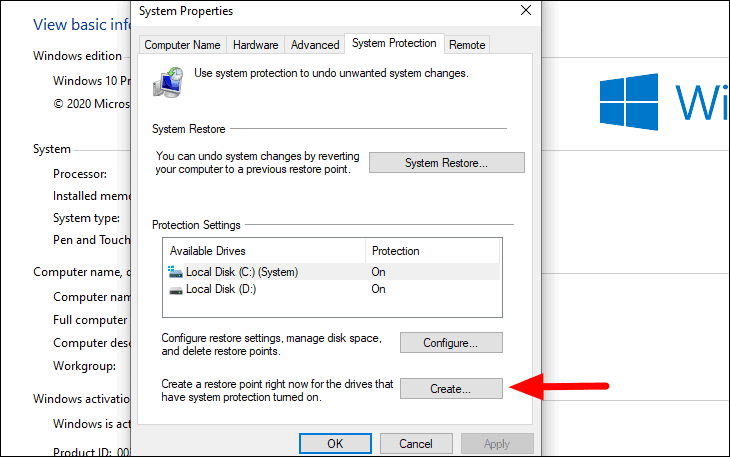
After you have enabled system protection for the drives, click on ‘Create’ to generate a restore point.
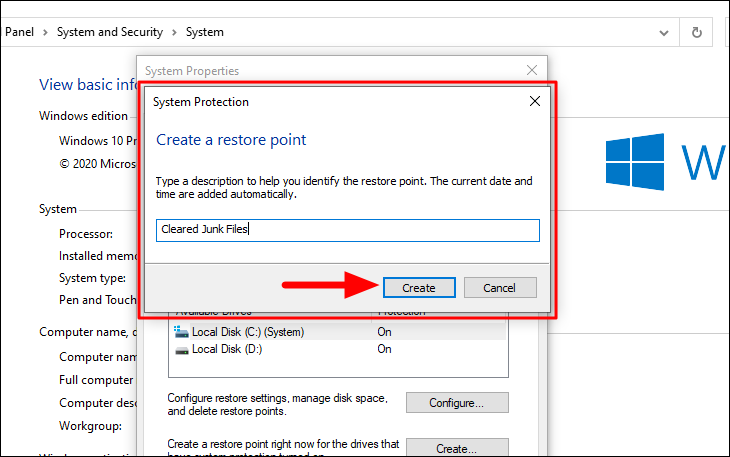
Enter a name or description for the restore point and then click on ‘Create’.
A restore point has now been created and you can proceed to delete the junk files.
Deleting Junk Files in Windows 10
There are plenty of ways to delete the junk files on your system, and we will try to cover most of them in the next couple of sections.
Using ‘Disk Cleanup’ Program
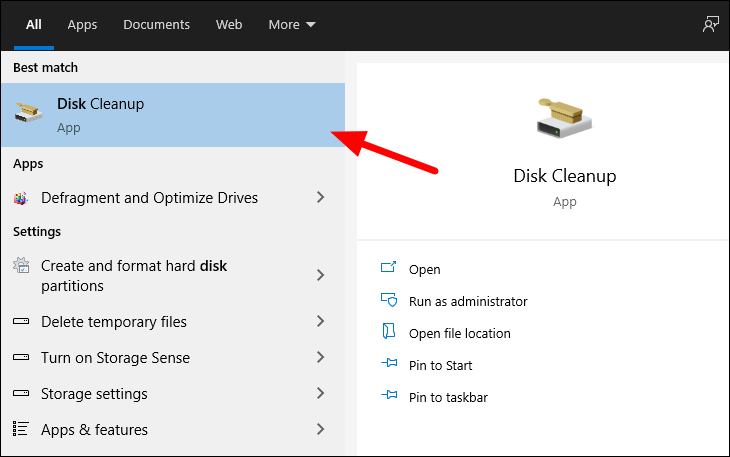
Search ‘Disk Cleanup’ in the search menu and then click on it to open the program.
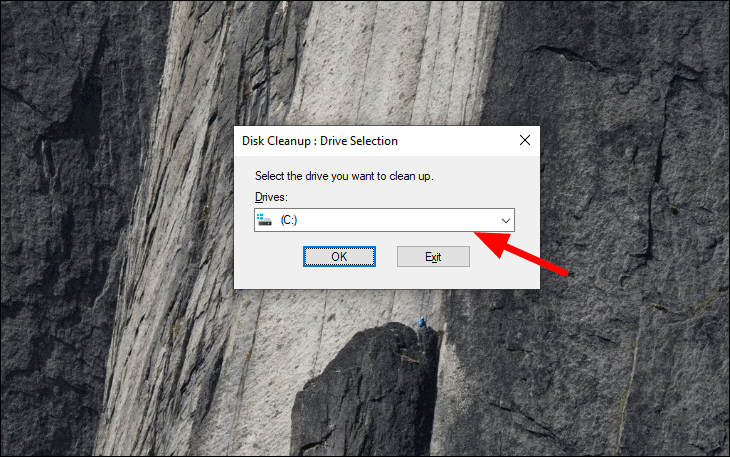
The Disk Cleanup window will open. Next, click on the box to select the drive for cleaning the junk files.
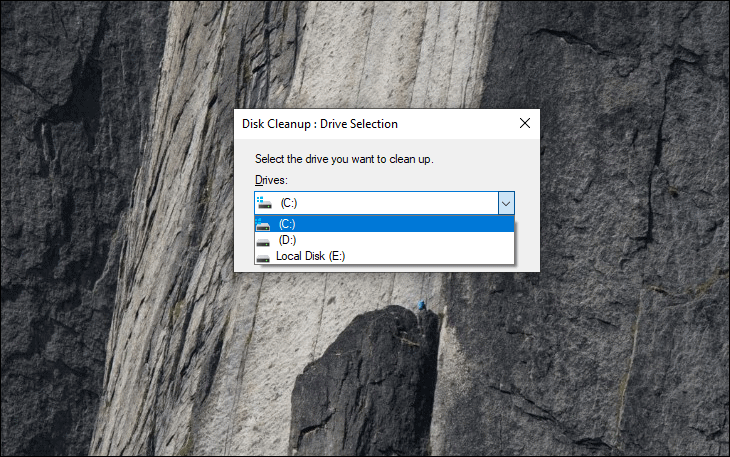
All the drives on your system will be be displayed in the dropdown menu. Select the one you want to clear.
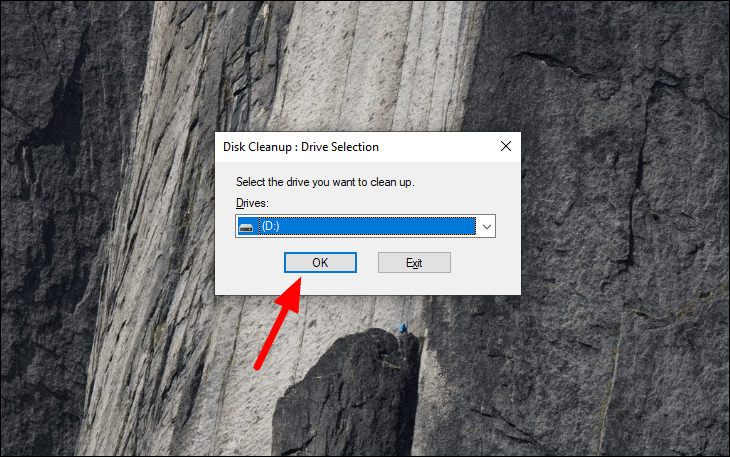
Once you have selected a drive, click on ‘OK’ at the bottom.
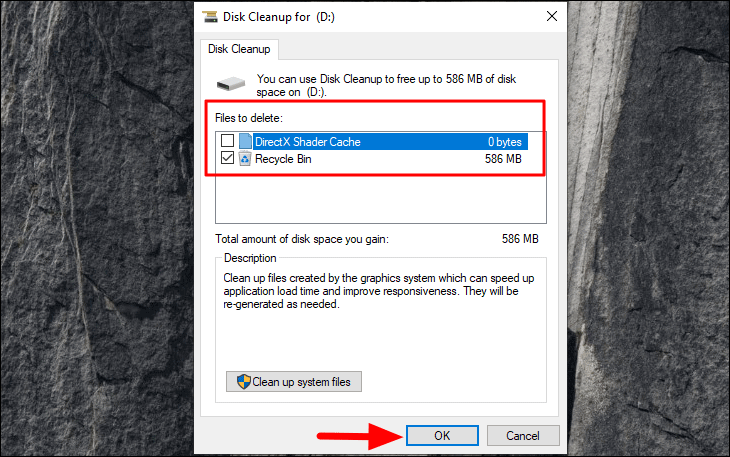
Now, click on the checkboxes at the top to select the data that you want to delete, and then click on ‘OK’ at the bottom.
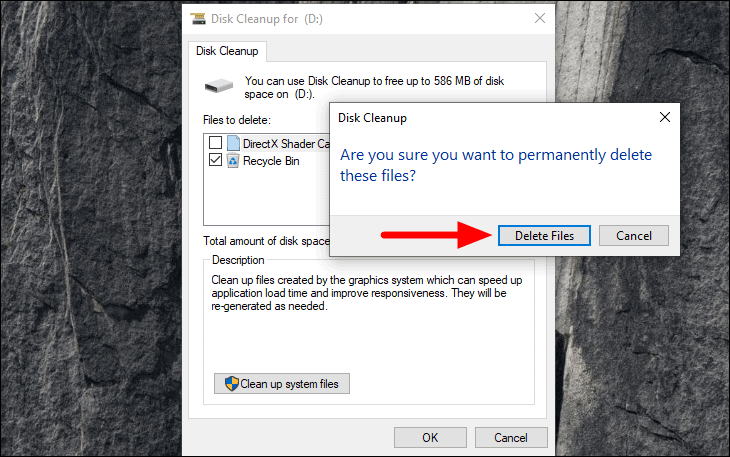
Click on ‘Delete Files’ in the confirmation box that appears to proceed.
You can similarly clear the files in other drives as well using this process by selecting the relevant option.
Using ‘Storage Sense’
Storage sense automatically removes junk files from your system if it’s configured to function. You can easily set the cleanup frequency and let the ‘Storage Sense’ do the rest.
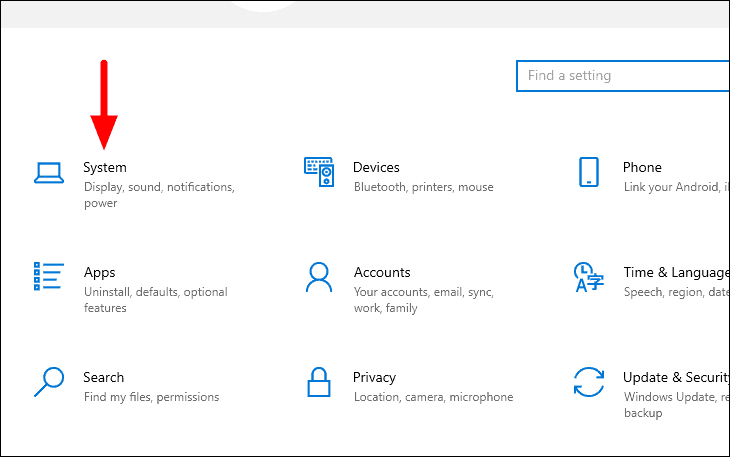
To enable Storage Sense, press WINDOWS + I to open settings and then click on ‘System’, the first option.
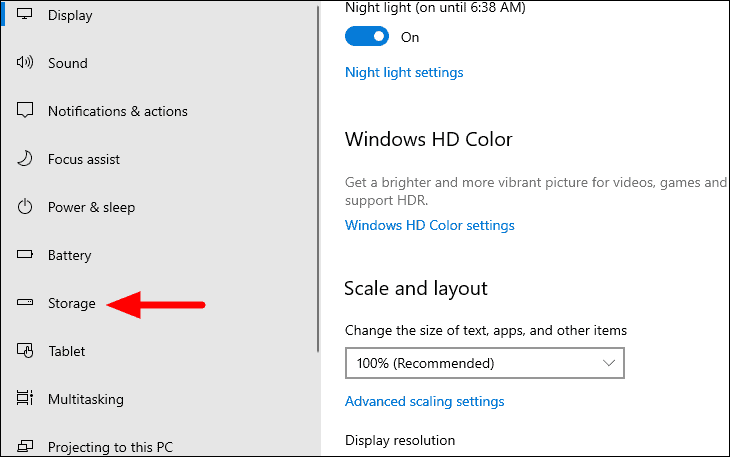
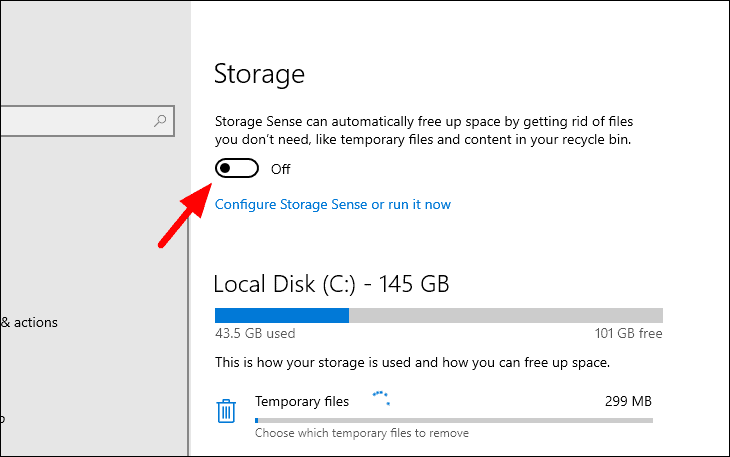
Now, select the ‘Storage’ tab from the options at the left.
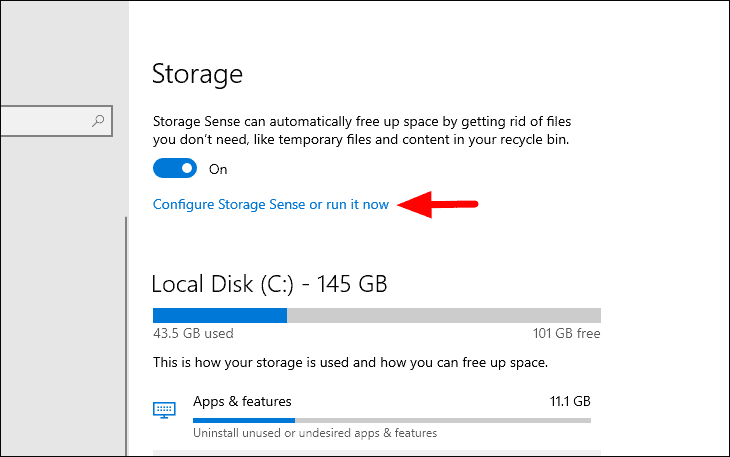
Click on the toggle at the top to enable ‘Storage Sense’. The color of the toggle will turn blue after it is enabled.
Next, click on ‘Configure Storage Sense or run it now’ under the toggle to set a frequency or clear junk files right away.
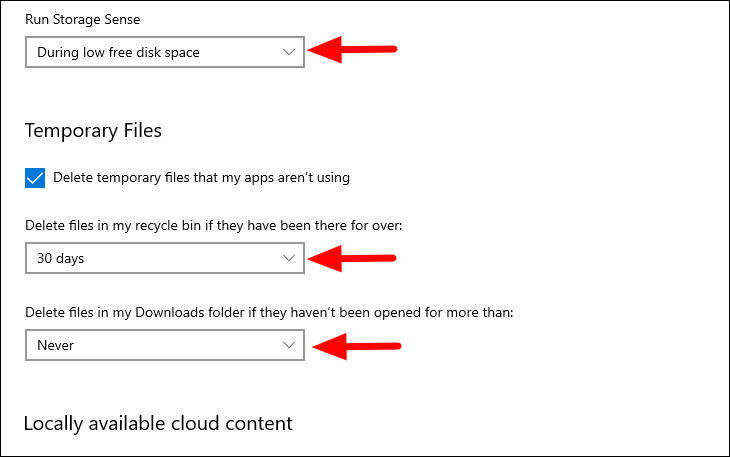
On this window, you can set the frequency of junk files cleanup, emptying of recycle bin, and the ‘Downloads’ folder cleanup settings. Just click on the box under an individual heading and select the preferred option from the menu.
Storage Sense also offers the option to delete the junk files in Windows 10 right away. Scroll down to the bottom of the screen and then click on ‘Clean Now’ at the bottom.
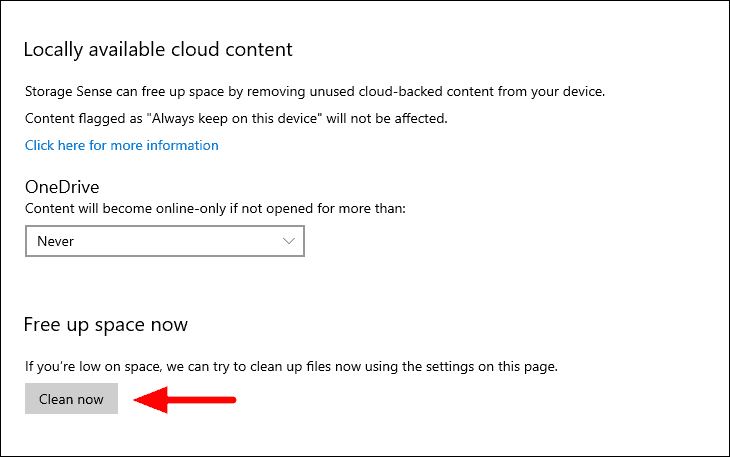
Once the junk files are deleted, the space cleared on the hard drive will be displayed.
Emptying the Recycle Bin
When you delete a file, it goes to the recycle bin and can be restored at a later point in time. However, if you are running out of storage space, delete all the files in the Recycle Bin.
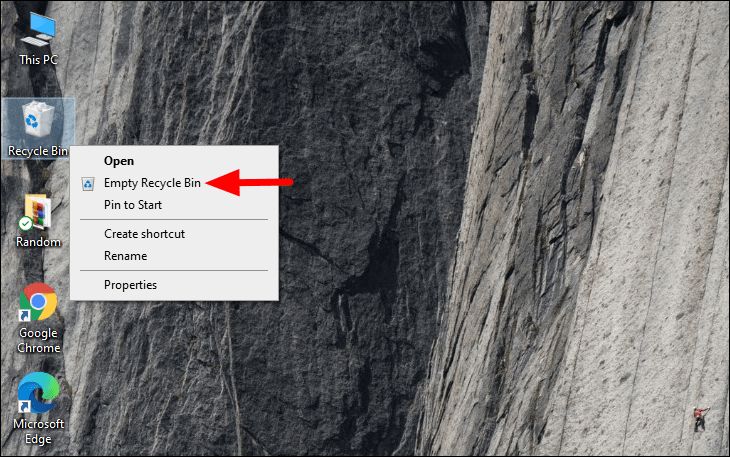
To empty the Recycle Bin, right-click on its Desktop icon, and then select ‘Empty Recycle Bin’ from the context menu.
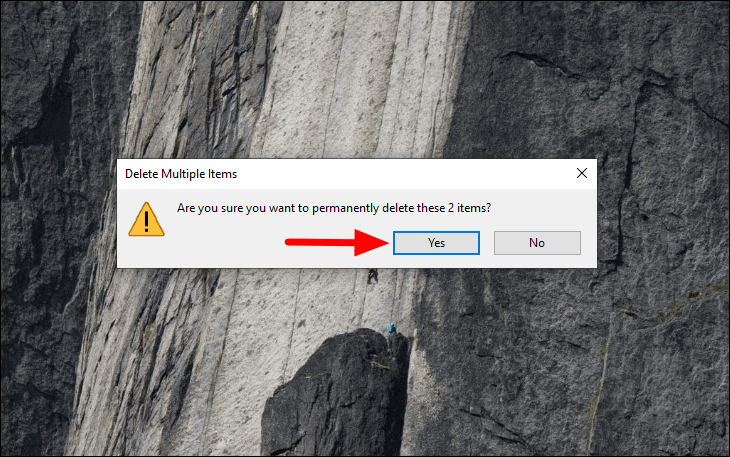
Next, click on ‘Yes’ on the confirmation box that pops up on the screen.
By now, you have created enough space on your system. If you make it a habit to delete junk files periodically, you may run never run low on storage space. System speed severely gets affected when your hard disk is almost full which affects the user’s performance.


