The Photos app on your iPhone can easily get cluttered with unnecessary albums. Maybe you created an album years ago and no longer need it. But most likely than not, an app created an album for you; there are scores of such empty albums to be found in the Photos app.
Fortunately, deleting these albums and decluttering your iPhone is only a matter of a couple of taps. Here’s how you can do it.
Deleting a Photo Album on iPhone
Whether an album is empty or has photos inside it, you can easily delete it. Deleting an album doesn’t delete any photos in it. You can still find those photos in the Recents album or the Library tab in the app.
So, if your goal was to delete the photos along with the album, this won’t achieve it. You’ll have to separately delete the photos. You can either delete them right from the album before deleting the album itself or you can delete them later from the Recents album.
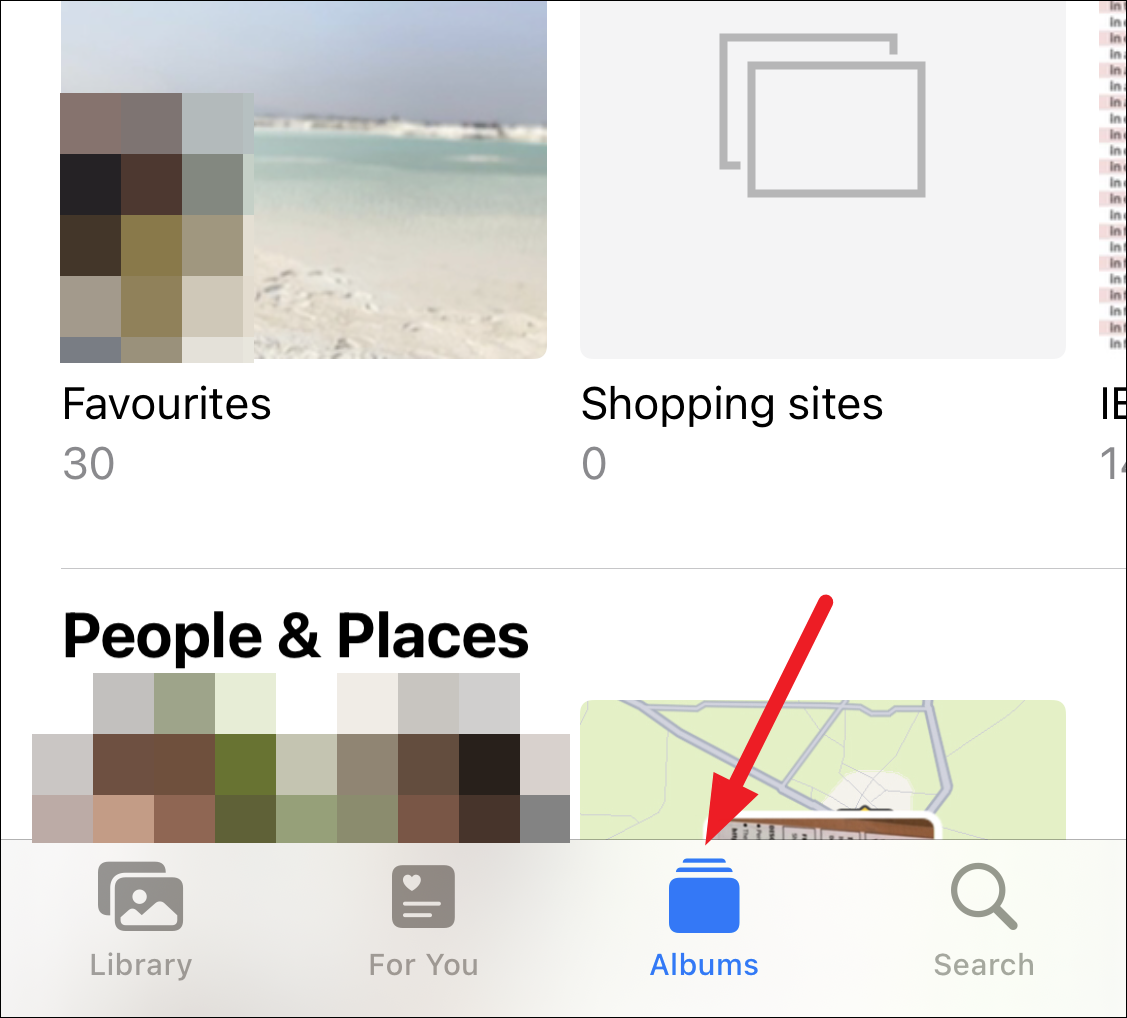
Now, onto the goal at hand. To delete an album, open the Photos app on your iPhone. Then, tap the ‘Albums’ tab from the bottom of the screen.
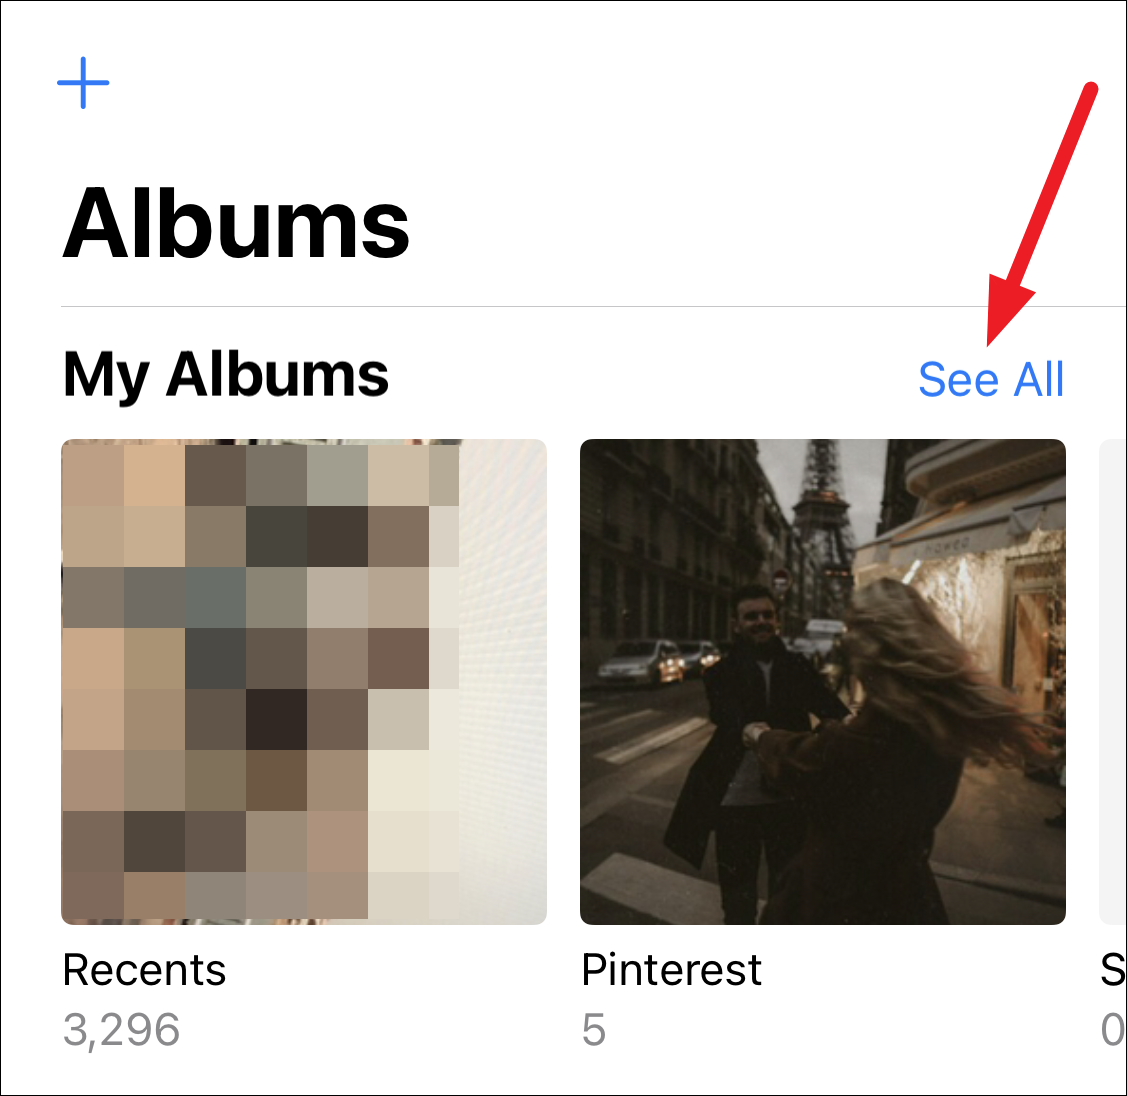
You’ll see your albums under the ‘My Albums’ section. Tap ‘See All’ in the top-right corner of this section.
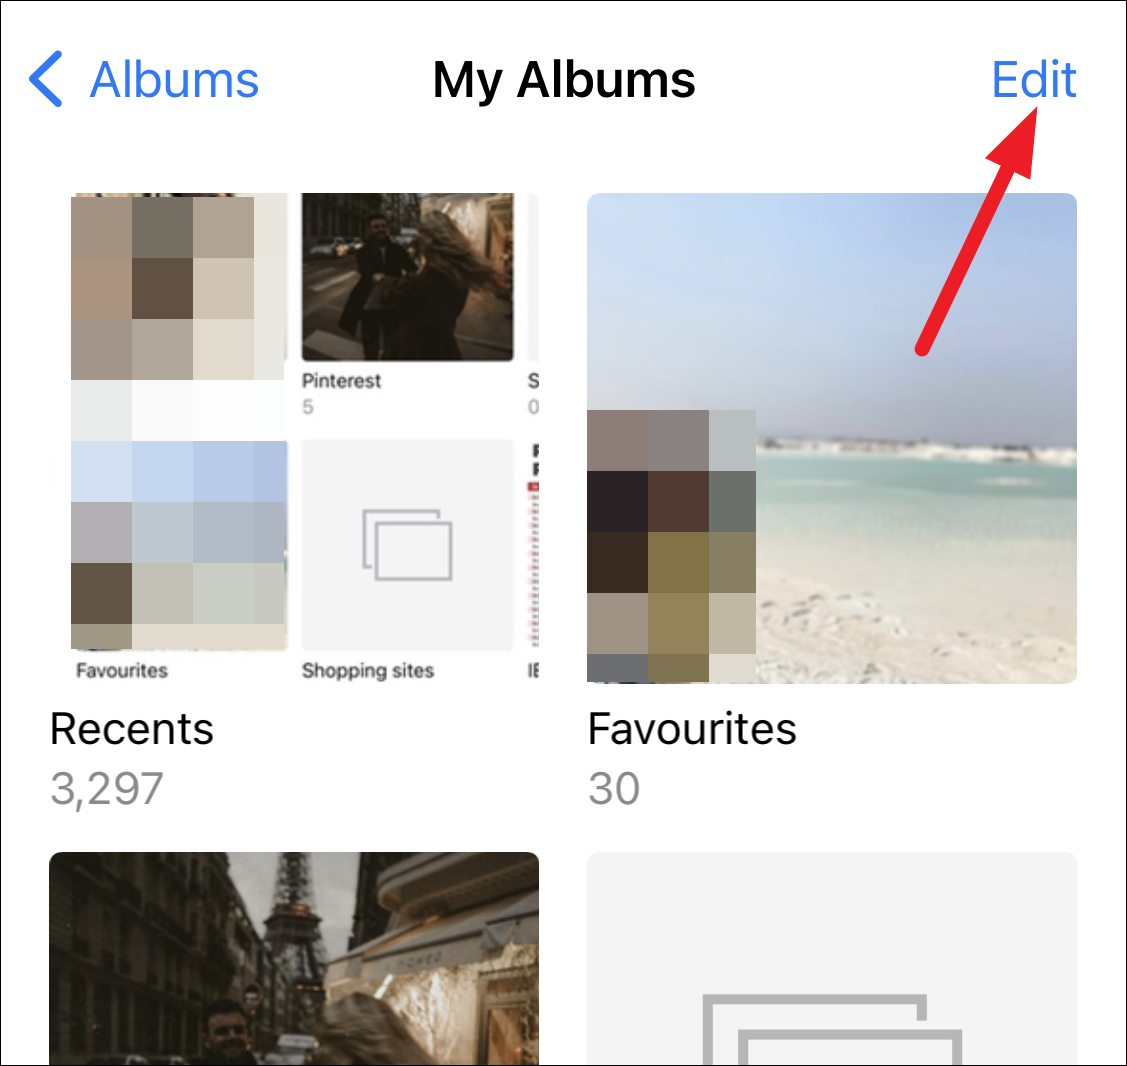
All your albums will appear in a grid; tap the ‘Edit’ button in the top-right corner of this page.
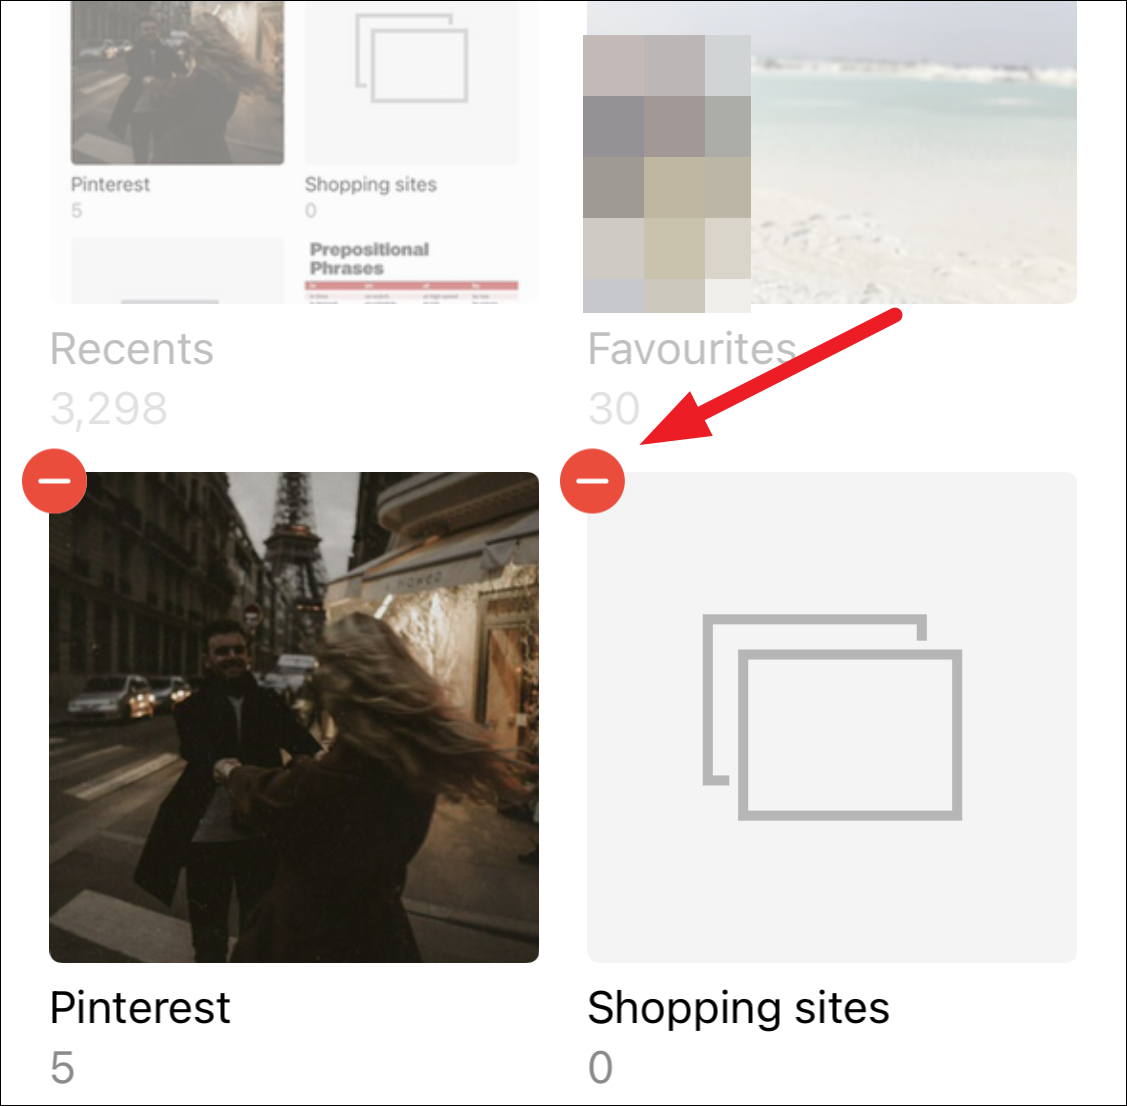
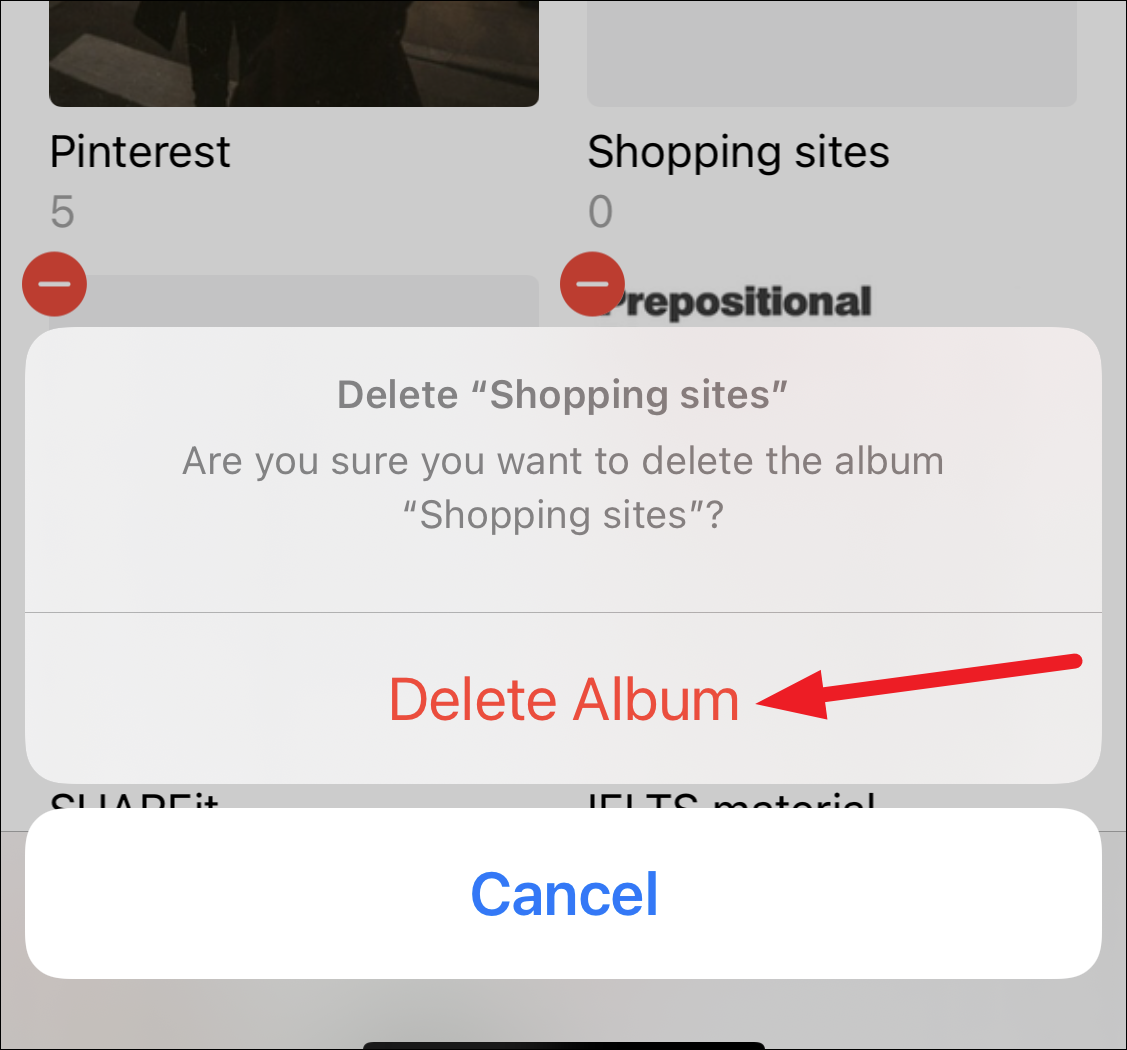
You’ll enter the album editing mode. Here, you can rearrange and delete all albums, except for Recents and Favorites. To delete an album, tap the ‘red minus’ (-) icon in the upper-left corner of the thumbnail.
A confirmation prompt will appear on the screen. Tap ‘Delete Album’ to confirm and delete the album.
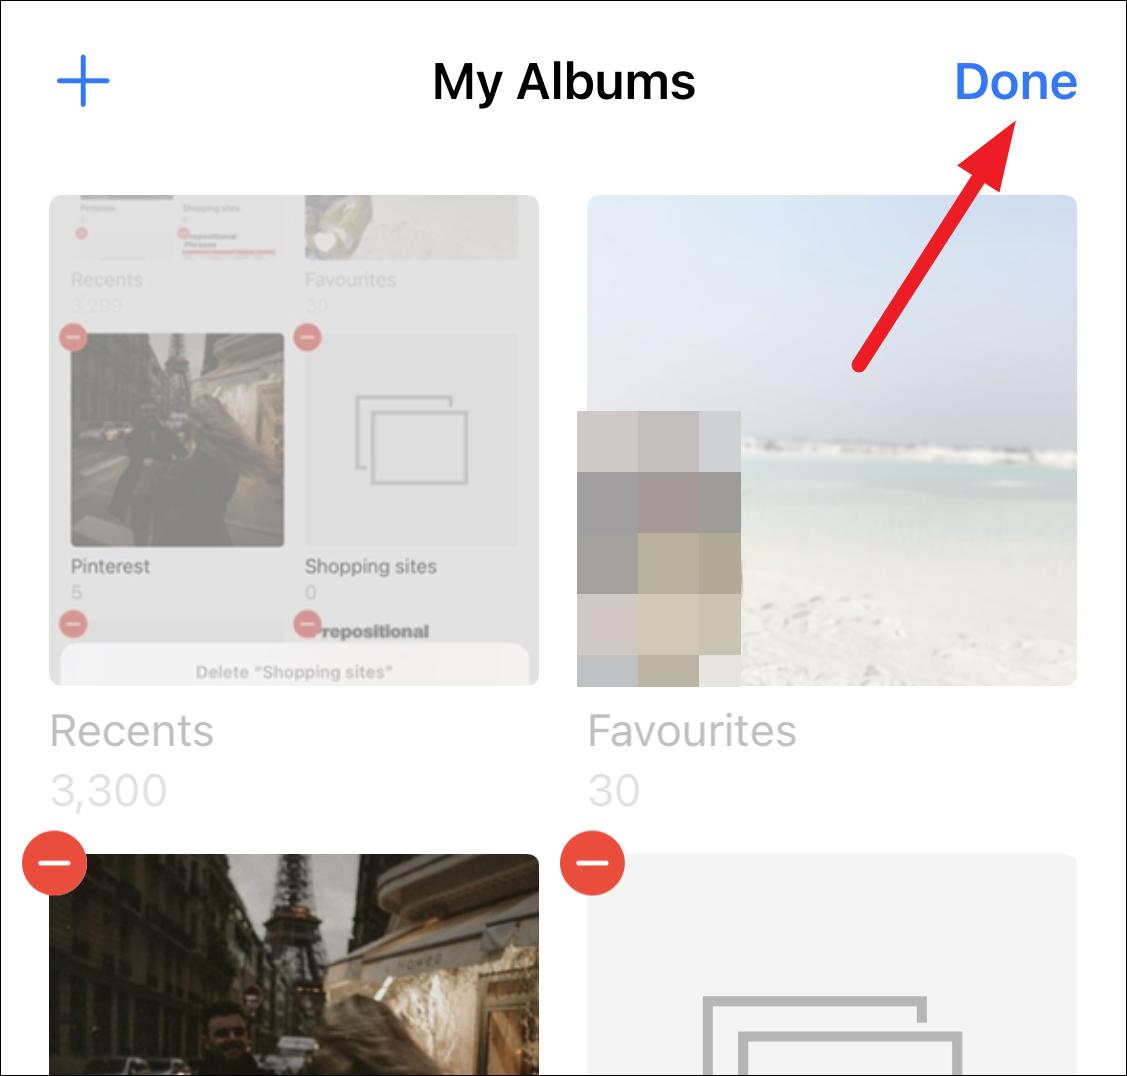
After deleting the album, you’ll still be in the album editing mode. If there are any other albums you want to delete, repeat the process for them. Tap ‘Done’ in the upper-right corner when there are no other albums you wish to delete.
Deleting an album on your iPhone is as easy as pie. Now, go on and get rid of those unnecessary albums hogging your Photos app.

