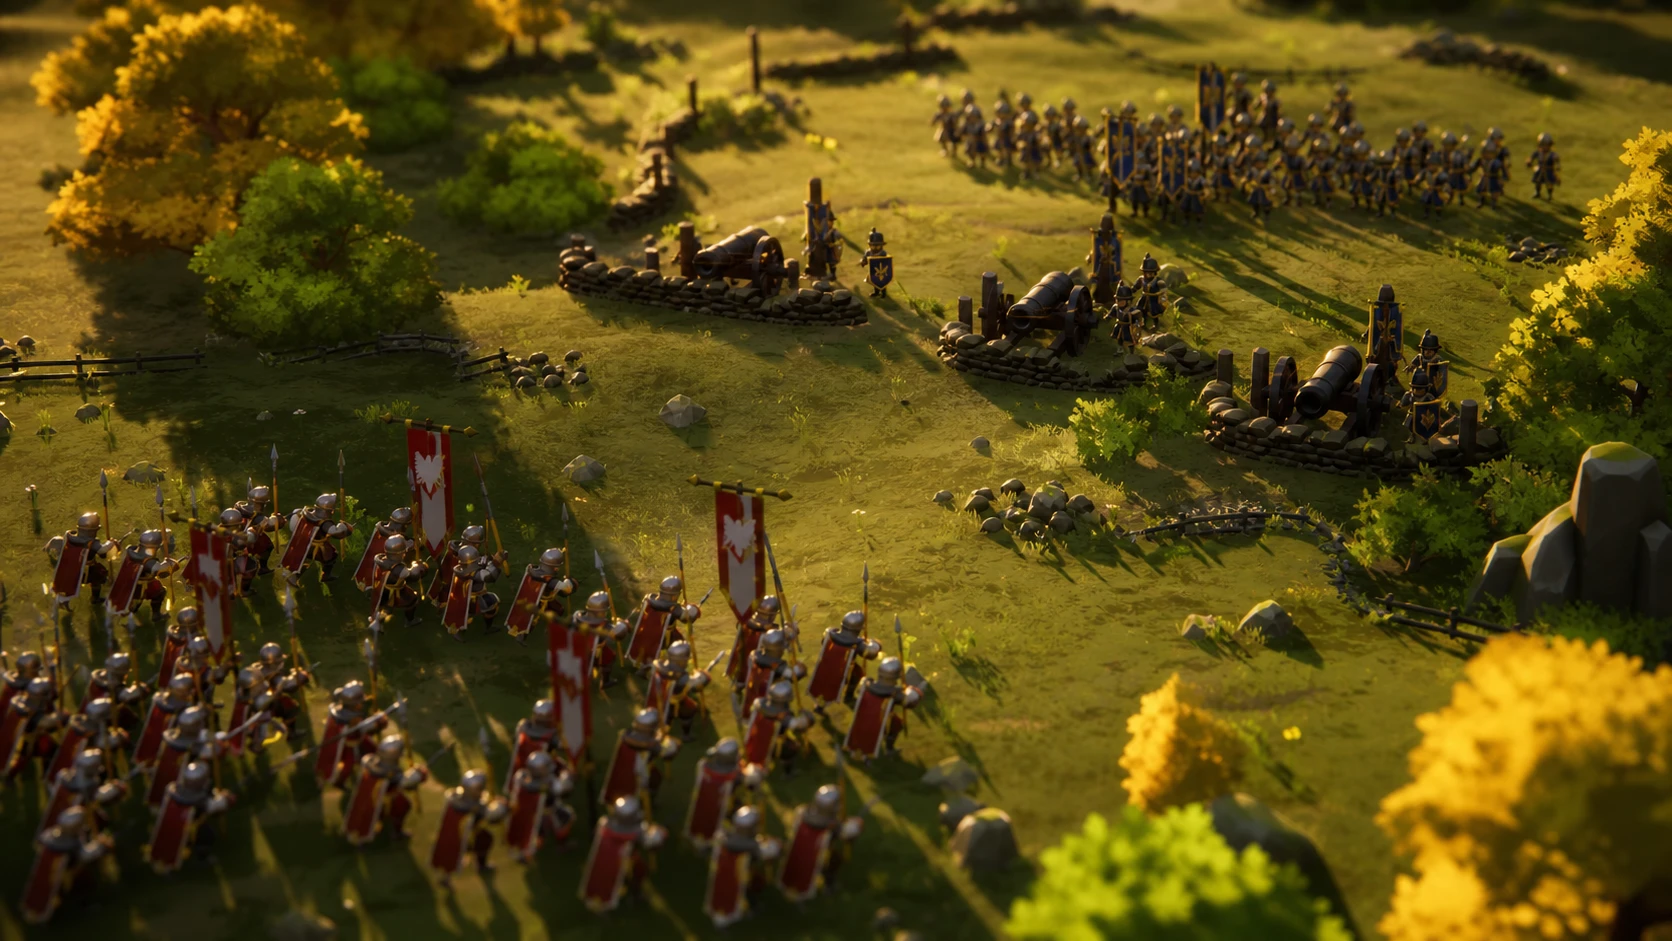
Enemy artillery is the unit type most likely to wreck your army in Tabletop Tavern before a single melee swing connects. These siege weapons combine long range, heavy damage, and disruption effects, so an unanswered cannon can break your formation while your infantry is still walking across the field. The fix is consistent across almost every battle. Pick one unit to kill the artillery early and commit to it.
Quick answer: Place an Outrider unit at the edge of the deployment zone and send it straight at the enemy artillery the moment combat begins. If you have no Outrider, use fast cavalry to reach the guns, or eliminate them with long-range fire when you have the space.
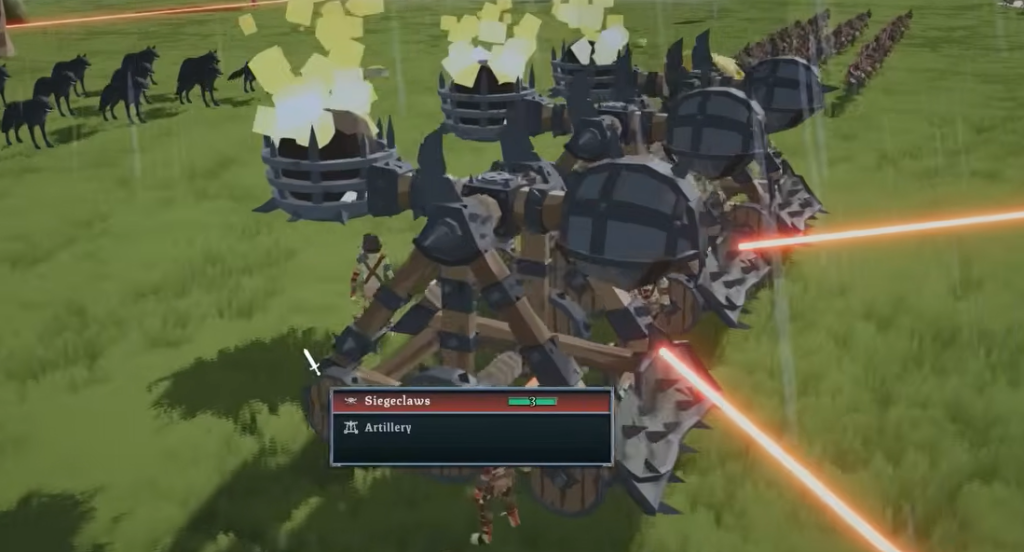
Why enemy artillery is so dangerous
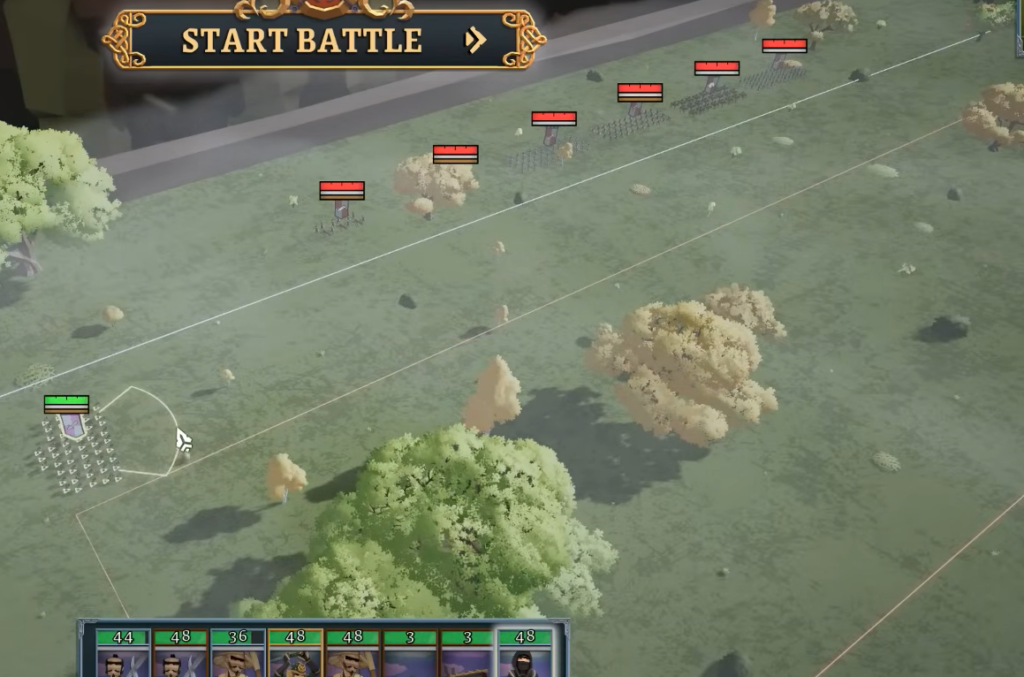
Artillery sits in the back of the enemy line and fires across most of the battlefield. Left alone, it punishes tightly packed formations and can thin your frontline before melee even starts. That is why inspecting the enemy army before deployment matters. A few seconds spent checking for siege weapons tells you whether you need to dedicate a unit to hunting them down.
This is also a strong argument for playing manual battles instead of auto-resolve when artillery is present. Positioning your own units and rushing the guns directly produces better results and fewer casualties than letting the game resolve the fight automatically.
Method 1: Use Outrider units to rush artillery
Outrider is the cleanest counter to enemy siege weapons. Units with this trait deploy outside your standard deployment area, which lets them start the fight close to vulnerable targets instead of crossing the whole map first. That head start is exactly what you need against artillery.
Note: Sanguine Court with Sister Morvayne grants Outrider to every unit, which turns the whole army into a tool for pressuring enemy ranged units and artillery quickly. If you favor this style, that faction makes the early artillery rush a default plan rather than the job of a single specialist.
Method 2: Use fast cavalry when you have no Outrider
If no Outrider unit is available, fast cavalry can fill the same role. The trade-off is distance. Cavalry usually starts inside your normal deployment zone, so it often has to ride through or around enemy formations before it reaches the guns. Pick the cleanest flank path you can and avoid sending the horses straight into the enemy frontline, where they will get bogged down before reaching the artillery.
Method 3: Eliminate artillery with long-range fire
In some battles you can answer the enemy guns with your own ranged units. This works when you have the space to position your archers or crossbows where they can hit the artillery without being charged or counter-fired. It demands careful placement and enough room to keep your shooters out of enemy pressure, so it is more situational than an Outrider rush, but it can remove a cannon without exposing a melee unit.
Compare the three artillery counters
| Counter | Best when | Main risk |
|---|---|---|
| Outrider unit | You have a fast unit with the Outrider trait | None major; safest and fastest option |
| Fast cavalry | No Outrider is available | Must travel through enemy formations to reach the guns |
| Long-range fire | You have space and good positioning | Needs careful placement to avoid enemy pressure |
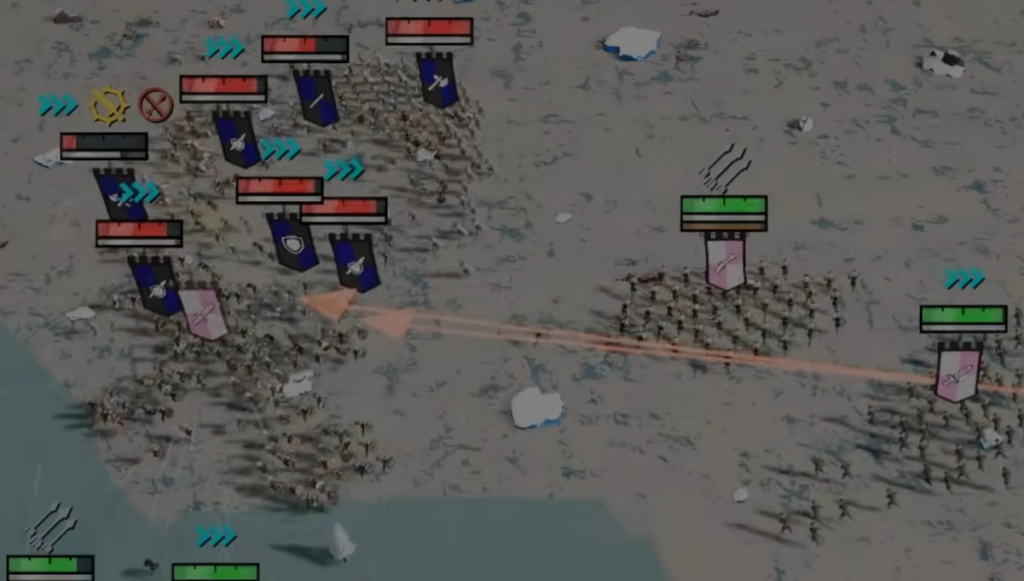
Protect your own backline from enemy Outriders
The same logic that lets you rush enemy artillery also lets the AI strike yours. Enemy Outriders can deploy outside the normal zone and dive your ranged units or siege weapons at the start of the fight. Prepare for that before combat rather than reacting after they arrive in your rear.
- Place spear units near vulnerable flanks to catch incoming attackers.
- Keep cavalry ready to intercept units that break toward your backline.
- Position ranged units behind protection instead of alone on a flank.
- Watch the edges of the battlefield, where Outriders tend to appear.
How to know the artillery is handled
You have neutralized the threat once the siege weapon is destroyed or its crew routs and stops firing. After that, the rest of the engagement opens up. Pin the enemy front with your infantry, then send extra troops around the sides to hit flanks and rear, where attacks deal heavy morale damage and push units to break. Clearing the guns early is what makes those flanking plays possible without losing your formation to incoming fire.