While pop-up blockers in Google Chrome prevent unwanted windows from appearing, there are times when you might need to allow pop-ups for certain websites. Below are detailed steps to manage your pop-up settings, whether you want to allow pop-ups from specific sites or disable the blocker entirely.
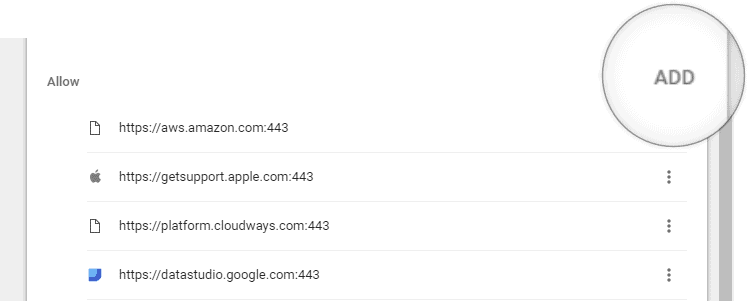
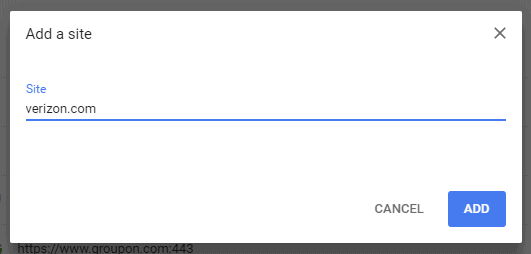
Allow pop-ups from specific websites
Step 1: Open Google Chrome and access the Settings menu by clicking the three-dot icon in the top-right corner and selecting "Settings."
Step 2: Scroll down to the bottom of the Settings page and click on "Advanced" to reveal more options.
Step 3: Under the "Privacy and security" section, click on "Content settings."
Step 4: Select "Pop-ups and redirects" from the list of content settings.
Step 5: In the "Allow" section, click the "Add" button to permit pop-ups from a specific website.
![](https://allthings.how/content/images/wordpress/2019/11/4321b-disable-popup-blocker-single-or-multiple-websites-chrome.png)
Step 6: Enter the web address of the site you want to allow pop-ups from and click "Add."
![](https://allthings.how/content/images/wordpress/2019/11/8b7e4-add-website-to-allow-for-popups-in-chrome.png)
Step 7: Repeat the previous steps for each additional website you wish to allow pop-ups from.
Disable pop-up blocker entirely
Step 1: Follow Steps 1 to 4 from the previous section to navigate to the "Pop-ups and redirects" settings.
Step 2: 
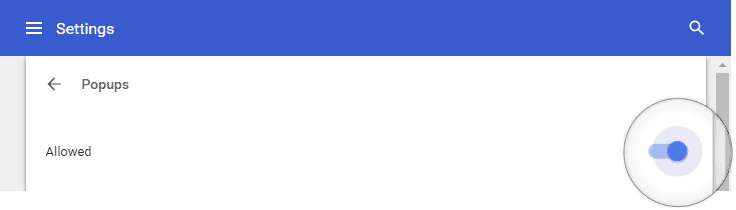
To disable the pop-up blocker completely, toggle the switch at the top of the page to allow all pop-ups. When enabled, it will indicate "Allowed."
![](https://allthings.how/content/images/wordpress/2019/11/2d2de-disable-popup-blocker-chrome.png)
By adjusting these settings, you have control over how Google Chrome handles pop-ups, ensuring that you don't miss important content while still keeping unwanted interruptions at bay.
Member discussion