Optimizing which programs start automatically can significantly improve your Windows 11 computer’s boot time and overall performance. Unnecessary startup applications can slow down your system by consuming valuable resources. Here are several methods to disable these programs and enhance your system’s efficiency.
Disable Startup Programs via Task Manager
The Task Manager is a powerful tool that lets you control which applications run at startup. Follow these steps to disable startup programs using Task Manager:
- Right-click on the Start icon in the taskbar or press Windows + X, then select Task Manager from the menu.
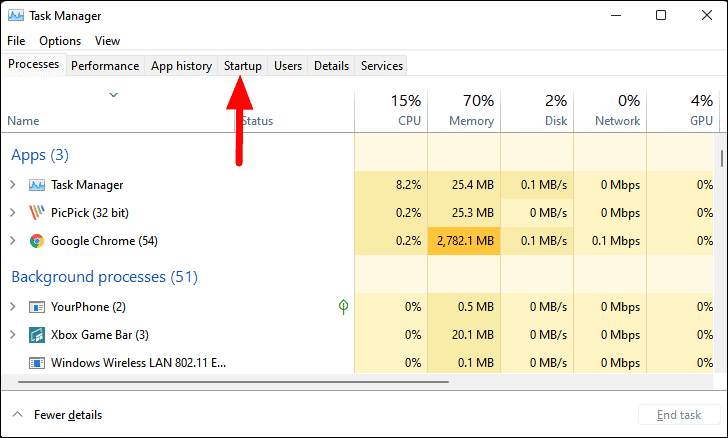
- In the Task Manager window, navigate to the Startup tab at the top.
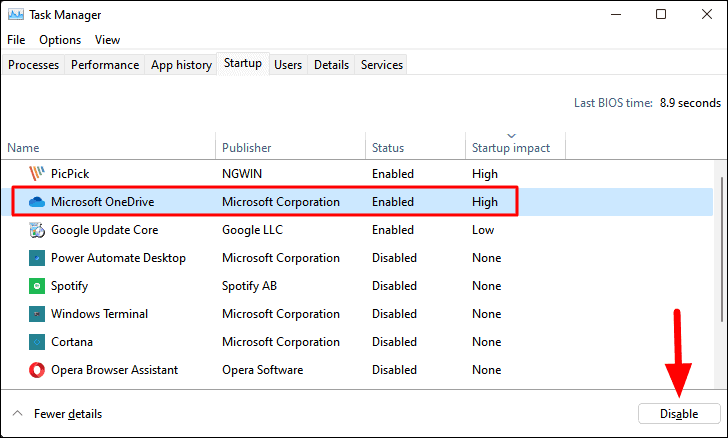
- You’ll see a list of programs configured to run at startup. Review the list to identify any unnecessary applications.
- Select the program you wish to disable.
- Click the Disable button located at the bottom-right corner of the window.
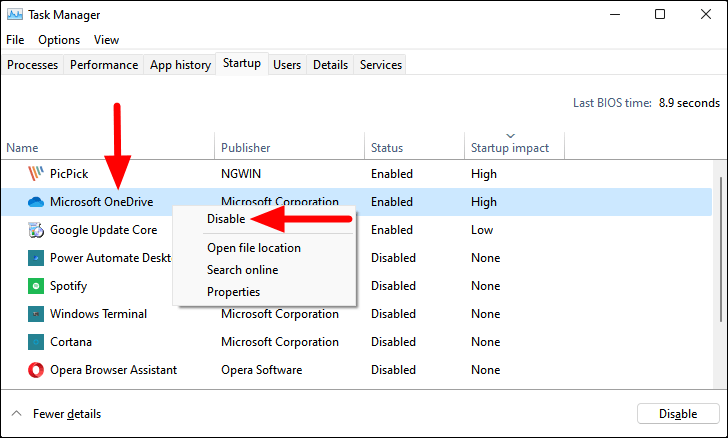
You can also right-click on the desired application and select Disable from the context menu.
Repeat these steps for any other programs you want to prevent from starting automatically.
Disable Startup Programs via Settings
The Settings app provides another way to manage your startup programs. Here’s how to do it:
- Press Windows + I to open the Settings app, or right-click the Start icon and choose Settings.
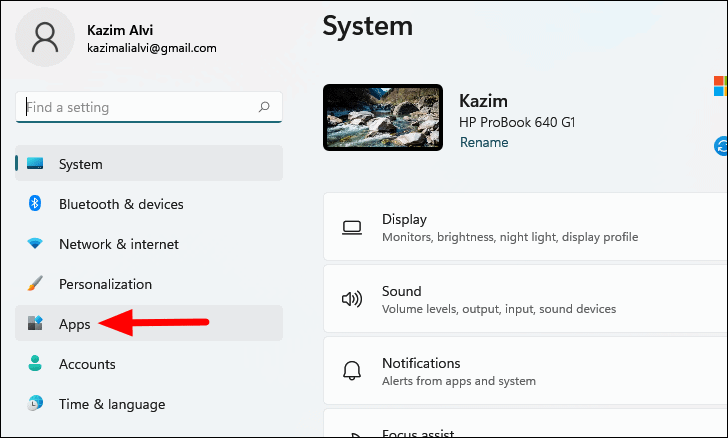
- In the Settings window, click on the Apps tab in the left sidebar.
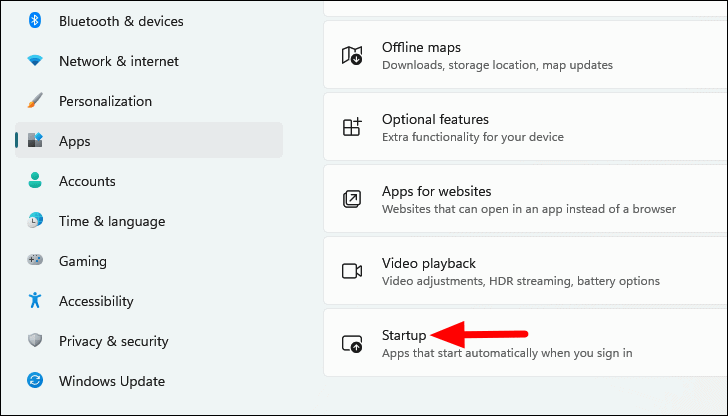
- Select Startup from the options on the right side.
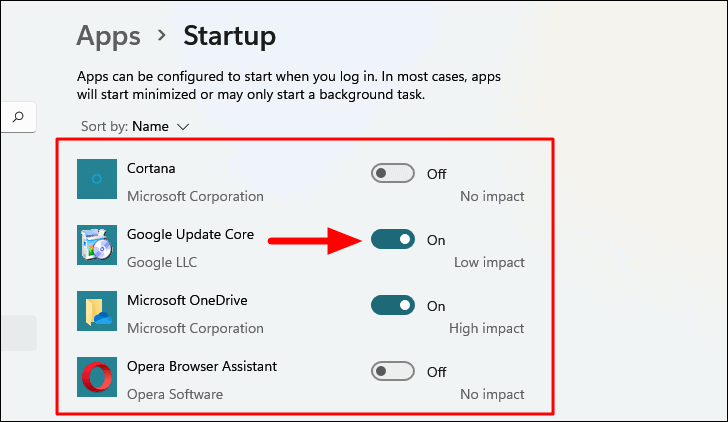
- You’ll see a list of applications with toggles next to them. The impact on startup performance (measured by system resource usage) is indicated for each app.
The impact levels are categorized as follows:
- High Impact: Apps that significantly slow down startup (more than 1 second of CPU time or 3 MB of disk I/O).
- Medium Impact: Apps with moderate impact (0.3–1 second of CPU time or 300 KB–3 MB of disk I/O).
- Low Impact: Apps with minimal impact (less than 0.3 seconds of CPU time and 300 KB of disk I/O).
Identify which apps you don’t need at startup based on their impact and your usage.
- To disable an app, click the toggle next to it to set it to Off.
Repeat this for any other apps you want to disable at startup.
Disable Startup Programs via Task Scheduler
The Task Scheduler allows you to manage background tasks and programs that start automatically, including some that might not appear in the Settings or Task Manager lists. Here’s how to disable startup programs using Task Scheduler:
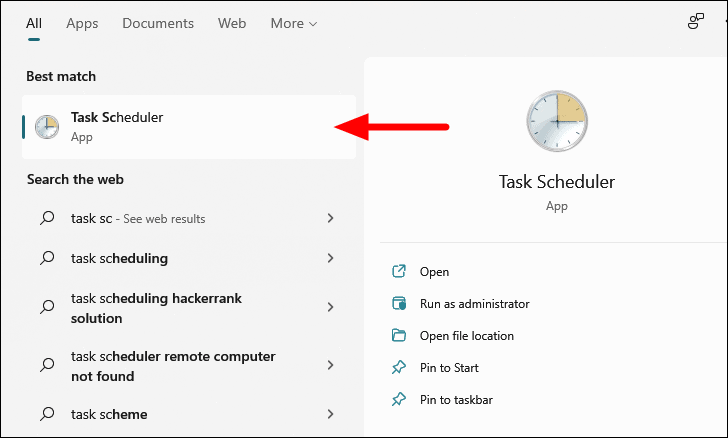
- Press Windows + S to open the search bar, type Task Scheduler, and select it from the search results.
- In the Task Scheduler window, click on Task Scheduler Library in the left pane.
- In the center pane, browse through the list to find the task or program you want to disable.
- Select the desired task, then click Disable in the Actions pane on the right side.
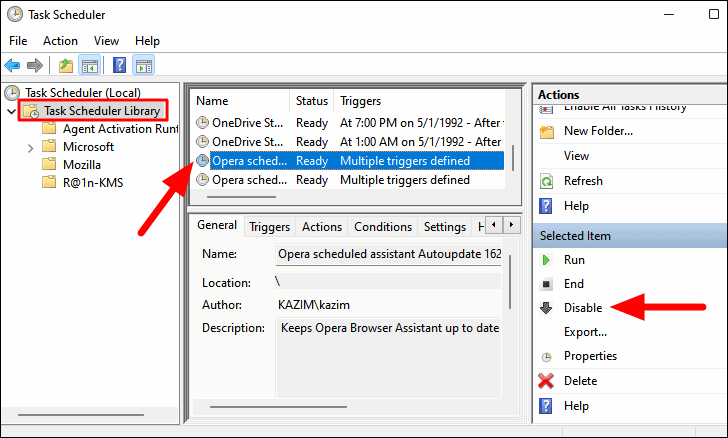
The selected task will no longer run at startup. Be careful when disabling tasks, as some are essential for system operations.
Managing your startup programs is an effective way to improve your system’s performance and reduce boot times. By disabling unnecessary applications from launching at startup, you free up valuable resources and ensure your Windows 11 computer runs smoothly.