Working on a single window can be tough. Sometimes, you might want a document to be open while you are typing a report, and sometimes you might want to binge-watch your favorite show while working on a spreadsheet. There can be countless reasons for you to want a multi-window setup.
The recent work-from-home trend has also forced people to multitask on their desktops. Gone are the days when you could only work in one window and had to switch to the other window repeatedly when multitasking.
You don’t even have to manually rearrange windows to work on them side-by-side. macOS offers the Split View feature which allows the users to open two windows simultaneously and work in a more productive manner. In this post, we’ll learn how to enter the split view, use mission control in the split screen, adjust your screens according to your use case, and exit the mode.
How to enter Split View on macOS
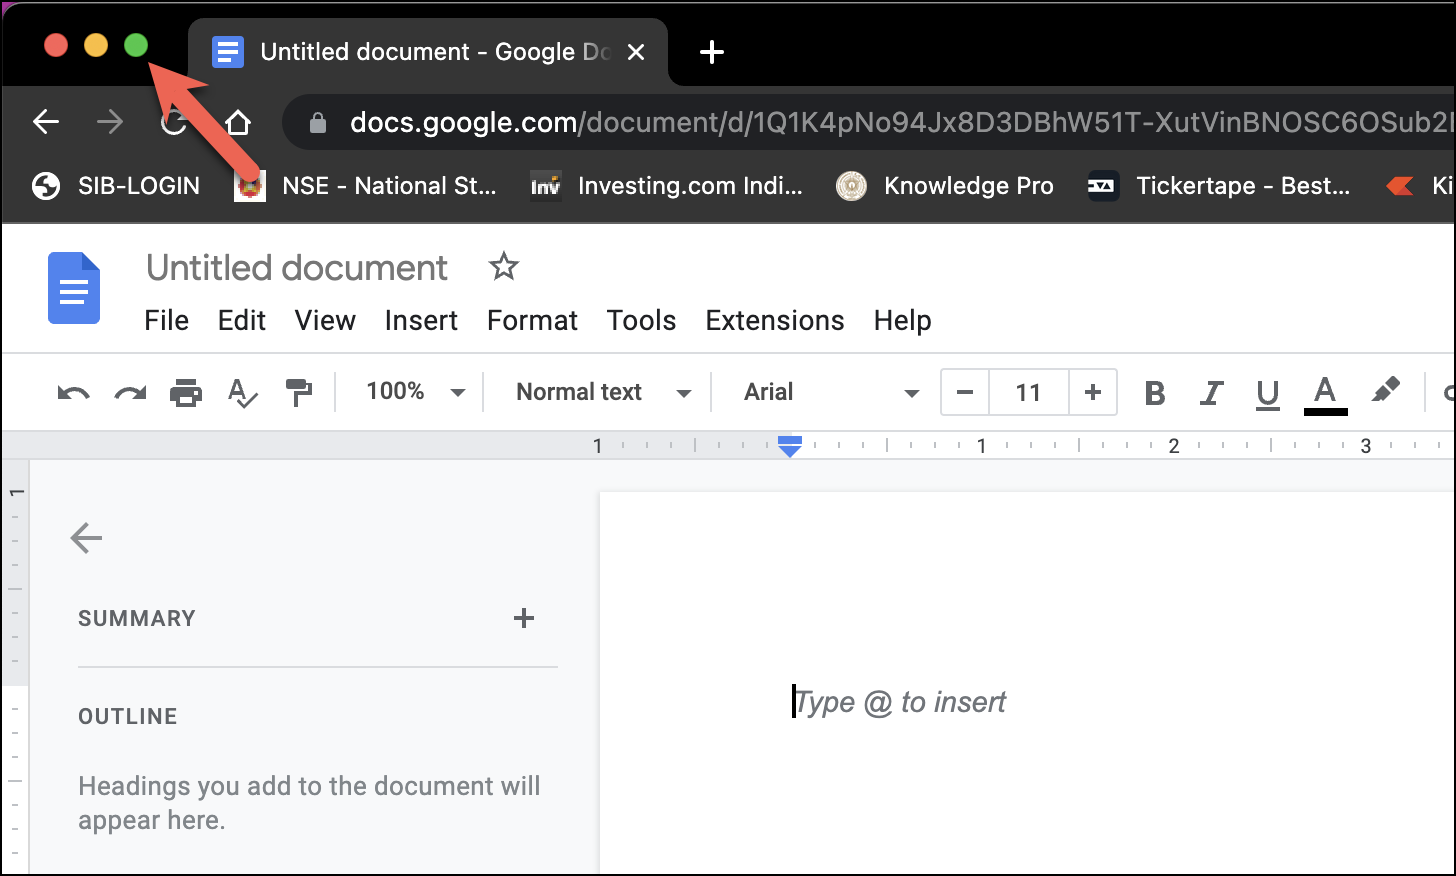
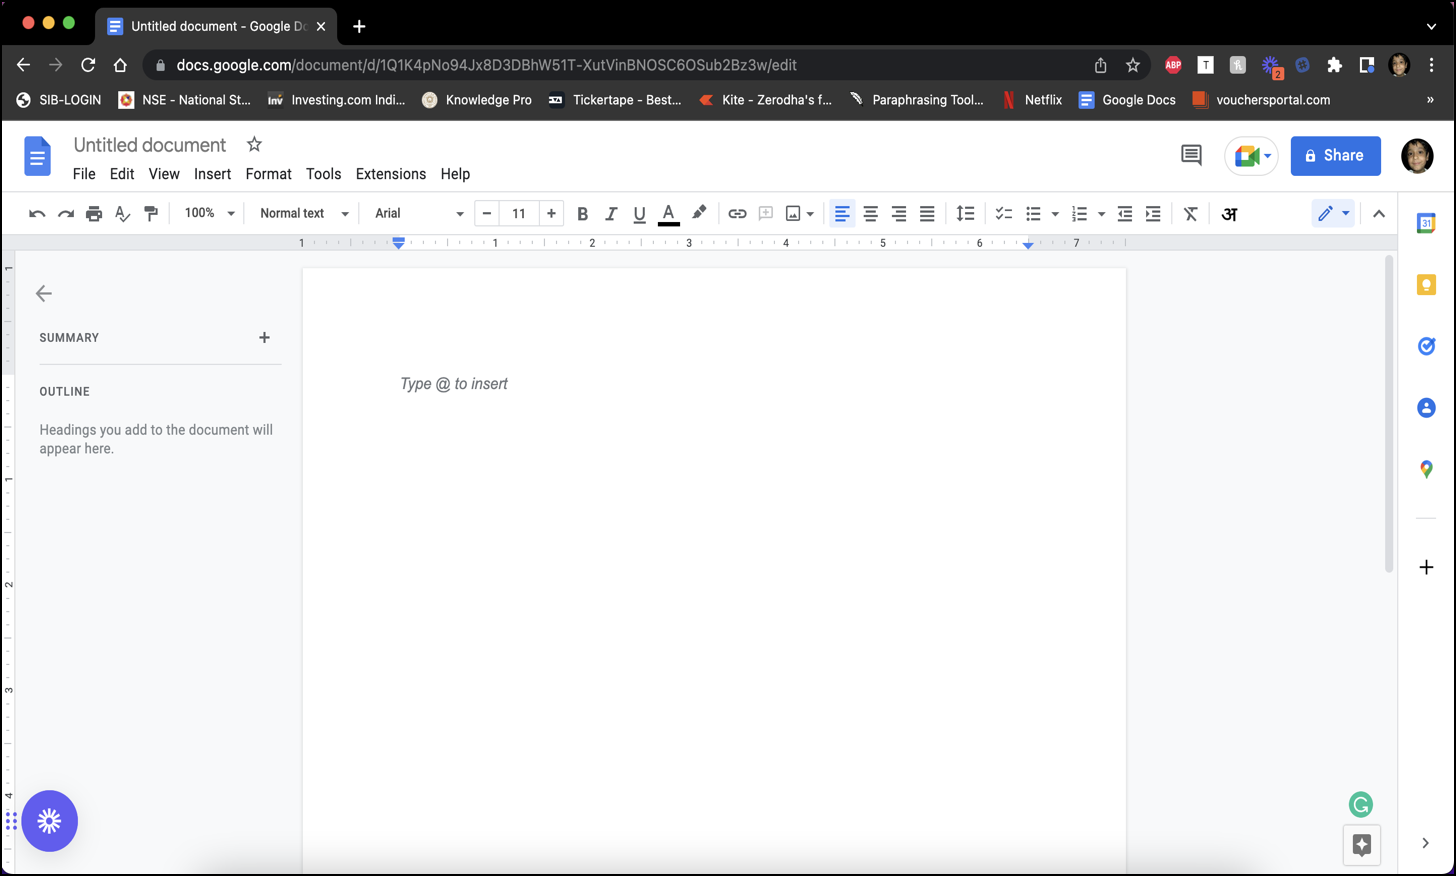
First, open the window you wish to have on the split screen.

Next, hover over the green button on the top left of the window.
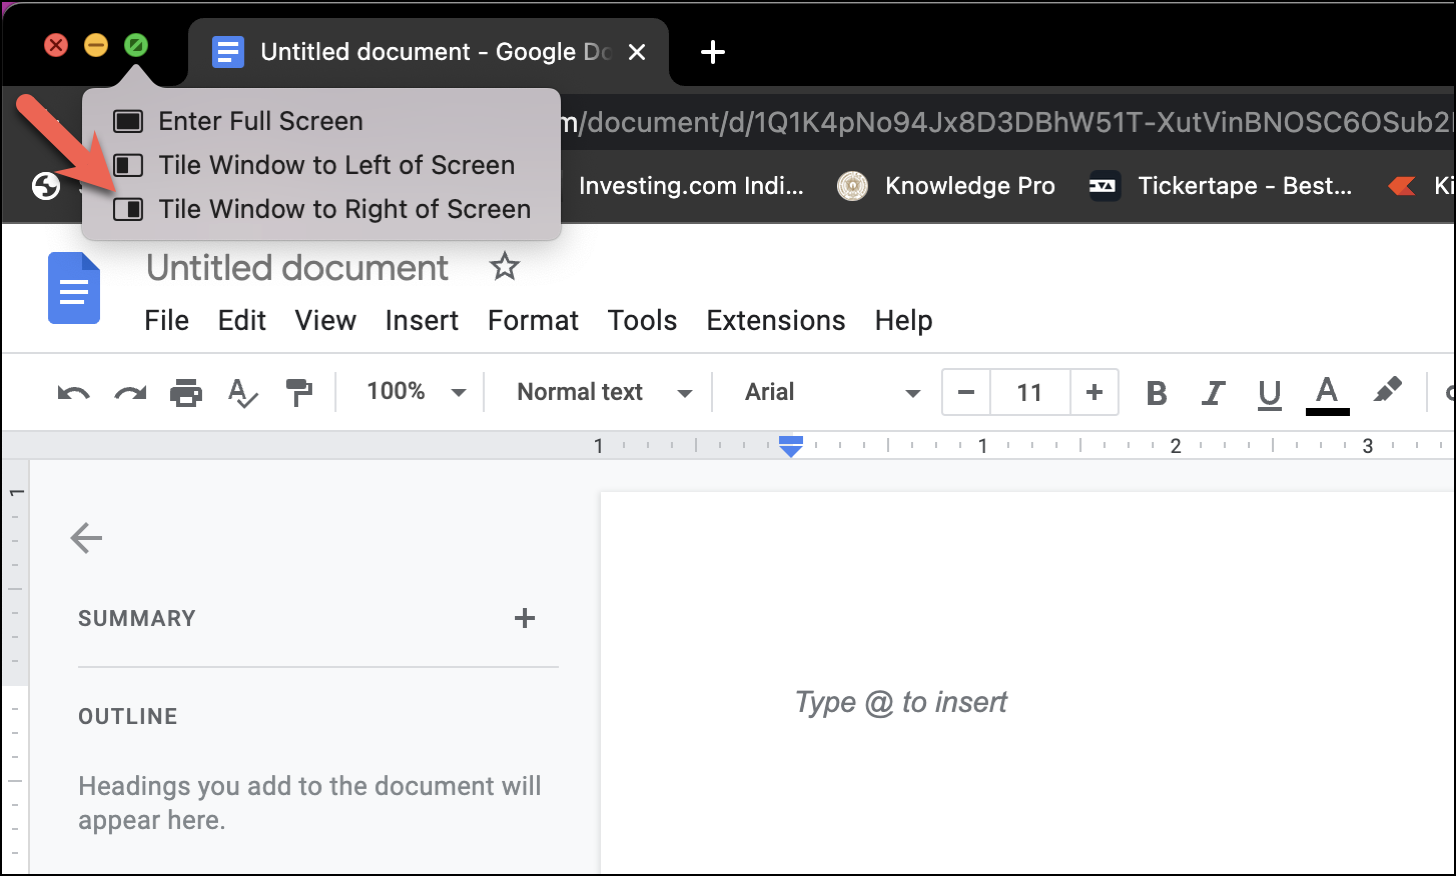
You would see the option to Tile the window to the left or right of the screen. Select your preferred option.
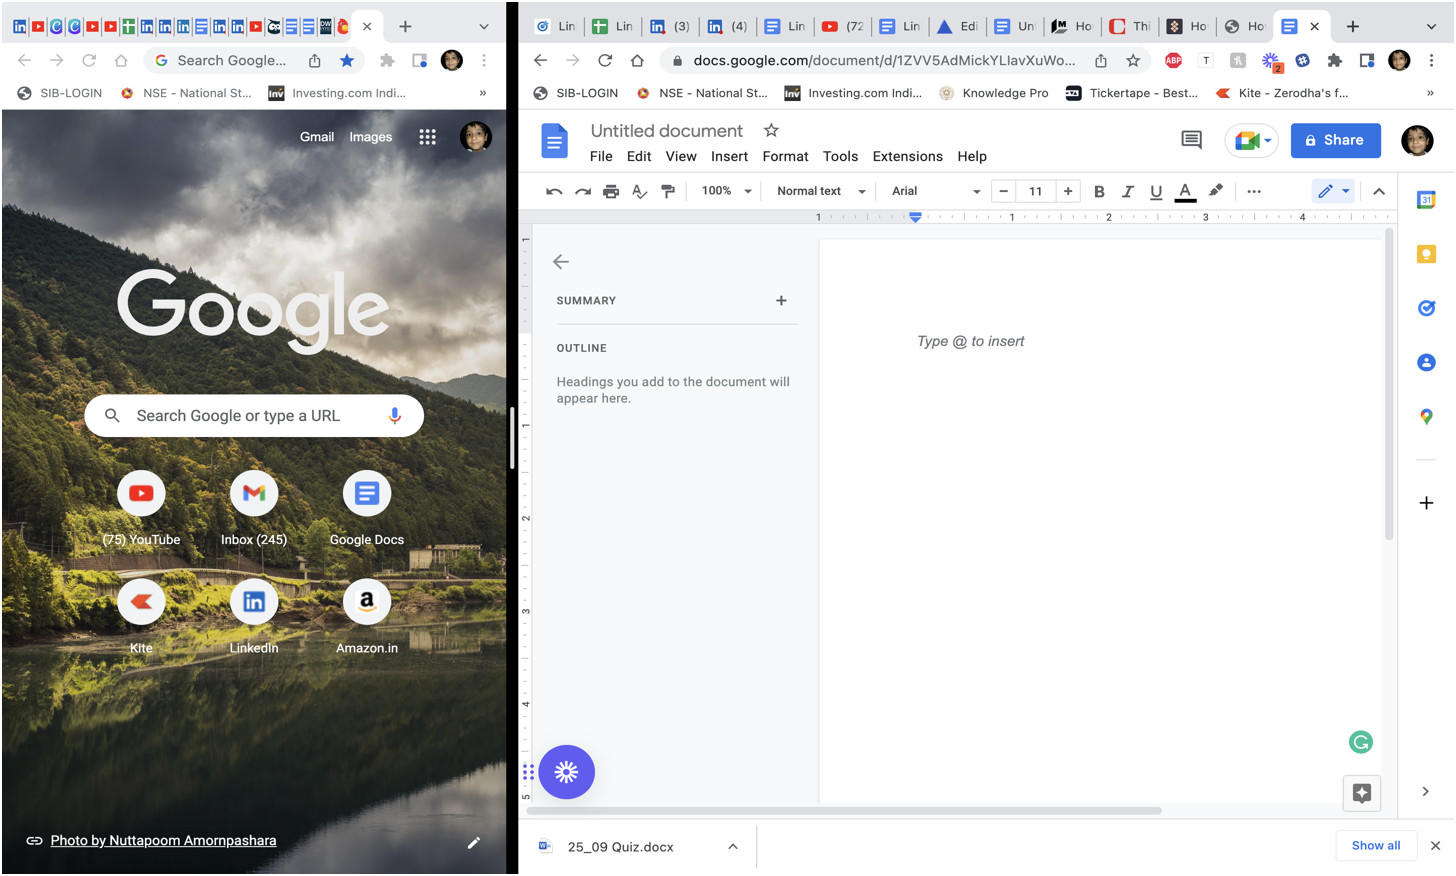
Next, you would be directed to the split screen view with one side empty. On the other side of the screen, you would notice all the other windows that are open on your system.
Note: There’s a catch with this view; you can only choose from applications that are already open. Any windows that are open in the Full-Screen mode won’t be available to open in the split view either.
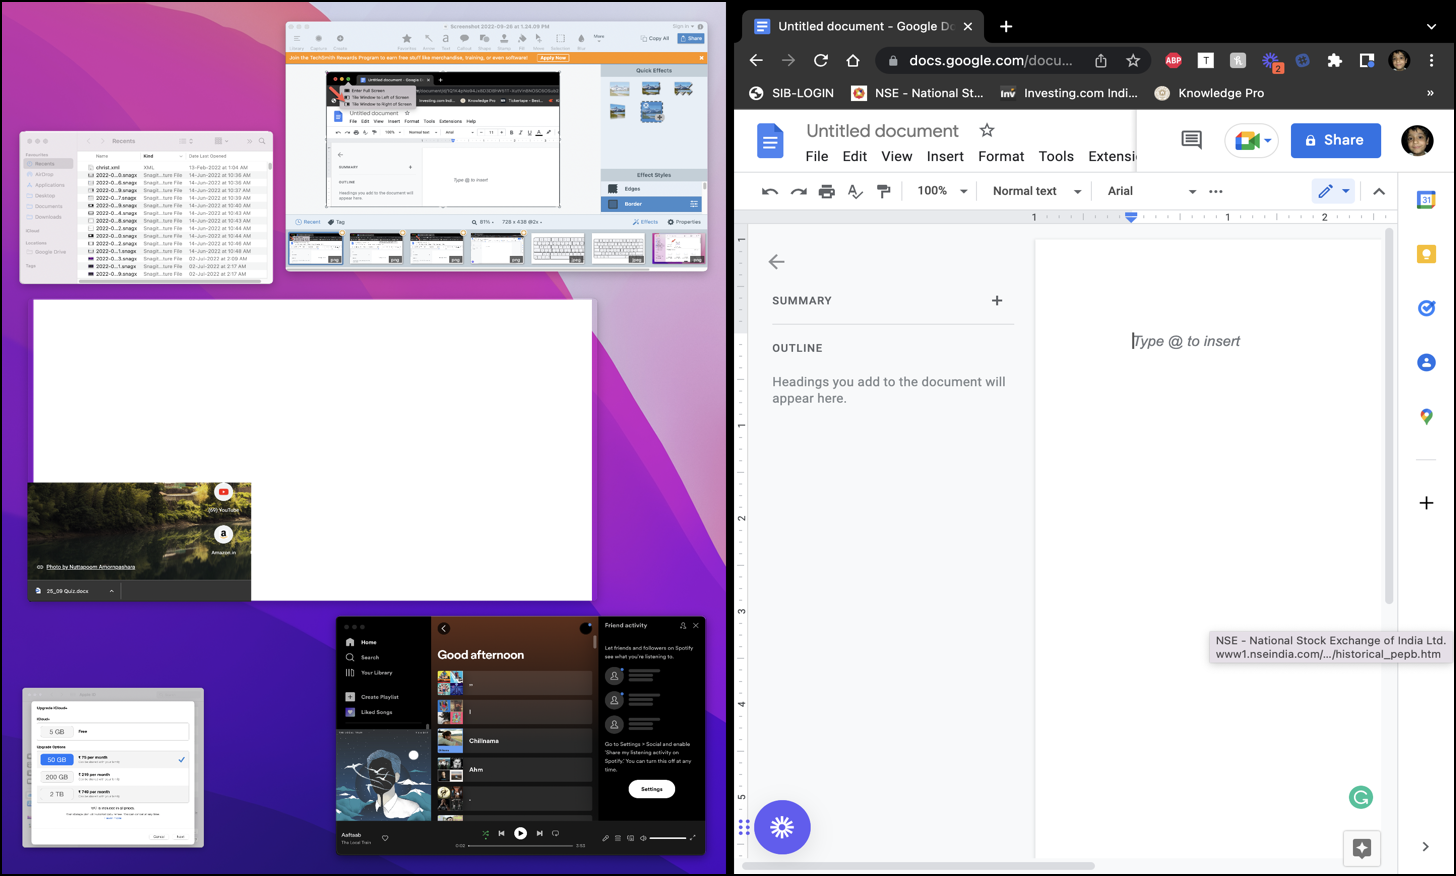
Select the window you wish to open on the split screen.
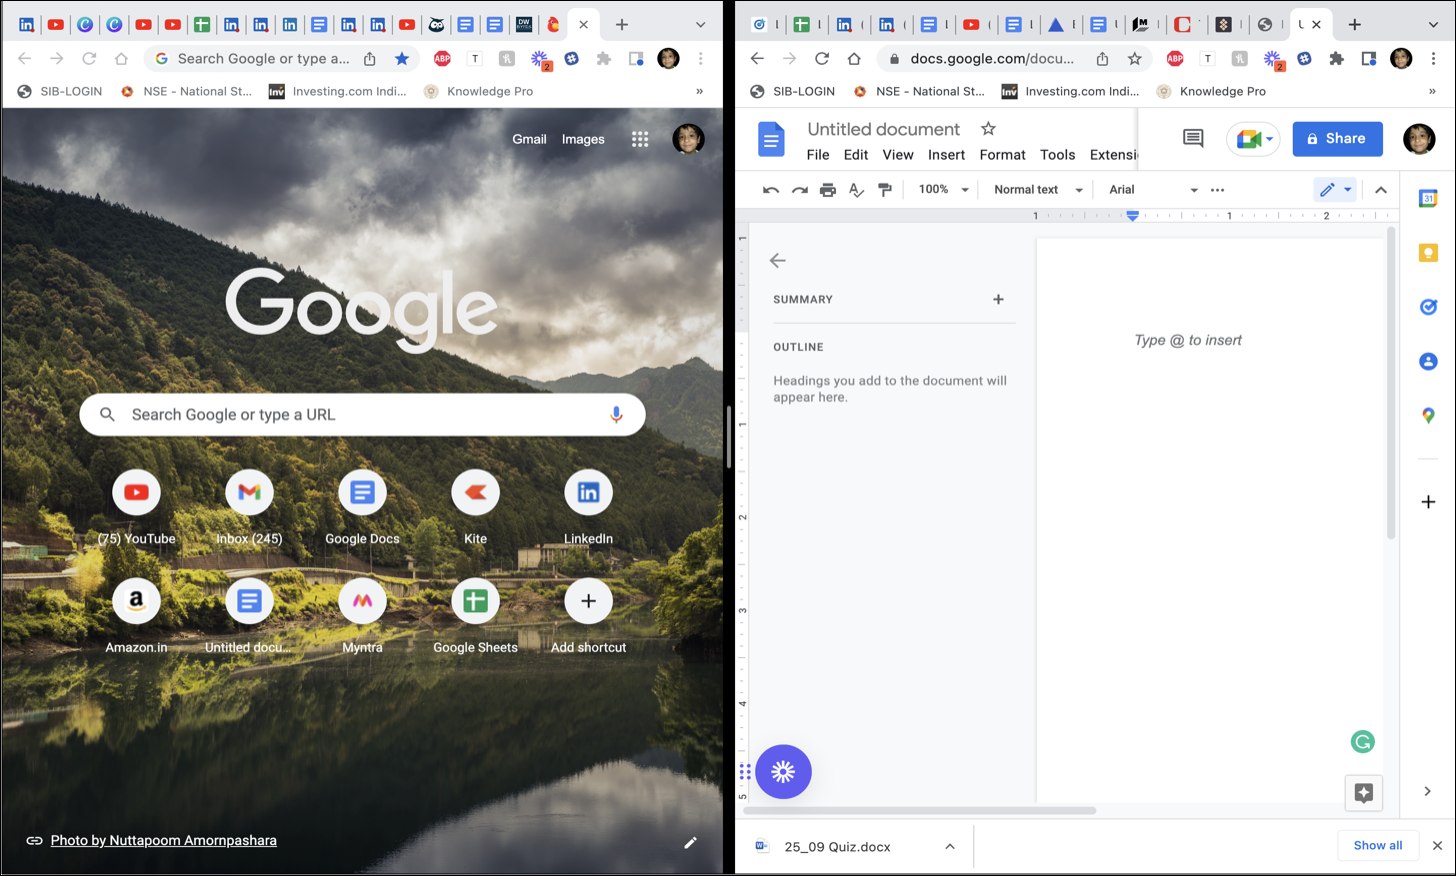
That’s it, you have successfully entered the split screen window with your desired applications.
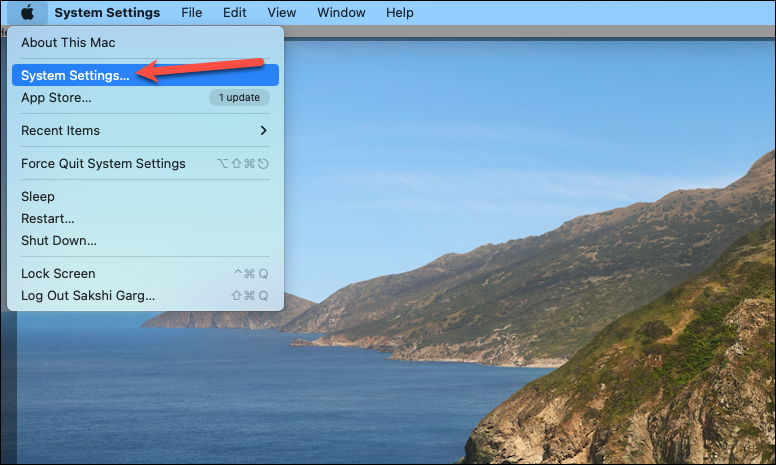
If you can’t enter the Split View, go to ‘Apple Menu’ from the menu bar on the left. Then, select ‘System Settings’ from the menu on macOS Ventura.
From the Settings app, go to ‘Desktop & Dock’.
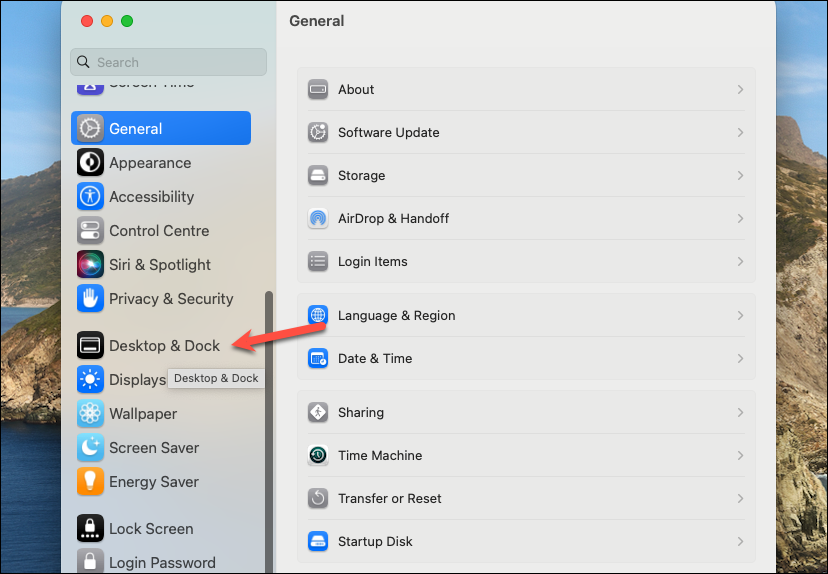
Then, scroll down and make sure that the toggle for ‘Displays have Separate Spaces’ is on.
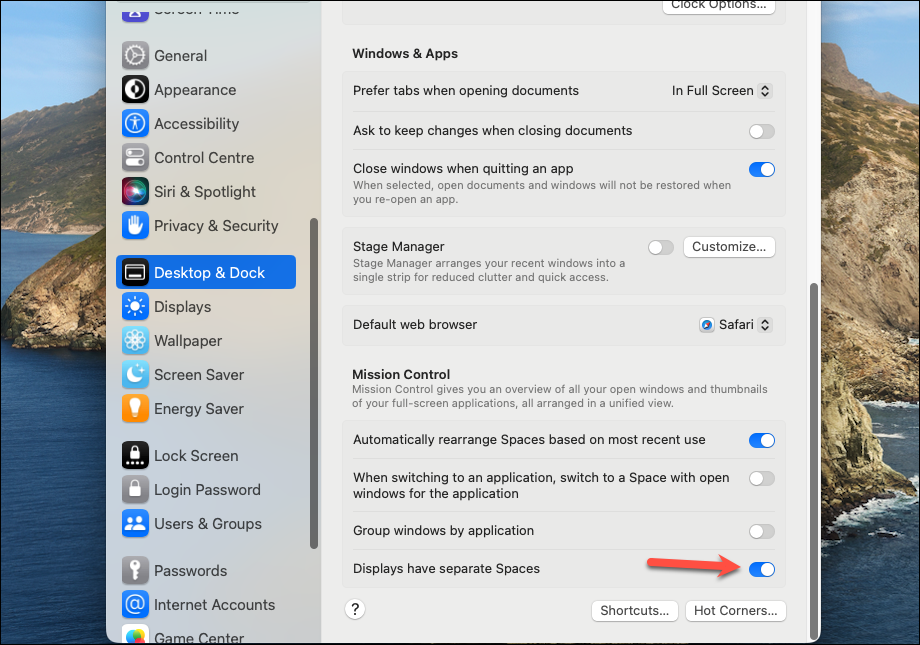
In macOS Monterey or previous versions, go to ‘System Preferences’ from the Apple Menu. Then, go to ‘Mission Control’ and make sure ‘Displays have Separate Spaces’ is selected.
Working in Split Screen View
While multitasking in the Split Screen View, you can adjust the screen size, replace one window with another, swap the position of the windows, or use other apps using Mission Control.
Adjusting the split screen view
In the split screen view, you would notice a vertical separator in the center of the screen.
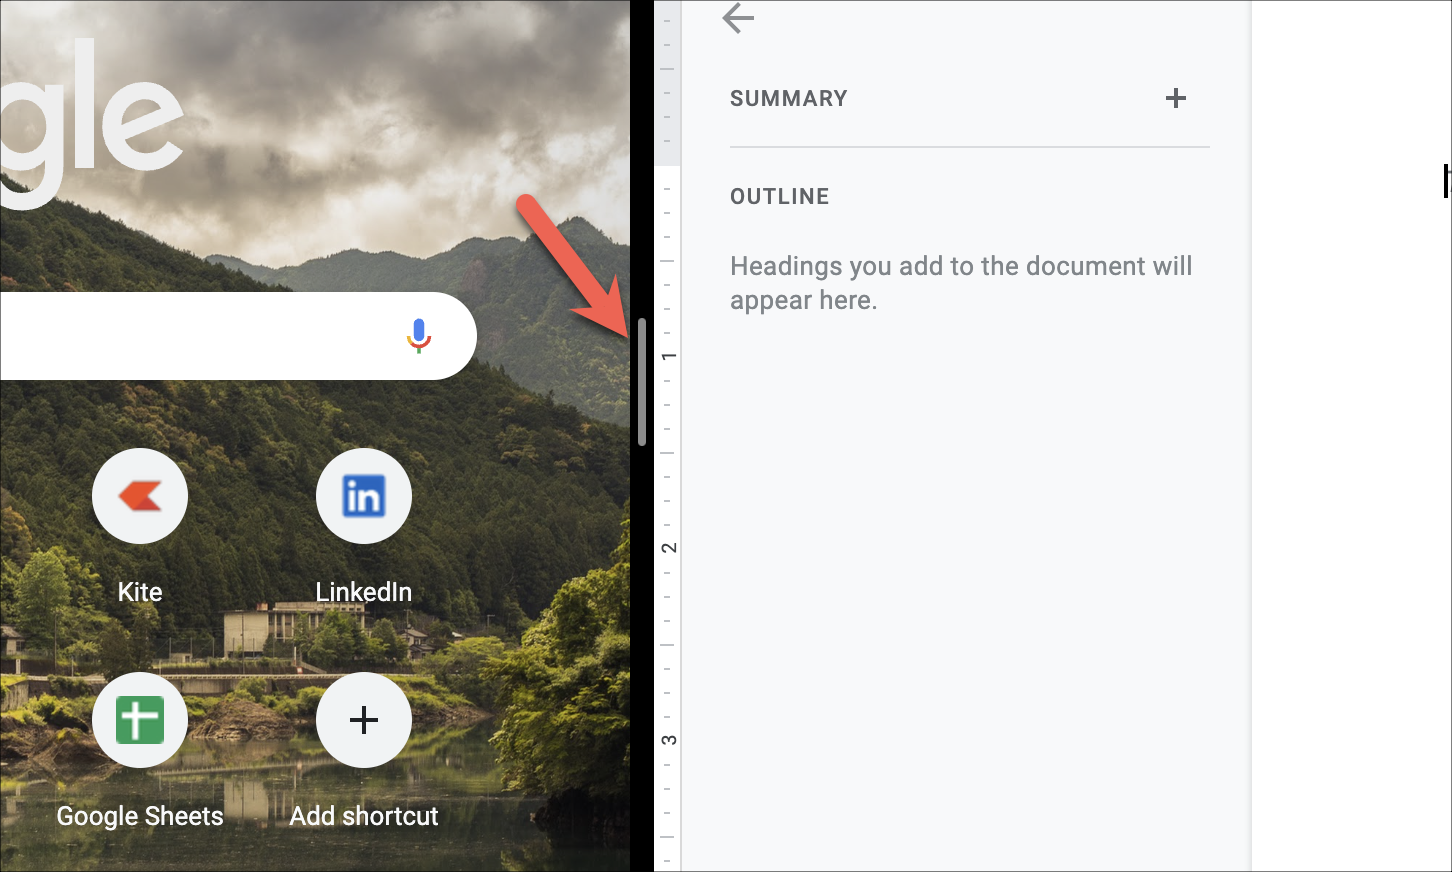
You can use this separator to adjust the screen size of the applications you have opened on the split screen.
Swapping the Windows in Split Screen View
No matter which window you initially chose to be on the left and which on the right, if you find that you’d like to swap their positions to get a better handle on things, you don’t have to start over.
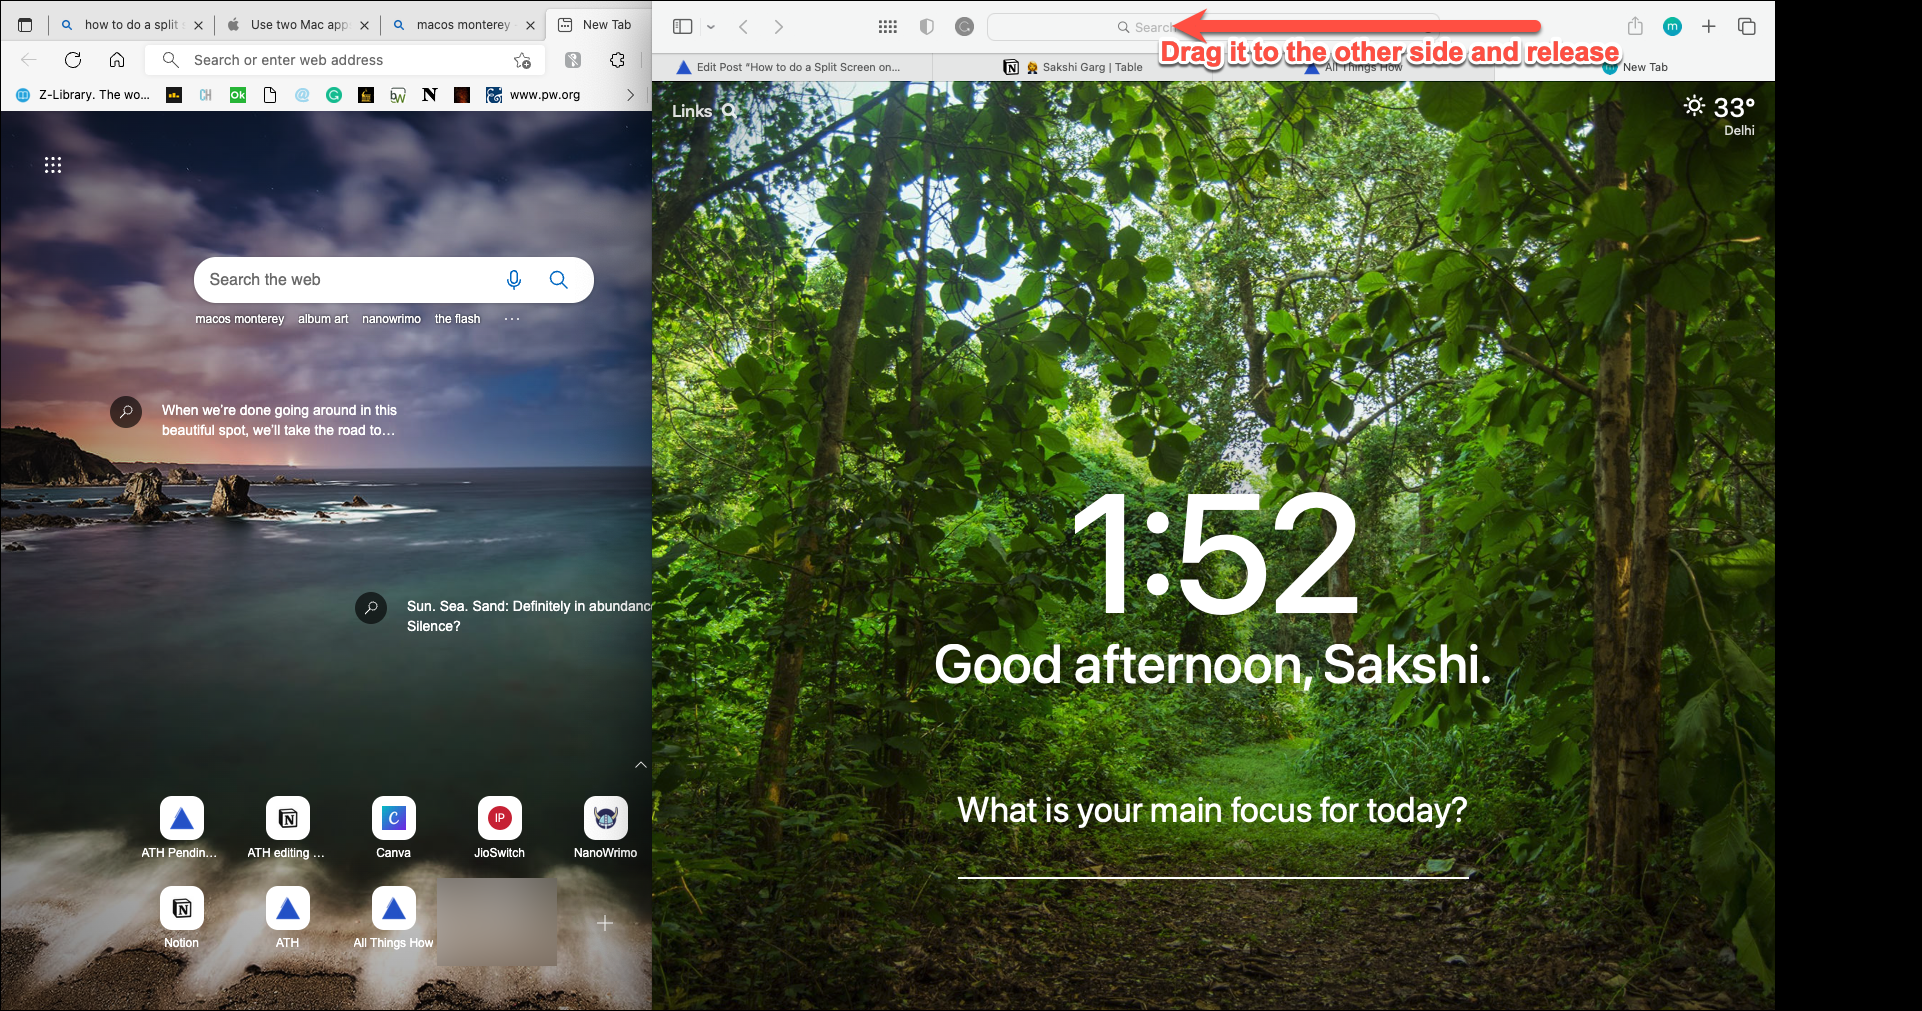
You can easily swap the two windows. Go to the top of either window.
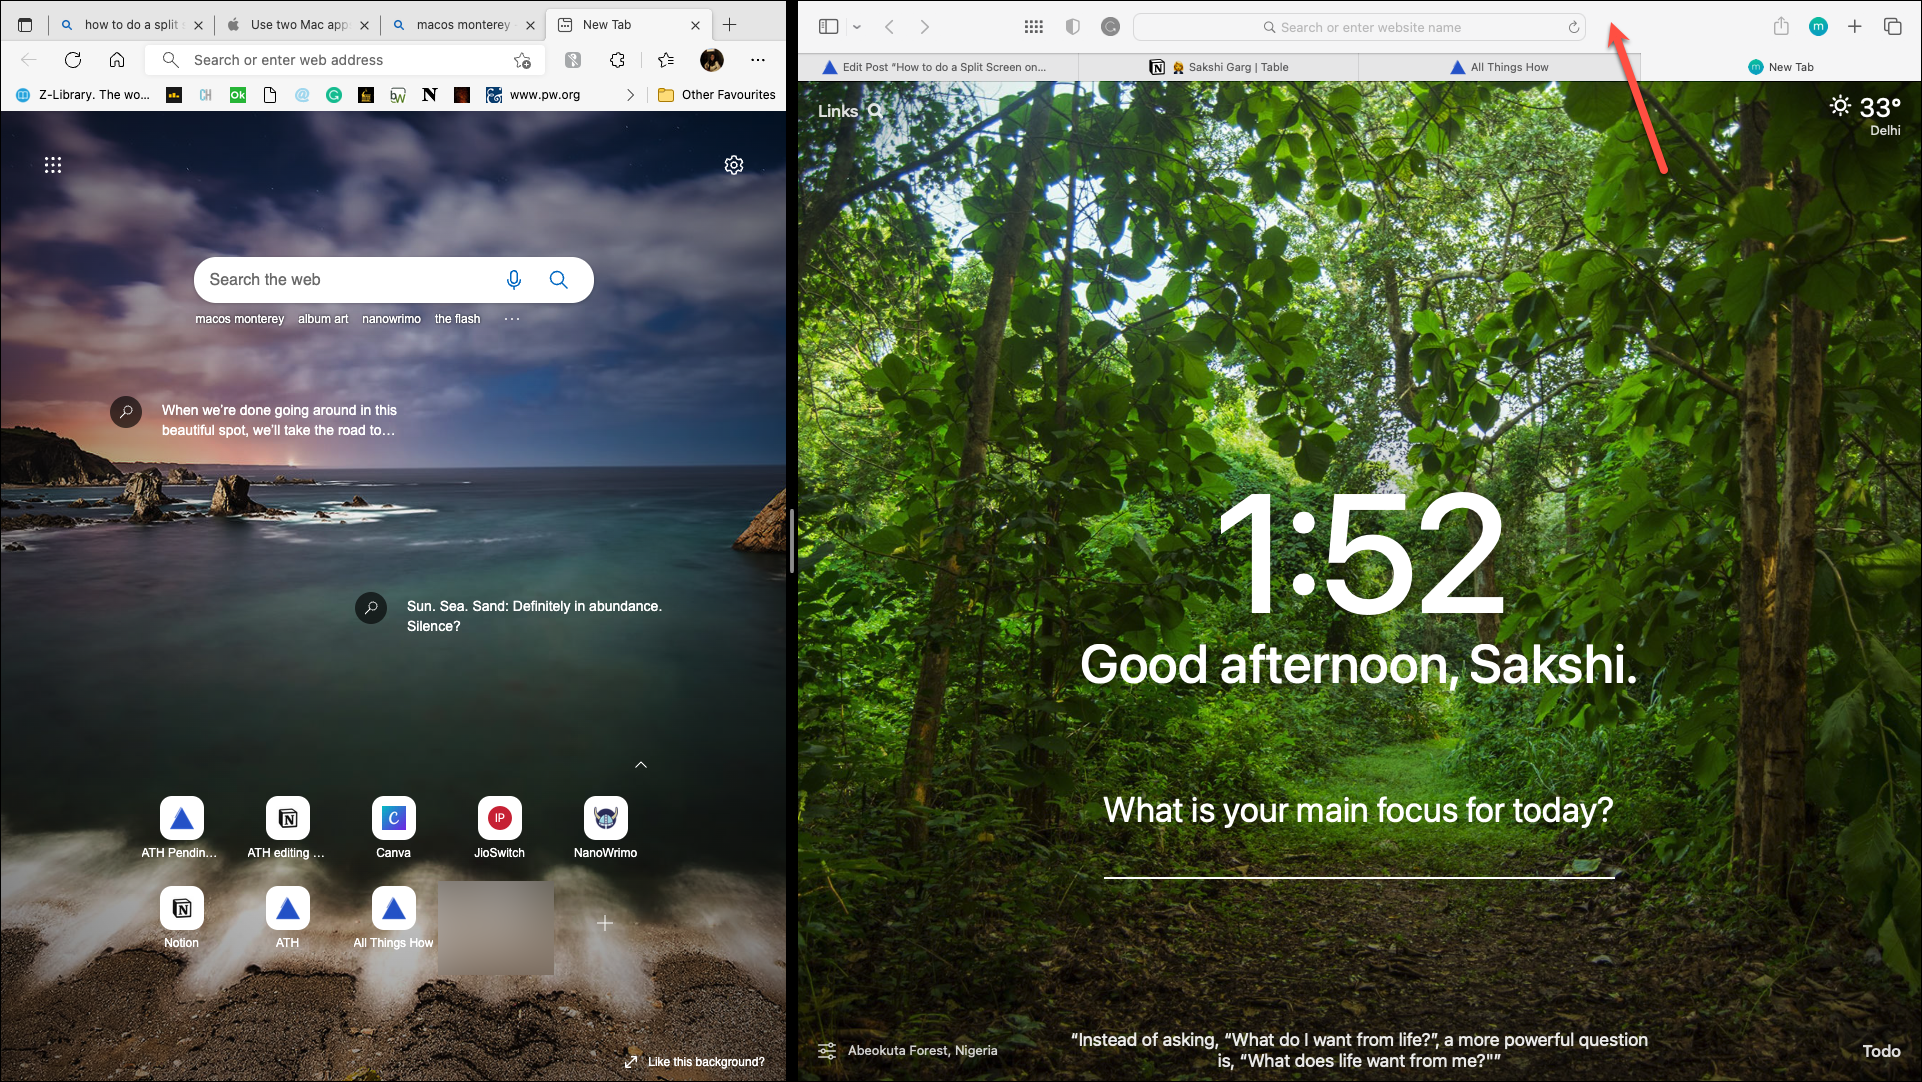
Then, drag it to the other side and release it.
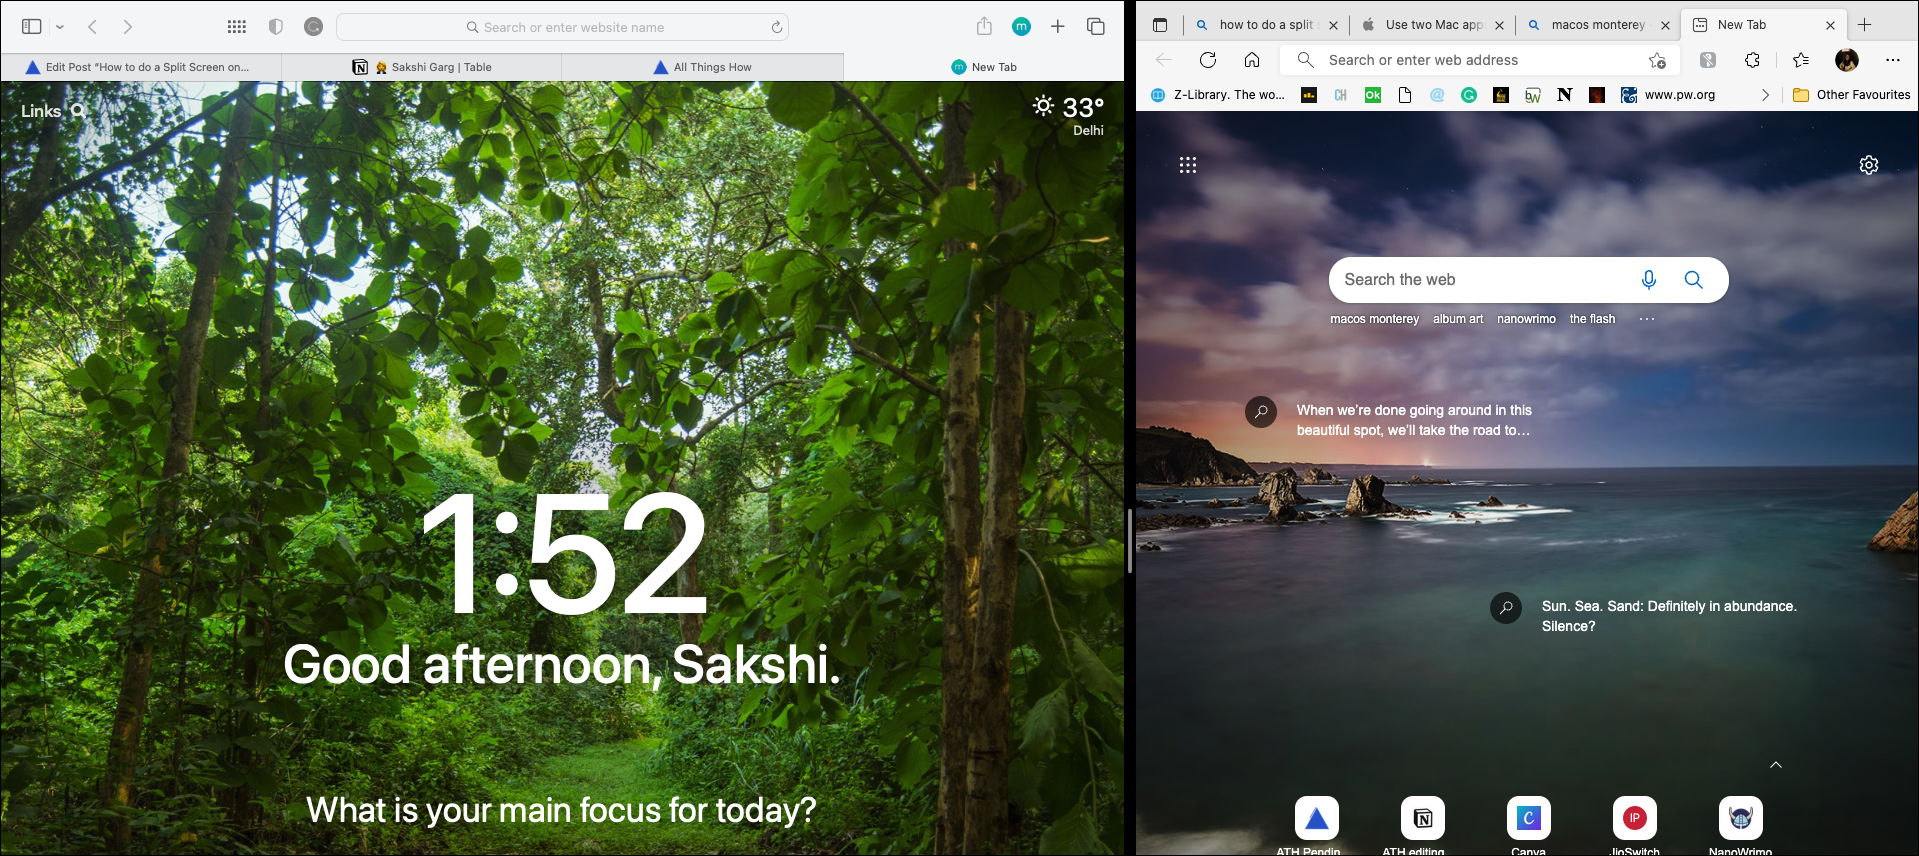
That’s it. The windows will also retain their original size on the other side if you resized them.
Replace a Window
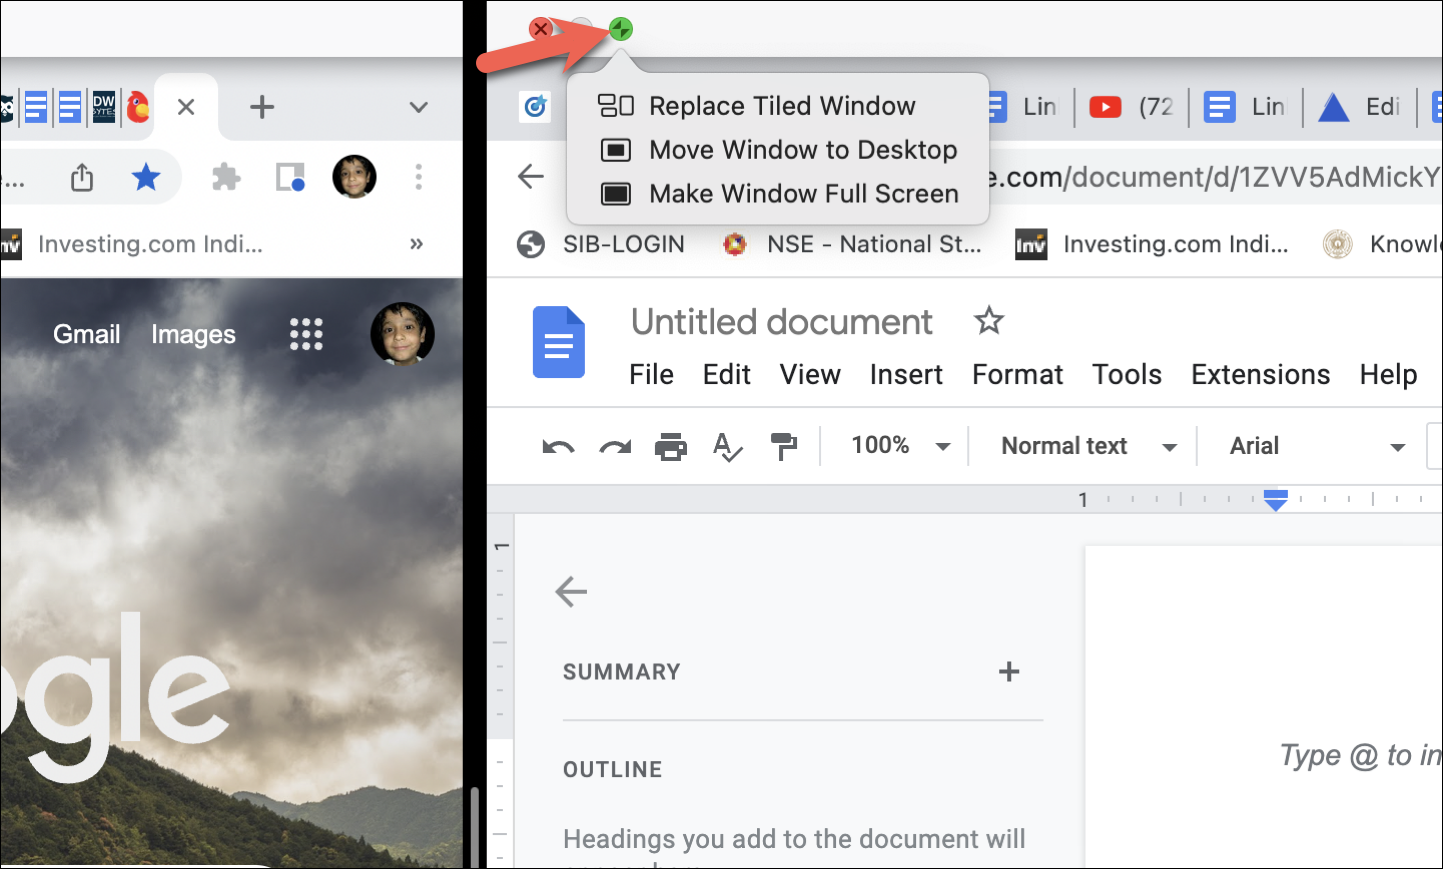
First, move your pointer to the top of the screen to show the menu bar. Then, hover over the green button on the window on the right. The option won’t appear for the window on the left. If you want to replace the window on the left, you can first swap them using the method above.
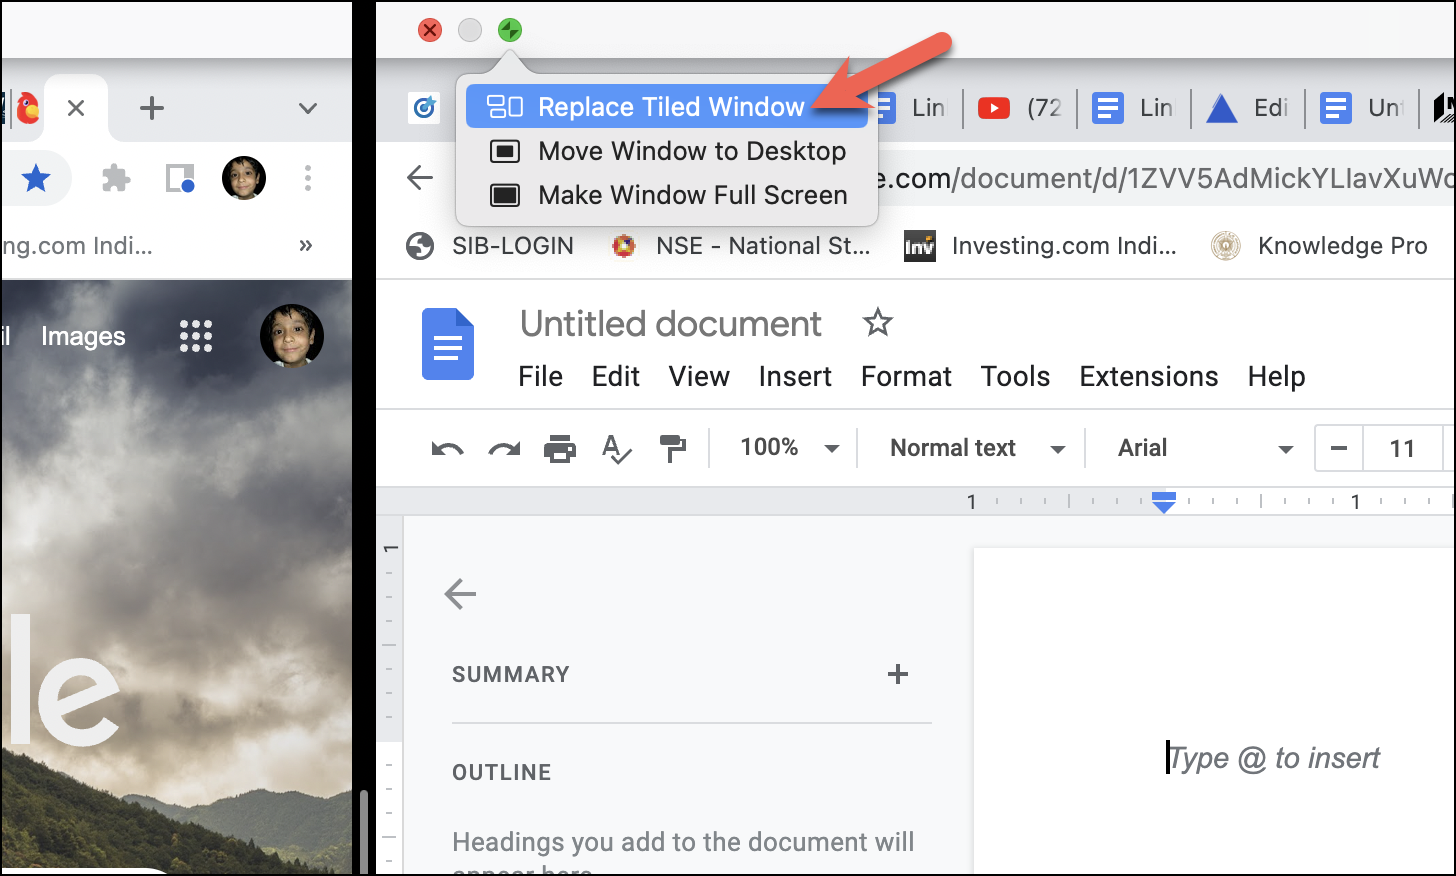
Now, choose the ‘Replace Tiled Window’ to replace the current window with some other window.
The open windows will appear. Select the window with which you want to replace the current window. The left side, which can’t be replaced, will appear black. If you change your mind and don’t want to replace the windows, press Esc on your keyboard.
Accessing split screen mode in Mission Control
Not many people know this but you can also open Mission Control in split screen view and toggle between windows while keeping a check on all your open tabs.
There are various ways to open Mission Control.
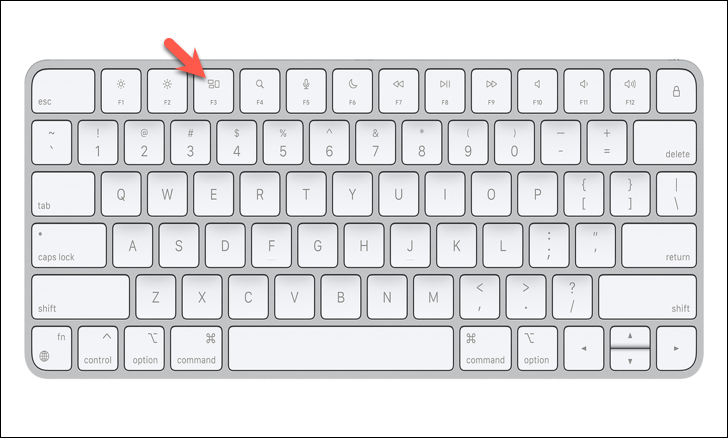
You can press the F3 key from the keyboard which has 3 rectangles as its icon.
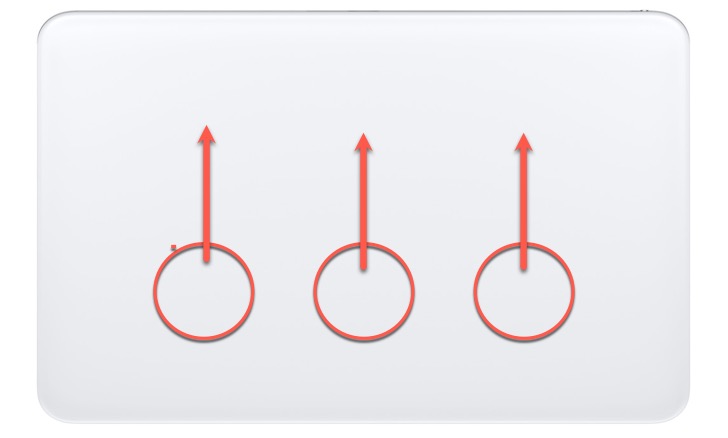
You can also swipe up on your trackpad with 3 fingers.
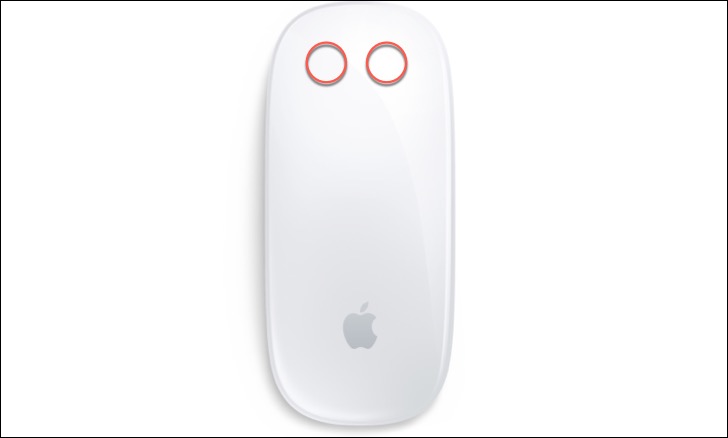
Another way to open Mission Control in split screen view is by double tapping with two fingers on your magic mouse.
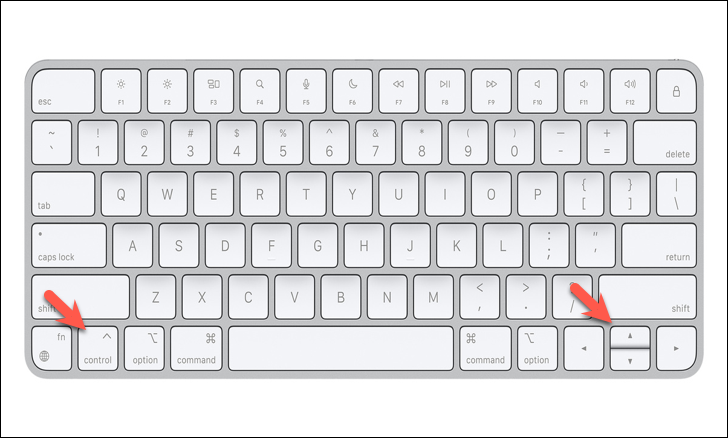
Alternatively, you can press the control and the up arrow button as well.
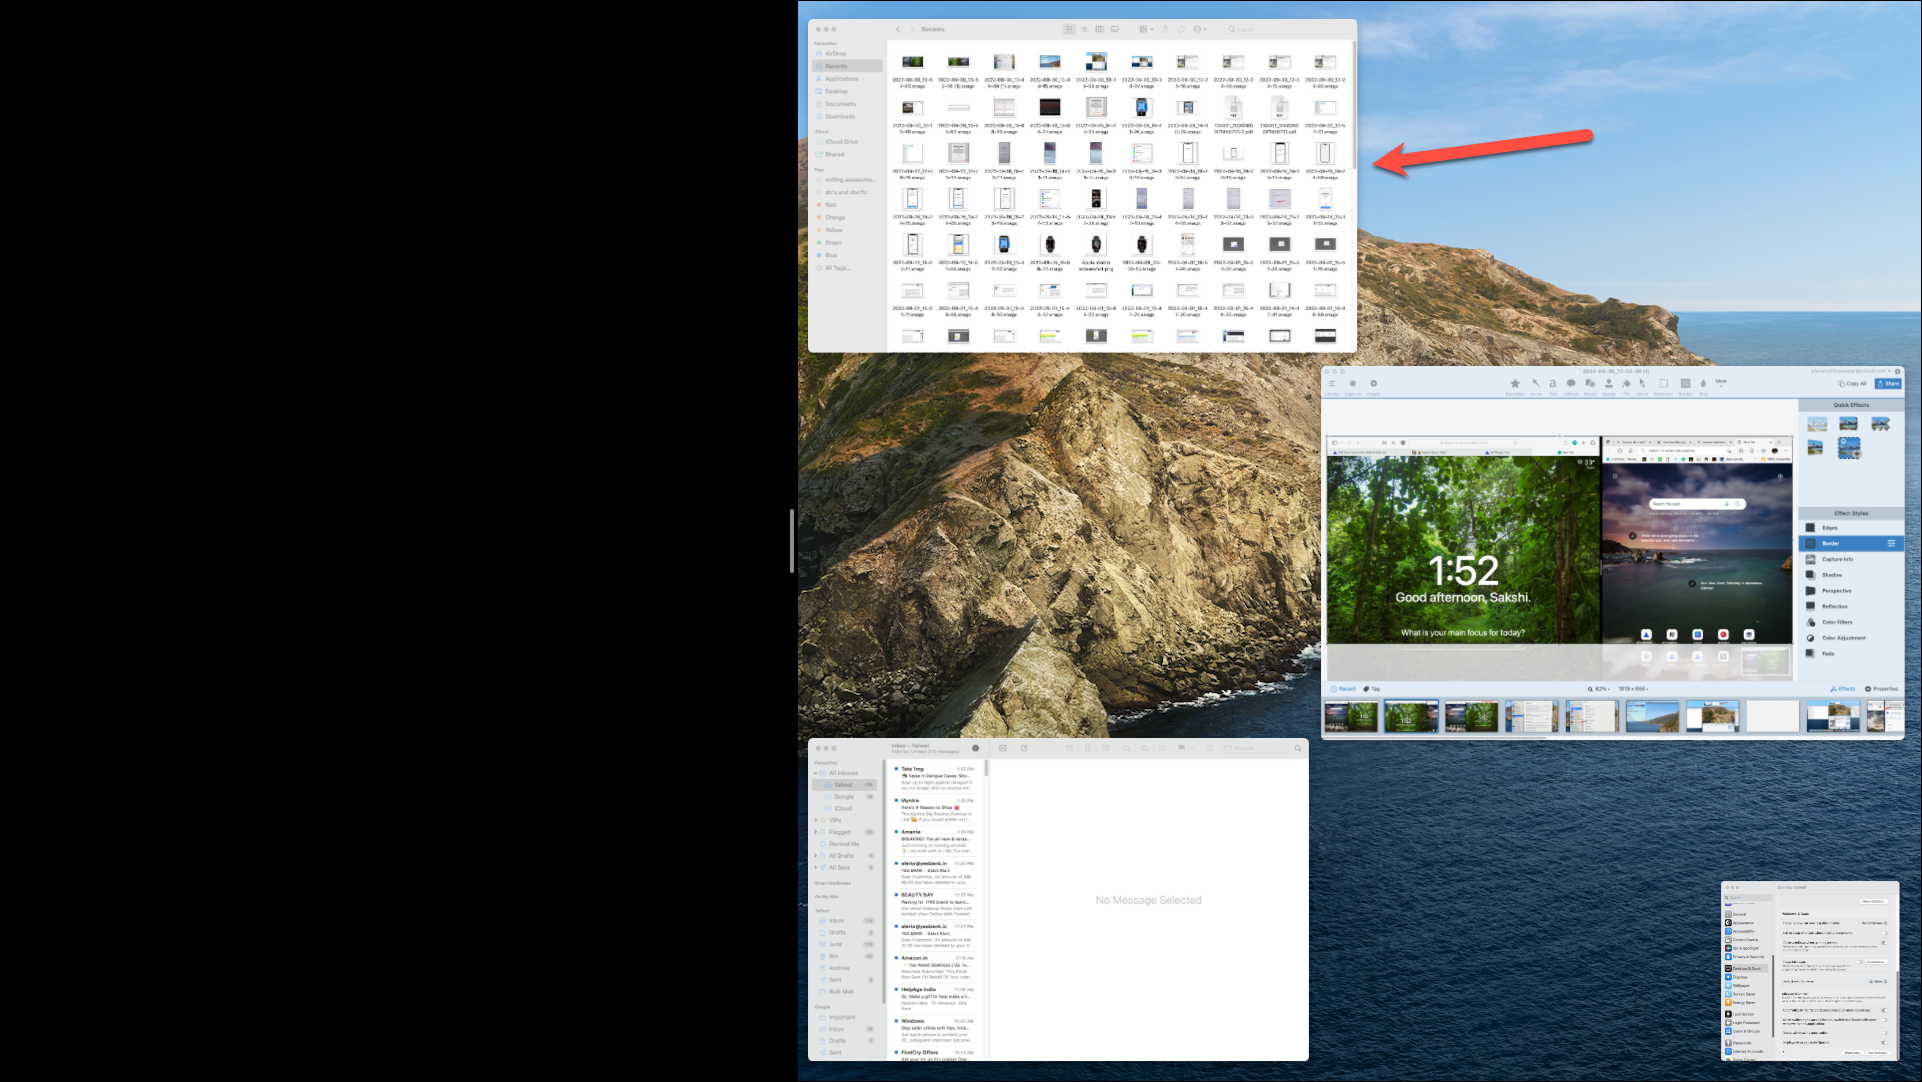
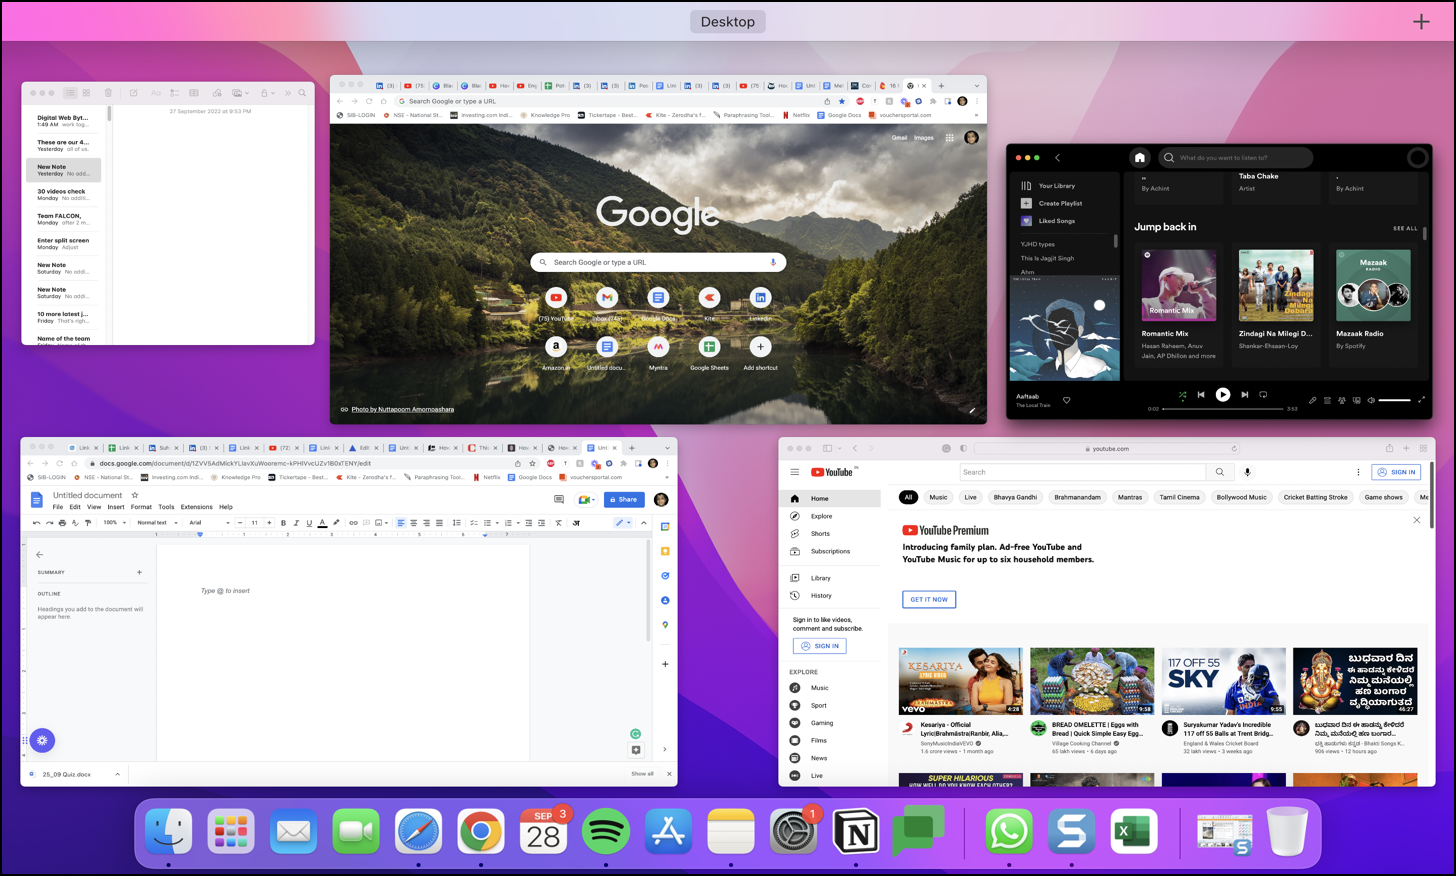
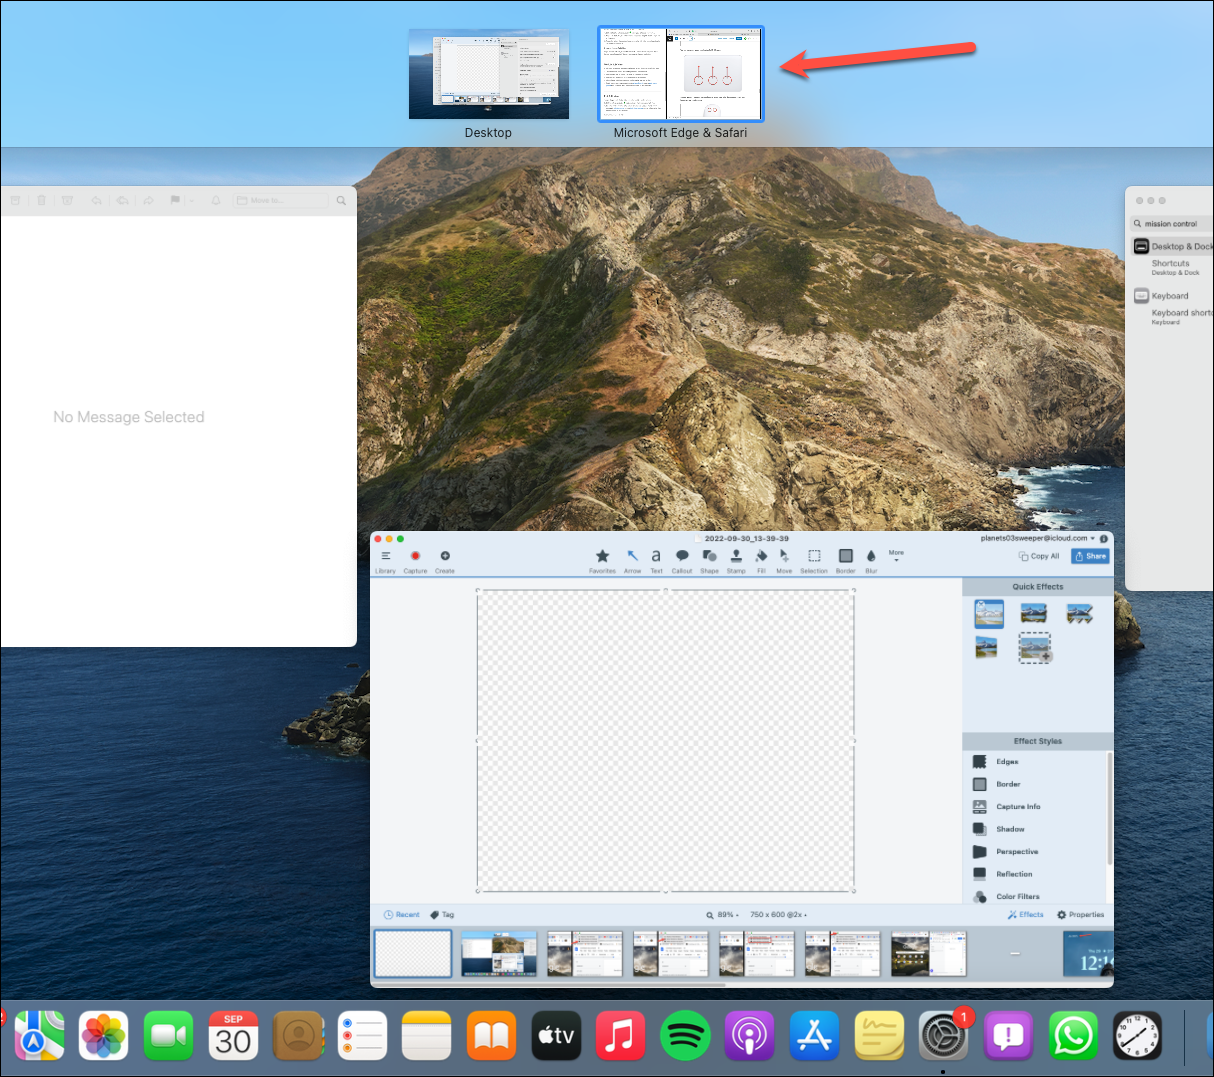
In Mission Control, the windows that are open in the Split View will appear as a thumbnail next to the ‘Desktop’ thumbnail. You can switch between your desktop and split screen by clicking these thumbnails. When you click ‘Desktop’, the app that was last opened will appear on top. Alternatively, you can click any app thumbnail on the desktop to open that app directly.
How to exit split screen view
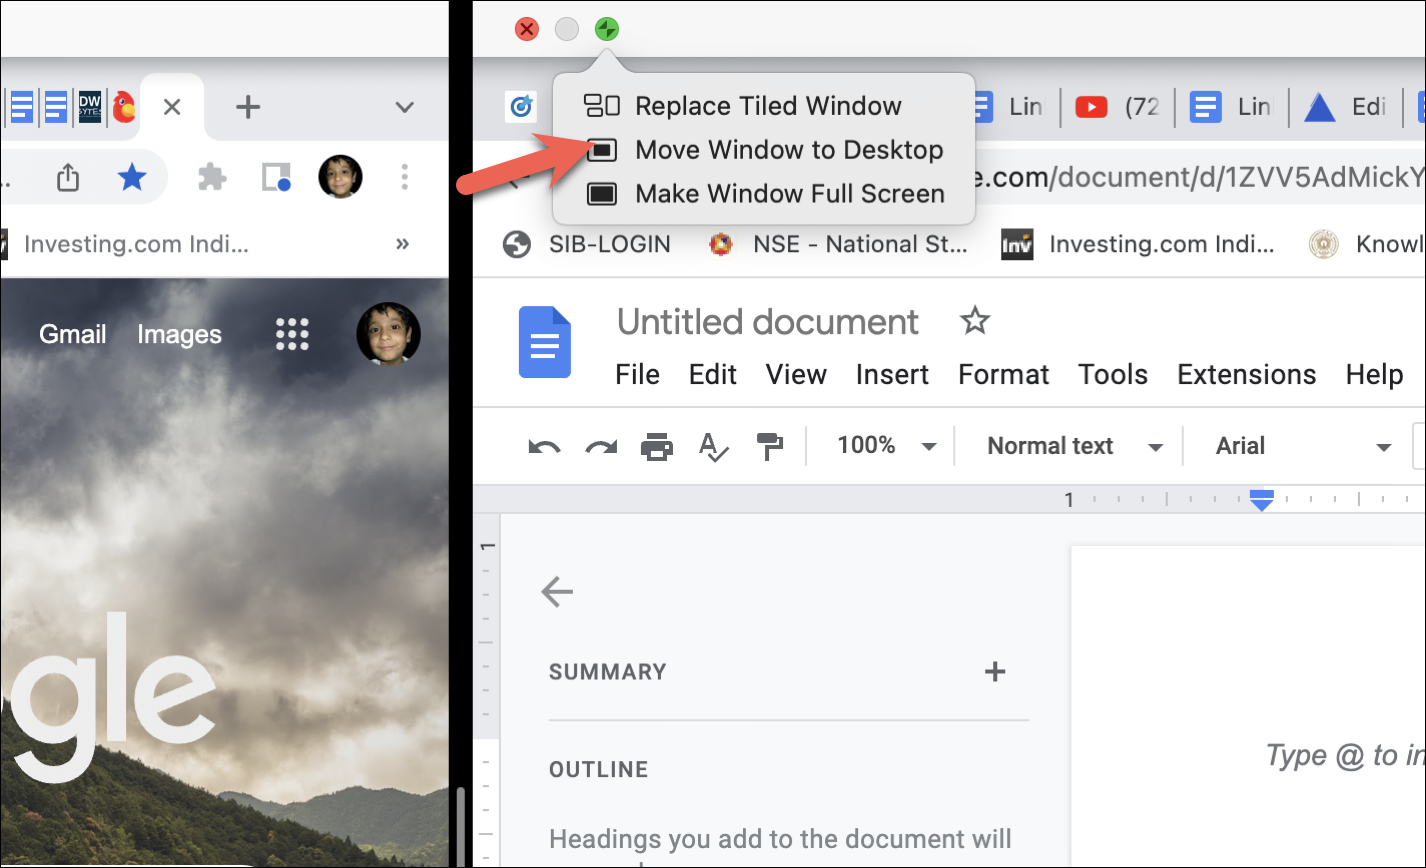
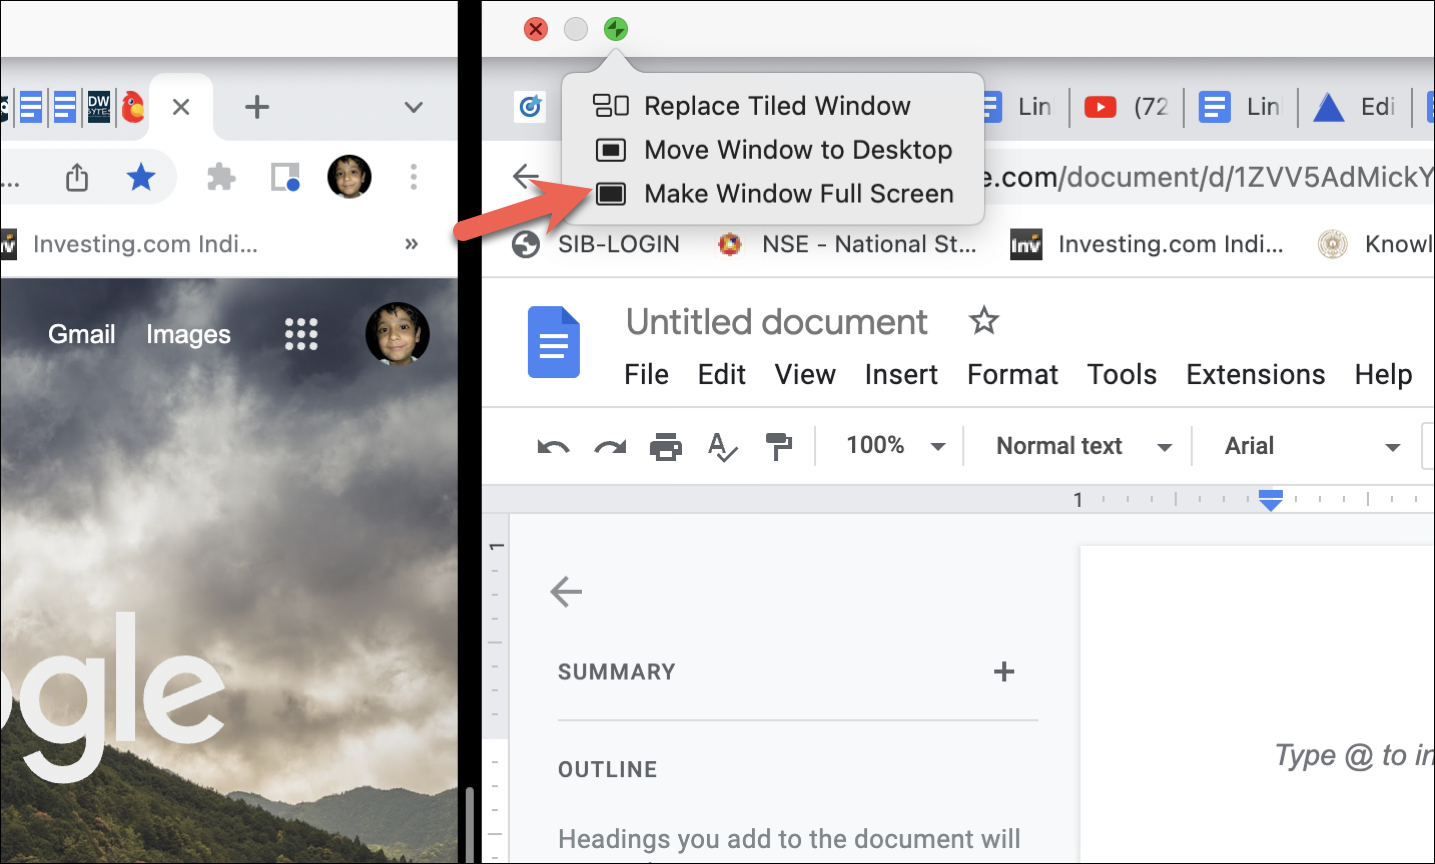
To exit the split screen view, go to the top of the window to show the menu bar. Then, hover on the green button for the window on the right. Now, you can choose either of the two options to exit the split-screen window: ‘Move Window to Desktop’, or ‘Make Window Full Screen’.
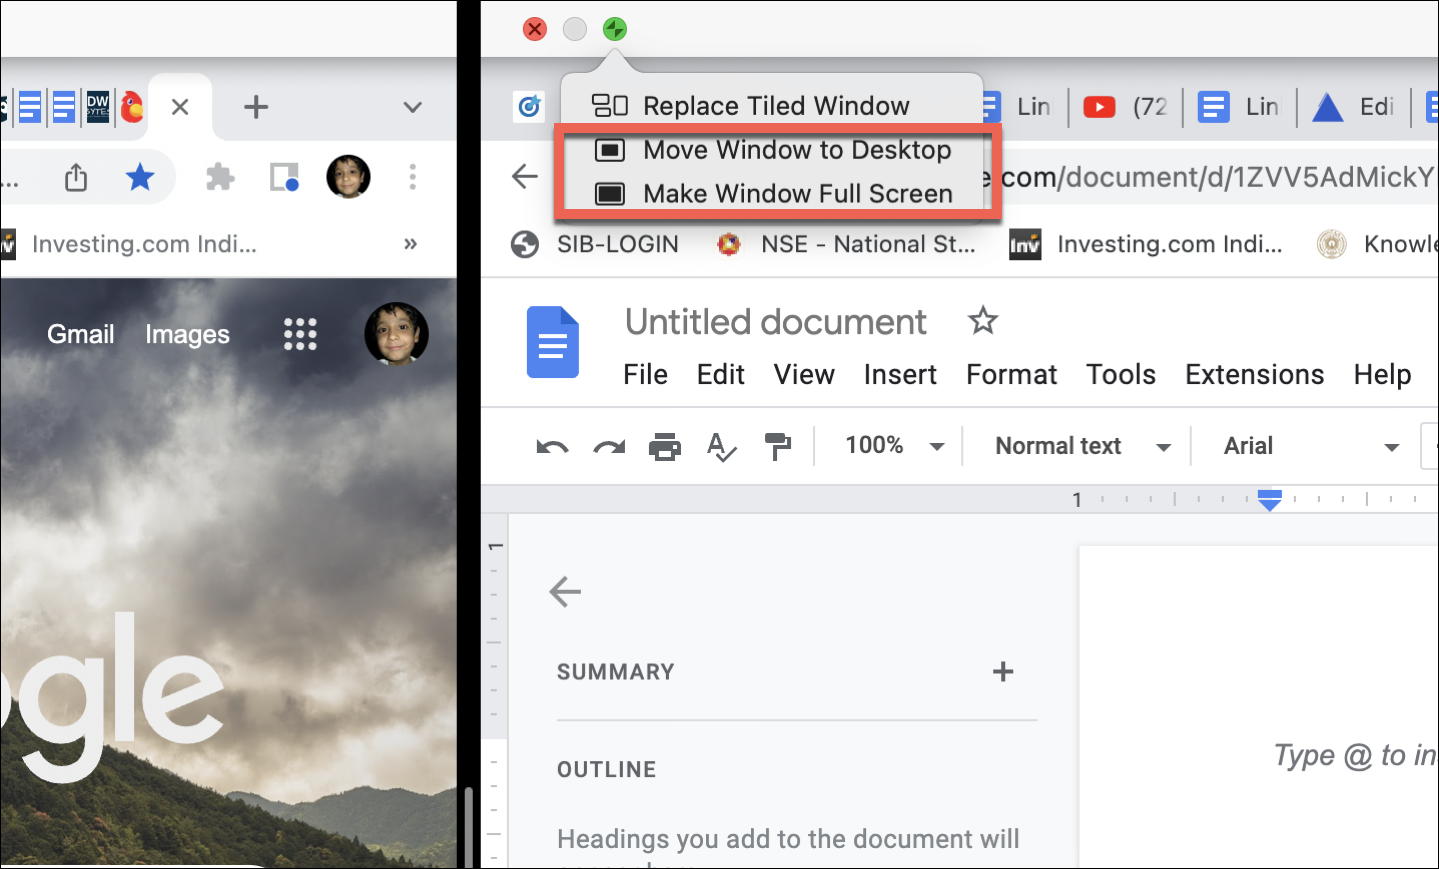
If you choose the ‘Move Window to Desktop’ option to exit the split screen view, this would leave the other window on full screen.
Alternatively, if you choose the ‘Make Window Full Screen’ option to exit the split screen view, it would make the current window full screen.
Instead of hovering, you can also directly click the green button on either of the windows. This would exit the split screen view and bring the current window to the desktop, while the other window will be left in full screen.
You can also directly press the red button to exit the split screen view. This would close the current application and take the other window to full screen.
That’s all there is about accessing and using the Split View feature on your macOS device to take your productivity to another level. Now, go on and use it for your office, school, or even for entertainment.