The online world has become too vulnerable. Data is the new weapon and wealth. Phishing has become a routine affair for some. Our passwords are not safe, our online accounts are easily accessible, and so on.
The best and easiest way to secure your online accounts is two-step verification a.k.a two-factor authentication methods. 2FA allows you to put an extra layer of security over your account password by implementing an additional 6-digit code that expires every 60-90 seconds.
LastPass being a password manager that syncs and keeps your online account passwords in the cloud, needs a two-factor authentication more than anything else. You can set up 2FA on your LastPass account using any authenticator app like Google Authenticator or Microsoft Authenticator, but since LastPass has its own authenticator app as well. We’ll using that for the purpose of this guide.
Enabling 2FA in LastPass
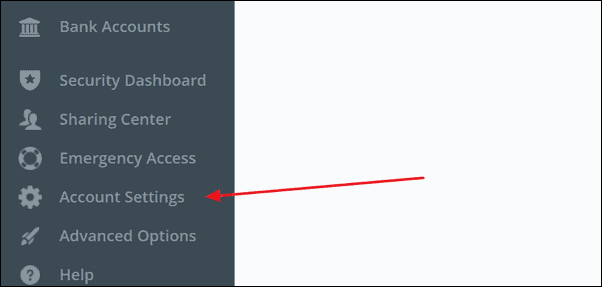
Go to lastpass.com and sign-in to your LastPass account. Then, click on the ‘Account Settings’ option in the left side panel of the dashboard.
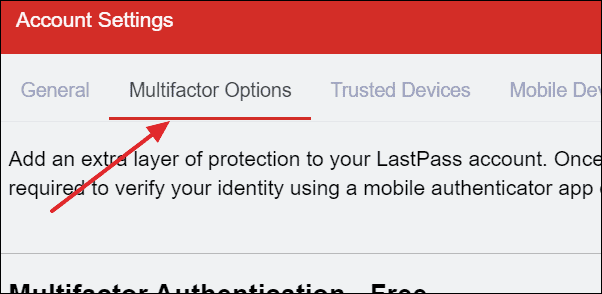
It opens a window of account settings. Click on the ‘Multifactor Options’ tab from the top bar.
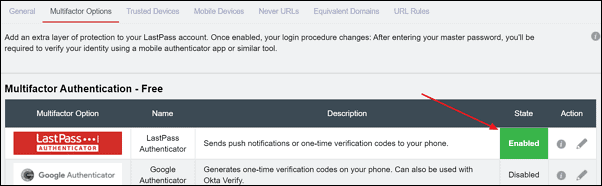
In the multifactor options, you will see LastPass Authenticator disabled. To enable it, click on the edit button, as seen in the image below.

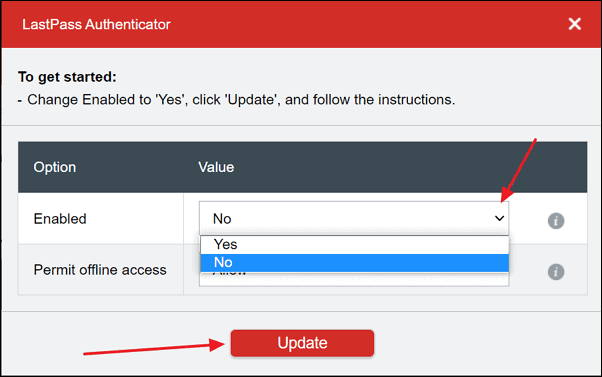
It opens another mini-window where you need to change the value of enabled from ‘No’ to ‘Yes’ using the drop-down arrow. Then, click on the ‘update’ button.
After clicking on the update button, it will ask you to confirm your master password i.e. your LastPass account password. Enter the password and click on the ‘Continue’ button.

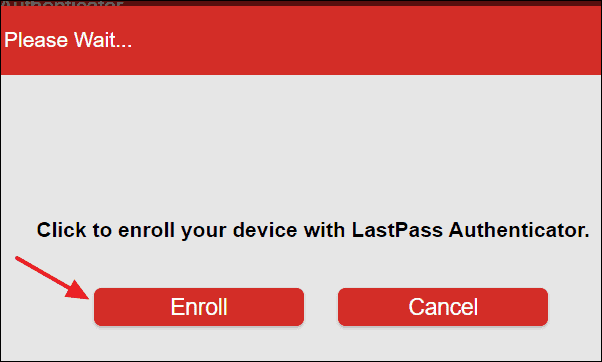
Then you will be prompted to enroll your device with LastPass Authenticator. Click on the ‘Enroll’ button.
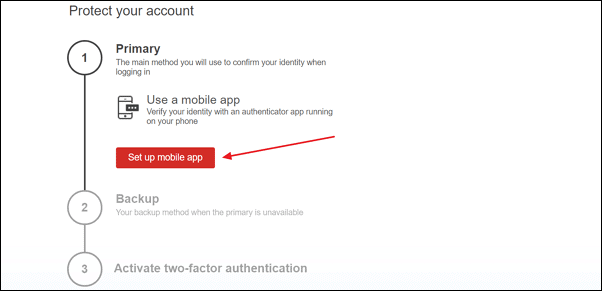
Then a setup page to enroll with LastPass authenticator will open in a new tab showing you three-step process. In the first-step, click on the ‘set up mobile app’ button.
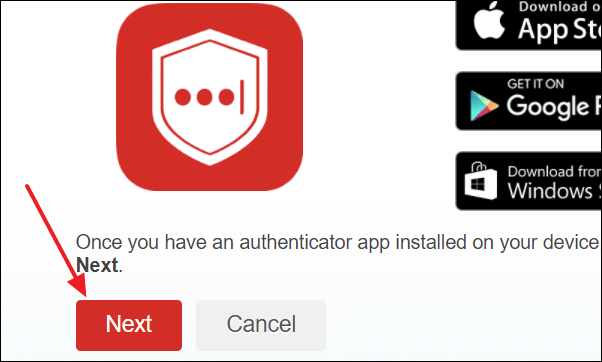
Then it will ask you to install the LastPass Authenticator app on your mobile device. If you use Android, download the app from Google Play, else if you use an iOS device, download the app from the App Store.
After downloading the app on your mobile device, click on the ‘next’ button.
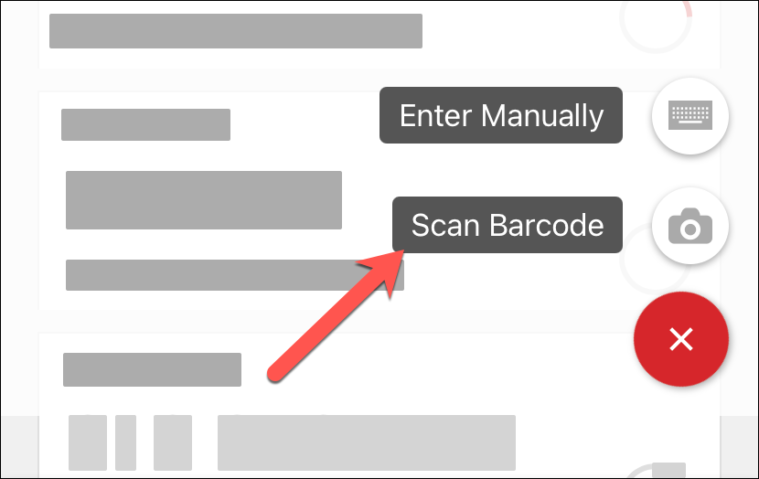
Now open LastPass authenticator app on your mobile and tap on the ‘+’ symbol at the bottom right.

It will show you options like ‘Enter Manually’ and ‘Scan Barcode’. Tap on ‘Scar Barcode’ option.
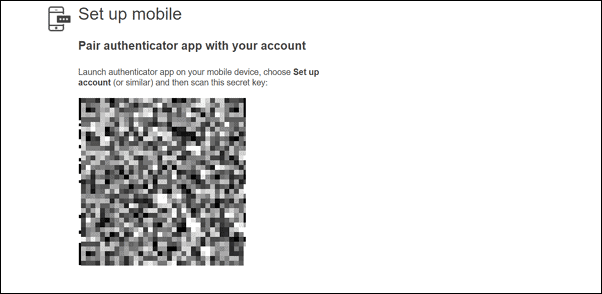
Now scan the barcode shown on your computer screen to pair an authenticator app with your LastPass account.
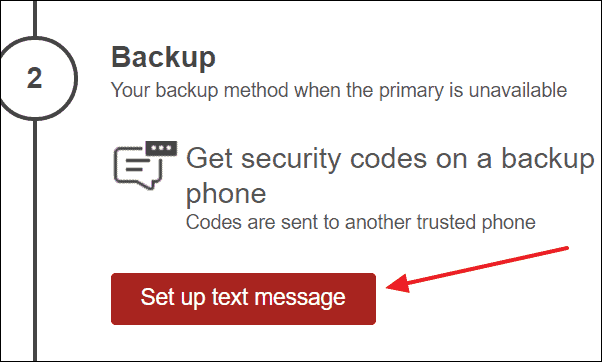
When you scan the barcode using the LastPass Authenticator app on your phone, it gets connected to your LastPass account. It will take you to the second step of the setup where you have to click on ‘Set up text message’ option to set a backup method for receiving security codes.
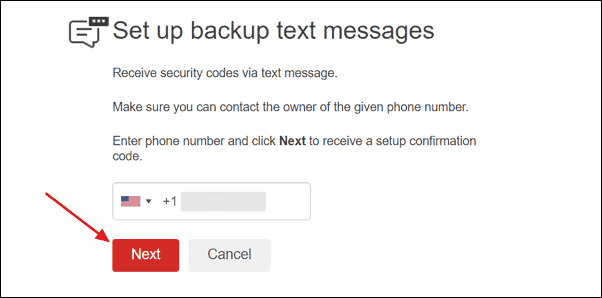
Select your country and enter your mobile number with country code to receive SMS and click on the ‘Next’ button.
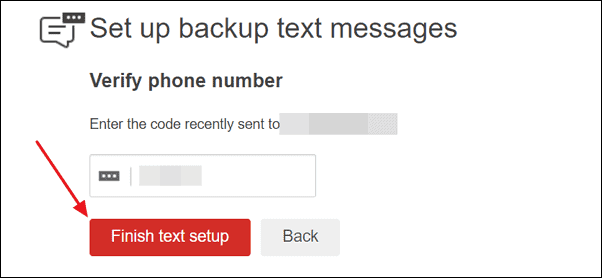
After receiving the code in SMS, enter it in the box and click on the ‘finish text setup’ button.
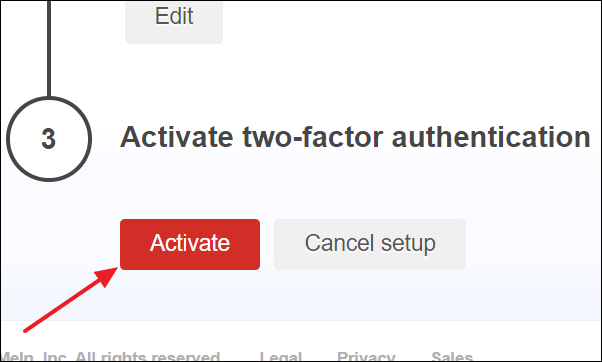
Now, you have entered into the final step of the Authenticator setup where you need to activate two-factor authentication. Click on the ‘Activate’ button.
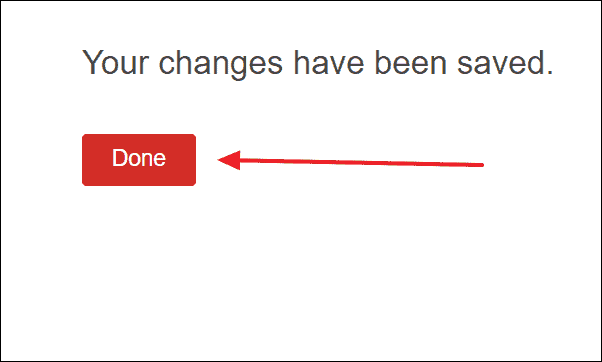
You have successfully enabled two-factor authentication in LastPass, pending a few confirmations. To complete the process, click on ‘Done.’
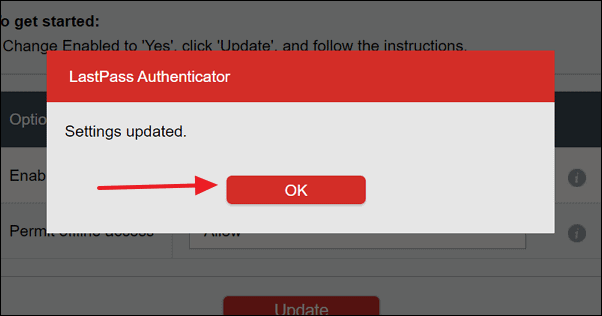
Then you will get a confirmation. Click ‘OK’.

Then you will get another confirmation regarding the update of account settings. Click ‘OK’ again.
The process is now completed, successfully. You can confirm if two-factor authentication is activated or not by seeing the enabled button in the multifactor options.