
Spotting formatting issues or typos just before printing a document is a common scenario in Word. Having to exit print preview, make corrections, and return to the print screen slows workflow and increases the risk of missing problems. Print Preview Edit Mode in Word for Windows 11 addresses this by letting you edit your document directly while seeing exactly how it will appear on the printed page.
Enable Print Preview Edit Mode via Quick Access Toolbar
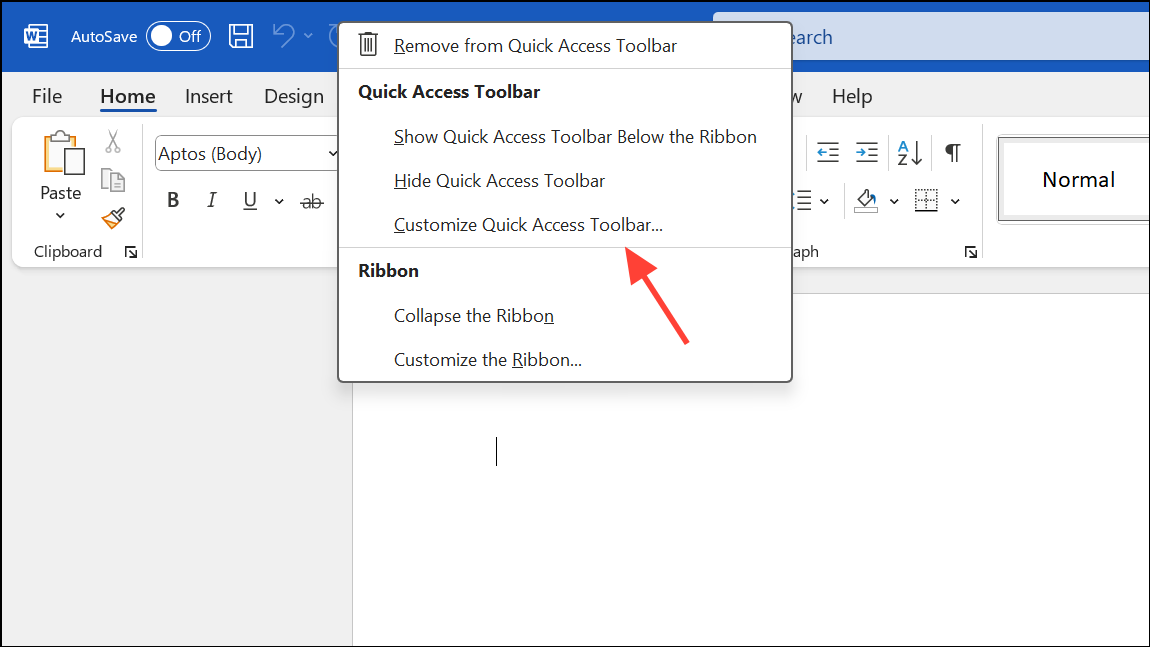
Step 1: Open your document in Word for Windows 11. Navigate to the upper left corner of the Word window and locate the Quick Access Toolbar, which is the small row of icons above or below the ribbon.
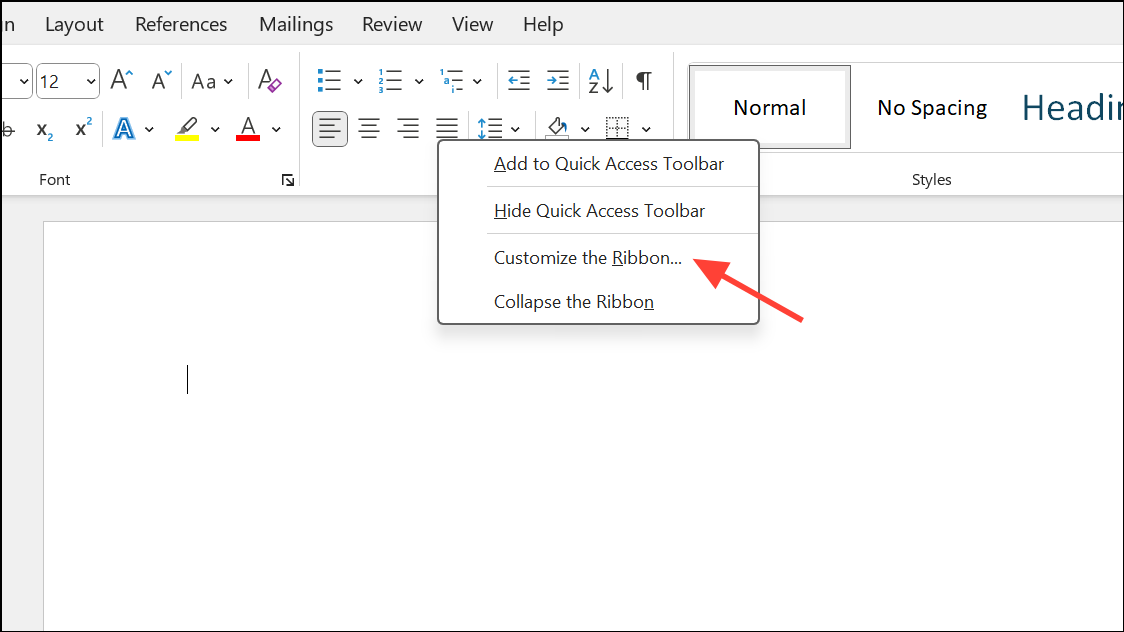
Step 2: Right-click any icon on the Quick Access Toolbar and select Customize Quick Access Toolbar. This opens the Word Options dialog focused on toolbar customization.
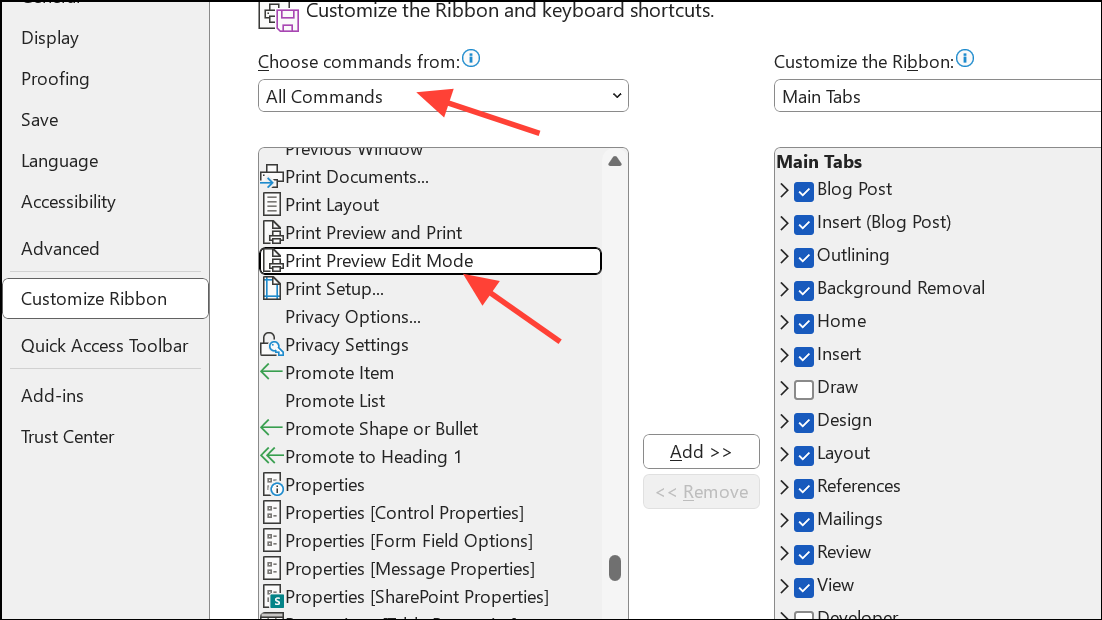
Step 3: In the dialog, find the Choose commands from dropdown and select All Commands. This displays a comprehensive list of available Word commands.
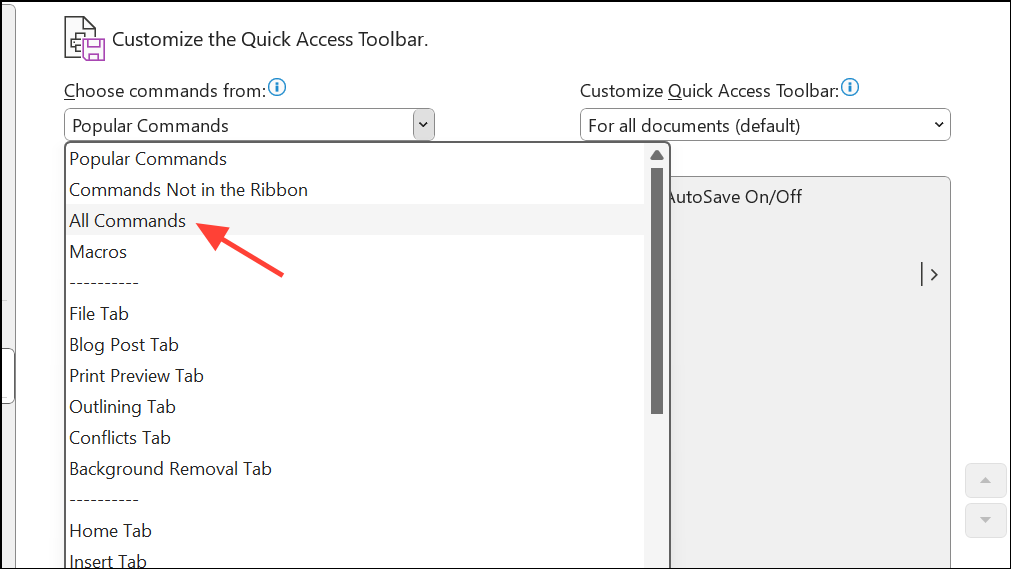
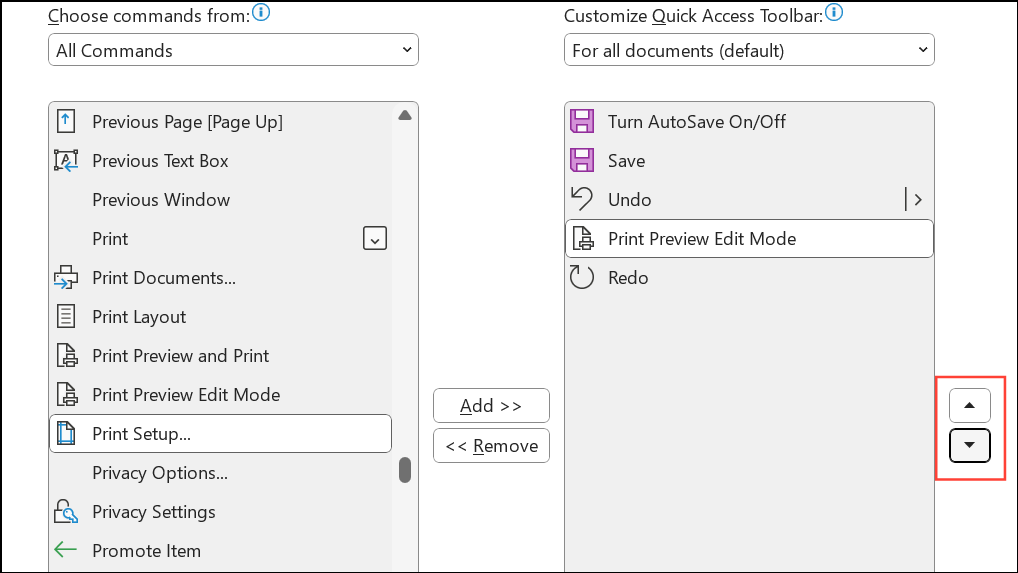
Step 4: Scroll through the list and locate Print Preview Edit Mode. Select it, then click the Add button to move it to the list of commands shown on your Quick Access Toolbar.

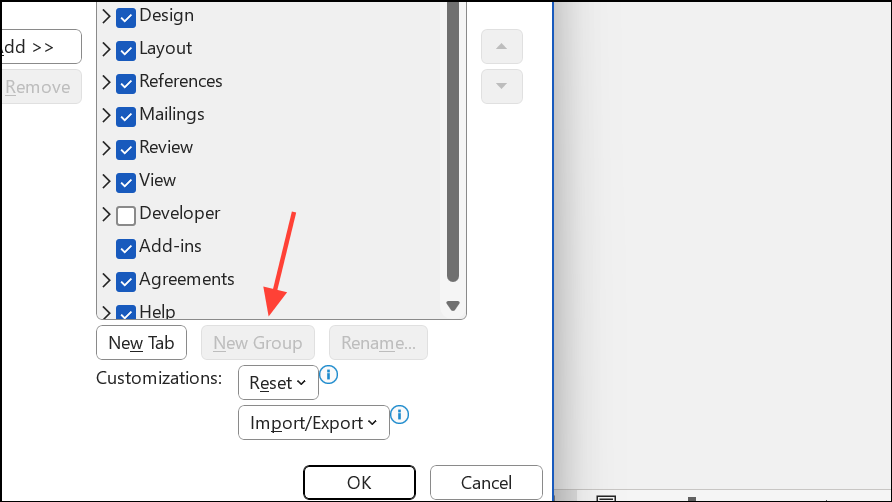
Step 5: Use the arrow buttons on the right to adjust the position of the Print Preview Edit Mode button if desired. Click OK to save your changes and close the dialog.
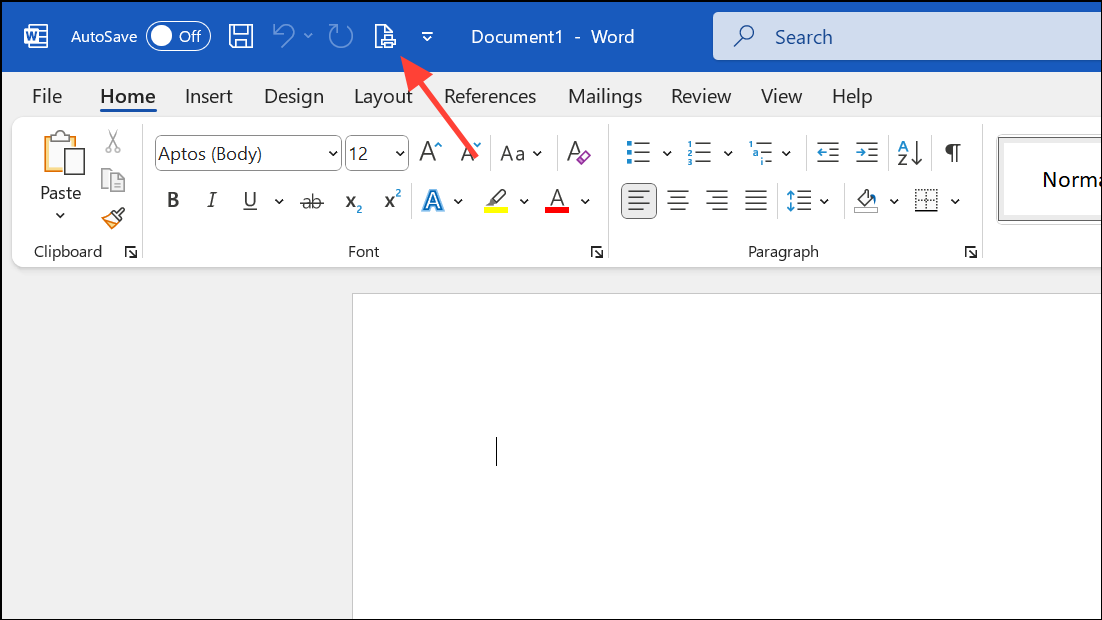
Step 6: Now, the Print Preview Edit Mode button is visible on your Quick Access Toolbar. Click it to enter Print Preview Edit Mode. By default, the magnifier tool may be active, which prevents editing—untick the Magnifier checkbox in the Preview group to allow direct editing of your document while in this view.
Step 7: Make your text or formatting changes as needed. You can also adjust margins, orientation, and page size from this mode, previewing the impact on your final printout in real time. When finished, click Close Print Preview to return to the standard editing view.

Add Print Preview Edit Mode to a Custom Ribbon Tab
Step 1: Right-click anywhere on the ribbon and select Customize the Ribbon, or go to File > Options > Customize Ribbon.
Step 2: In the customization dialog, use the Choose commands from dropdown to select All Commands. Find Print Preview Edit Mode in the list.
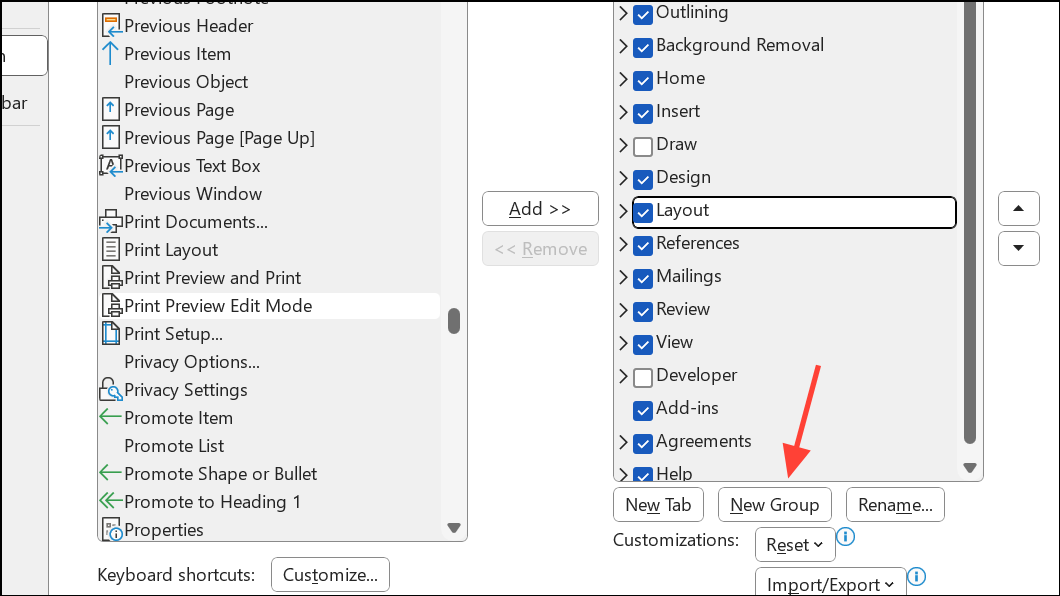
Step 3: Before adding the command, create a new group on your preferred ribbon tab by selecting the tab, clicking New Group, and renaming it if desired.
Step 4: With your new group selected, click Add to place the Print Preview Edit Mode command in the group. Adjust its position using the up and down arrows as needed, then click OK to confirm.
Step 5: The Print Preview Edit Mode button now appears on your chosen ribbon tab for quick access during document preparation.
What You Can—and Can't—Do in Print Preview Edit Mode
Print Preview Edit Mode in Word for Windows 11 allows you to:
- Edit text directly on pages as they appear in print layout.
- Adjust margins, orientation, and paper size with immediate visual feedback.
- Use zoom tools to view one or multiple pages at once.
- Apply minor formatting tweaks without leaving the print preview context.
However, certain elements—such as headers, footers, and some advanced formatting—may not be editable in this mode. For those, you must return to the main editing view or use dedicated header/footer tools.
It's important to note that Print Preview Edit Mode is only available in the desktop version of Word for Windows. Word for Mac and Word Online (browser version) do not offer this feature. In those versions, you can preview your document before printing but must switch back to the main editing view to make changes.
Adding Print Preview Edit Mode to your workflow streamlines last-minute document checks and corrections, reducing back-and-forth steps and making your printouts more accurate. For users who frequently spot errors just before printing, this feature can save time and frustration.