
XMP (Extreme Memory Profile) allows you to increase your RAM timings and speed to extract the best performance safely possible from your memory sticks. It is a better option than manually overclocking as it is just a profile from the manufacturer that makes sure you do not accidentally damage the memory.
Do take note that the XMP technology is developed by Intel and hence, is largely supported on Intel motherboards. Whereas the AMD processors support DOCP (Direct Over Clock Profile).
But before you jump in to get the best performance from your RAM, it is imperative that you understand what it does exactly, how safe it is, and do you actually need it.
What is XMP? Should you Enable it? and How Safe is it?
RAM sticks typically adhere to speeds defined by JEDEC (Joint Electron Device Engineering Council). XMP is stored in the RAM sticks that allow them to safely run at boosted speeds.
That being said, the profiles are only available on RAMs that are advertised to have boosted clock speed. But due to JEDEC norms, they do not run on the advertised speeds right out of the box and will require you to manually enable it.
XMP stands for Extreme Memory Profile, and, as the name suggests, is a profile for your RAM that is created by the manufacturer to run it at its peak performance safely.
XMP profiles are best suited for users who do not wish to manually overclock their PC and potentially damage it. Since the profile is typically created by the manufacturers, it greatly reduces the potential of bricking your memory profile and/or damaging your PC.
Now, if you are a regular joey who uses the computer for web browsing, productivity, and maybe occasional gaming, you definitely do not need to install an XMP profile.
But if your work routine involves heavy video editing of large high-res footage, high-res photo editing, or competitive gaming, enabling XMP can provide you with the much-needed boost for that extra edge.
However, do take note that the installed memory and the motherboard both should support XMP.
Head to UEFI Settings from the Settings
You can simply head to the UEFI BIOS right from the Settings app on your Windows 11 PC.
Note: The BIOS settings displayed here are of an HP system. The settings may vary from manufacturer to manufacturer. However, the process largely stays the same.
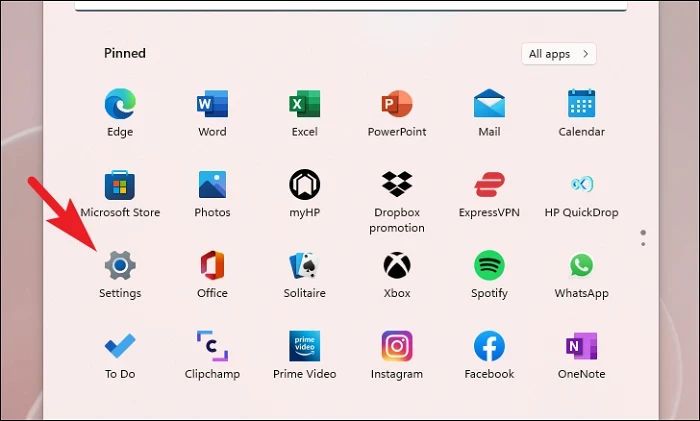
First, head to the Start Menu and click on the ‘Settings’ tile to proceed. Alternatively, you can press the Windows+I keys together to open the app.
Then, ensure that you are on the ‘System’ tab from the left sidebar to continue.
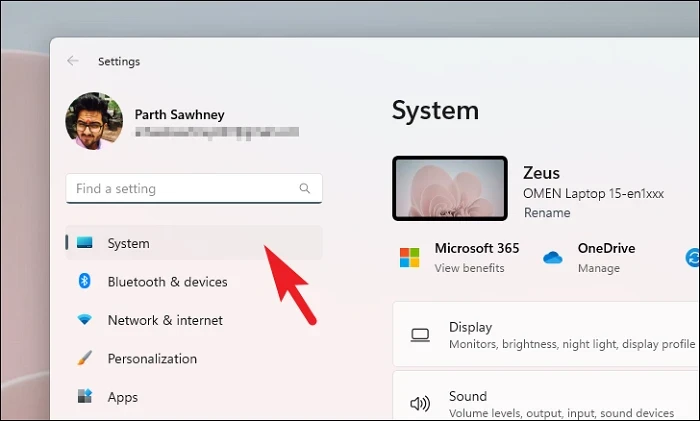
After that, from the right section of the window, click on the ‘Recovery’ tile.

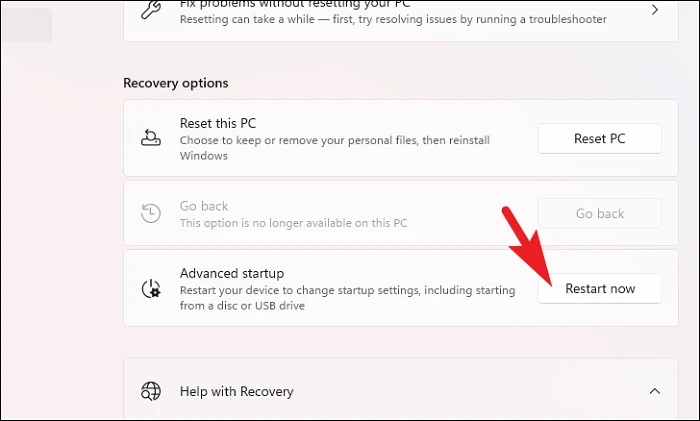
Next, click on the ‘Restart Now’ button following the ‘Advanced Startup’ option. This will bring an alert window to your screen.
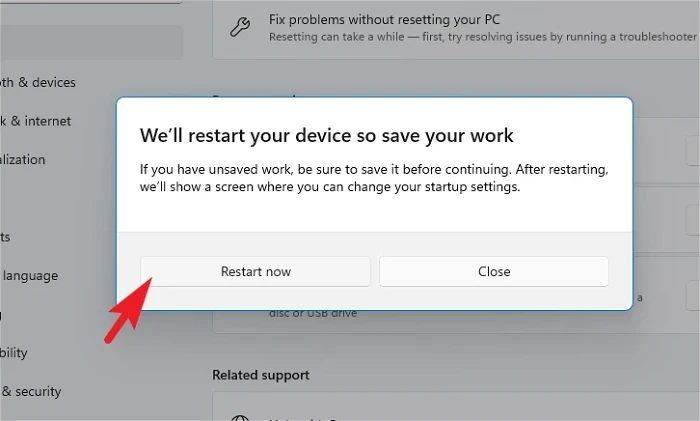
Then, click on the ‘Restart now’ button to restart your PC. This will boot your PC in WinRE (Windows Recovery Environment).
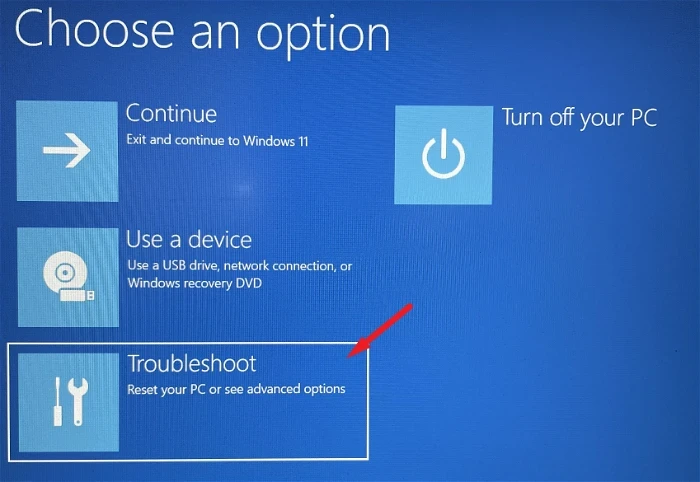
After the bootup, click on the ‘Troubleshoot’ tile to proceed.
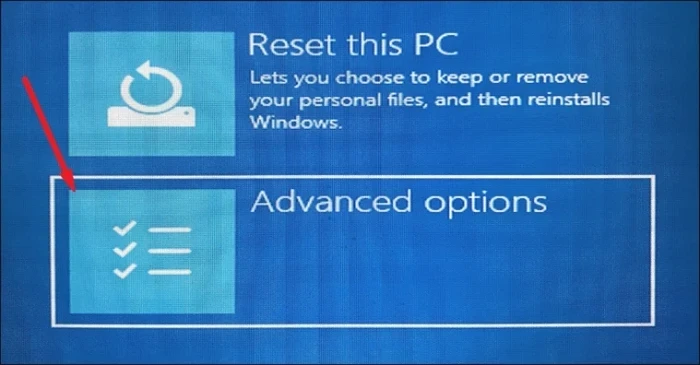
On the next screen, click on the ‘Advanced Options’ tile.
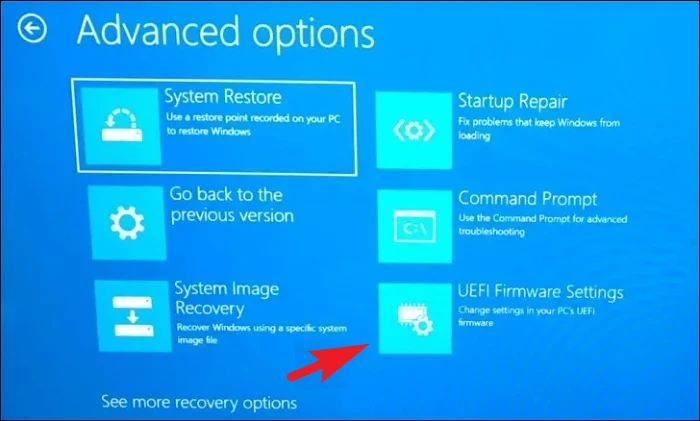
Now, click on the ‘UEFI Firmware Settings’ tile to continue.
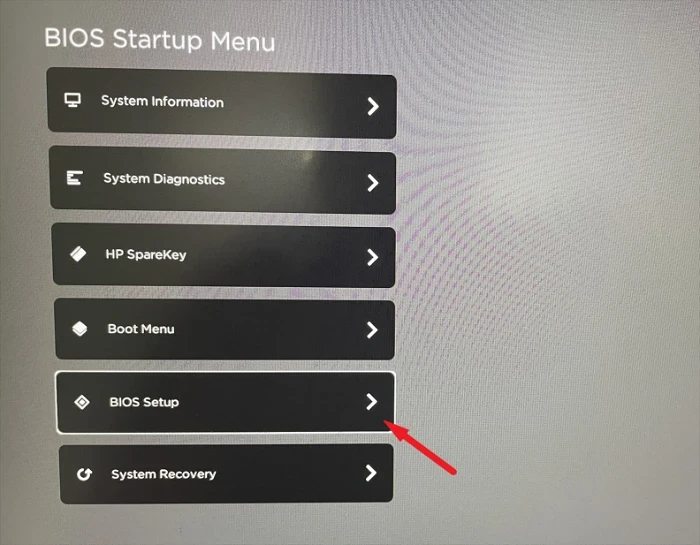
Once in the BIOS menu, click on the BIOS Setup or use your keyboard to navigate to the option and click Enter to continue.
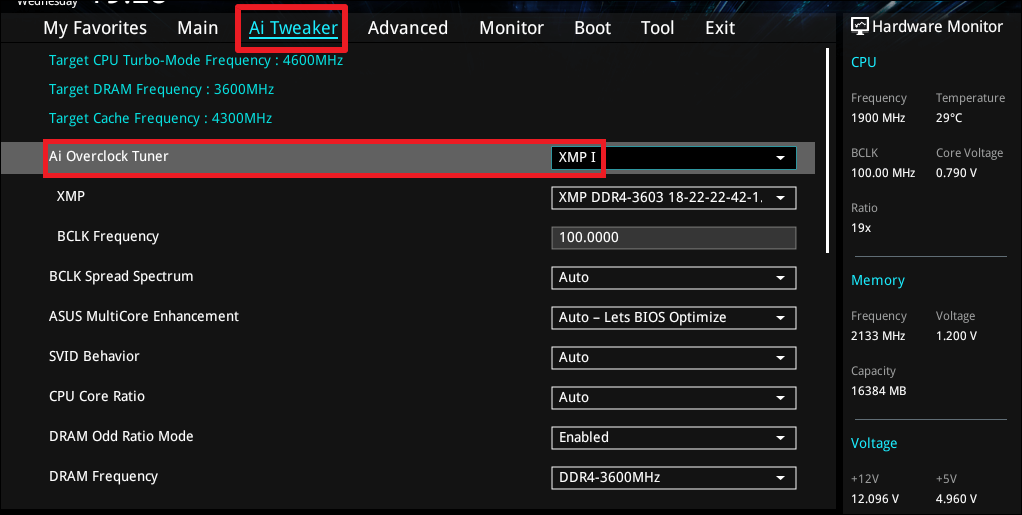
Once in the BIOS setup, you may find an ‘Advanced’ or ‘Tweaker/ Ai Tweaker’ tab under which you can find the settings for enabling the XMP. Click on the dropdown menu to select the ‘XMP’ profile, if there is more than one. If you have a toggle switch, bring it to the ‘On’ position.
XMP profile helps you run your RAM on a faster clock and provide you with the best possible performance without causing any harm to the component. And enabling it from BIOS is a piece of cake if your system supports it.