
Java is a widely-used programming language known for its versatility in developing desktop applications, web services, mobile apps, games, and more. However, over time, Java has been associated with vulnerabilities, sluggish performance, and security risks due to viruses targeting it. As many platforms transition away from Java, you might decide it’s time to remove it from your Windows 11 system, especially if it’s no longer required for the applications you use. This guide will walk you through various methods to completely uninstall Java from your Windows 11 PC.
Uninstalling Java via Windows 11 Settings
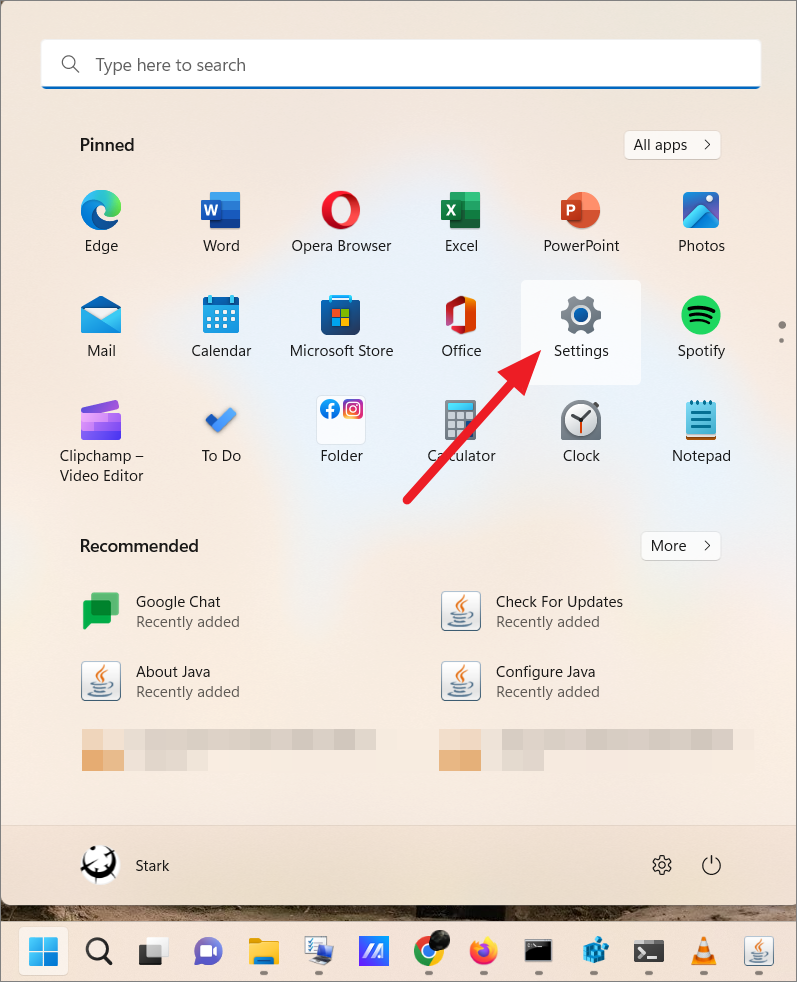
Apps. Then, on the right side, click on Installed apps.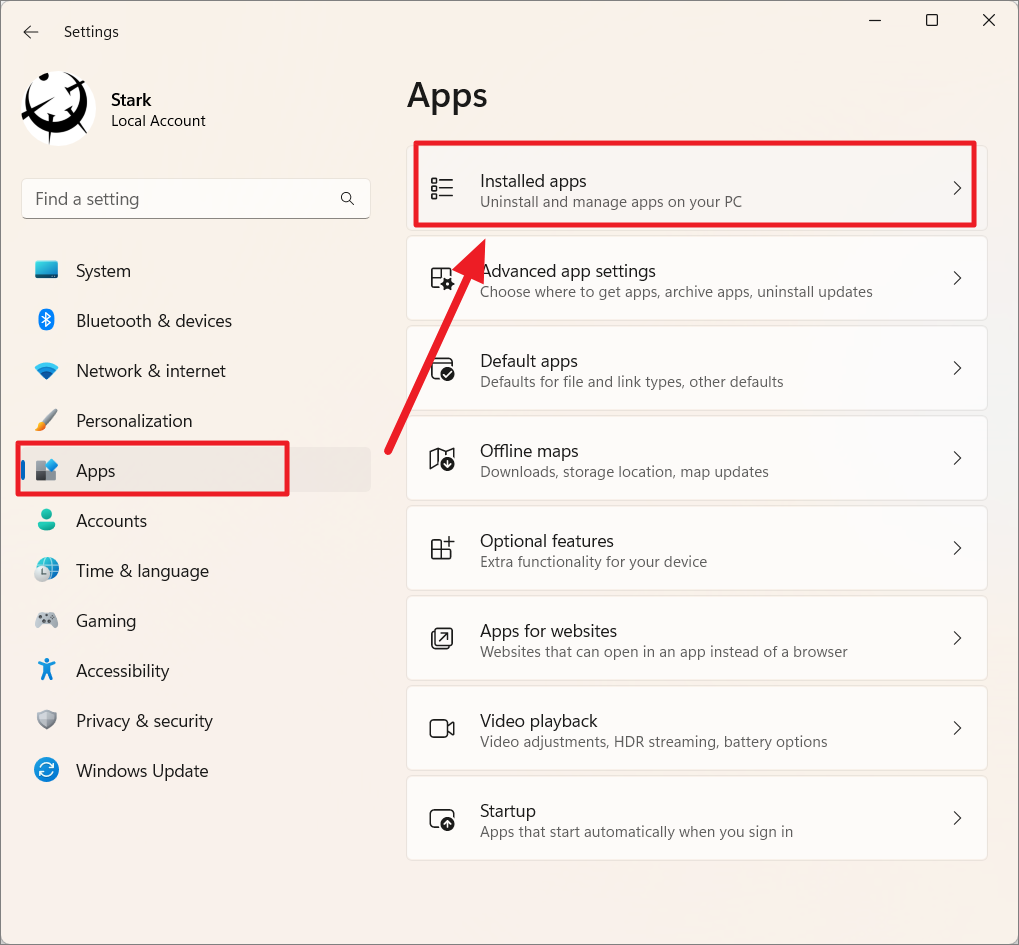
Uninstall.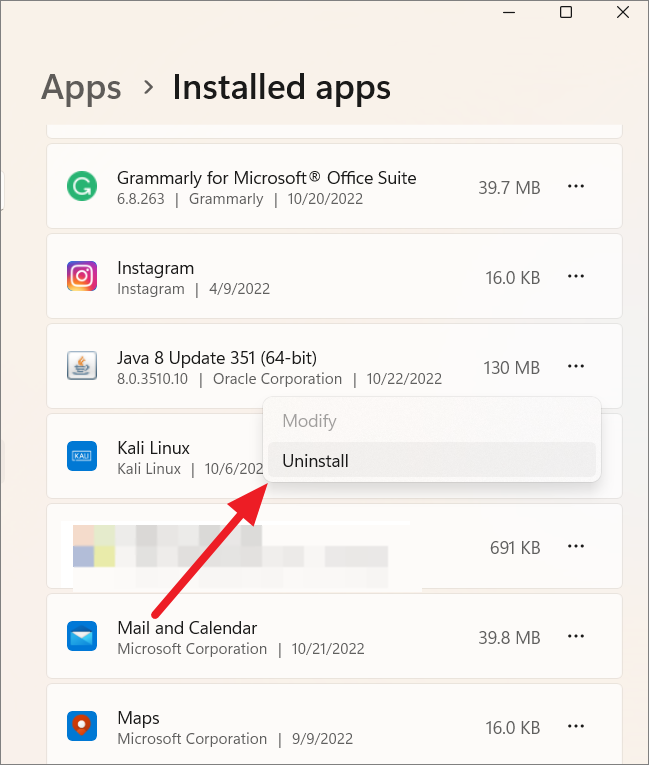

This action will remove Java from your system. If prompted by the User Account Control (UAC), click Yes to allow the changes. Once the uninstallation is complete, it’s advisable to restart your computer to apply the changes.
Removing Java through the Control Panel

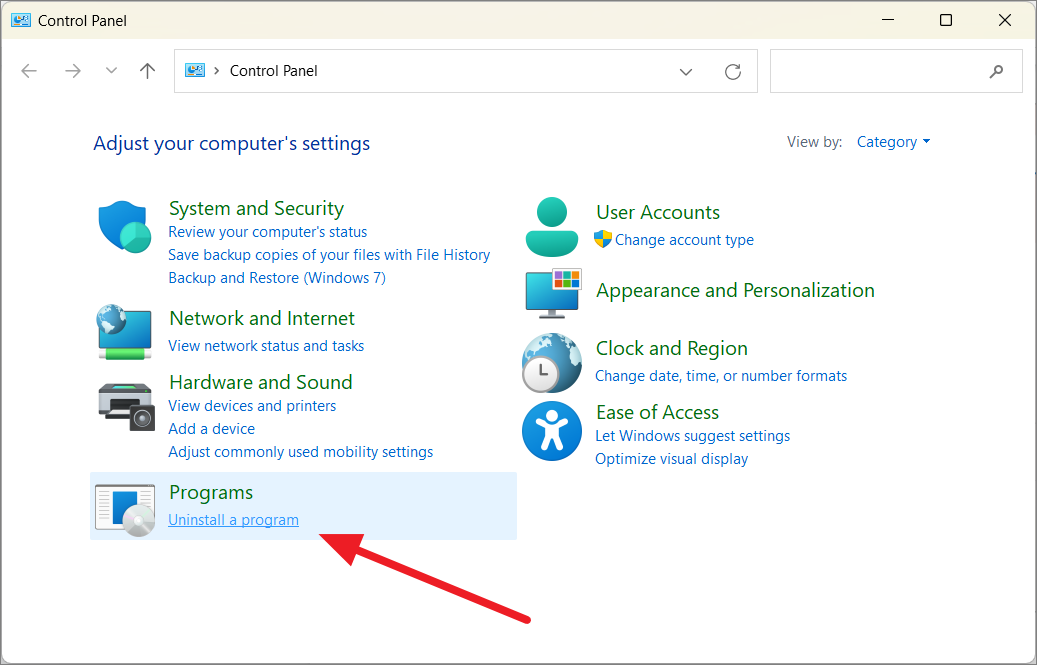
Uninstall. Follow the on-screen instructions to complete the uninstallation process.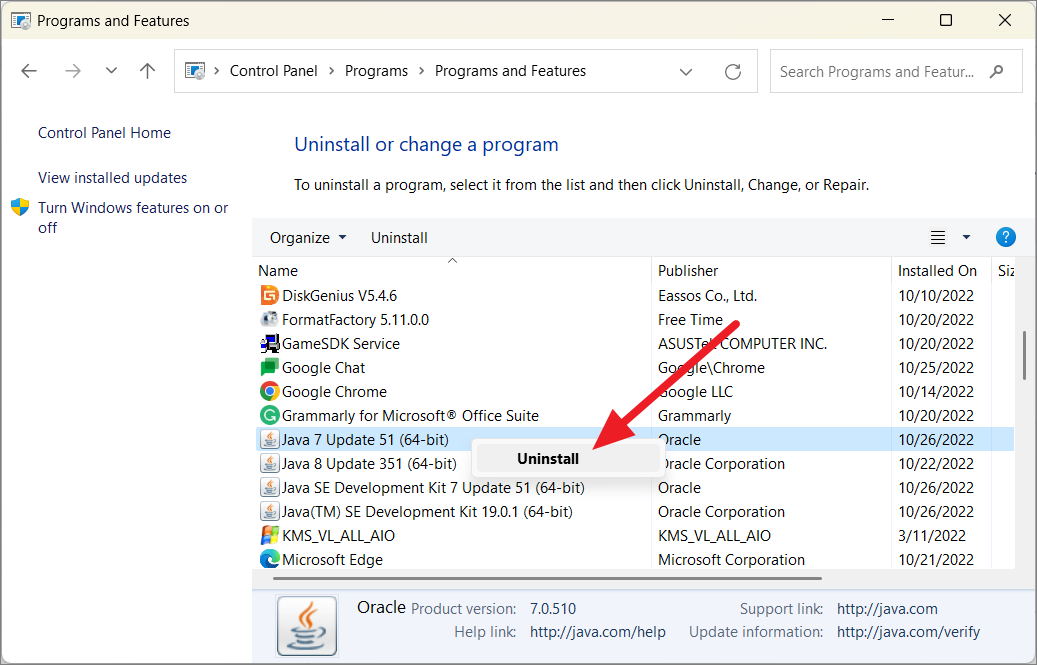
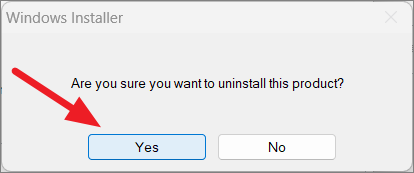
When prompted by the User Account Control dialog, click Yes to allow the uninstallation to proceed.
Note: After uninstalling Java or the Java Runtime Environment (JRE), any applications or websites that require Java to function will no longer work until you reinstall it.
Disabling Java Instead of Uninstalling
If you rarely use Java and prefer not to uninstall it completely, you can disable it to enhance your system’s security while keeping it available for future use.
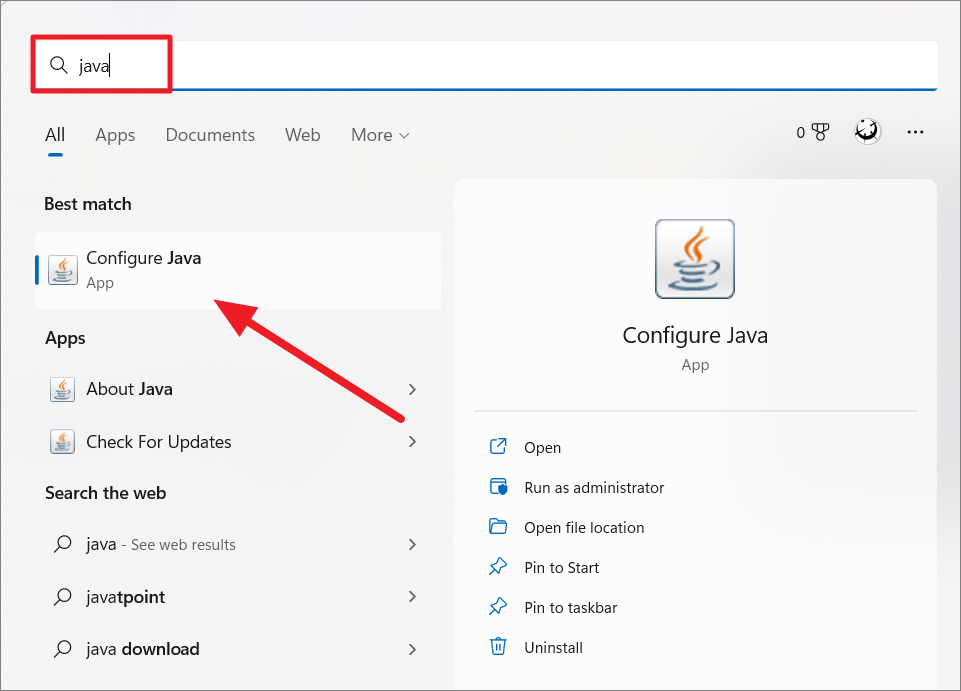
Security tab. Uncheck the box next to Enable Java content for browser and Web Start applications. Click Apply, then OK to save the changes.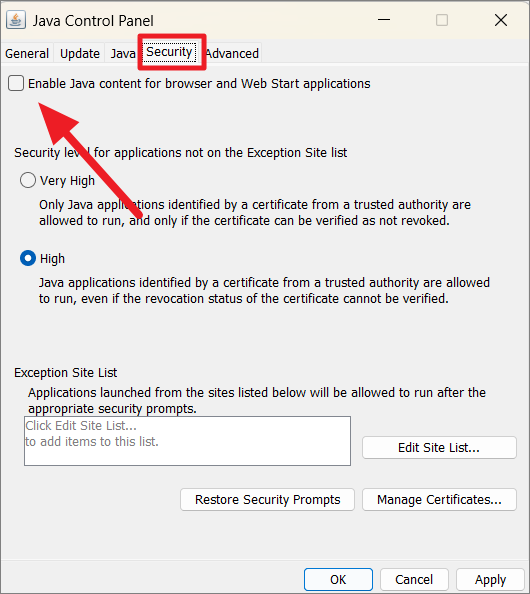
Identifying Installed Java Versions
Java allows multiple versions to coexist on the same system. If you need to remove a specific version, it’s important to identify all the versions installed on your device.
java -version
where java
Using the Java Uninstall Tool for Outdated Versions
The Java Uninstall Tool is a dedicated utility provided by Oracle to help you remove outdated Java versions from your system. It scans for all installed versions and allows you to remove them easily.
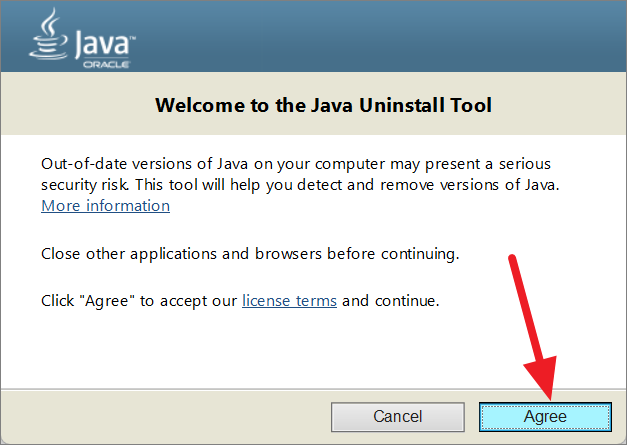
I Agree to the Terms and want to Continue to start the download.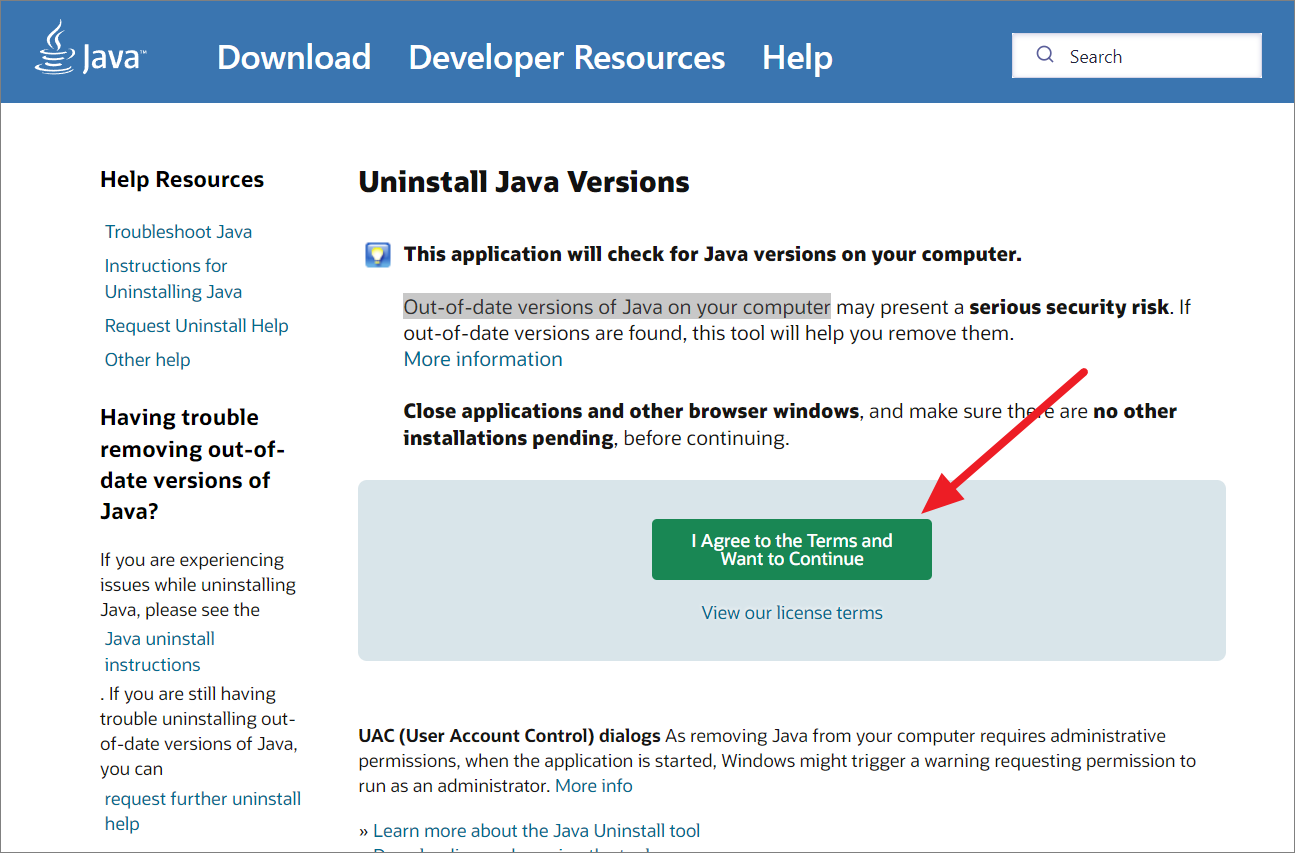
JavaUninstallTool.exe file. Close all other applications and browser windows before proceeding.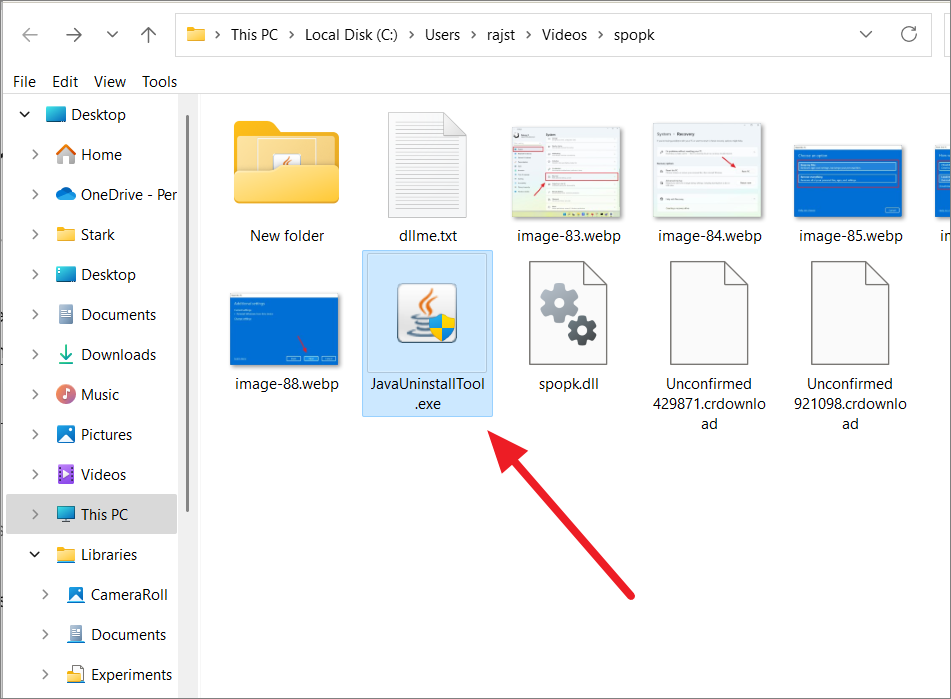
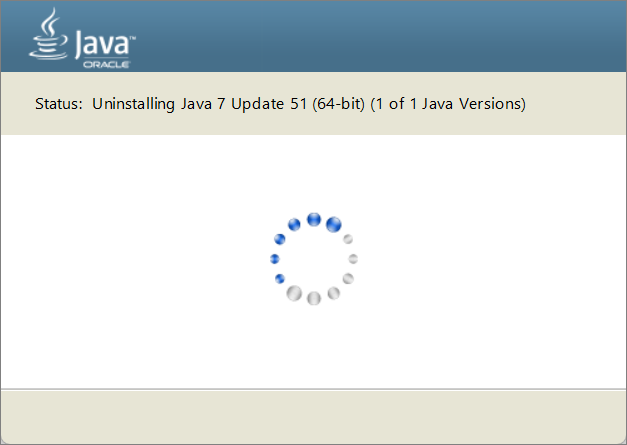
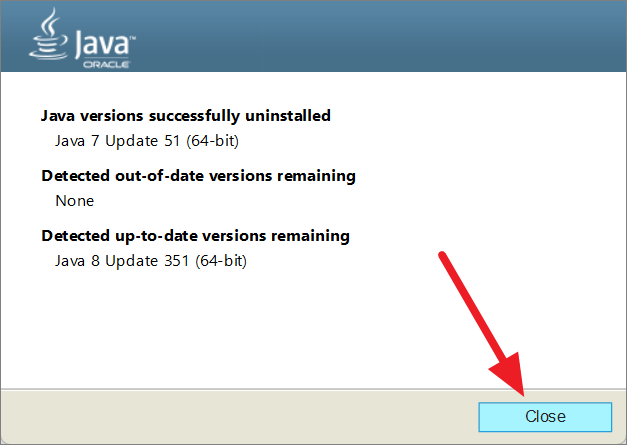
Next.
Uninstalling Java Development Kit (JDK)
If you have the Java Development Kit (JDK) installed and wish to remove it, you can do so through the Settings app.
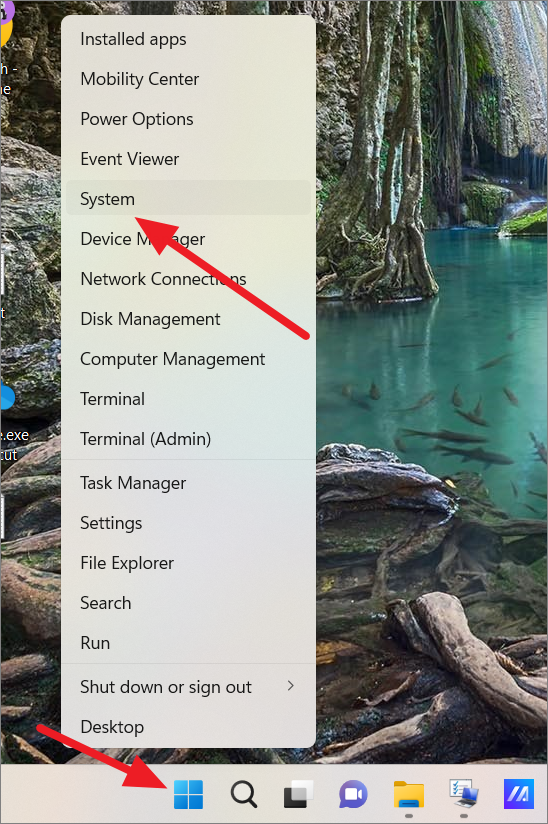
Settings. Then, navigate to Apps on the left pane.
Installed apps on the right. Find the Java Development Kit from the list, click the three-dot icon next to it, and select Uninstall. Confirm by clicking Uninstall again and follow any additional prompts.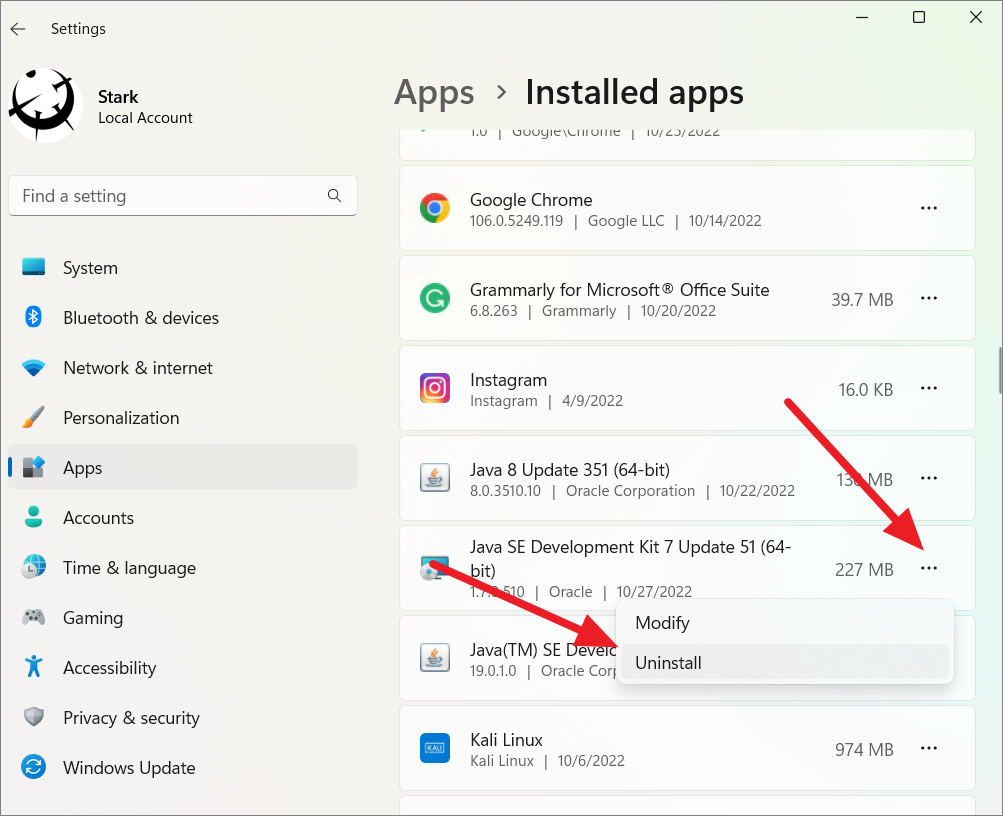
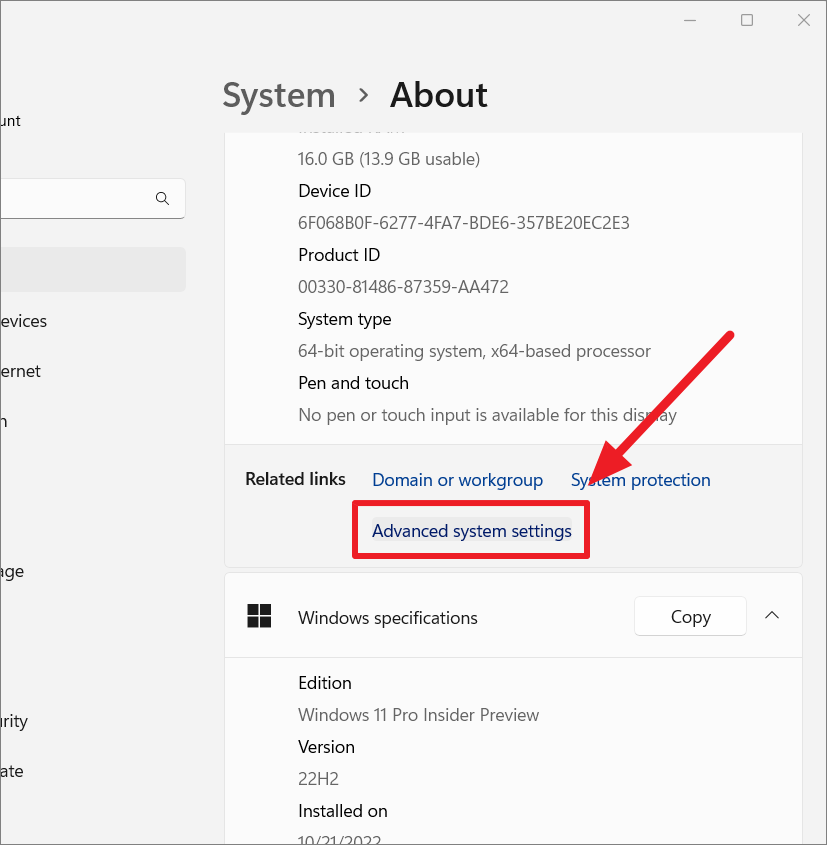
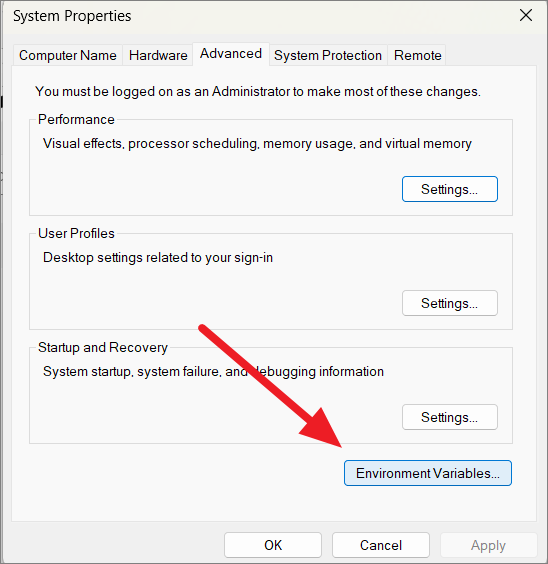
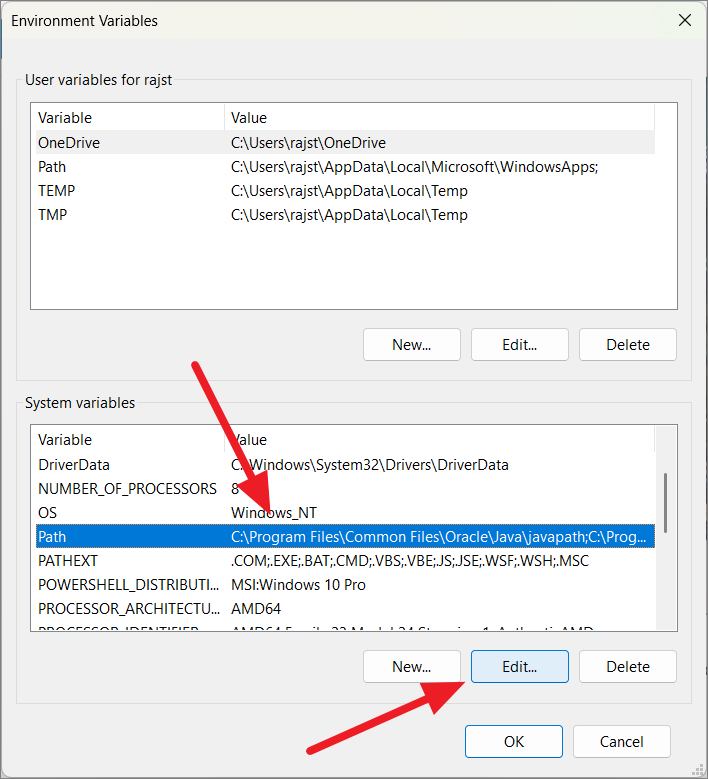
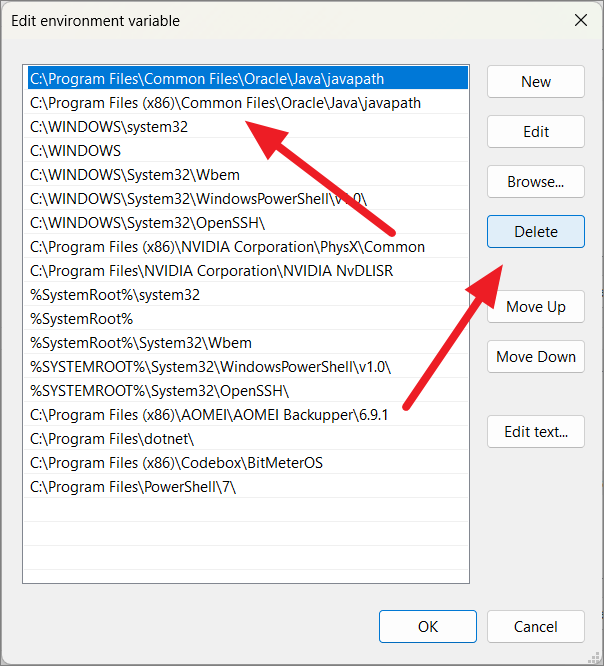
Removing Java from Environmental Variables
Even after uninstalling Java, some system variables may remain, which can cause conflicts with future installations or applications. It’s important to remove these variables to ensure your system is clean.
Deleting Java Directories Manually
If the uninstallation did not remove all Java files, or if Java does not appear in the list of installed programs, you can manually delete the Java files from your system.
Navigate to the following directories and delete the Java-related folders:
- JDK installation folder:
C:\Program Files\Java - Java cache folder:
C:\Program Files\Common Files\Oracle\Java - Java path:
C:\Program Files (x86)\Common Files\Oracle\Java - Java Update:
C:\Program Files (x86)\Common Files\Java - Java Install cache:
C:\ProgramData\Oracle\Java
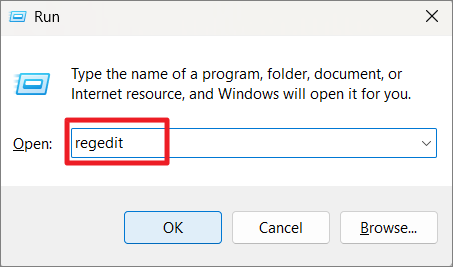
Cleaning Up Registry Entries
Residual registry entries can interfere with future Java installations or system performance. Cleaning up these entries ensures a complete removal.
HKEY_LOCAL_MACHINE\SOFTWARE\Microsoft\Windows\CurrentVersion\Uninstall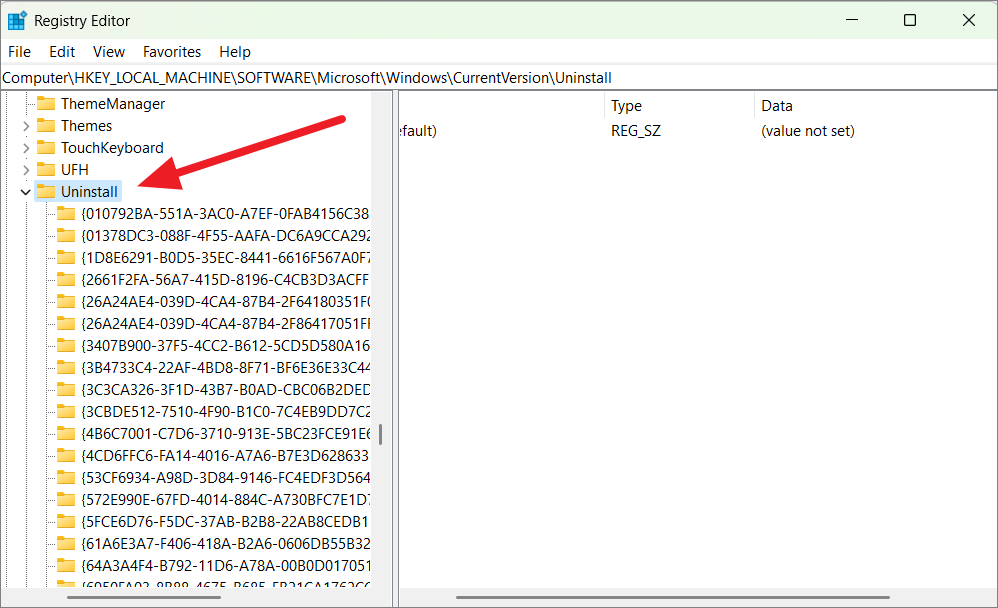
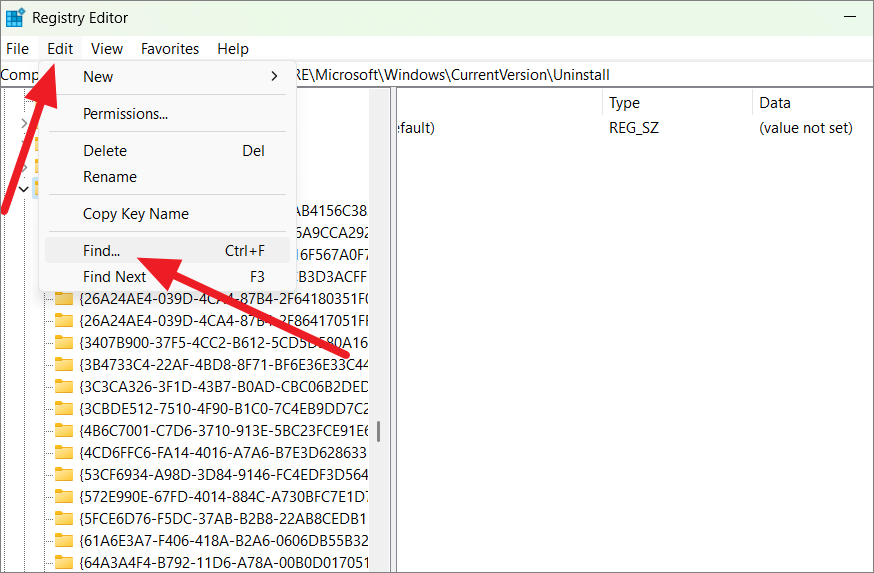
Find Next.

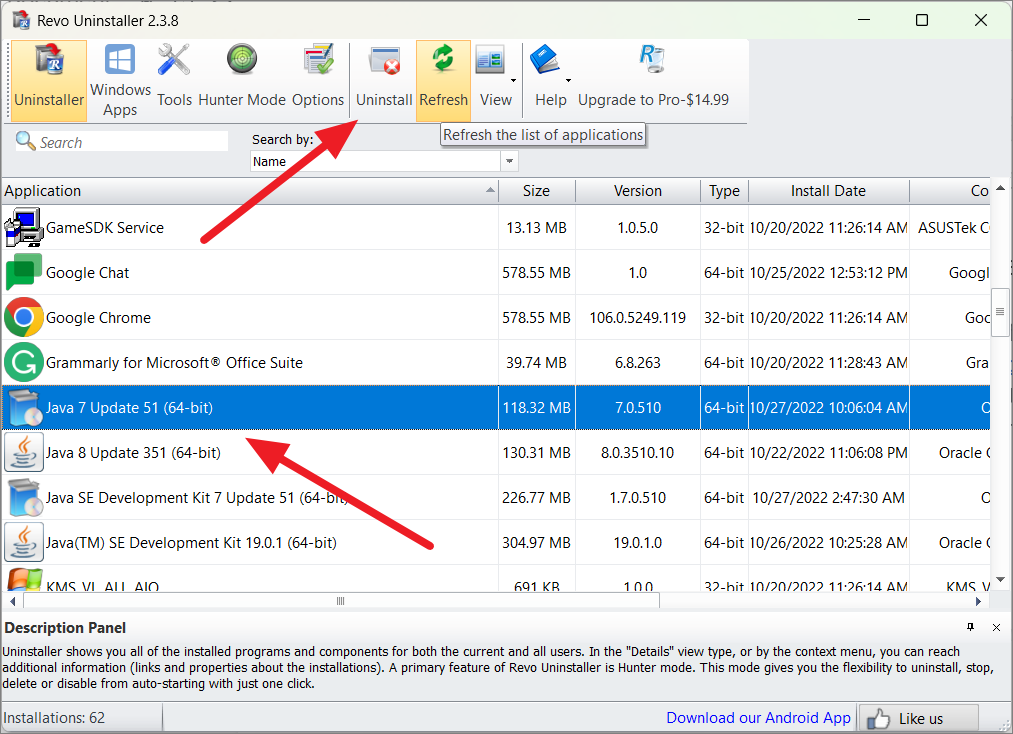
Using Third-Party Uninstaller Software
Alternatively, you can use third-party uninstaller tools like Revo Uninstaller, IObit Uninstaller, or Wise Program Uninstaller. These programs can remove Java and its residual files effectively.

Delete to remove them completely.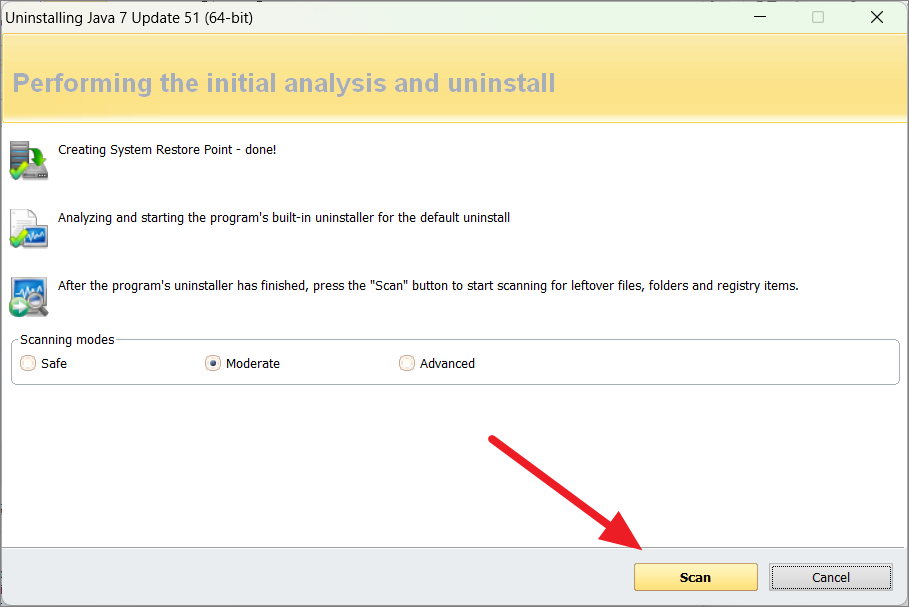
If you plan to reinstall Java later, visit the official Java website to download the latest version.
Verifying Java Uninstallation
To confirm that Java has been completely removed from your system, you can use the Command Prompt.
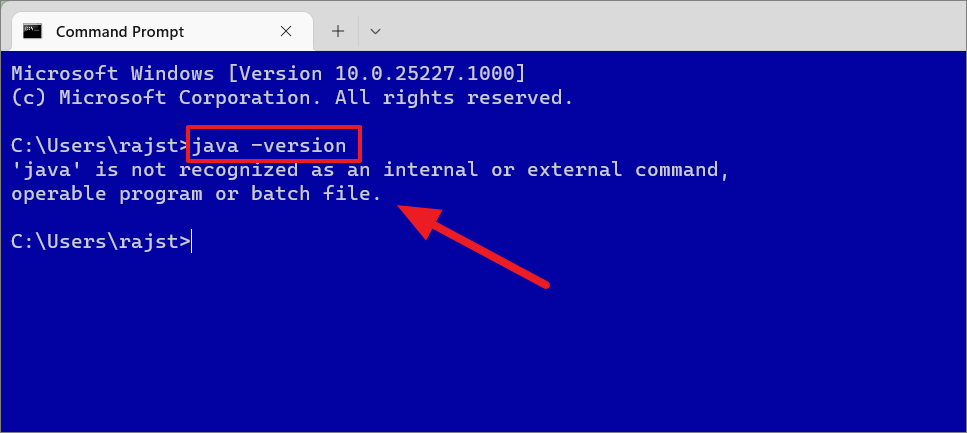
If Java has been uninstalled successfully, you will see the message: ‘java’ is not recognized as an internal or external command, operable program or batch file.
By following these steps, you can ensure that Java is completely removed from your Windows 11 system, enhancing your computer’s performance and security.


