If you’re having trouble getting your printer to work properly on Windows 11, installing the correct driver can often resolve the issue. Printer drivers are essential for your computer to communicate effectively with your printer, ensuring that all commands are relayed accurately.
Download printer driver from the manufacturer’s website
The most reliable way to obtain the latest printer driver is to download it directly from the manufacturer’s website. Most manufacturers provide a dedicated section on their website where you can find and download drivers for their products.
Follow these steps to download and install the printer driver from the manufacturer’s website:
- Open your web browser and navigate to the official website of your printer’s manufacturer.
- Locate the support or downloads section of the website.
- Enter your printer’s model number and select Windows 11 as your operating system.
- Download the latest driver available for your printer.
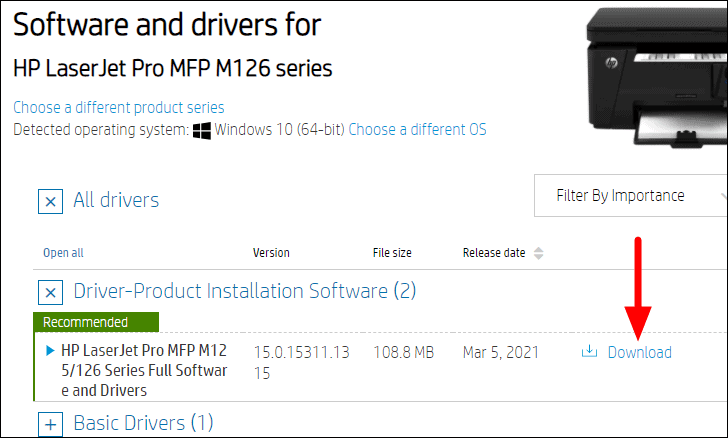
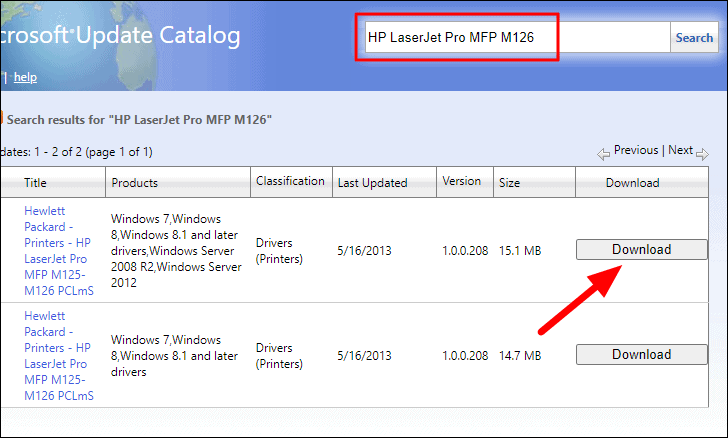
For example, if you have an HP LaserJet Pro MFP M126 series printer, search for “HP LaserJet Pro MFP M126 series Windows 11 driver download” and click on the official HP website link. Then, click on the ‘Download’ button next to the appropriate driver.
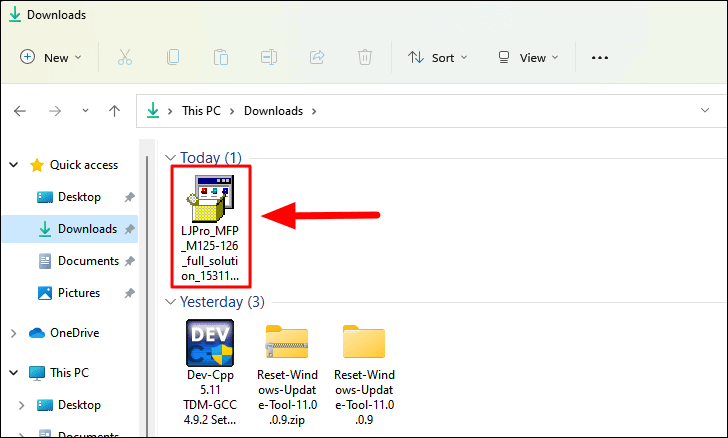
Once the driver file (usually with a .exe extension) is downloaded, follow these steps to install it:
- Locate the downloaded driver file on your computer and double-click it to run the installer.
- Follow the on-screen instructions to complete the installation.
- Restart your computer if prompted.
Your printer should now be ready to use with the latest driver installed.
Check for updated drivers in Windows Update
Sometimes, Windows Update can automatically find and install the appropriate driver for your printer. Here’s how you can check for driver updates through Windows Update:
- Ensure your printer is connected to your PC.
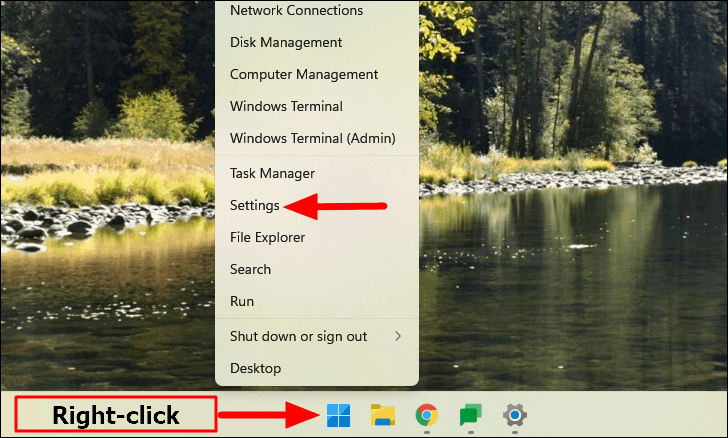
- Right-click the Start button in the taskbar and select Settings. Alternatively, press
WINDOWS+Ito open Settings.
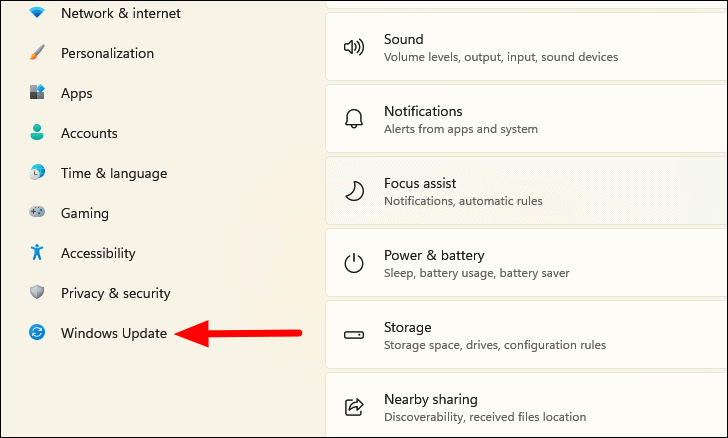
- In the Settings window, click on Windows Update in the left-hand menu.
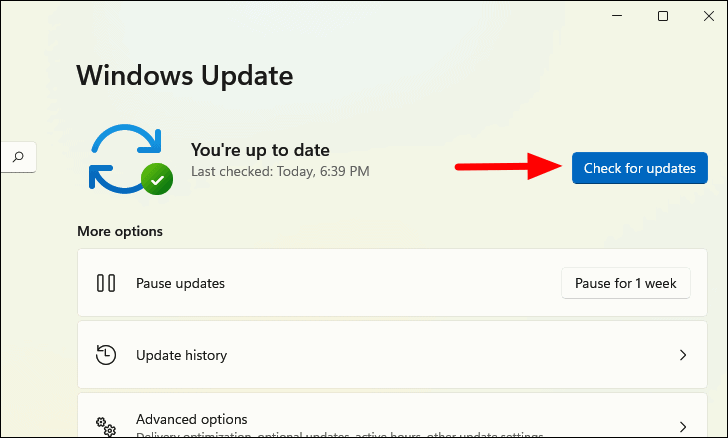
- Click on Check for updates and wait while Windows searches for available updates.
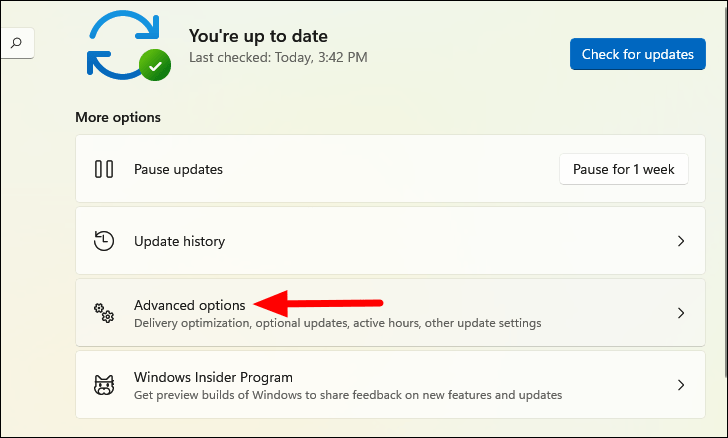
- If no updates are found, scroll down and click on Advanced options.
- Under Additional options, select Optional updates.
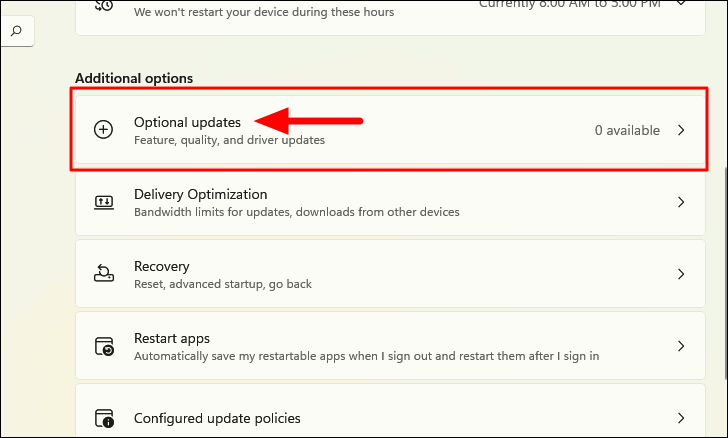
- If a driver update for your printer is listed, check the box next to it and click Download & install.
If no driver updates are available here, proceed to the next method.
Check if driver software came with the printer
When you purchase a new printer, it may come with a CD or DVD containing the necessary driver software. If you have such a disc, follow these steps:
- Insert the installation disc into your computer’s CD/DVD drive.
- Follow the on-screen instructions to install the driver and any associated software.
Make sure to read any provided documentation or installation guidelines that come with the software.
Download printer driver from Microsoft Update Catalog
If you’re unable to find the driver through the manufacturer or Windows Update, you can search for it in the Microsoft Update Catalog. Here’s how:
Step 1: Downloading the driver
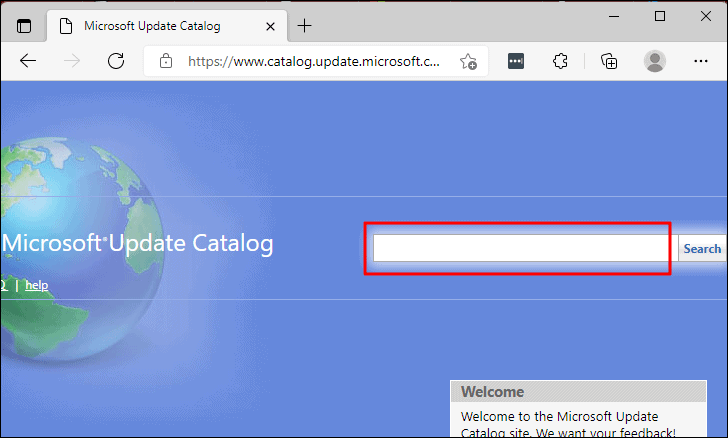
- Go to Microsoft Update Catalog.
- In the search box at the top-right corner, type your printer’s model number and press
ENTER.
- From the list of results, find the latest driver compatible with your system and click on Download next to it.
Step 2: Extracting the files
After downloading the driver (which is usually a .cab file), you need to extract its contents:
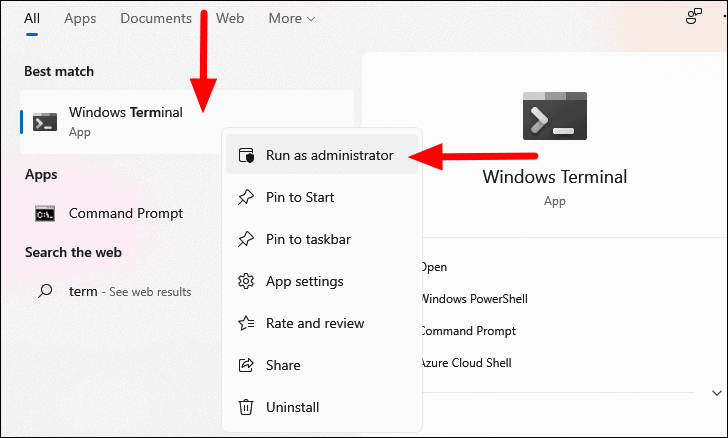
- Search for Windows Terminal in the search menu, right-click it, and select Run as administrator.
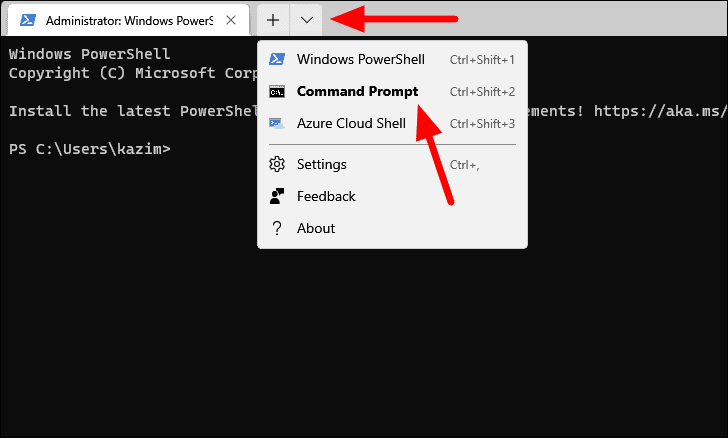
- In Windows Terminal, open a Command Prompt tab by clicking the down arrow icon and selecting Command Prompt or pressing
CTRL+SHIFT+2.
- Navigate to the Downloads folder by typing the following command and pressing
ENTER:
cd %HOMEPATH%\Downloads\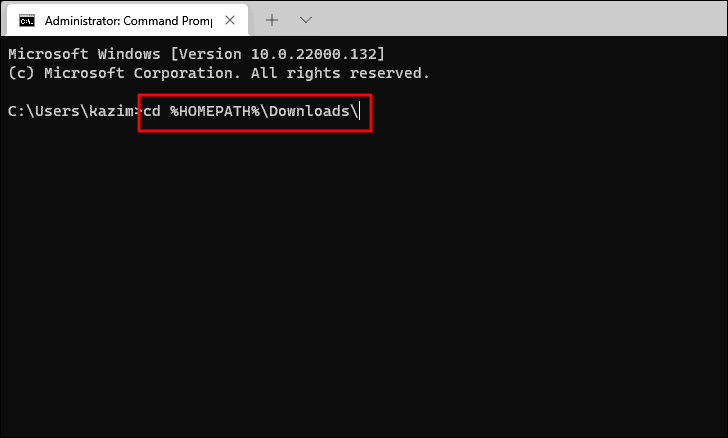
- Create a new folder to extract the files by entering:
md Printer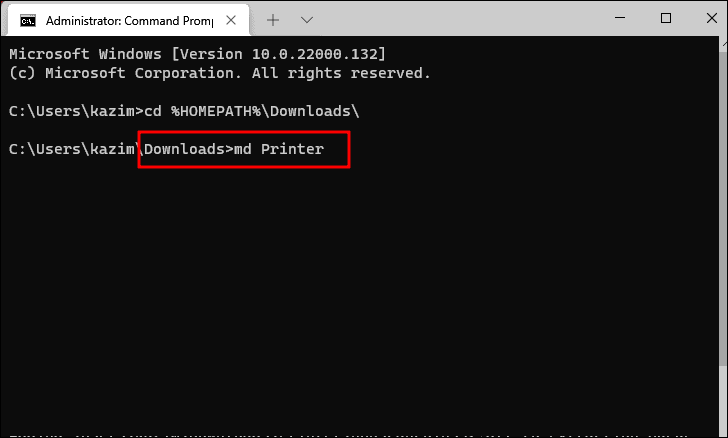
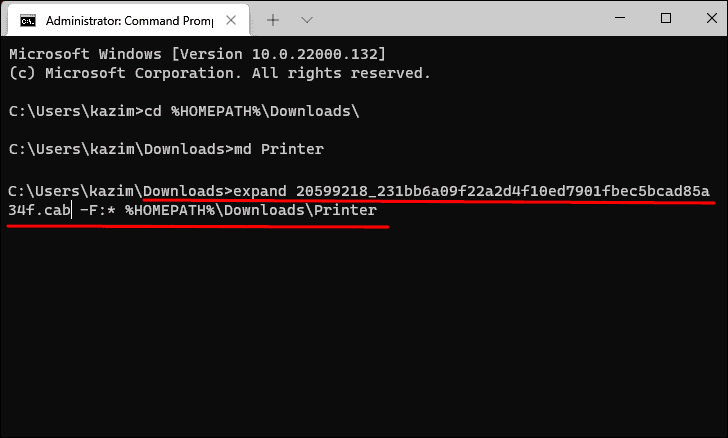
- Extract the contents of the
.cabfile by typing the following command and pressingENTER:
expand FileName.cab -F:* %HOMEPATH%\Downloads\PrinterNote: Replace FileName with the actual name of the downloaded .cab file.
The files will be extracted to the newly created ‘Printer’ folder.
Step 3: Installing the printer driver via Device Manager
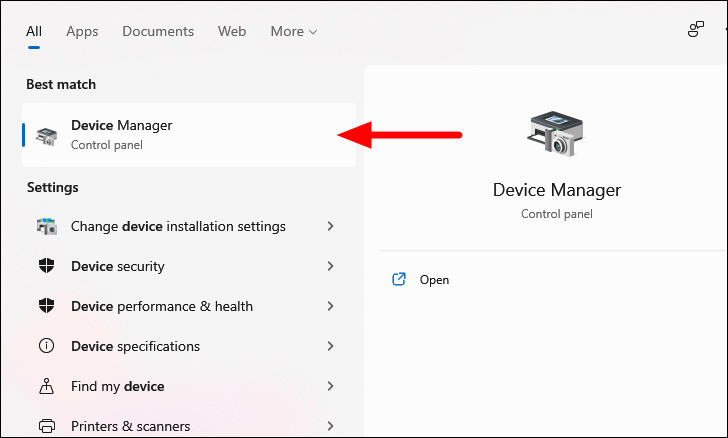
- Press
WINDOWS+S, type Device Manager, and open it from the search results.
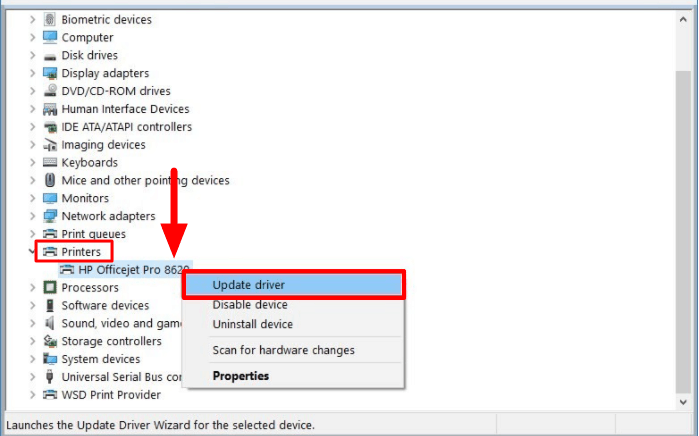
- In Device Manager, expand the Printers section.
- Right-click on your printer and select Update driver.
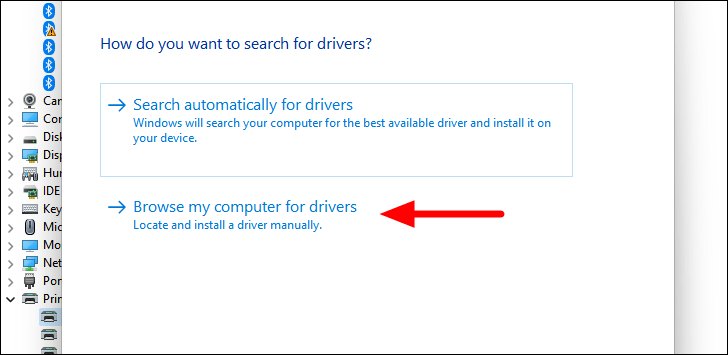
- Choose Browse my computer for drivers.
- Click on Browse and navigate to the ‘Printer’ folder where the files were extracted.
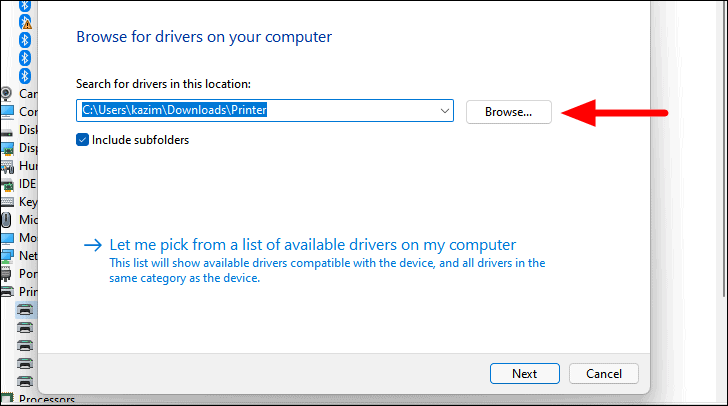
- Select the folder and click OK.
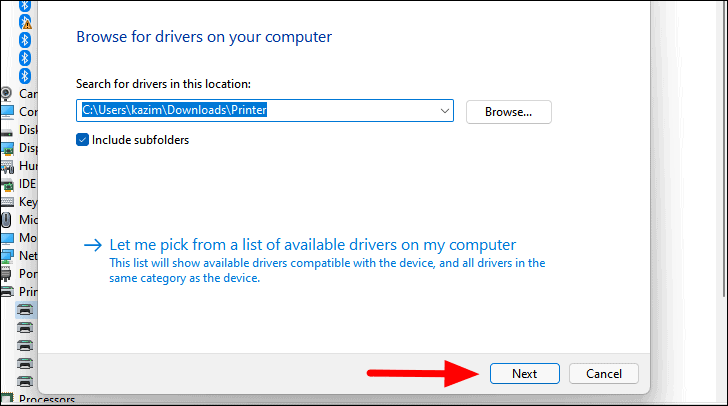
- Click Next to install the driver.
Once the installation is complete, restart your computer. Your printer should now function correctly.
Adding a printer from Settings
If you’re still unable to get your printer working, you can add it manually through Settings. Before proceeding, ensure you’ve extracted the driver files as explained earlier.
- Open Settings by pressing
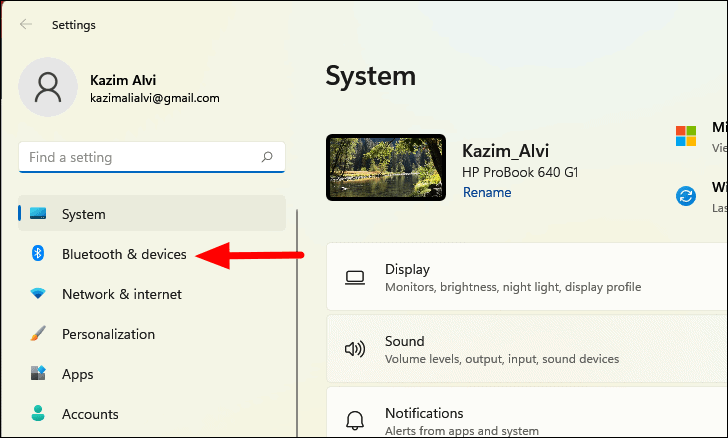
WINDOWS+Ior by clicking the Start menu and selecting the gear icon. - Click on Bluetooth & devices in the left-hand menu.
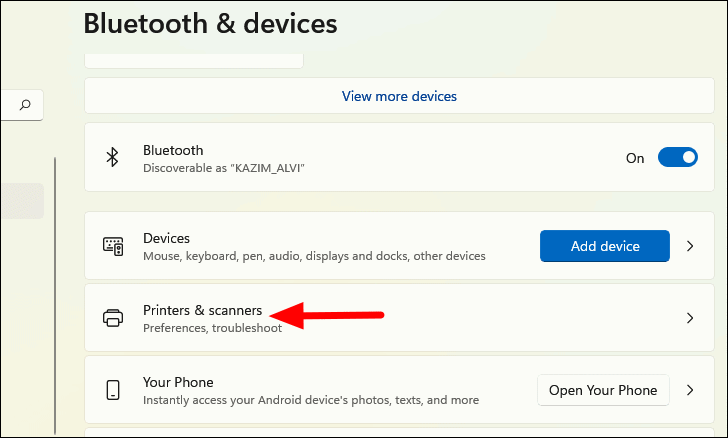
- Select Printers & scanners.
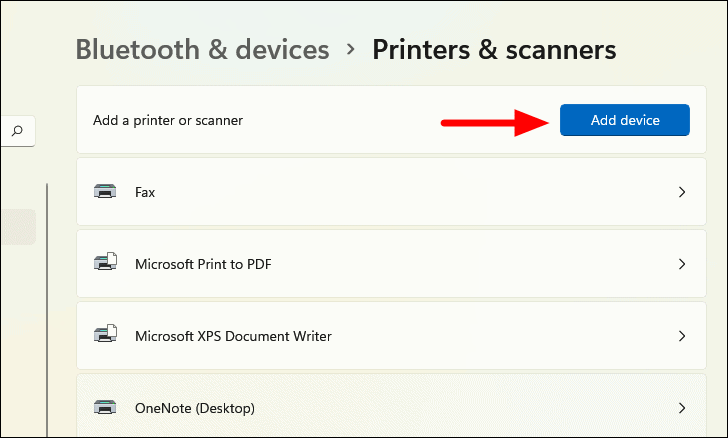
- Click on Add device next to ‘Add a printer or scanner’.
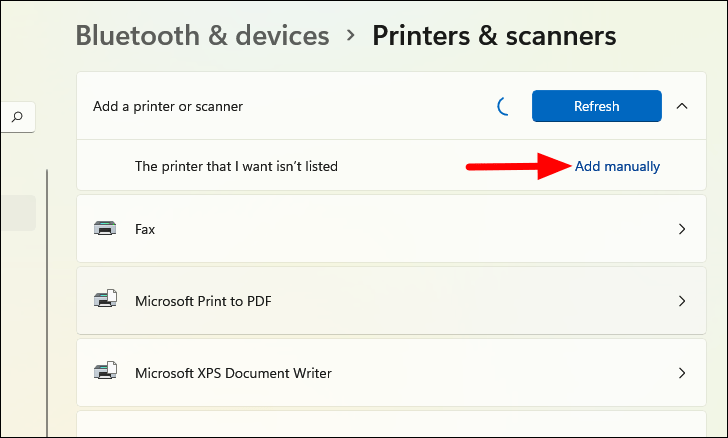
- Wait for the system to search for devices. When The printer that I want isn’t listed appears, click on the ‘Add manually’ button next to it.
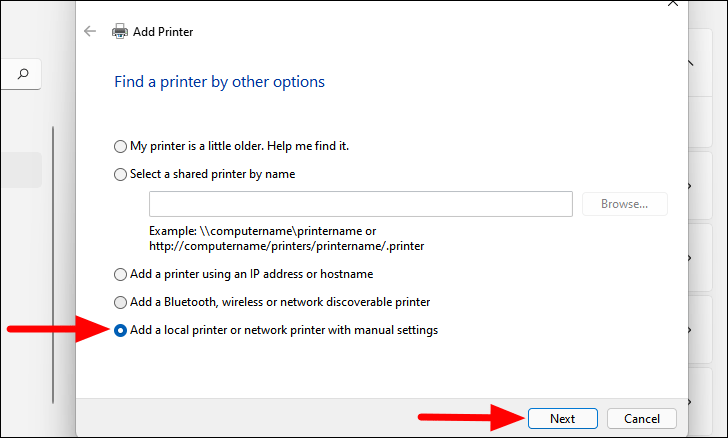
- Select Add a local printer or network printer with manual settings and click Next.
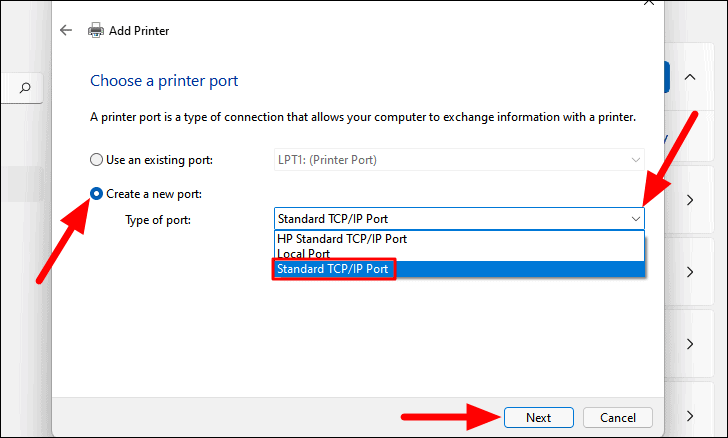
- Choose Create a new port, select Standard TCP/IP Port from the dropdown, and click Next.
- Enter your printer’s IP address in the Hostname or IP address field. Uncheck Query the printer and automatically select the driver to use, then click Next.
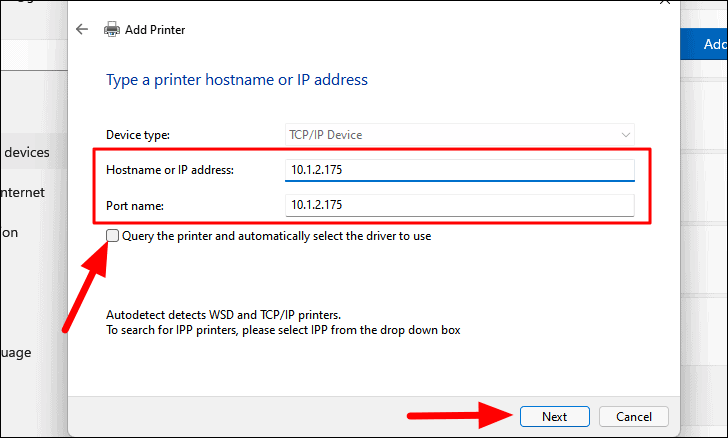
Note: To find your printer’s IP address, you can run the netstat -r command in Command Prompt and look for the printer in the list.
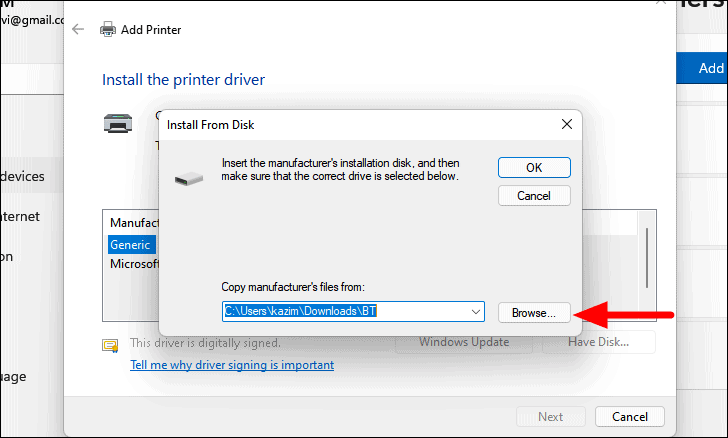
- In the Install the printer driver window, click on Have Disk.
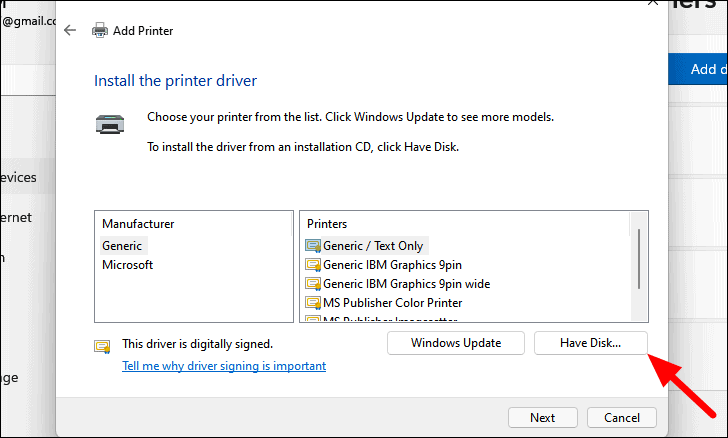
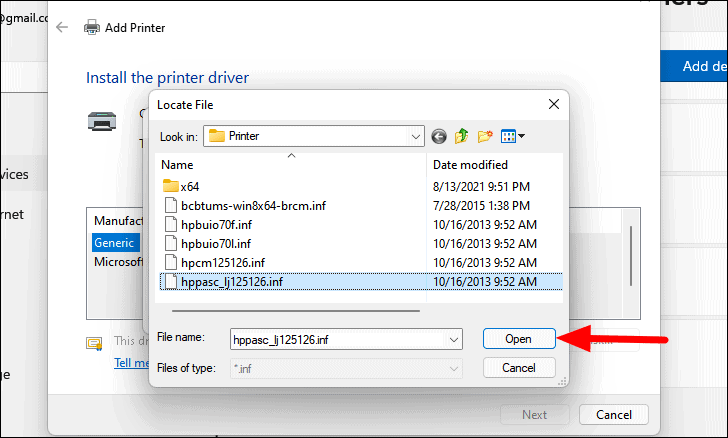
- Click Browse and navigate to the folder where you extracted the driver files.
- Select the
.inffile and click Open, then click OK.
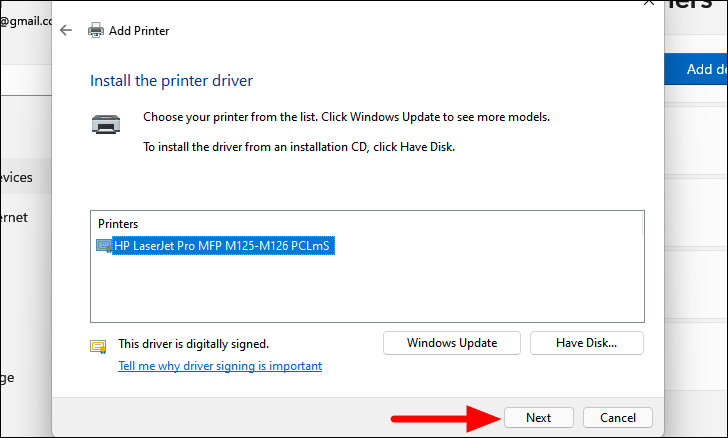
- Choose your printer from the list if prompted and click Next.
- You can keep the default printer name or change it, then click Next.
- When asked about printer sharing, select Do not share this printer and click Next.
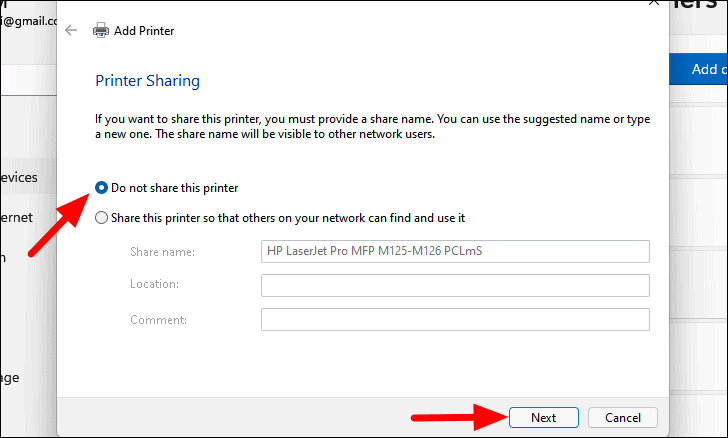
- Click Finish to complete the setup.
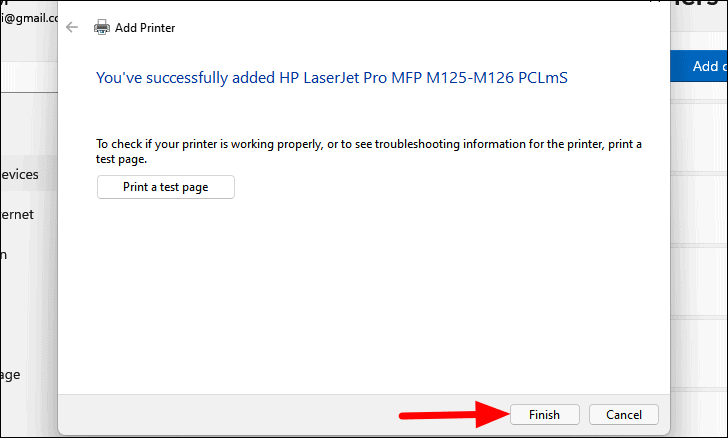
Your printer should now be added and ready for use.
By following these methods, you should be able to find and install the appropriate printer driver on Windows 11, ensuring smooth and efficient printing operations.


