
Windows Update error 0x800f0905 interrupts the installation of essential updates, often leaving systems unable to receive critical patches or new features. This error typically points to corrupted update components, damaged system files, or misconfigured settings. Addressing the root causes restores update capability and ensures continued system reliability.
Repair Windows Using the Latest Windows 11 ISO (In-Place Upgrade)
Overwriting your existing Windows 11 installation with the latest official ISO file is the most comprehensive solution for persistent update errors, including 0x800f0905. This approach repairs system files and bypasses problematic updates, all while preserving your personal files and installed applications. This method is especially effective when standard fixes fail.
Step 1: Back up your important files. While the upgrade process is designed to keep your data and applications intact, a backup ensures safety in case of unexpected issues.
Step 2: Download the latest Windows 11 ISO from the official Microsoft Software Download page. Choose the ISO that matches your system architecture and language.
Step 3: Double-click the downloaded ISO file to mount it as a virtual drive. Open the new drive in File Explorer and run setup.exe.
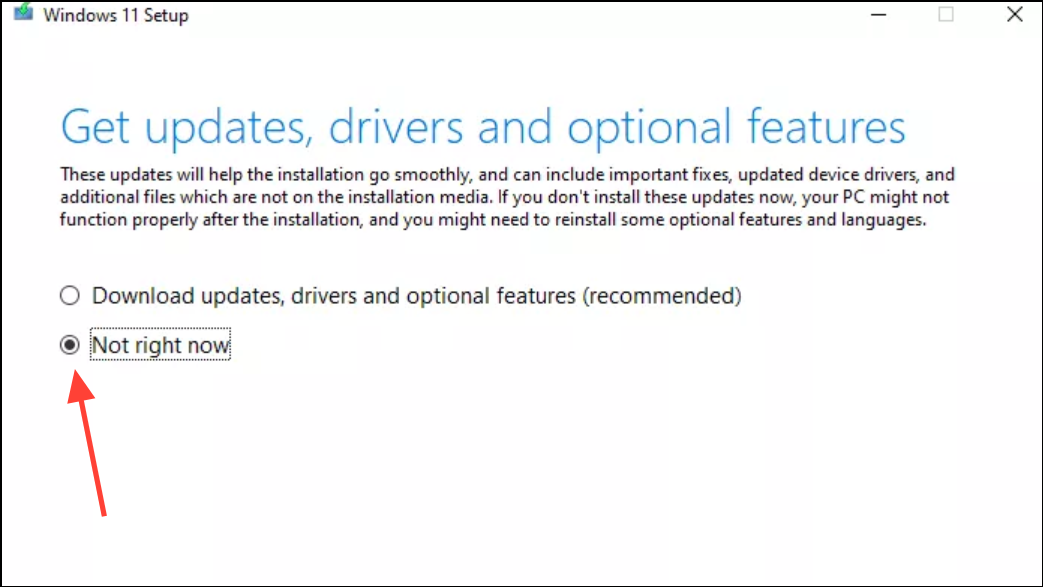
Step 4: On the "Get updates, drivers, and optional features" screen, select "Not now" to avoid any update conflicts during the repair install.
Step 5: Confirm that files, applications, and settings will be preserved. If prompted for a product key, ensure the ISO matches your current Windows edition.
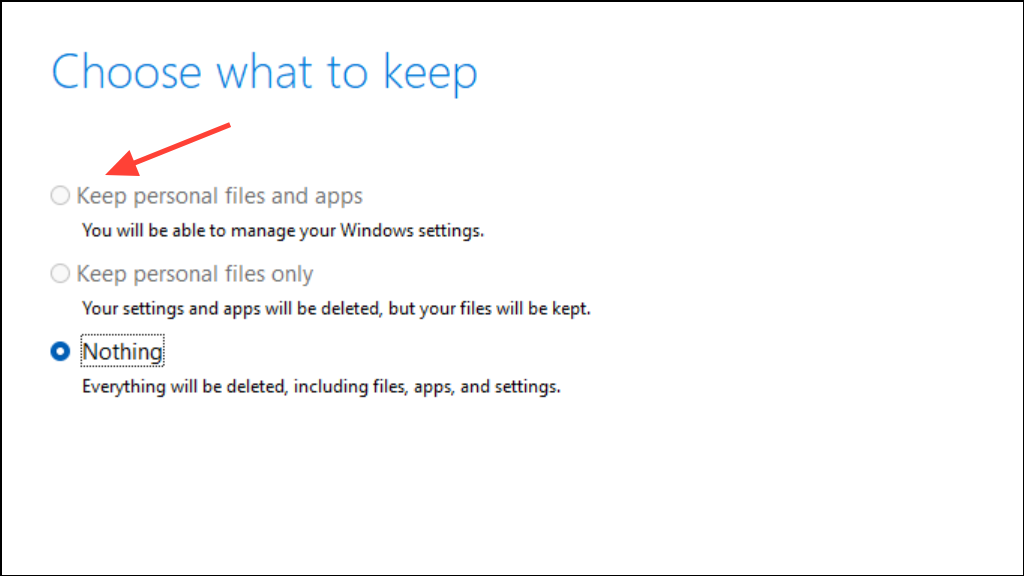
Step 6: On the "Choose what to keep" page, select "Keep files and applications." Click "Install" to begin the repair process.
Step 7: Wait for the installation to complete. Your PC will restart several times. Once finished, verify that Windows Update is functioning correctly and re-attempt any previously failed updates.
Reset Windows Update Components
Corrupted update cache or stuck services can trigger the 0x800f0905 error. Resetting Windows Update components removes these obstacles by stopping related services, clearing cache folders, and restarting everything fresh.
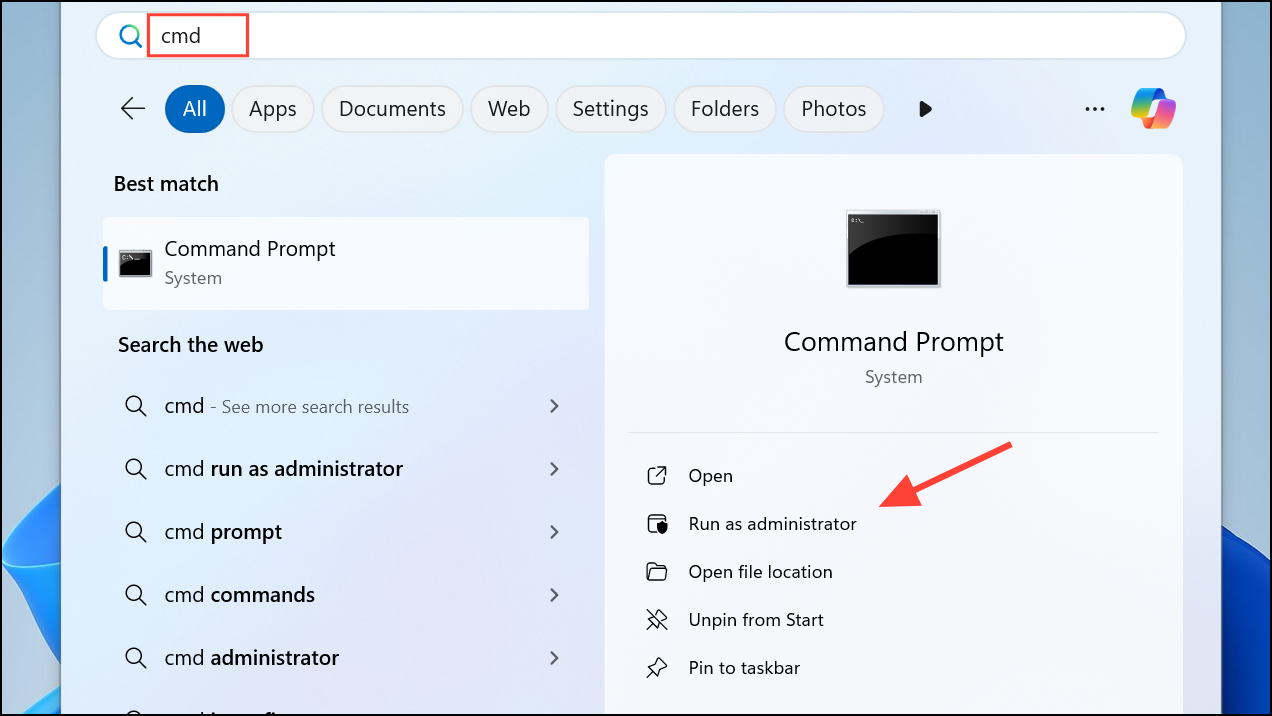
Step 1: Open the Start menu, type cmd, right-click Command Prompt, and select "Run as administrator."
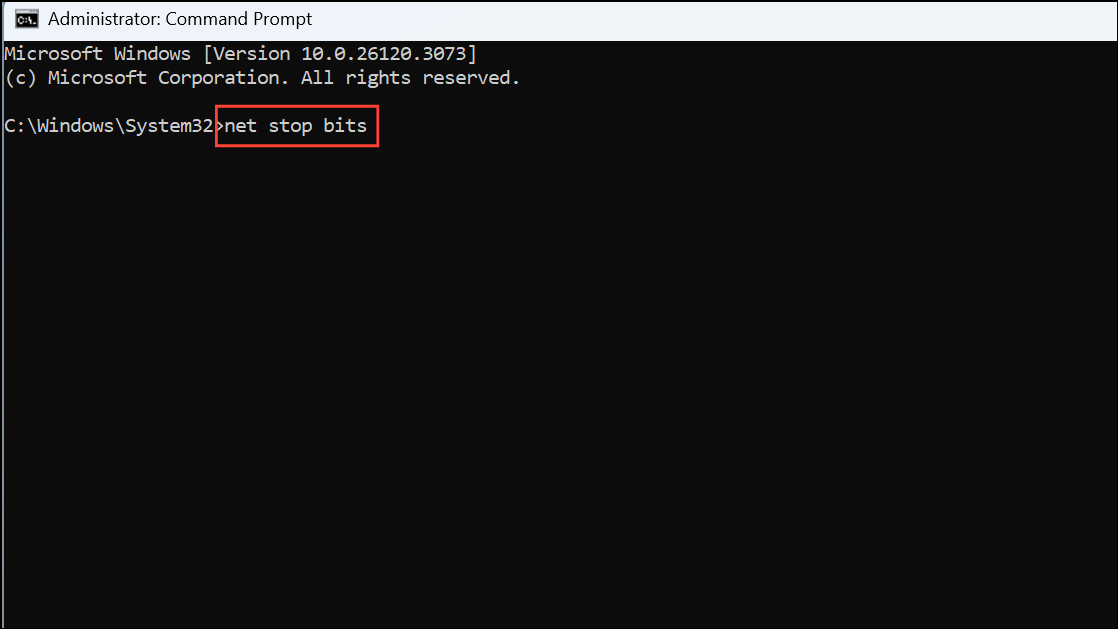
Step 2: Execute the following commands one by one, pressing Enter after each. These commands stop update services, rename cache folders, and restart the services:
net stop bits
net stop wuauserv
net stop appidsvc
net stop cryptsvc
Del "%ALLUSERSPROFILE%\Application Data\Microsoft\Network\Downloader\*.*"
rmdir %systemroot%\SoftwareDistribution /S /Q
rmdir %systemroot%\system32\catroot2 /S /Q
regsvr32.exe /s atl.dll
regsvr32.exe /s urlmon.dll
regsvr32.exe /s mshtml.dll
netsh winsock reset
netsh winsock reset proxy
net start bits
net start wuauserv
net start appidsvc
net start cryptsvc
Step 3: Restart your PC to apply the changes. After rebooting, retry Windows Update to check if the error is resolved.
Run Windows Update Troubleshooter
The built-in Windows Update Troubleshooter scans for common issues, automatically resolving problems with update services, cache, or settings. This tool provides a quick diagnostic and fix for many update failures.
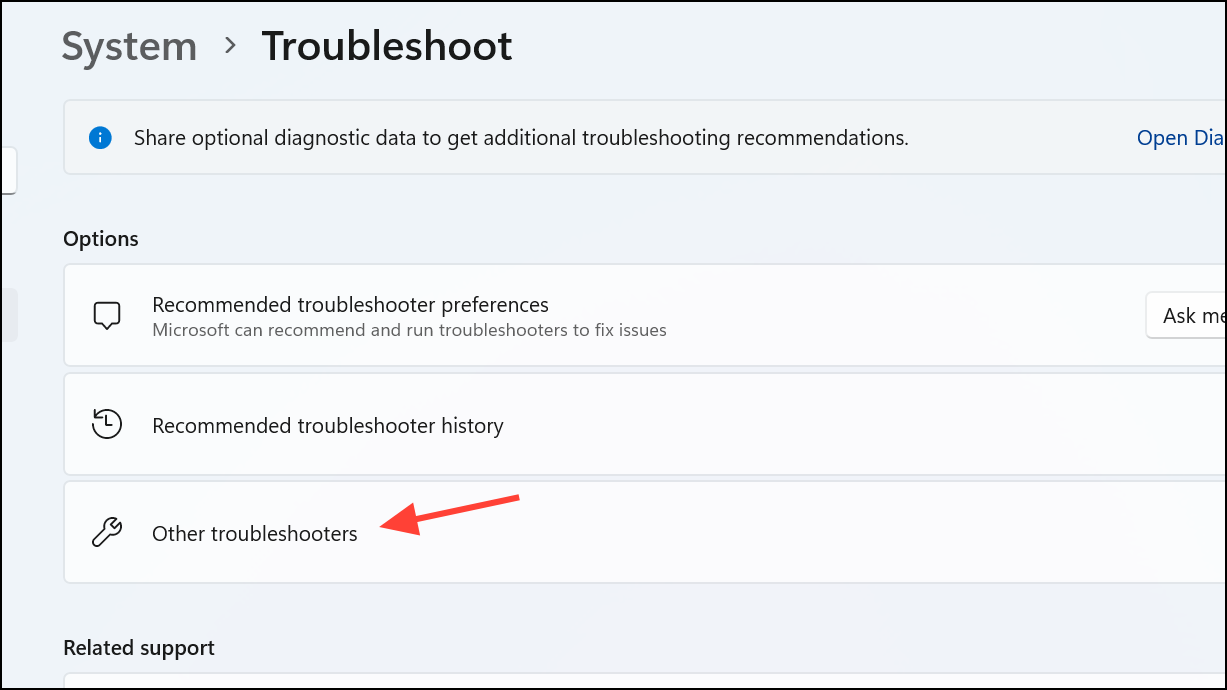
Step 1: Open Settings using Win + I. Navigate to System > Troubleshoot > Other troubleshooters in Windows 11.
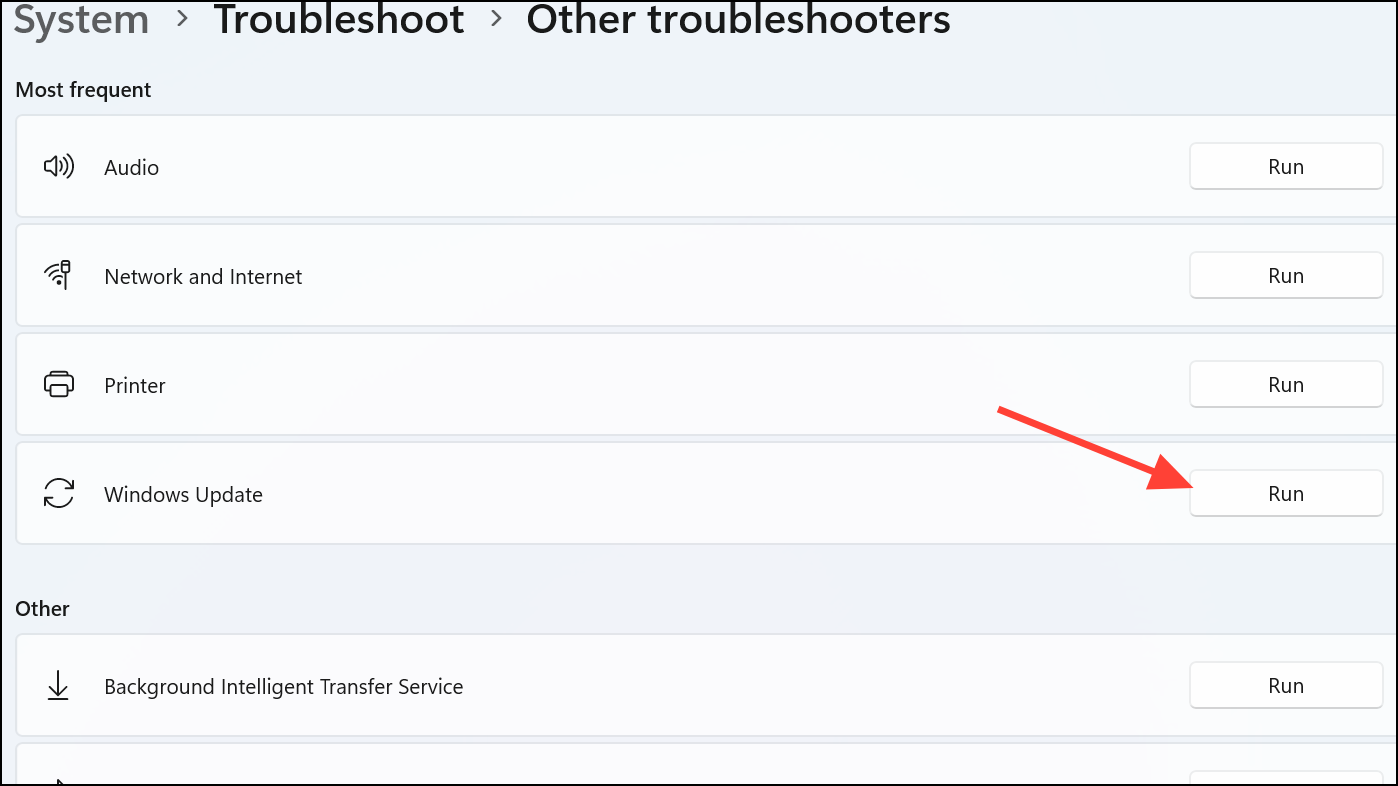
Step 2: Find "Windows Update" in the list and click "Run."
Step 3: Follow on-screen instructions. If the troubleshooter finds issues, it will attempt to fix them. Restart your PC after the process completes, then check for updates again.
Repair Corrupt System Files with SFC and DISM
Corrupted or missing system files can interfere with Windows Update. Running System File Checker (SFC) and Deployment Imaging Servicing and Management (DISM) repairs these files, restoring normal update operations.
Step 1: Open Command Prompt as administrator.
Step 2: Run the following command to scan and repair system files:
sfc /scannow

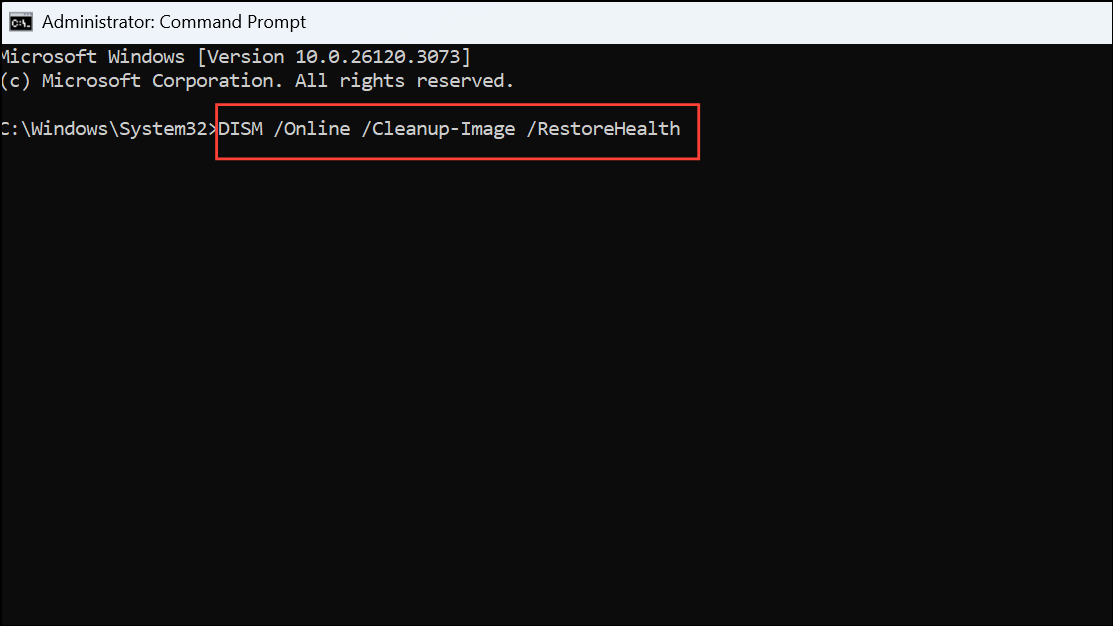
Step 3: After the SFC scan completes, run the DISM command to repair the Windows image:
DISM /Online /Cleanup-Image /RestoreHealth
Step 4: Restart your computer. Try running Windows Update again to see if the error is fixed.
Manually Install Updates Using Microsoft Update Catalog
If automatic updates continue to fail with 0x800f0905, manually downloading and installing the update can bypass the issue. This method works well for specific problematic updates.
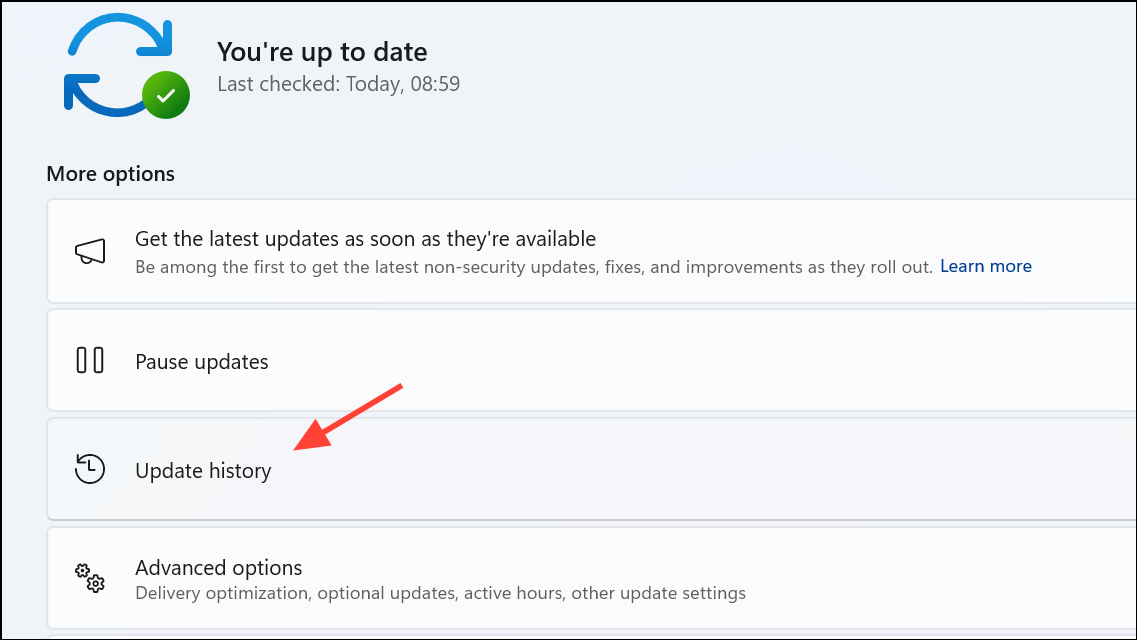
Step 1: Identify the KB (Knowledge Base) number of the failed update from Settings > Windows Update > Update History.
Step 2: Visit the Microsoft Update Catalog and enter the KB number in the search bar.
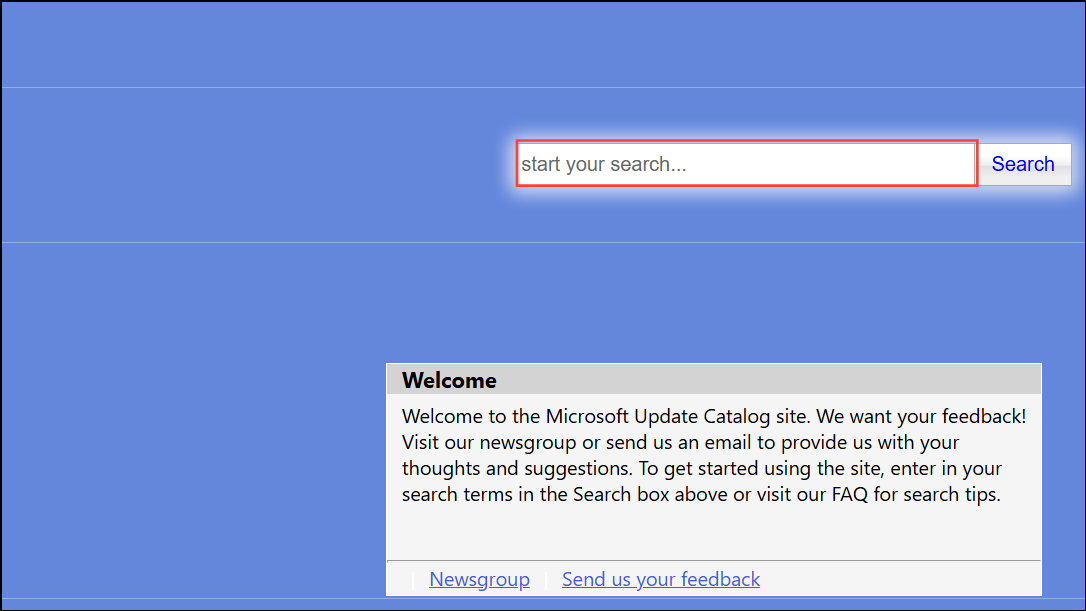
Step 3: Download the update that matches your system version and architecture.
Step 4: Double-click the downloaded file and follow the on-screen instructions to install. Your PC may restart during the process.
Use System Restore Point
If you created a system restore point before the error appeared, reverting to that snapshot can roll back problematic changes and restore update functionality.
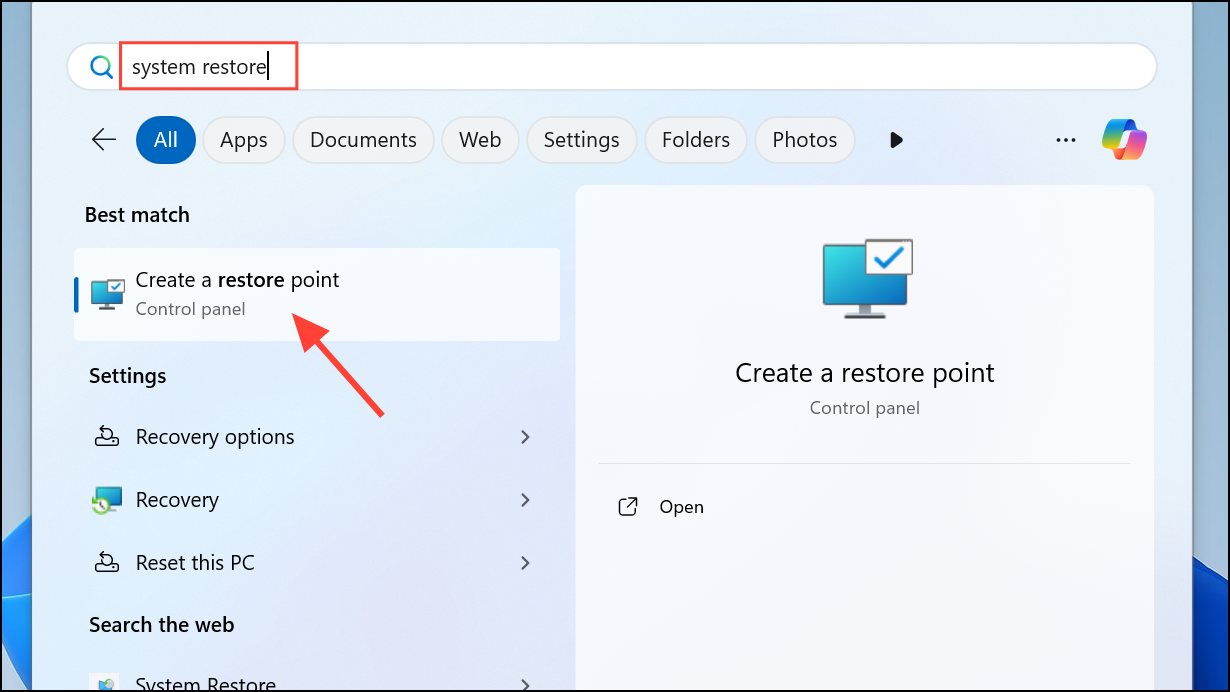
Step 1: Open the Start menu, search for System Restore, and select "Create a restore point."
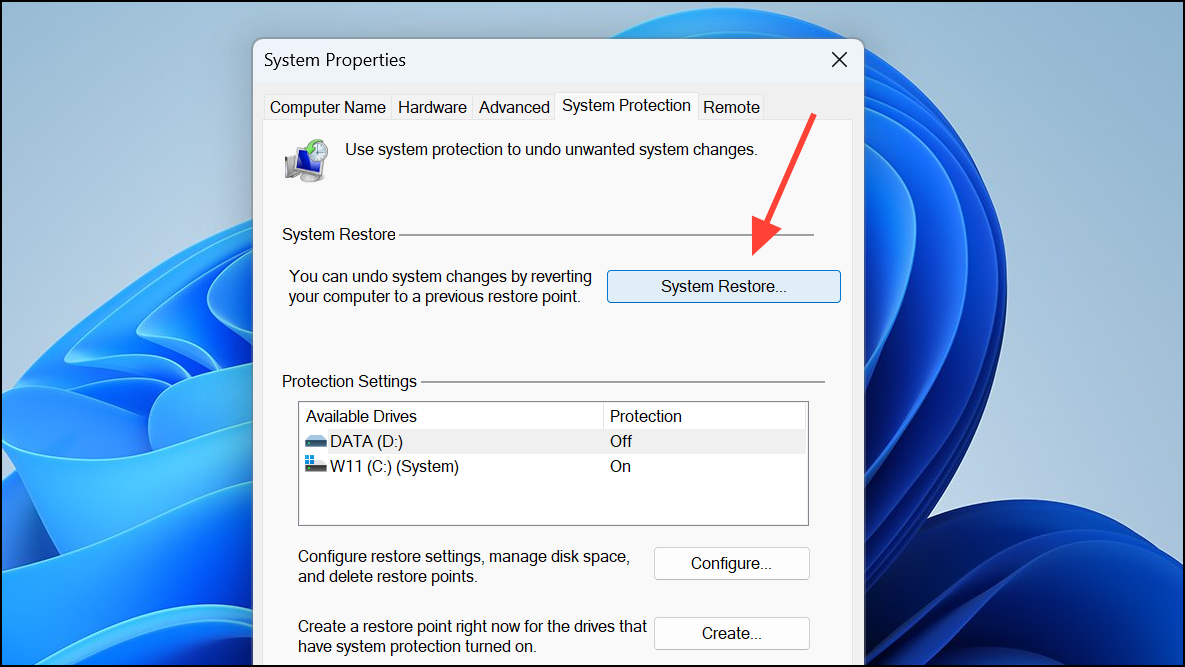
Step 2: In the System Properties window, click "System Restore" and follow the prompts to select a restore point from before the error occurred.
Step 3: Confirm your selection and allow Windows to restart and restore your system to the chosen point.
Resolving the 0x800f0905 error in Windows 11 restores your ability to receive updates and keeps your system secure. Regular maintenance, including periodic restarts and prompt troubleshooting, helps prevent future update issues.