
The A critical system process C:\WINDOWS\system32\lsass.exe failed error usually results in a Blue Screen of Death and can cause unexpected system reboots. It occurs when the Local Security Authority Subsystem Service or lsass.exe is malfunctioning and you can fix it by following certain troubleshooting steps.
Uninstall The Problematic Update
If the error started appearing after you updated Windows, a recently installed update is the most likely cause. In such a case, you should first uninstall that update and then block it to prevent it from being installed again later on.
- Open the Settings app on your Windows PC using the
Win + Ishortcut or from the Start menu. - Click Windows Update on the bottom left and then select Update History on the right.
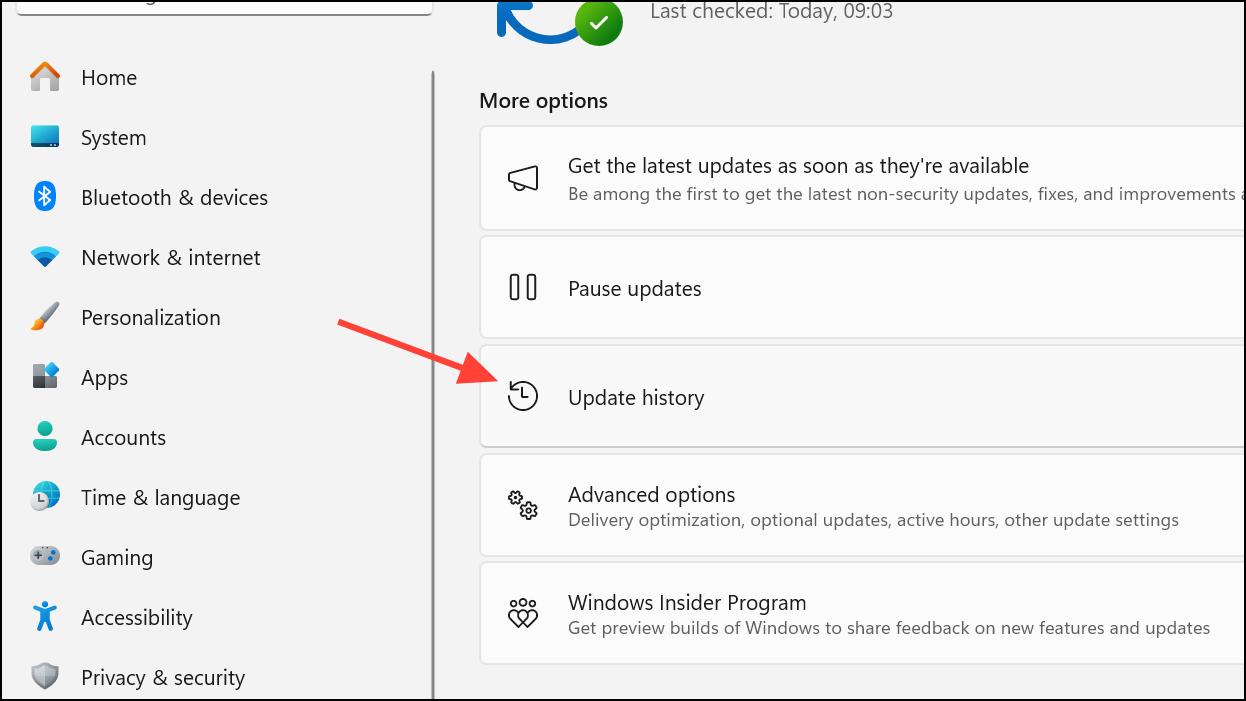
- Select Uninstall Updates under the Related settings section on the Update History page.
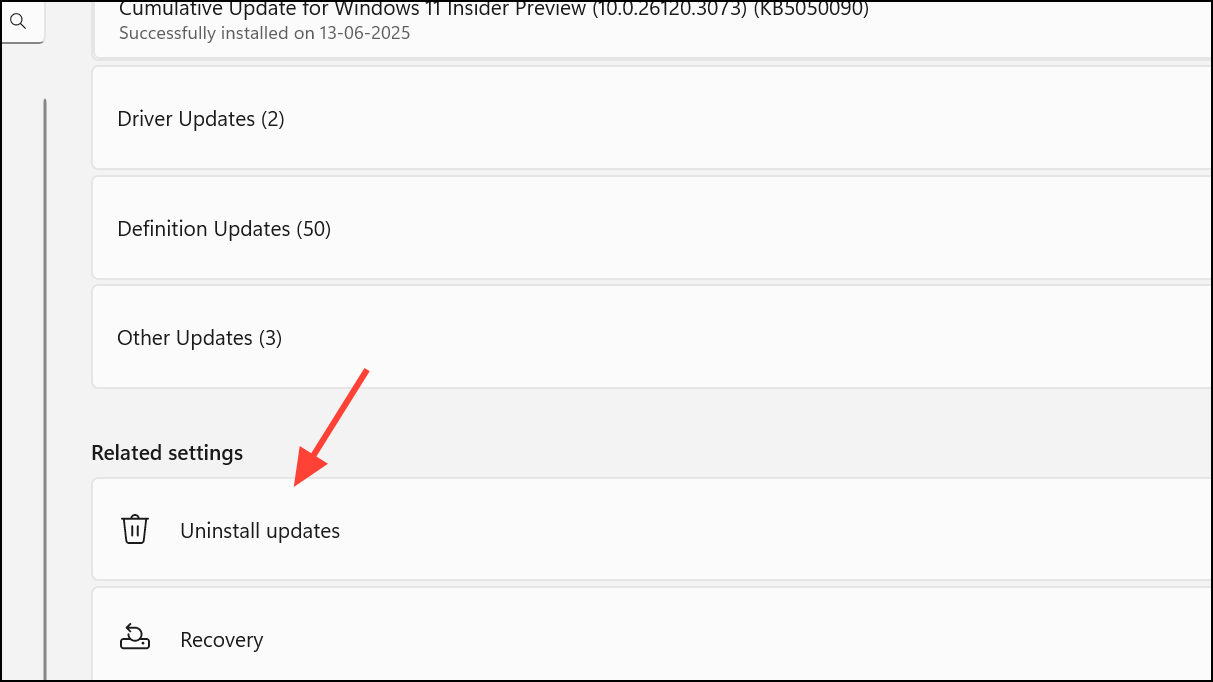
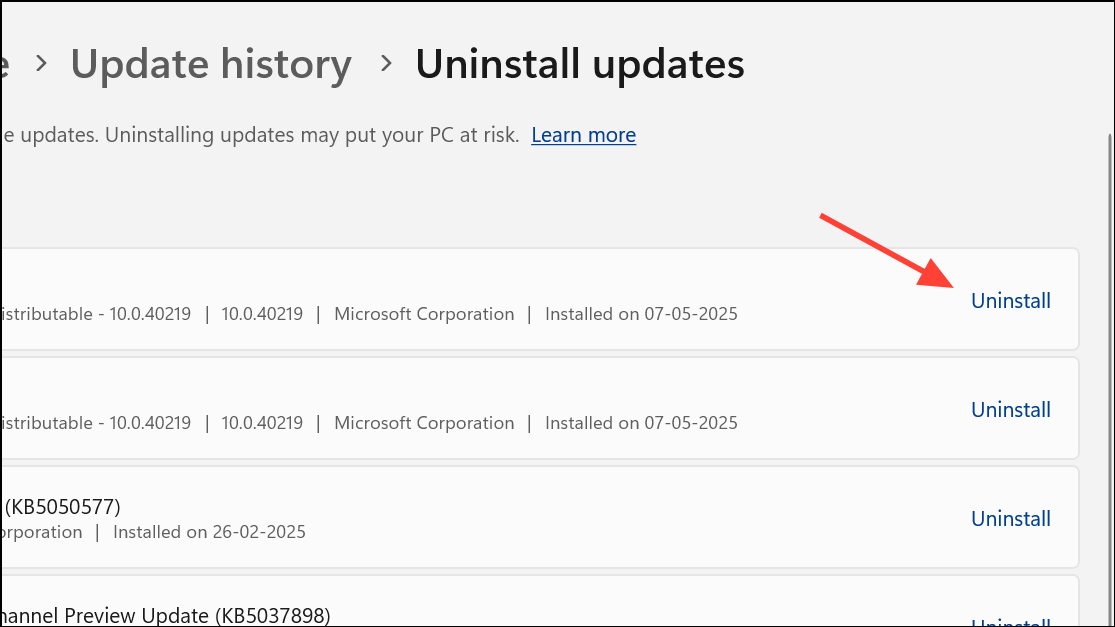
- Look for the last installed update and click Uninstall next to it.
- Once you've uninstalled the problematic update, download Microsoft's Show or Hide Windows Updates Tool and launch it.
- The tool will automatically scan for pending updates and display them on Hide Updates the screen. You can then select the update you uninstalled earlier to prevent it from being downloaded and installed again.
Turn Off Fast Startup
The Fast Startup feature is enabled by default on Windows and lets your computer turn on faster when you power it on. It does so by putting your PC in a state of hibernation instead of completely shutting down. This can sometimes cause problems, such as the critical system process failed error. Turning off Fast Startup may help resolve the issue.
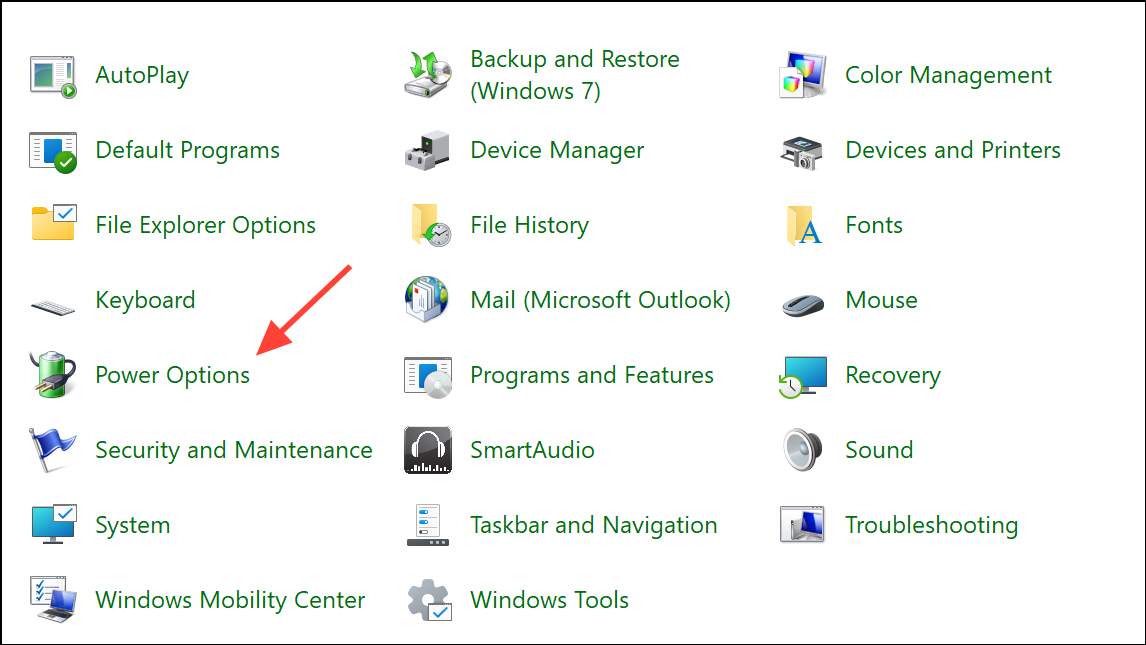
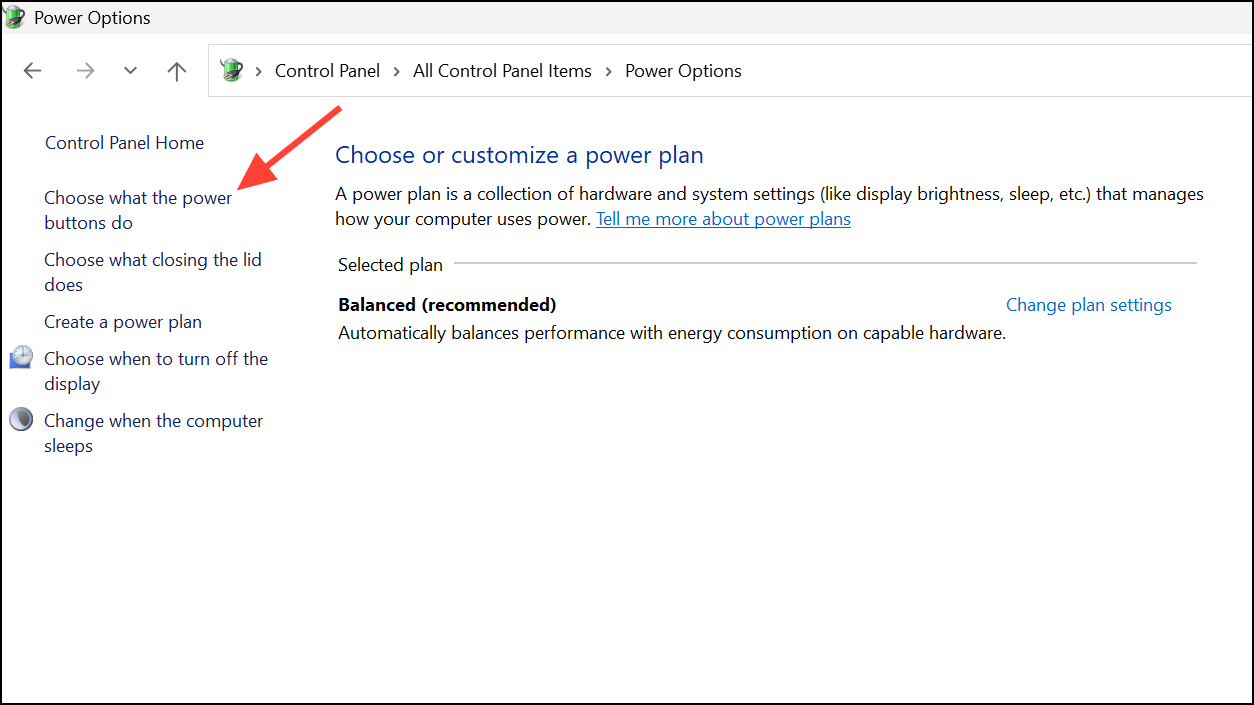
- Open Control Panel by searching for it in the Start menu and select Power Options when it launches.
- Click Choose what the power buttons do on the top left.
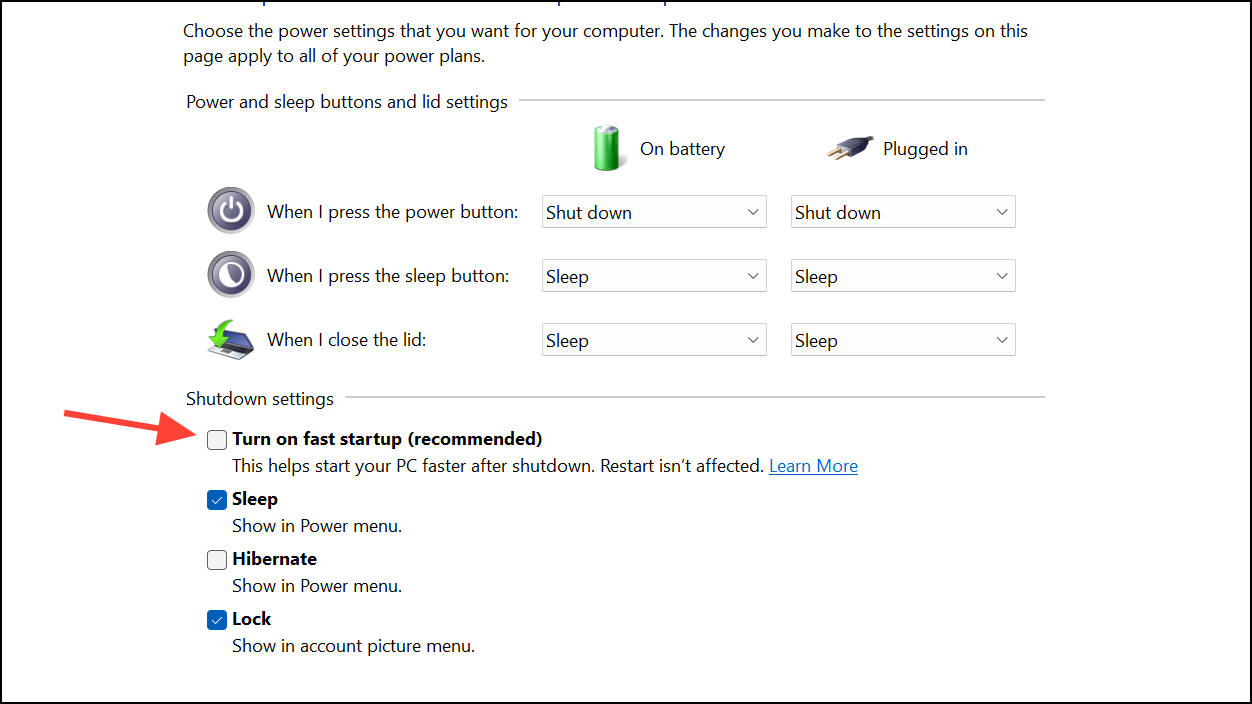
- On the next page, click Change settings that are currently unavailable at the top and then uncheck the Turn on Fast startup (recommended) option under the Shutdown settings section.
Run SFC and DISM Scans in Safe Mode
Safe Mode disables all third-party apps and services, keeping only the essential ones running. It can help you identify a non-system app or service that is causing the critical system service failed error when you run the SFC and DISM scans.
- Press and hold the
Shift keyand restart your PC. This will take you to the Windows Recovery Environment screen. - Go to Troubleshoot > Advanced Options > Startup Settings > Restart.
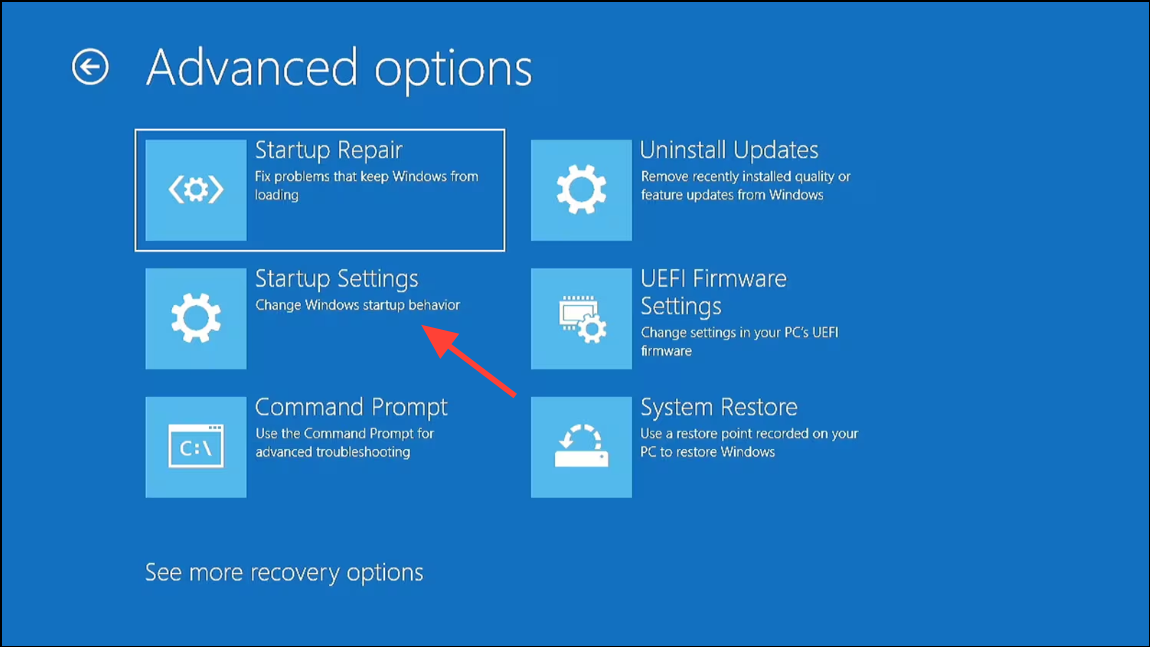
- Press the
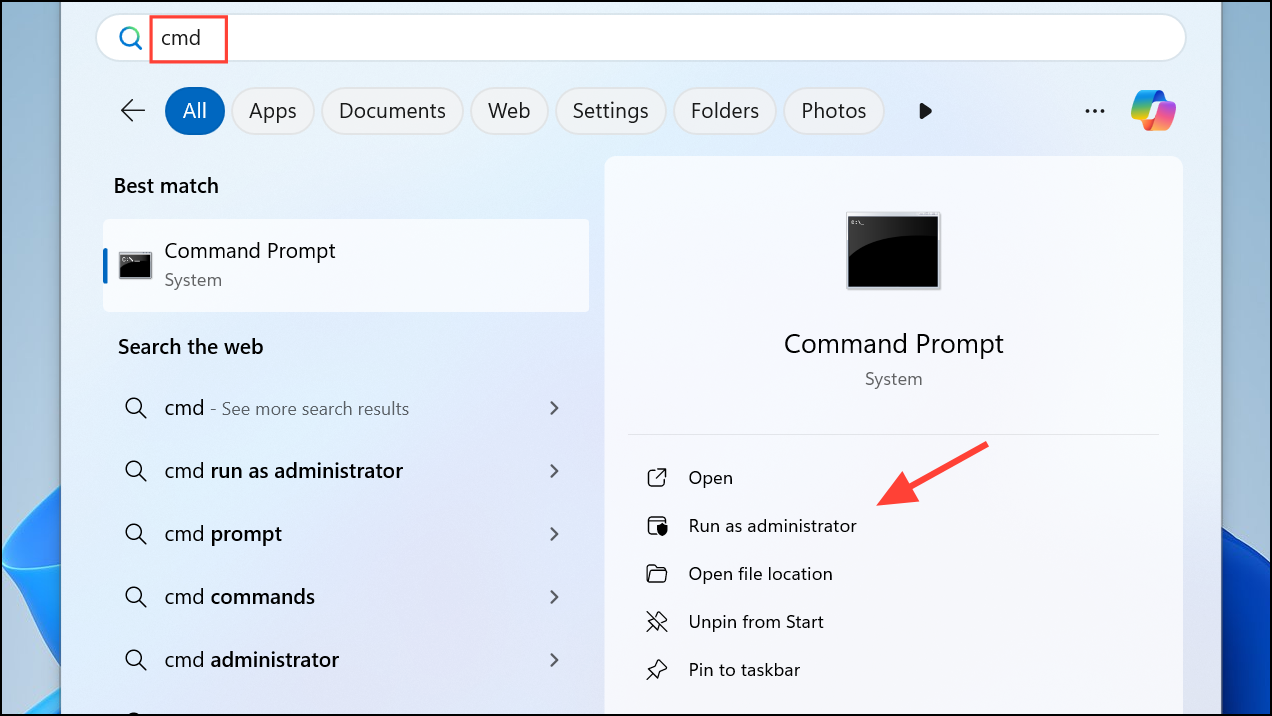
F4 keyto boot into Safe Mode. - Once your PC is in Safe Mode, open the Start menu, type
cmdand click Run as administrator to launch Command Prompt as administrator
- Type
sfc /scannowin the Command Prompt window and hit Enter to start the scan.

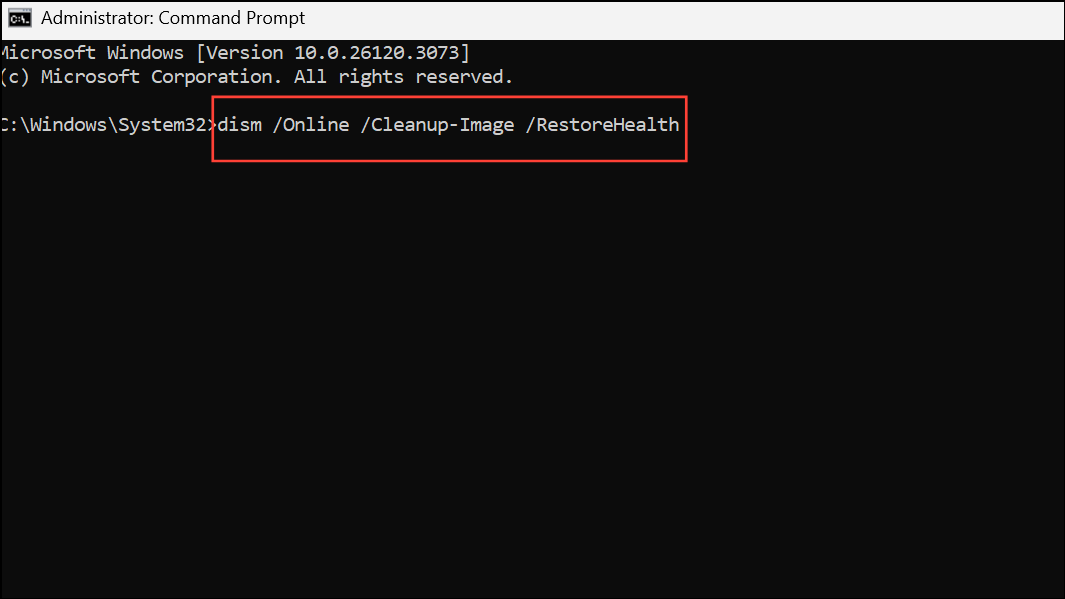
- Wait for the SFC scan to complete and then type
DISM /Online /Cleanup-Image /RestoreHealthbefore pressing Enter again.
- It is also a good idea to check your disk for errors using the
chkdsk C: /f /r /xcommand. Allow the scan to complete and then reboot your PC and check whether the error has been fixed.
Perform a Malware Scan
Your system may be infected with viruses or malware, which is why you should perform a malware scan using Windows Defender or your preferred third-party antivirus program.
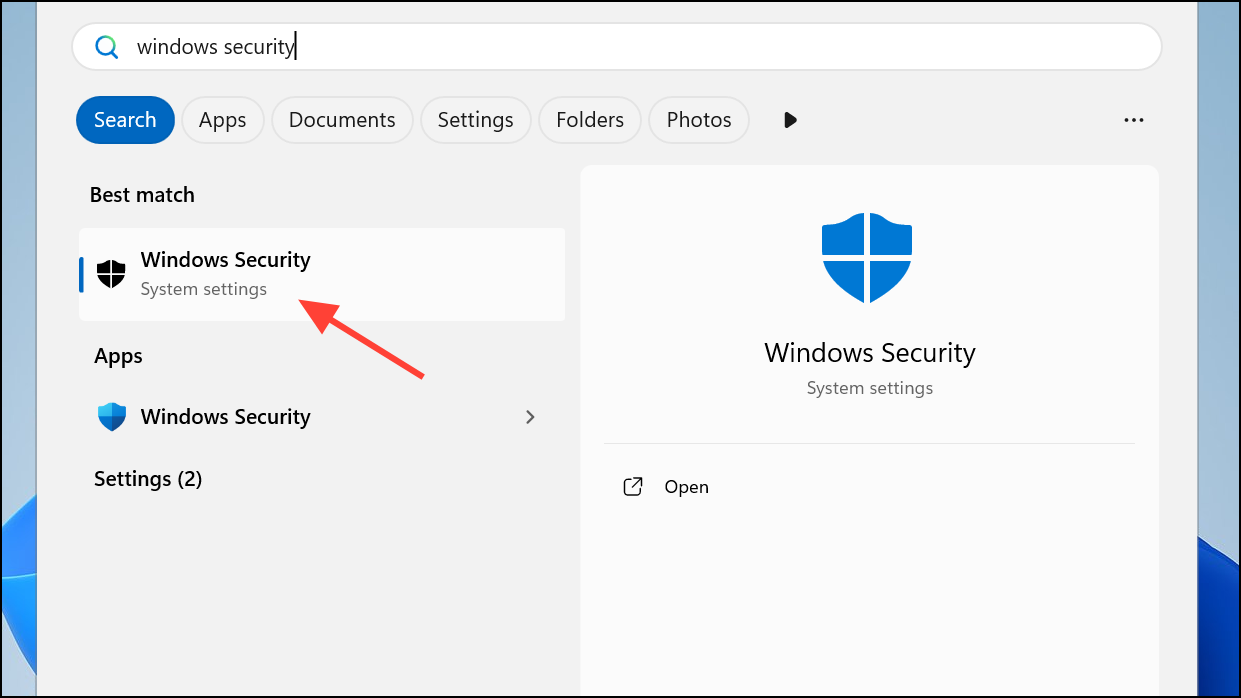
- Open Windows Security by searching for it in the Start menu.
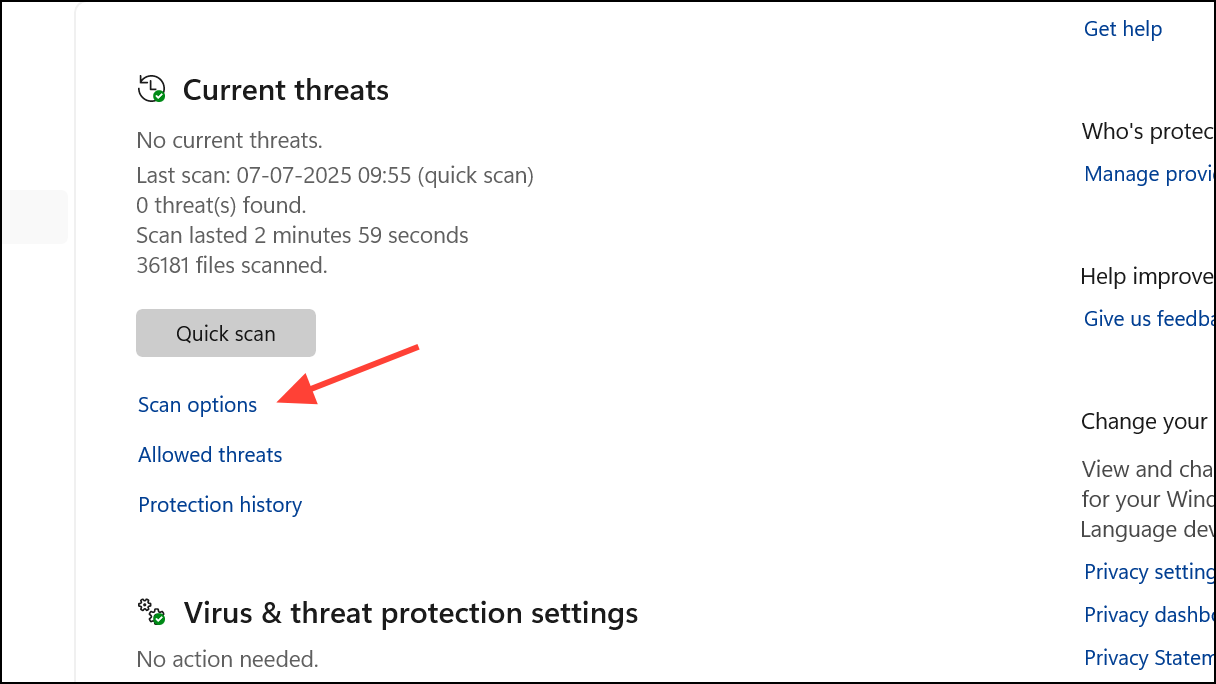
- Click Virus and Threat Protection in Windows Security and then select Scan options.
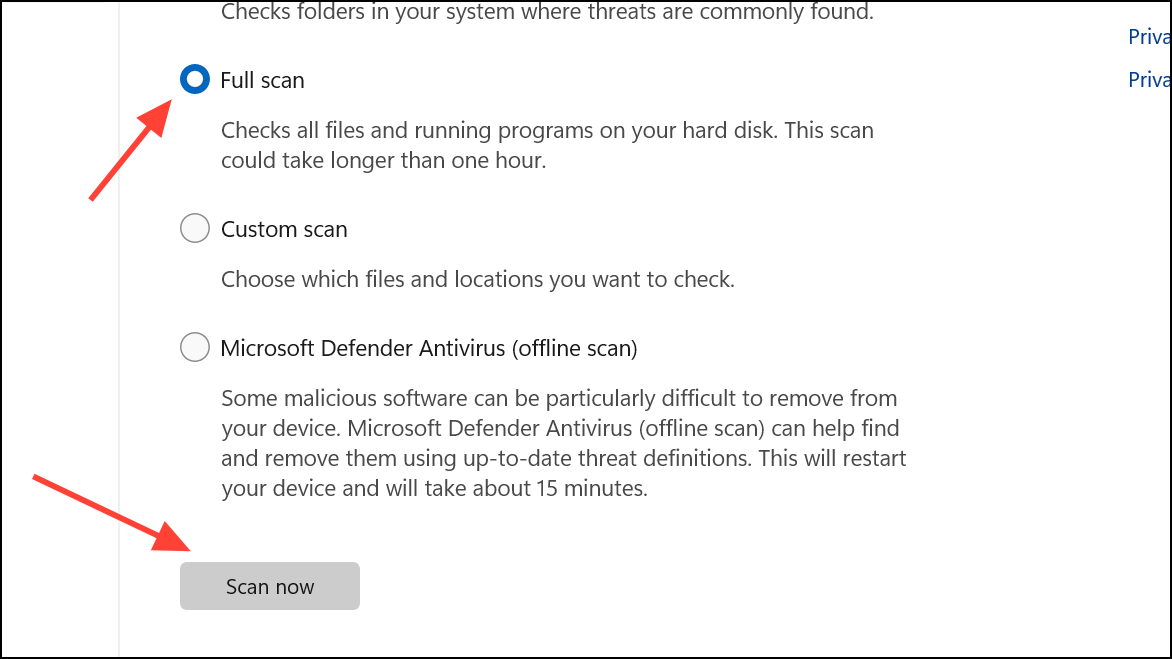
- Select Full Scan and click the Scan now button to start the scan.
Update or Reinstall Drivers
Faulty or obsolete drivers can sometimes cause problems, leading to error messages in Windows 11. You can update or reinstall drivers using the Device Manager built into Windows and see if that helps get rid of the problem.
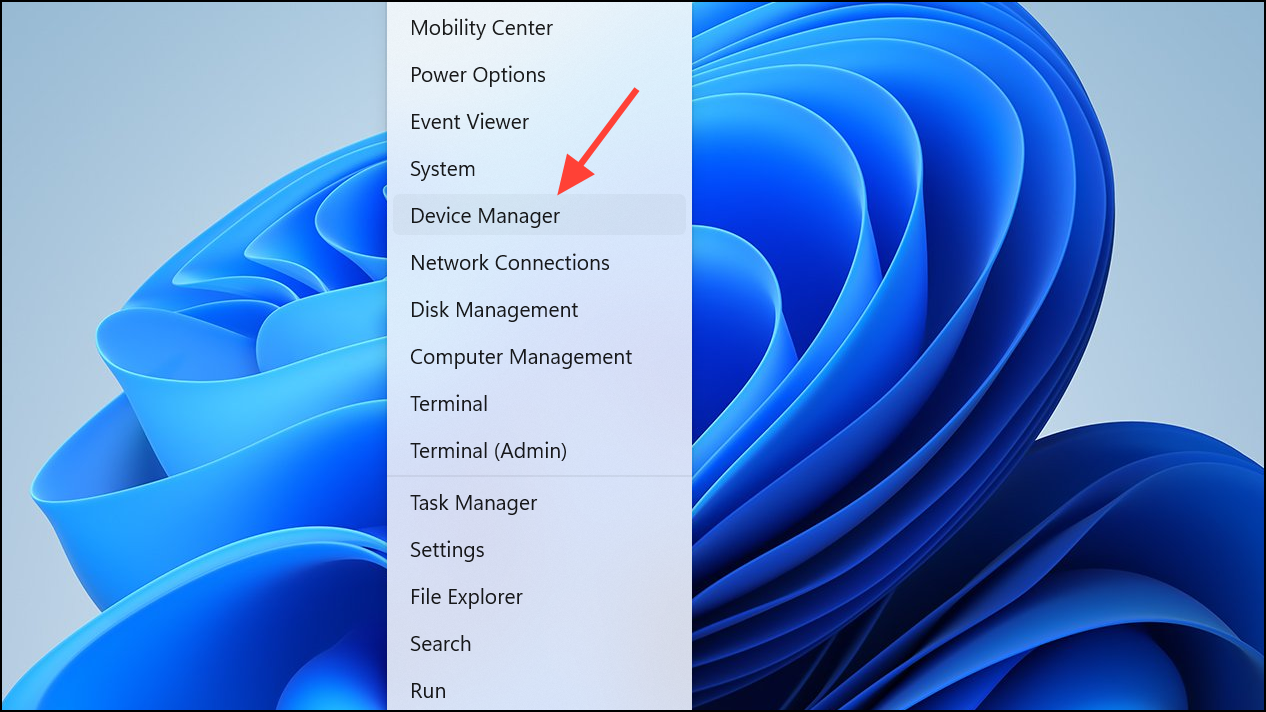
- Right-click the Start button and select Device Manager from the menu.
- Look for any devices with a yellow triangle and exclamation mark, which indicates a problem. Expand that device, right-click and select Update driver.
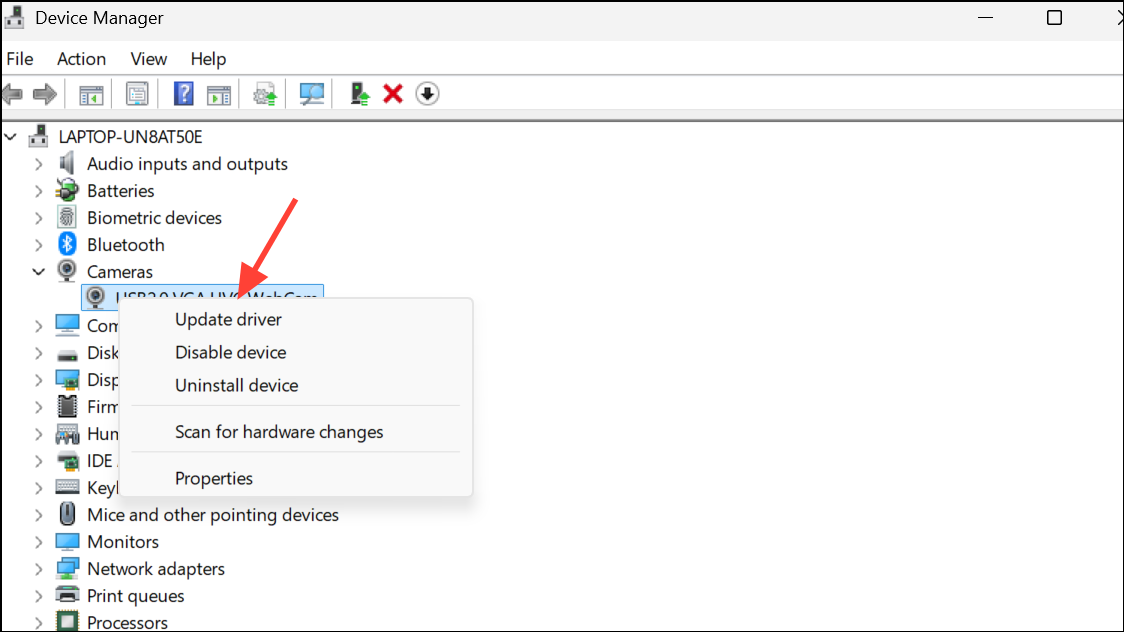
- Select Search automatically for drivers and wait for Windows to install the latest drivers.

- Restart your computer and check whether that gets rid of the problem. If it doesn't, open the Device Manager again, right-click the problematic device, and select Uninstall device.
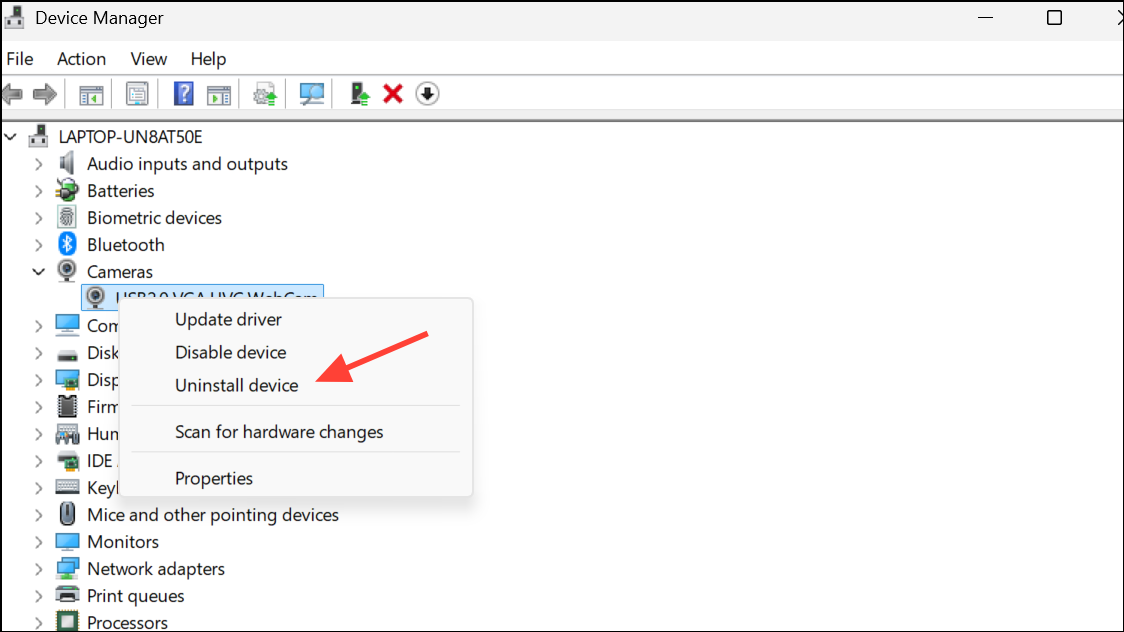
- Restart your PC, and Windows will reinstall the device, which should hopefully fix the error.
Reset Windows
Resetting Windows will revert your system to its default state, so it should only be done if nothing else works. However, you may have to rely on it if the above solutions do not work.
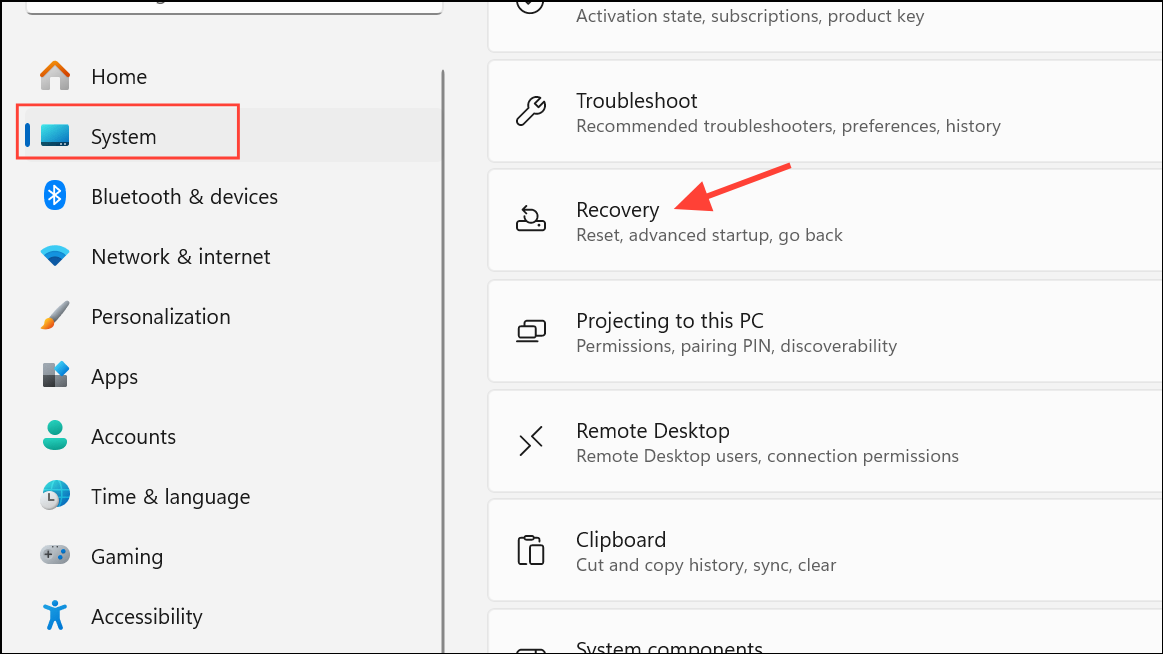
- Open the Settings app and click System on the left.
- Scroll down the System page and select Recovery.
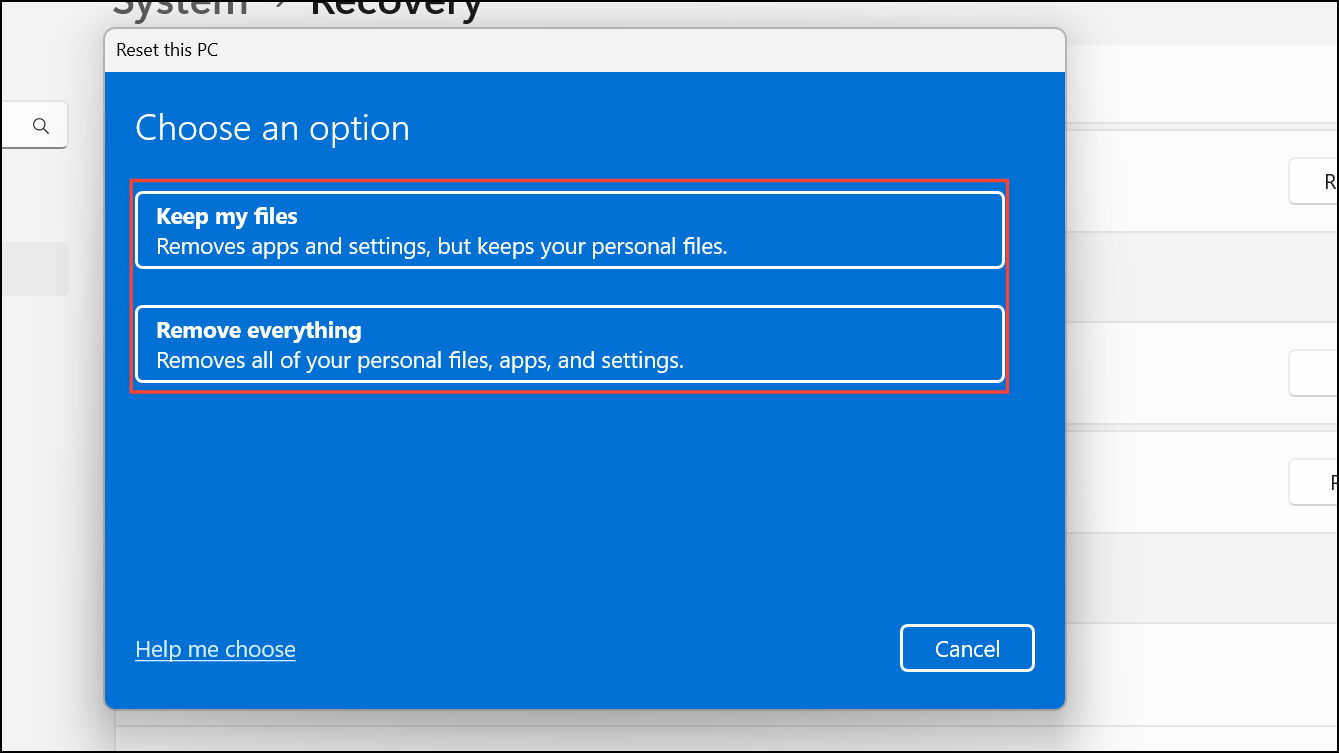
- Under Recovery options, click the Reset PC button on the right.

- Choose whether you want to keep your files or remove everything, and reinstall Windows from the cloud or locally. Windows will then start the reset process.
Make sure to back up your files and data when considering methods that involve resetting your PC. Generally, the Reset option should let you reinstall Windows easily without problems. However, in case it fails, you may have to download a fresh Windows 11 ISO from the official websiteHistory and create an installation USB for reinstalling Windows.