
Accessing a file or folder in Windows 11 sometimes leads to the message: “Unable to display current owner.” This issue blocks you from viewing, modifying, or deleting the affected items. The error typically stems from permission misconfigurations, file system corruption, or interference from third-party security tools. Addressing this problem requires targeted actions to restore ownership and permissions, ensuring you can manage your data as needed.
Take Ownership and Grant Full Control Using Command Prompt
Resetting ownership and permissions via the Command Prompt is the most effective way to resolve the “Cannot display owner” error, especially when standard graphical methods fail or result in “Access Denied.” This approach bypasses user account restrictions and applies changes at the system level.
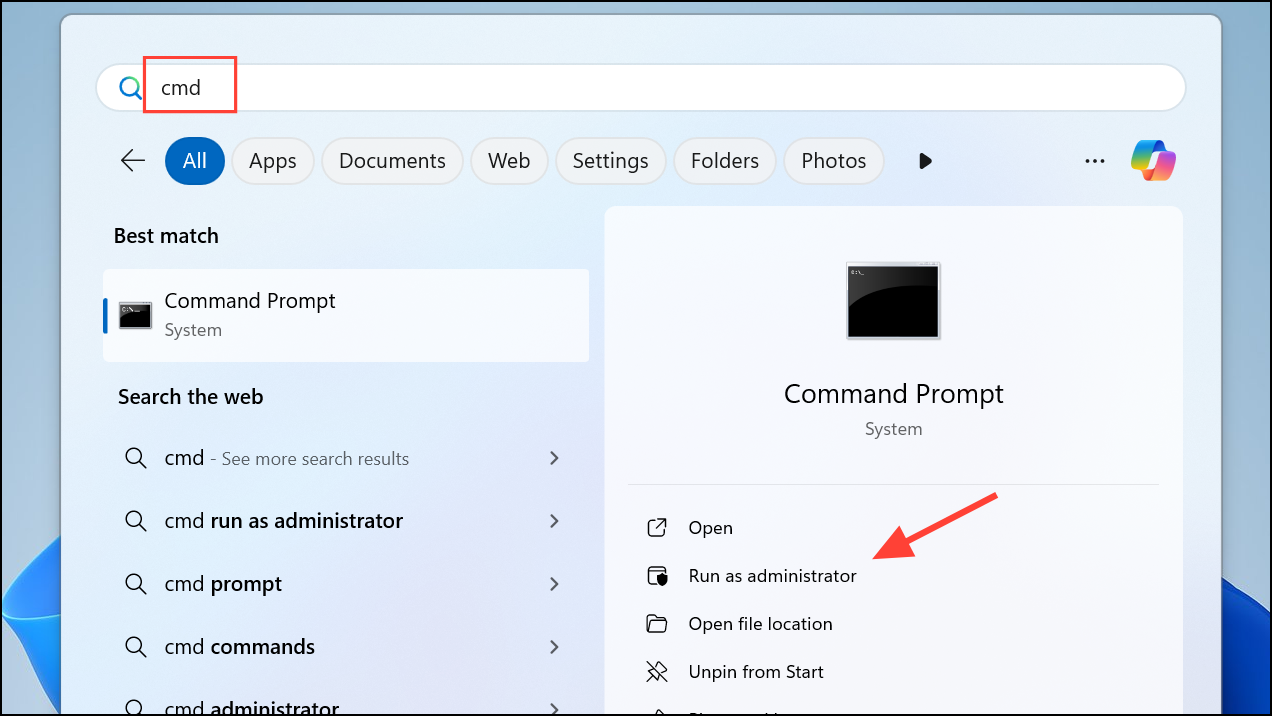
Step 1: Open an elevated Command Prompt by pressing Win + S, typing cmd, right-clicking Command Prompt, and choosing Run as administrator.
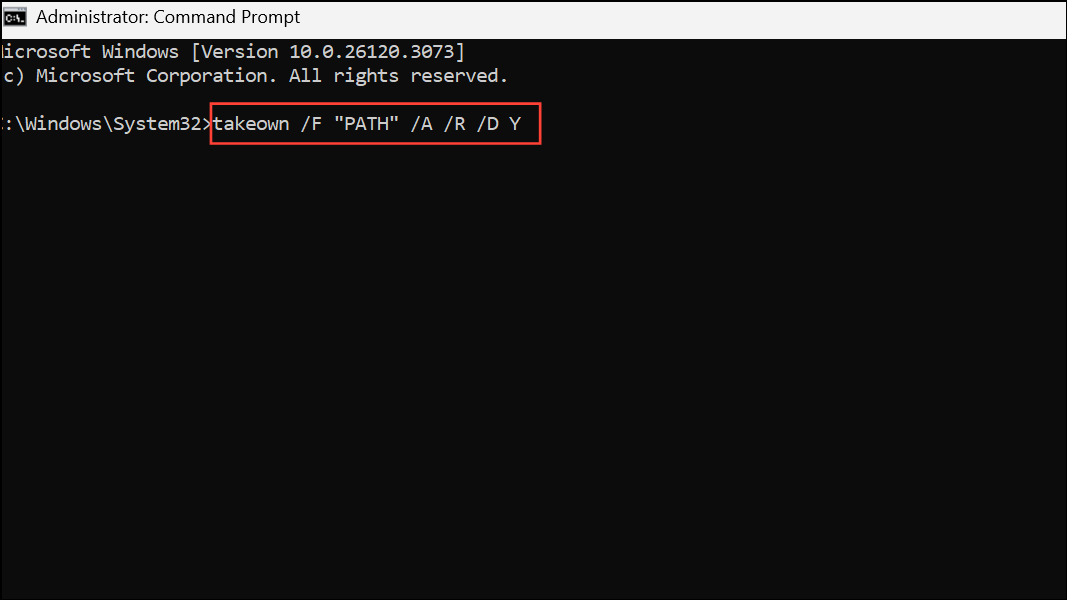
Step 2: Enter the following command to take ownership of the problematic file or folder. Replace PATH with the actual path (you can right-click the file/folder and select “Copy as path”):
takeown /F "PATH" /A /R /D YThis command assigns ownership to the Administrators group recursively for all contents.
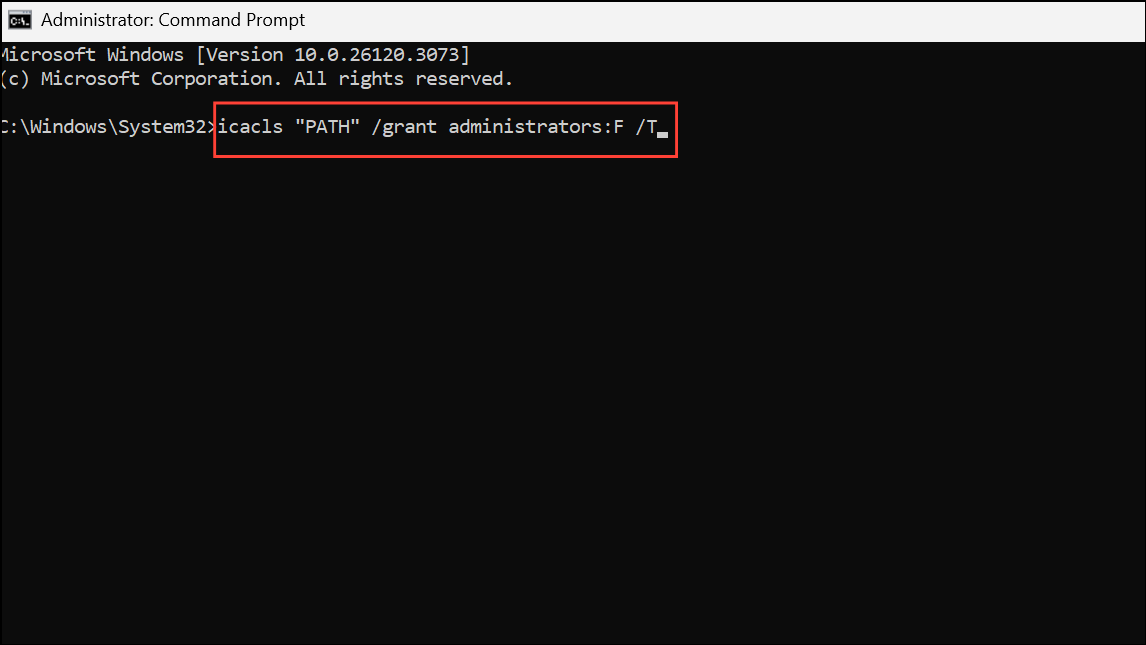
Step 3: After ownership is set, apply full control permissions for administrators:
icacls "PATH" /grant administrators:F /TThis grants full permissions to the Administrators group for the folder and all subfolders/files.
Step 4: Close Command Prompt and attempt to access or modify the file or folder again. If the error persists, restart your computer and retry.
Enable and Use the Built-in Administrator Account
Windows 11 includes a hidden administrator account with elevated privileges. Enabling this account can bypass stubborn permission issues, especially if your regular admin account cannot take ownership.
Step 1: Open an elevated Command Prompt as described previously.
Step 2: Type the following command to activate the built-in Administrator account:
net user administrator /active:yes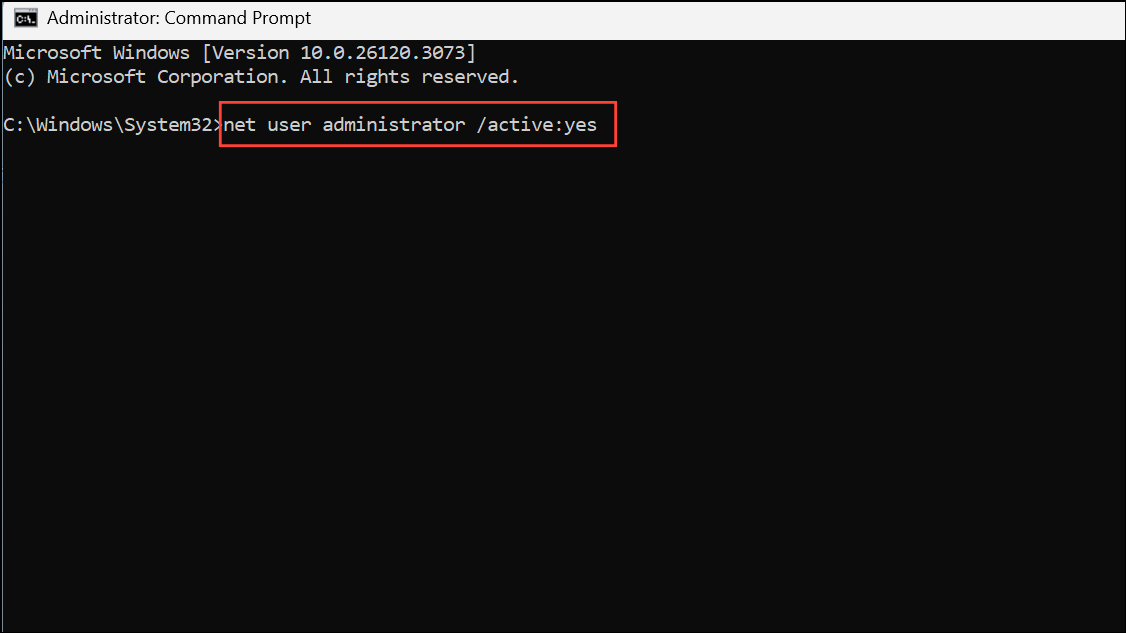
Step 3: Log out of your current user session and sign in to the new Administrator account that appears on the login screen.
Step 4: Attempt to access or modify the affected file or folder. If successful, you can correct permissions or copy the data elsewhere.
Step 5: Once finished, it’s critical to disable the built-in account for security. In an elevated Command Prompt, run:
net user administrator /active:no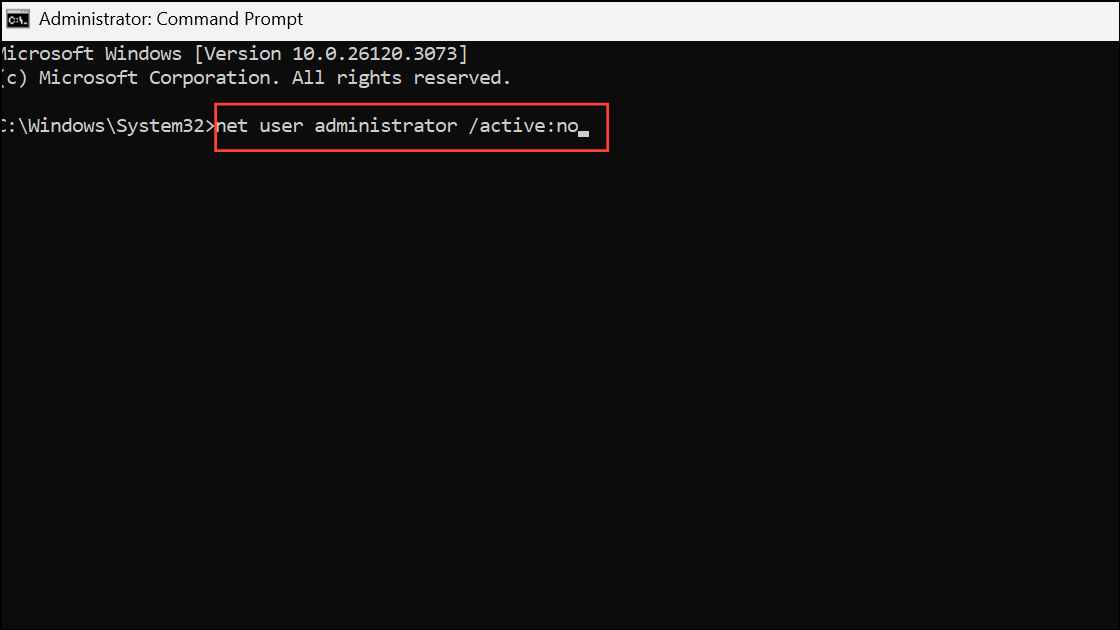
Disabling this account reduces the risk of unauthorized access or malware targeting the high-privilege account.
Check and Repair File System Errors
Corrupted file system metadata can cause ownership and permission inconsistencies, leading to the “Unable to display current owner” error. Running a file system check can repair these issues.
Step 1: Open an elevated Command Prompt.
Step 2: Run the following command, replacing C: with the drive letter containing the problematic file or folder:
chkdsk C: /f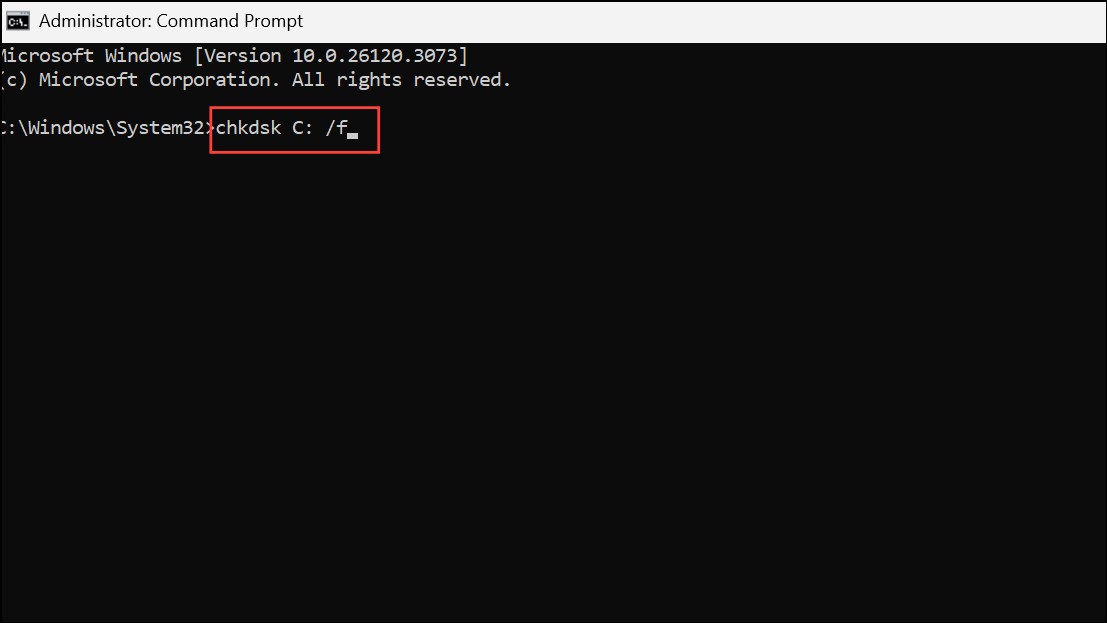
If prompted to schedule the check on next restart, type Y and press Enter. Then, restart your computer to allow the scan and repair process to complete.
For advanced scenarios, you can use the /sdcleanup switch to clean up security descriptor data:
chkdsk C: /f /sdcleanup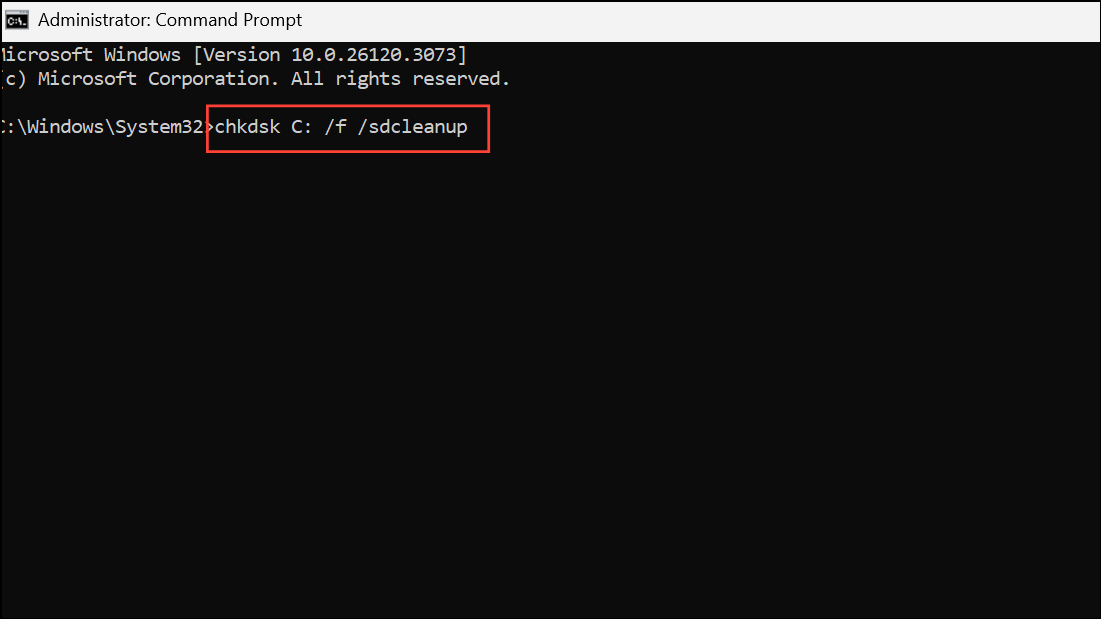
Use this option if regular repairs do not resolve the issue, but be aware it modifies security settings and should be used with caution.
Remove Third-Party Security or Folder Lock Software
Security utilities like Folder Lock, encryption tools, or some antivirus programs can restrict access or alter permissions, causing ownership errors. Uninstalling or temporarily disabling these applications may restore access.
Step 1: Press Win + R, type appwiz.cpl, and press Enter to open Programs and Features.
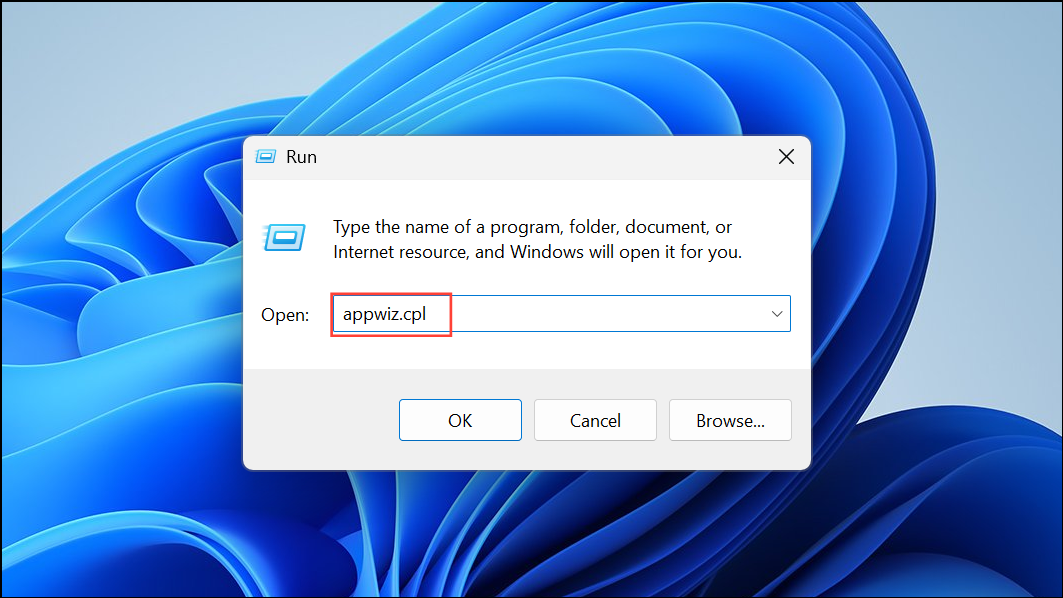
Step 2: Locate any folder locking, encryption, or security software in the list. Select it, click Uninstall, and follow the prompts.
Step 3: Restart your computer and try accessing the file or folder again.
If your organization requires these programs, consult IT support before removal to avoid violating policies.
Set Folder or File Attributes to Remove Read-Only Status
Some folders or files marked as “Read-only” may block ownership changes. Adjusting attributes can resolve this.
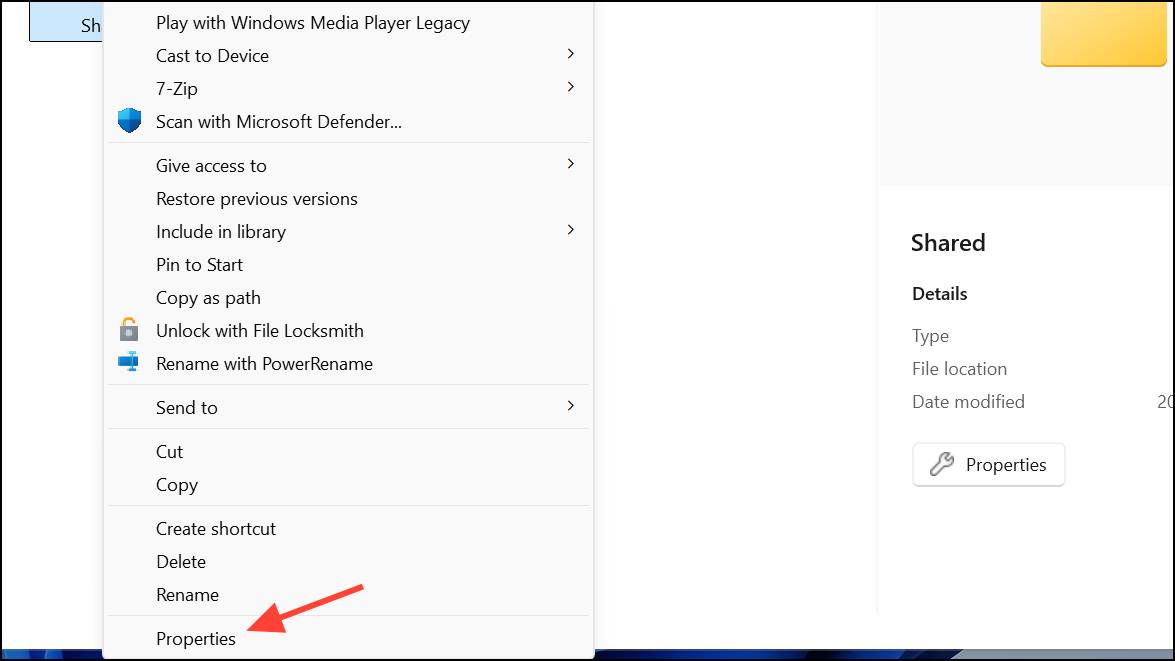
Step 1: Right-click the affected file or folder and select Properties.
Step 2: In the General tab, uncheck the Read-only box in the Attributes section. Click Apply and OK.
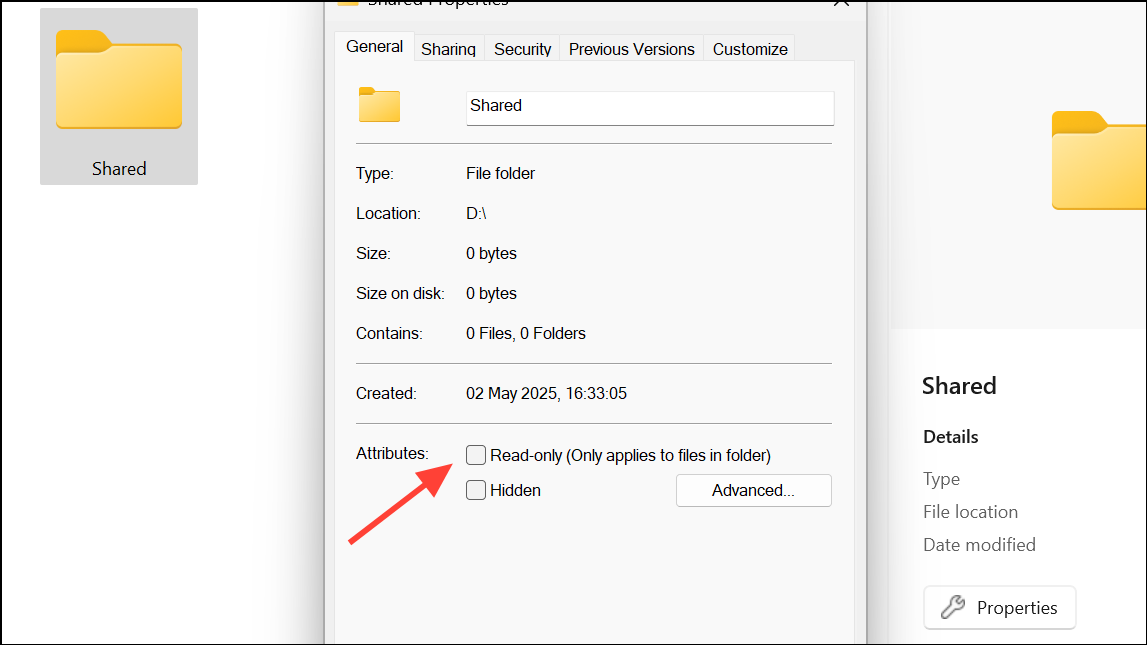
Step 3: Retry accessing or modifying the item.
Reset Permissions via Advanced Security Settings
If manual command-line methods do not work, you can attempt to reset permissions using the graphical interface.
Step 1: Right-click the file or folder, select Properties, and go to the Security tab.
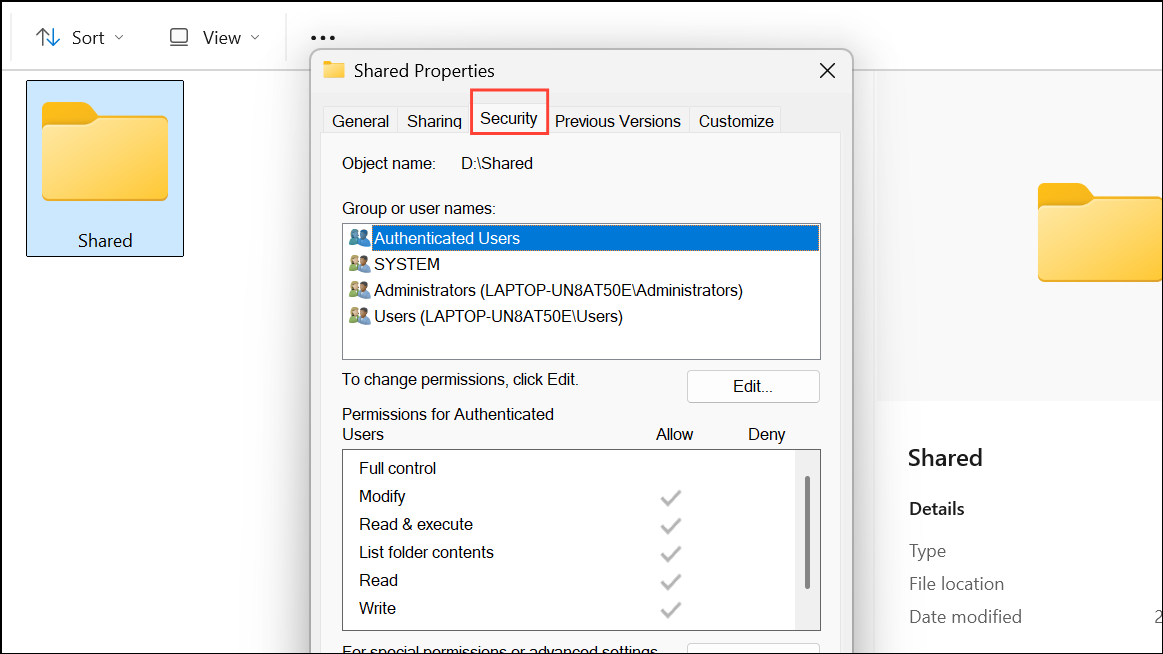
Step 2: Click Advanced. In the Permissions tab, click Add, then Select a principal, and enter Authenticated Users or your username. Grant Full control and apply changes.
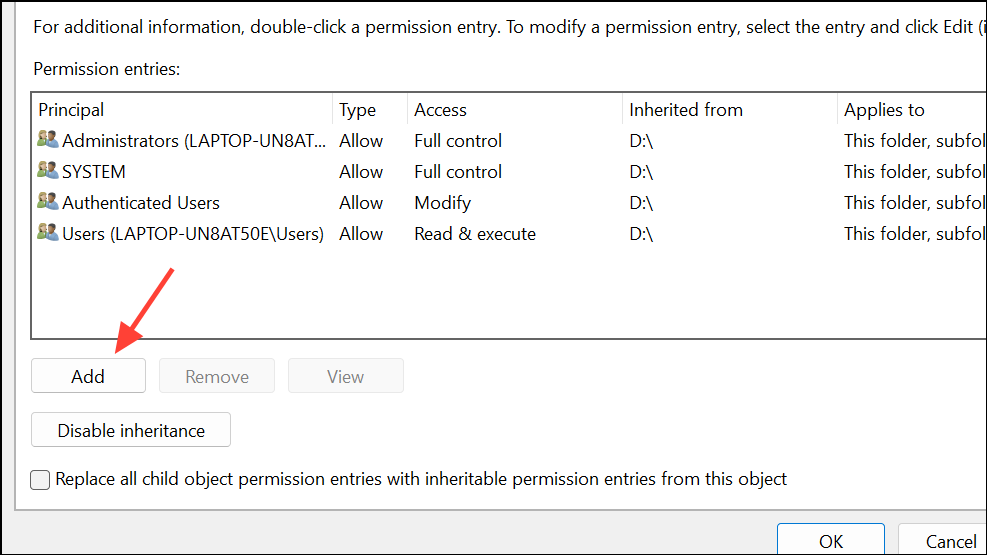
If you receive errors or the owner field is blank, revert to command-line methods for greater reliability.
Check for Locked Files or System Processes
Open files or folders in use by system processes may resist ownership changes. Ensure nothing is using the item:
- Restart your computer to close all file handles.
- Use utilities like
openfilesorProcess Explorerto check for locks. - Try making changes in Safe Mode, where fewer services run.
Additional Considerations and Maintenance
If none of the above methods resolve the issue, consider creating a new user account and migrating your data, or restoring from a backup if file system corruption is severe. Always keep regular backups and avoid using the built-in Administrator account except when absolutely necessary, as it presents a security risk if left enabled.
Resolving the “Unable to display current owner” error restores access to your files and helps prevent future permission headaches. Test access after each step and maintain backups to safeguard against similar issues down the line.