
Experiencing issues with the ‘Delete’ key on your Windows 11 PC can be quite frustrating. While it doesn’t render your computer unusable, it can hinder your productivity by forcing you to find alternative ways to perform simple tasks. Fortunately, there are several solutions you can try to fix this problem. This guide will walk you through the most effective methods to get your ‘Delete’ key working again.
1. Update Keyboard Drivers
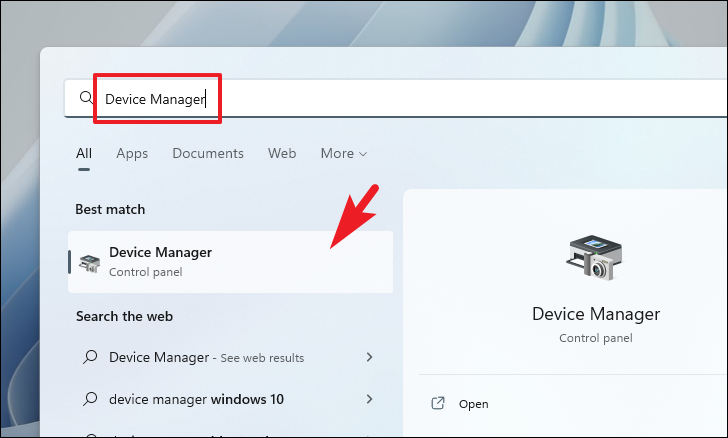
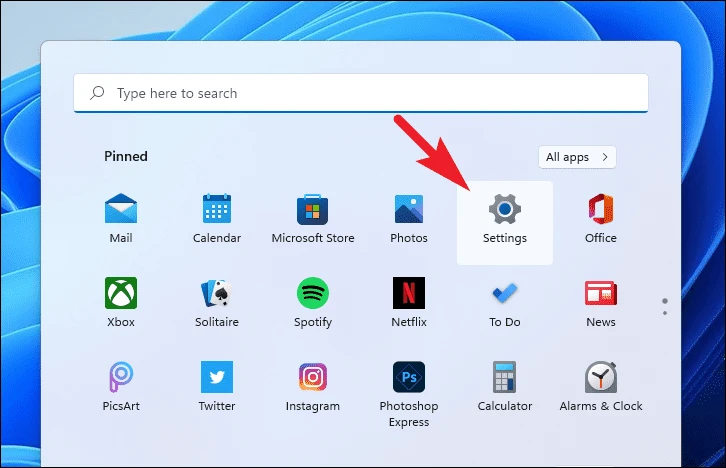
A common cause for the ‘Delete’ key not functioning is outdated or corrupted keyboard drivers. Updating these drivers can often resolve the issue. You can update the drivers through the Settings app or the Device Manager.
Download & install.
Once the updates are installed, restart your PC and check if the ‘Delete’ key is working properly.
If you prefer using the Device Manager to update the drivers:
Update driver from the context menu.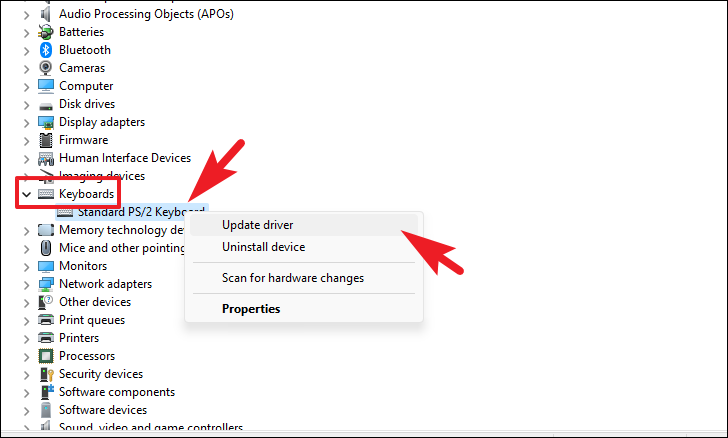
Search automatically for drivers to let Windows search for the latest driver software.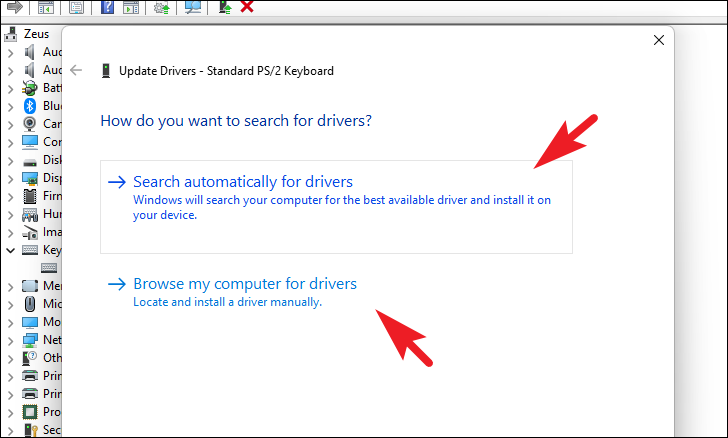
After updating the driver, restart your computer and see if the issue has been resolved.
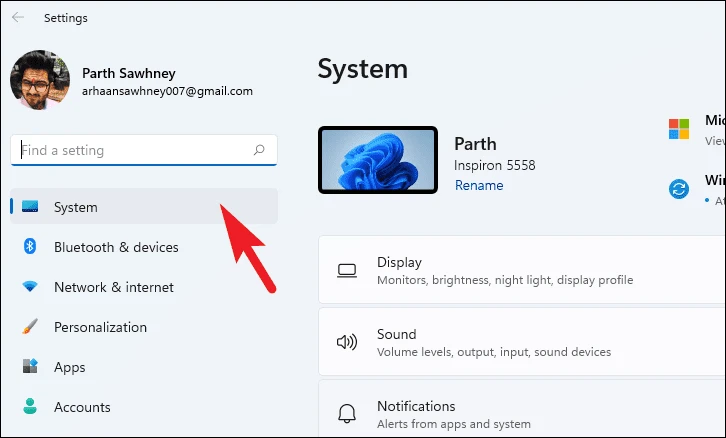
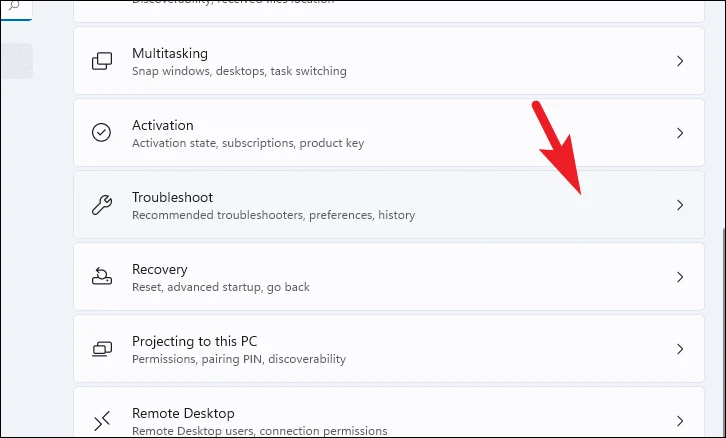
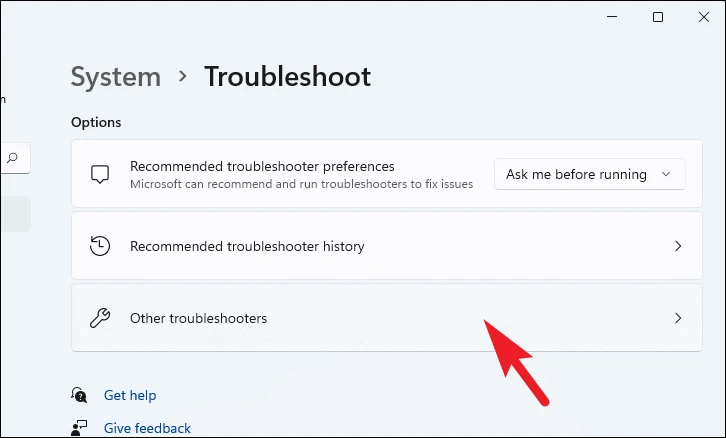
2. Run the Keyboard Troubleshooter
Windows 11 includes a built-in keyboard troubleshooter that can help identify and fix problems with your keyboard, including non-working keys.
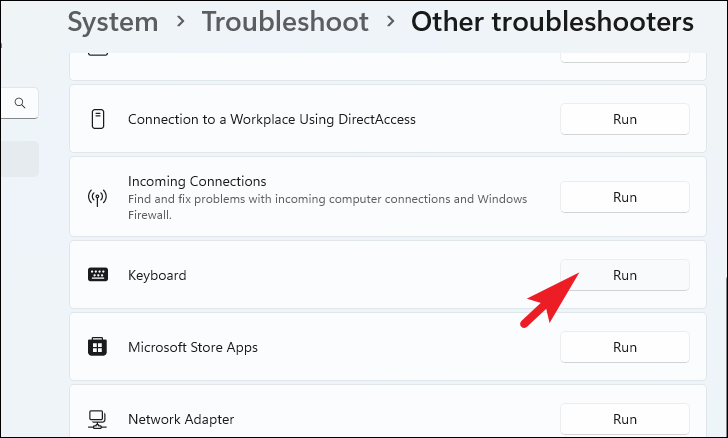
Follow the on-screen instructions to complete the troubleshooting process. Once finished, check if your ‘Delete’ key is operational.
3. Check for Physical Issues
Before diving into software fixes, it’s important to rule out any physical problems with your keyboard. Make sure there’s no dust, debris, or damage affecting the ‘Delete’ key.
Inspect your keyboard for any visible signs of wear or damage. Press the ‘Delete’ key several times to see if it feels normal. If the key is sticky, unresponsive, or makes unusual sounds, there might be a mechanical issue. Cleaning the keyboard or replacing the key might be necessary in such cases.
4. Connect an External Keyboard
To determine if the issue is with your keyboard hardware, try connecting an external keyboard to your computer.
If the ‘Delete’ key works on the external keyboard, it’s likely that your built-in keyboard has a hardware problem. This helps rule out software issues and indicates that you might need to repair or replace the built-in keyboard.
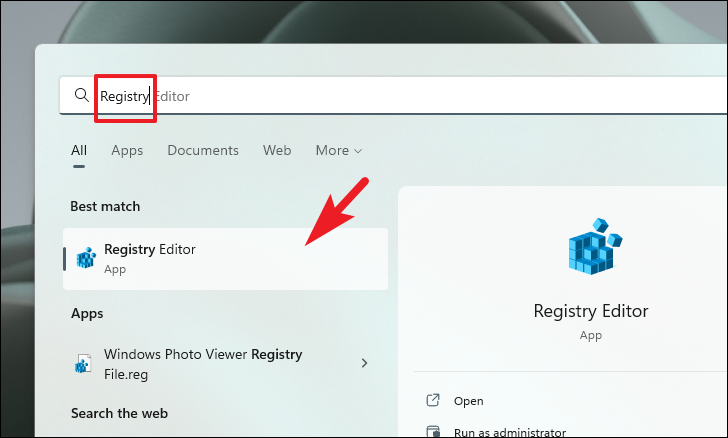
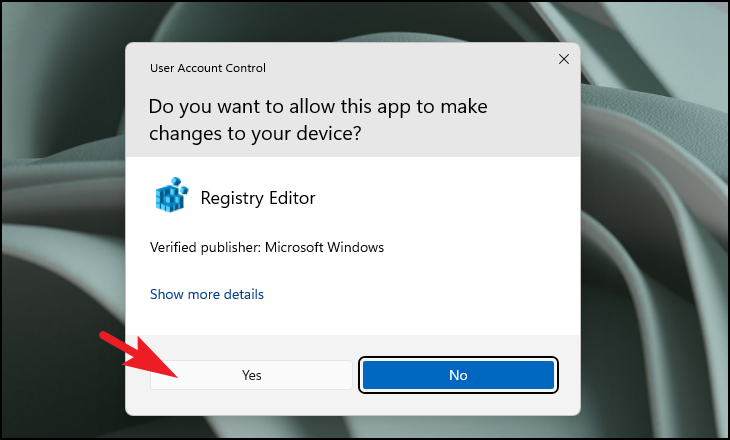
5. Force Keyboard Rescan
If the problem persists, you can force Windows to rescan your keyboard by deleting the current keyboard layout registry or using PowerShell.
Using Registry Editor:
Computer\HKEY_LOCAL_MACHINE\SYSTEM\CurrentControlSet\Control\Keyboard Layout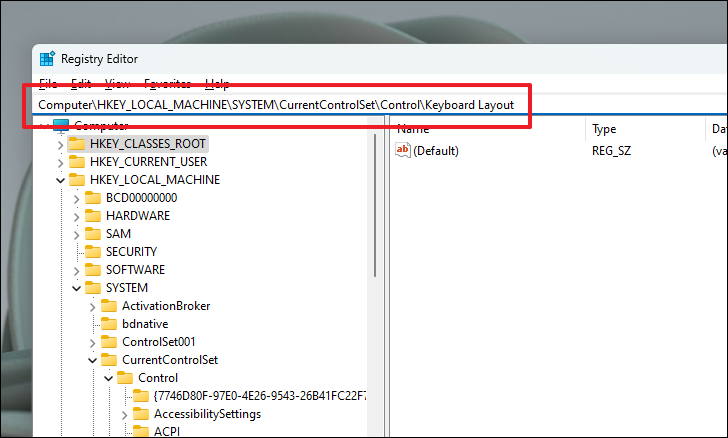
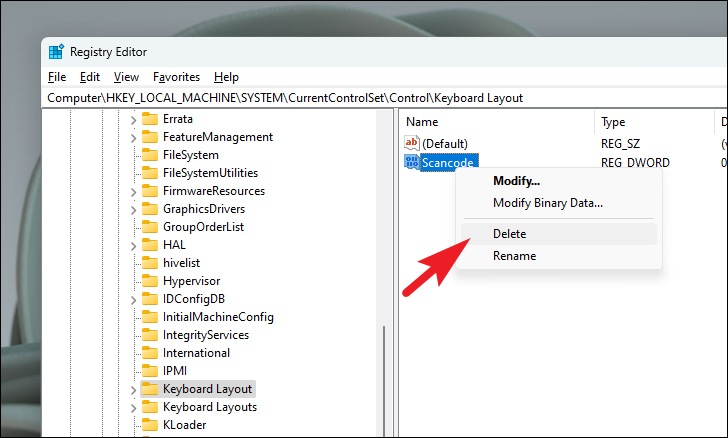
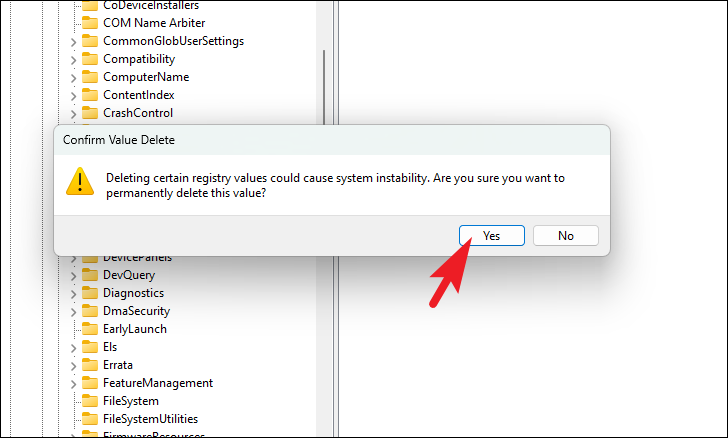
Restart your computer and see if the ‘Delete’ key is now working.
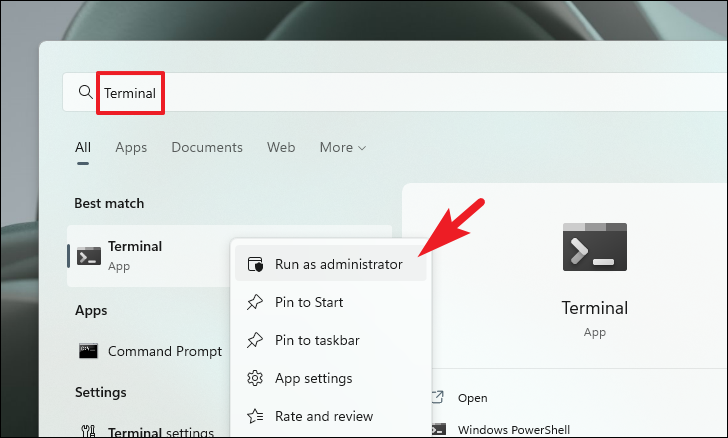
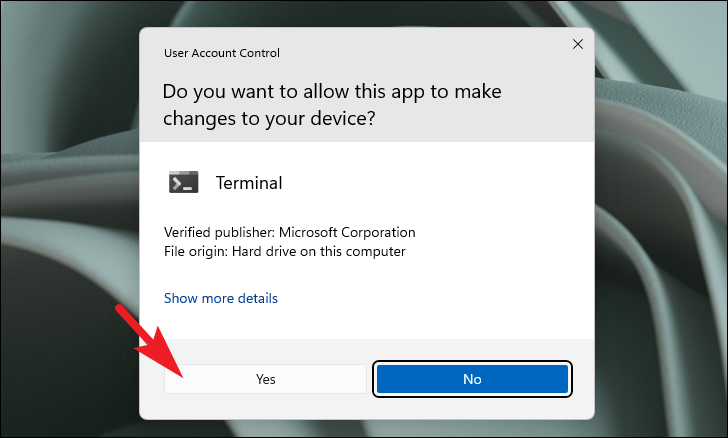
Using PowerShell:
If you’re uncomfortable editing the registry or the Scancode Map entry doesn’t exist, you can use PowerShell to rescan the keyboard layout.
Get-AppXPackage -AllUsers | Foreach {Add-AppxPackage -DisableDevelopmentMode -Register "$($_.InstallLocation)\AppXManifest.xml"}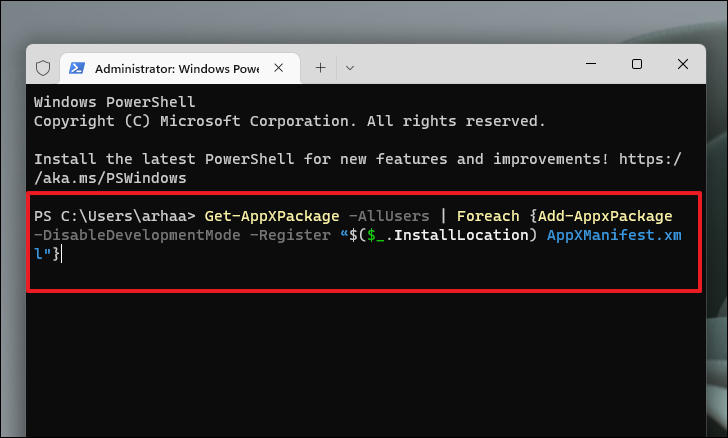
After the command executes, restart your PC and check if the ‘Delete’ key functions properly.
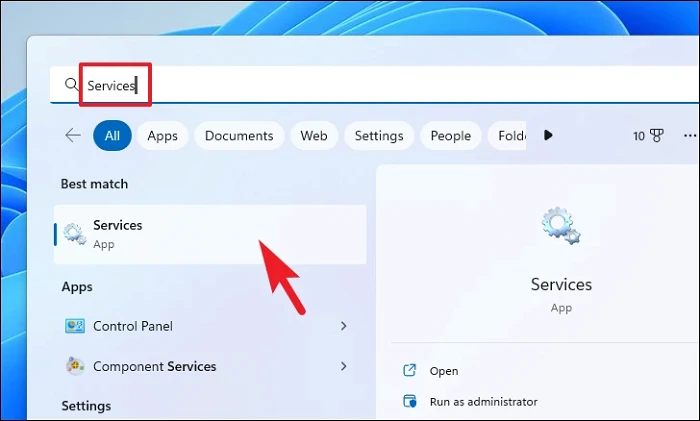
6. Enable Keyboard and Tablet Input Service
If multiple keys on your keyboard are not working, it’s possible that the keyboard services are disabled. Enabling these services might fix the issue.
Microsoft Keyboard Filter. Double-click on it to open its properties.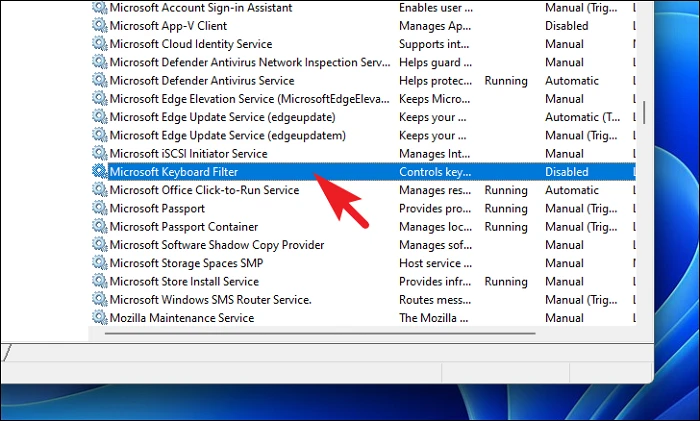
Startup type to Automatic. Click Apply and then OK to save the changes.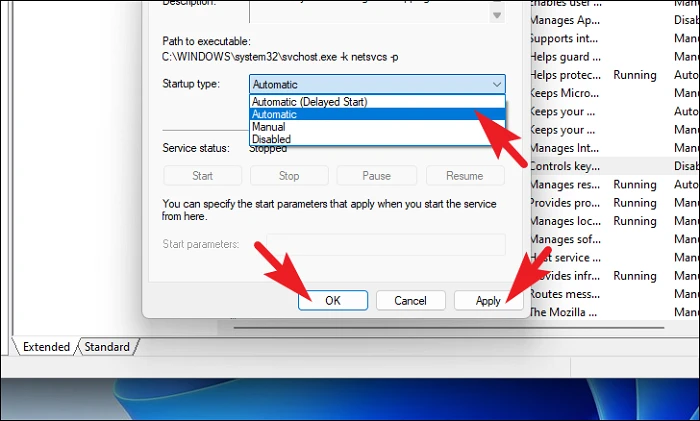
After enabling these services, restart your computer and test if the ‘Delete’ key is working.
7. Run DISM and SFC
System file corruption can cause keys to malfunction. Running the Deployment Image Servicing and Management (DISM) tool and the System File Checker (SFC) can repair corrupted system files.
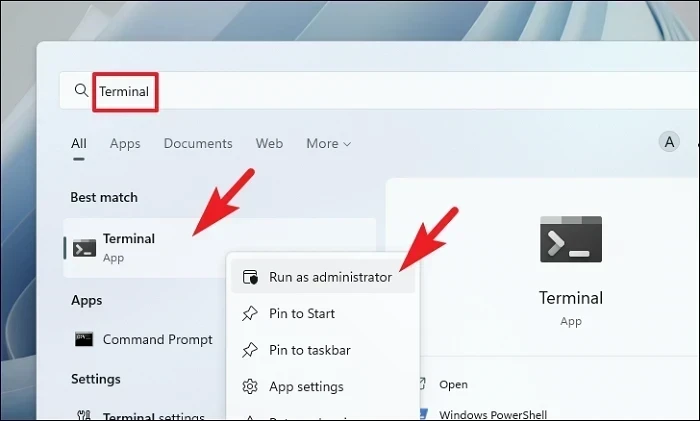
Command Prompt from the dropdown menu.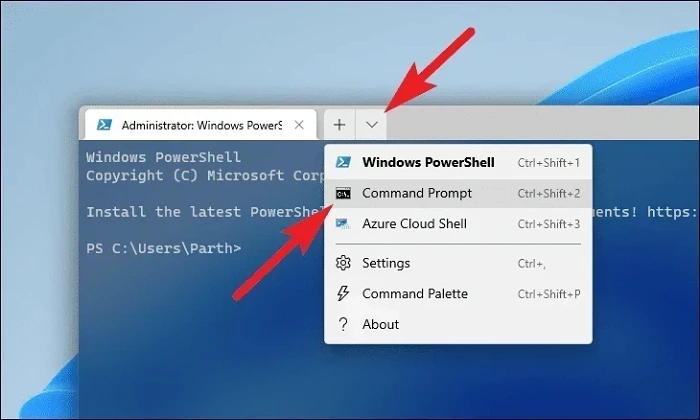
DISM /Online /Cleanup-Image /RestoreHealth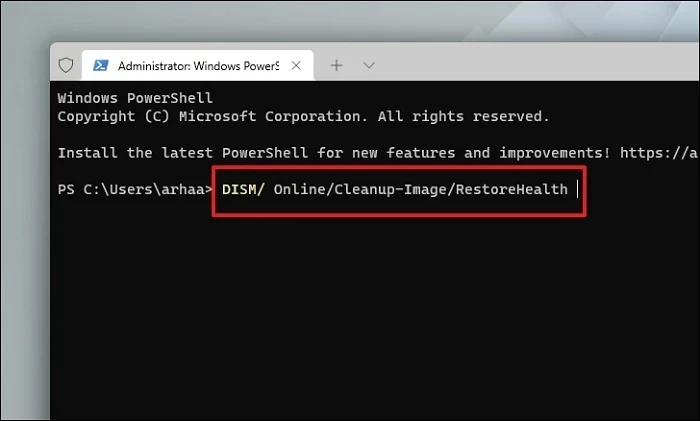
sfc /scannow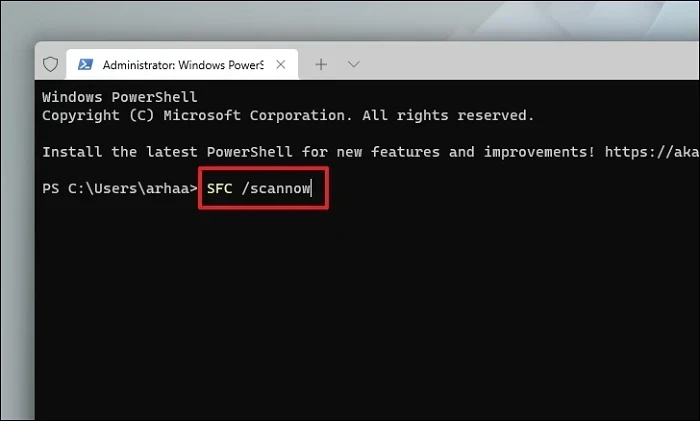
After both scans are finished, restart your PC and check if the ‘Delete’ key issue is resolved.
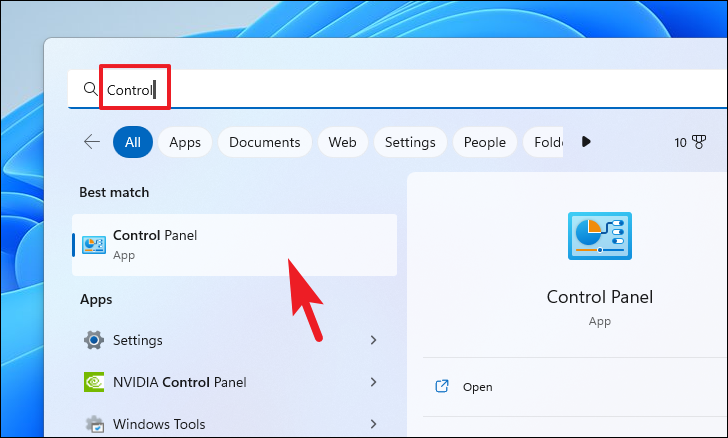
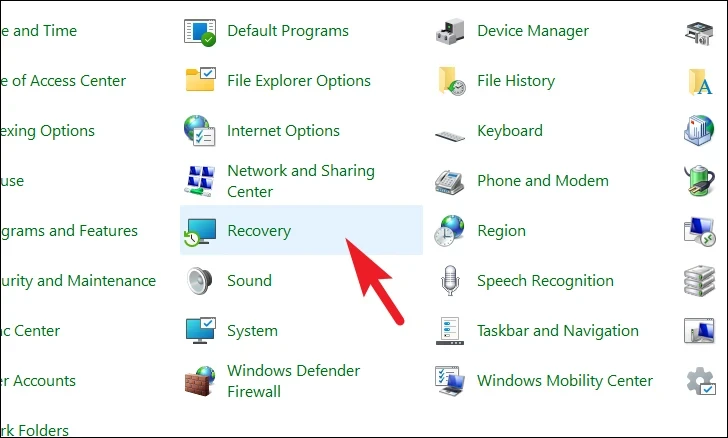
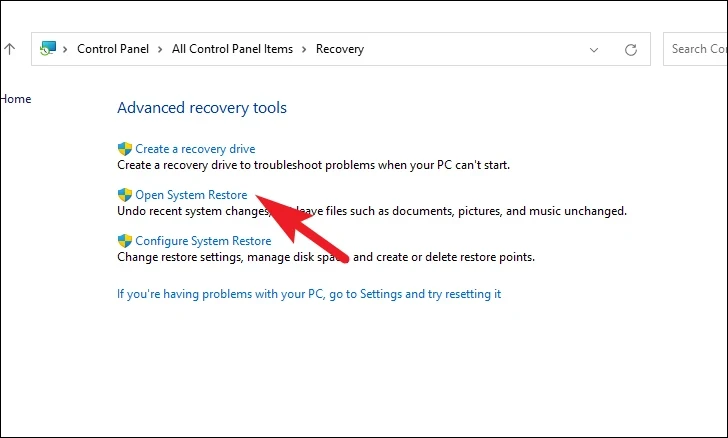
8. Roll Back to a System Restore
If the ‘Delete’ key stopped working after a recent update or software installation, rolling back your system to an earlier restore point might fix the problem.
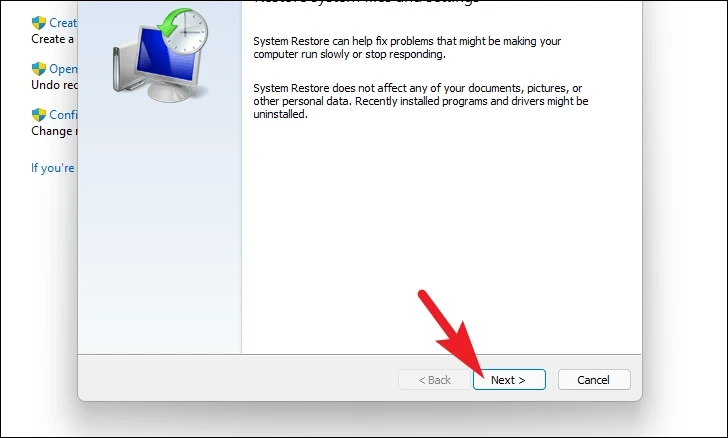
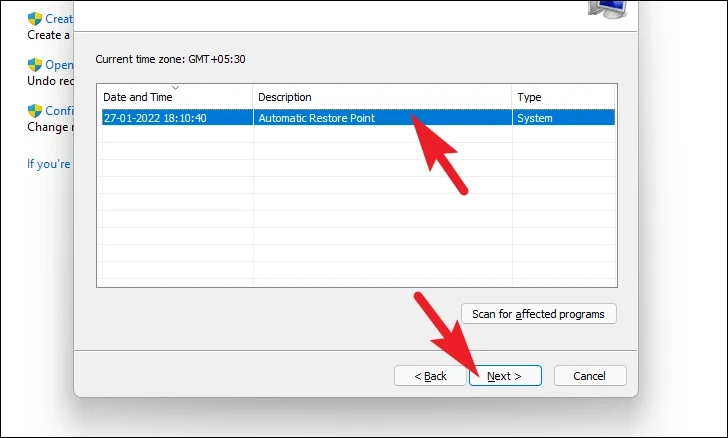
Scan for affected programs. Review the list, then click Close.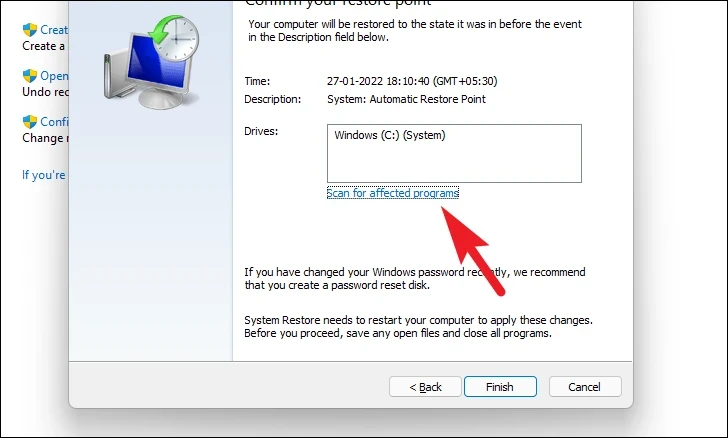
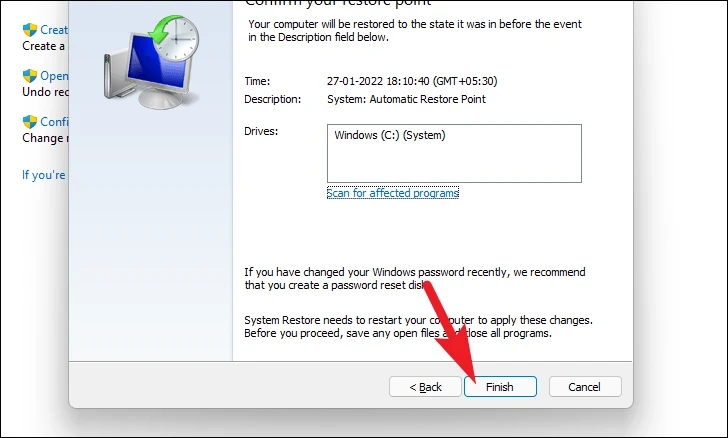
After the system restores, check if the ‘Delete’ key is functioning correctly.
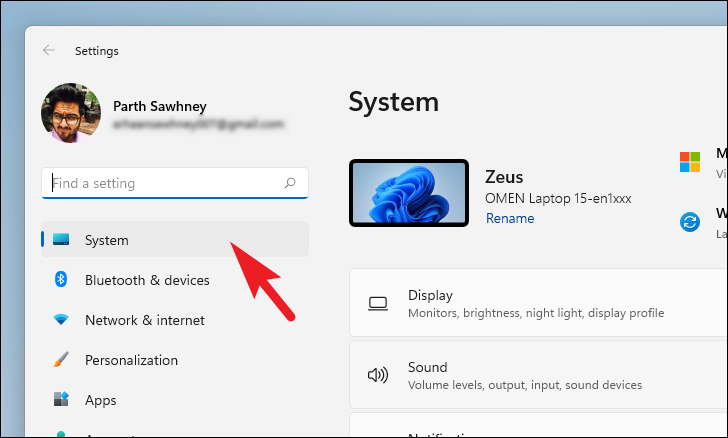
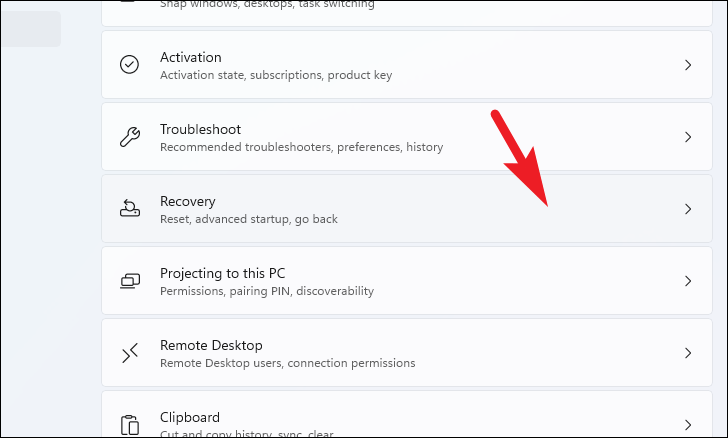
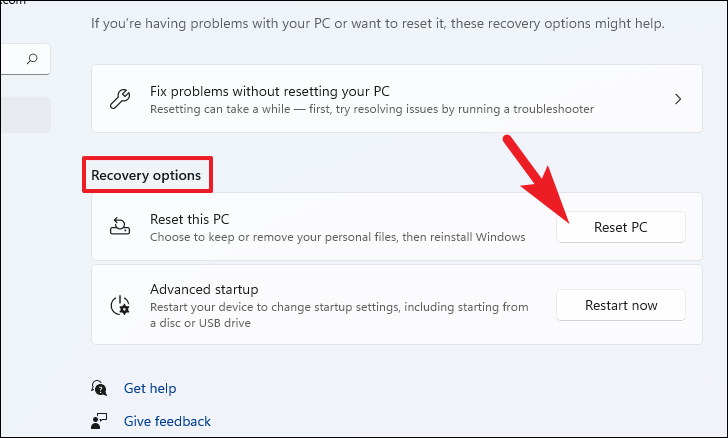
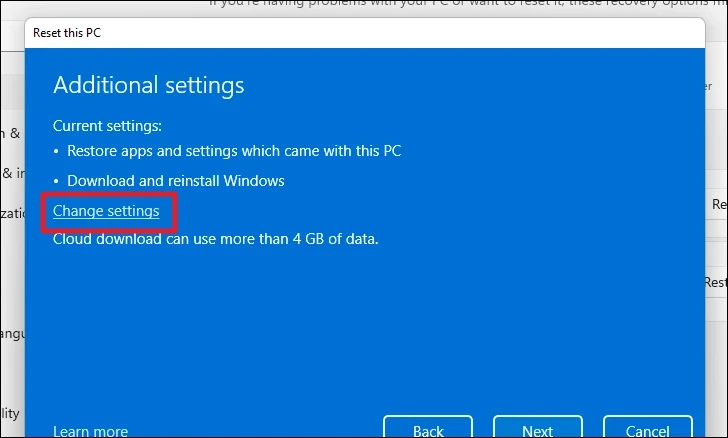
9. Reset Your PC
If none of the above methods work, resetting your PC might be the last resort. This process reinstalls Windows but lets you choose to keep your personal files.
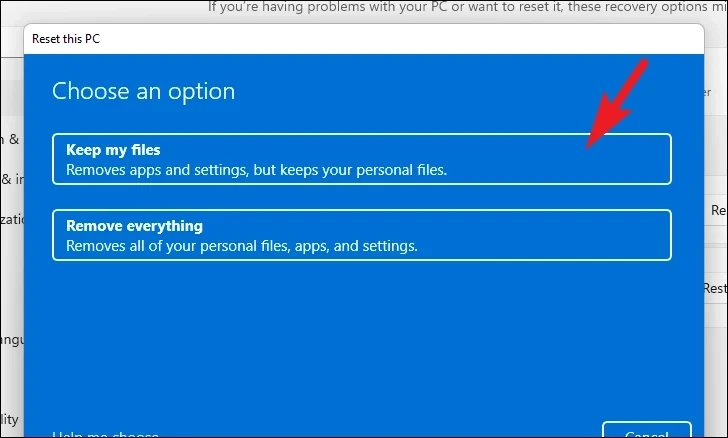
Cloud download to reinstall Windows from the cloud. Note that this requires an internet connection and will use over 4 GB of data.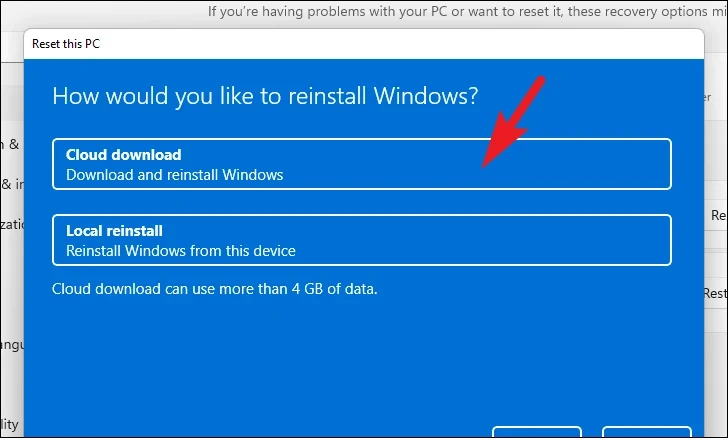
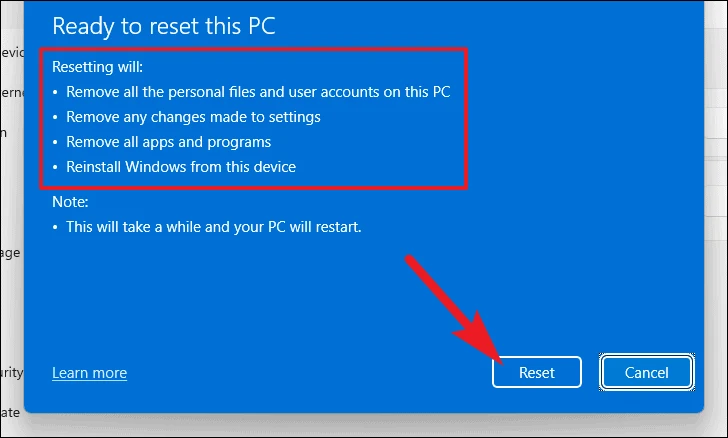
Once the reset is complete, check if the ‘Delete’ key is working. Remember that this process reinstalls Windows but keeps your personal files; however, you may need to reinstall some apps.
Hopefully, one of these methods has helped you fix the problem with your ‘Delete’ key not working in Windows 11.


