How to Fix Windows 11 Update Error 0x800b0109, Some Update Files aren’t Signed Correctly
If you are encountering the 0x800B0109 error code with the message ‘Some update files aren't signed correctly’ on your Windows 11 PC, one of these 11 solutions will surely fix it.
If you are encountering the 0x800B0109 error code with the message ‘Some update files aren’t signed correctly’ on your Windows 11 PC, one of these 11 solutions will surely fix it.
by Raj Kumar
If you’re encountering the Windows 11 Update Error 0x800b0109 along with the message ‘Some Update Files Aren’t Signed Correctly’, you’re not alone. This error indicates issues with the digital signatures of certain update files, causing Windows to halt the update process. Thankfully, there are several solutions to address this problem and get your system updated properly.
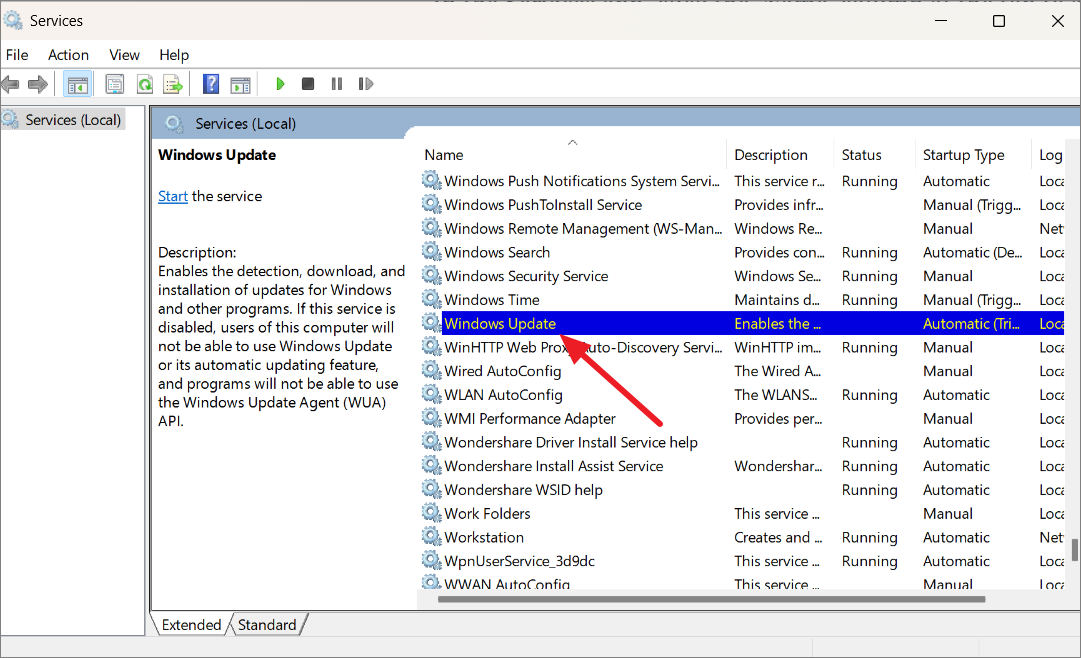
Reset Windows Update Components and Policies
Resetting the Windows Update components can often resolve issues related to corrupt or misconfigured update files. This method involves stopping essential services, renaming problematic folders, and re-registering crucial system files.
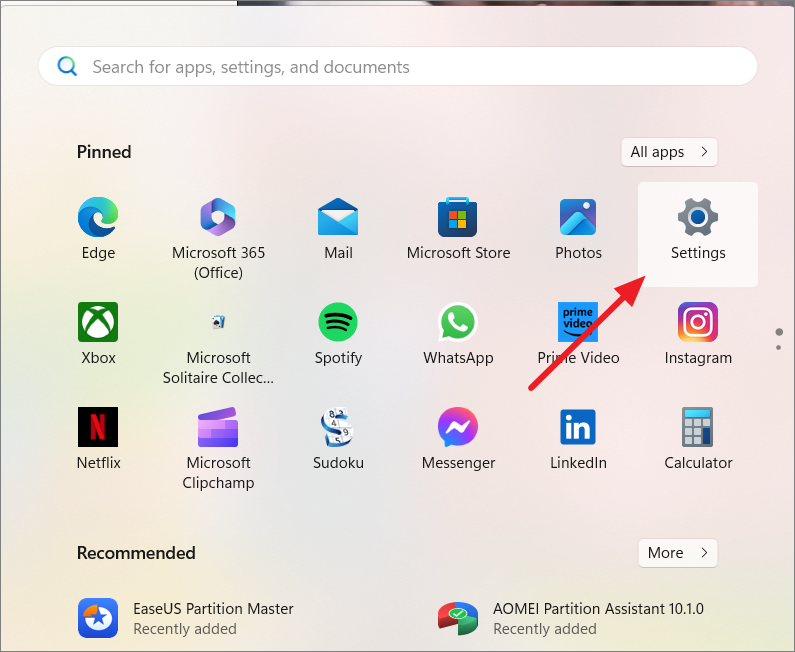
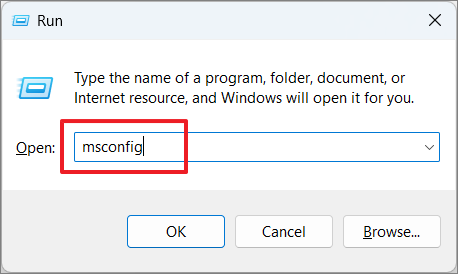
Open the Command Prompt with administrative privileges. Type cmd in the Windows search bar, right-click on ‘Command Prompt’, and select ‘Run as administrator’.
In the Command Prompt window, stop the BITS, Windows Update, Application Identity, and Cryptographic services by entering the following commands one by one, pressing Enter after each:
net stop bits
net stop wuauserv
net stop appidsvc
net stop cryptsvc
Close the Command Prompt and restart your computer to apply the changes. After rebooting, attempt to update Windows again to see if the error persists.
Run DISM and SFC Scans
Corrupted system files can lead to update errors. Running the Deployment Image Servicing and Management (DISM) and System File Checker (SFC) scans can repair these files.
Restart your computer and check if the Windows Update error is resolved.
Disable Third-Party Antivirus or Firewall
Sometimes, third-party antivirus software or firewall settings can block Windows Update processes. Temporarily disabling them can help identify if they’re causing the issue.
Attempt to run Windows Update again. If the update succeeds, remember to re-enable your antivirus or firewall to keep your system protected.
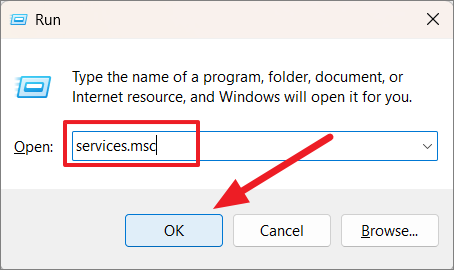
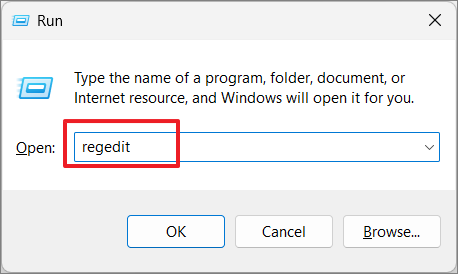
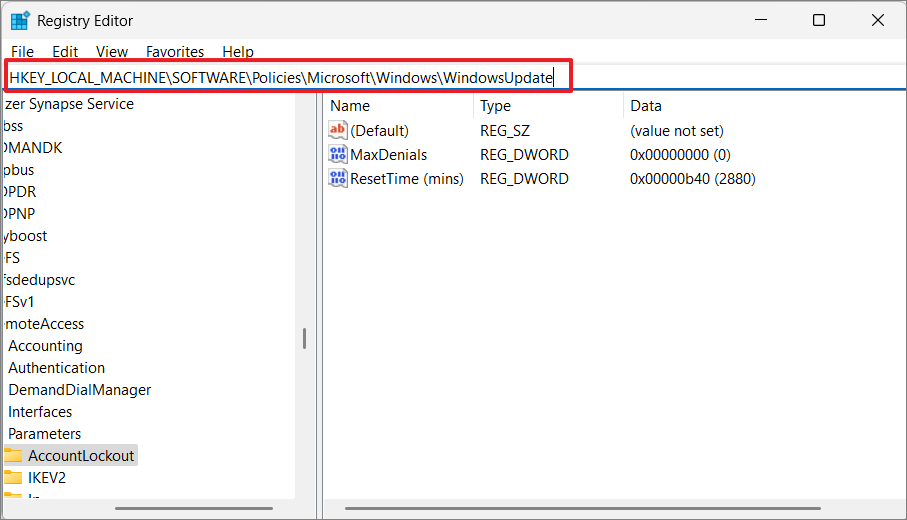
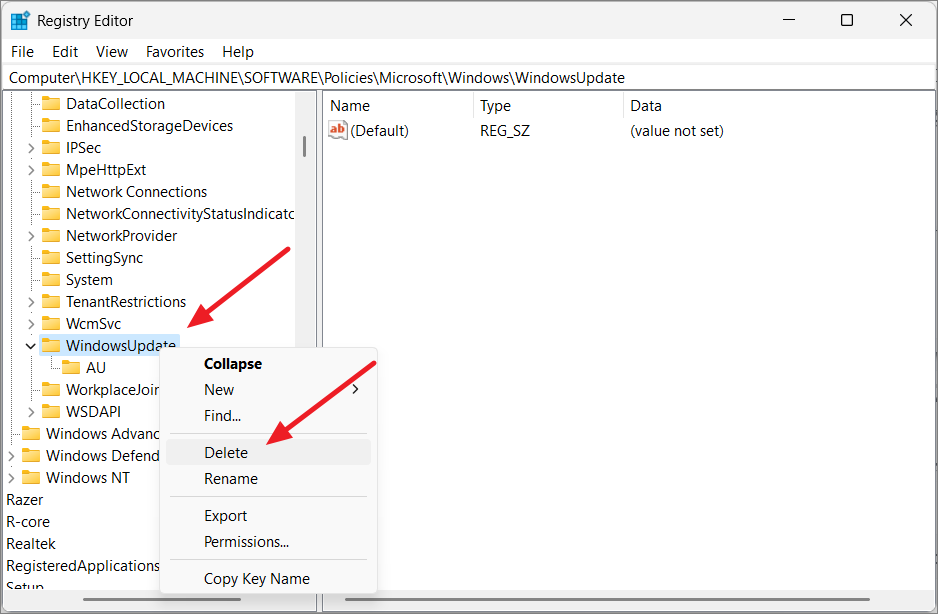
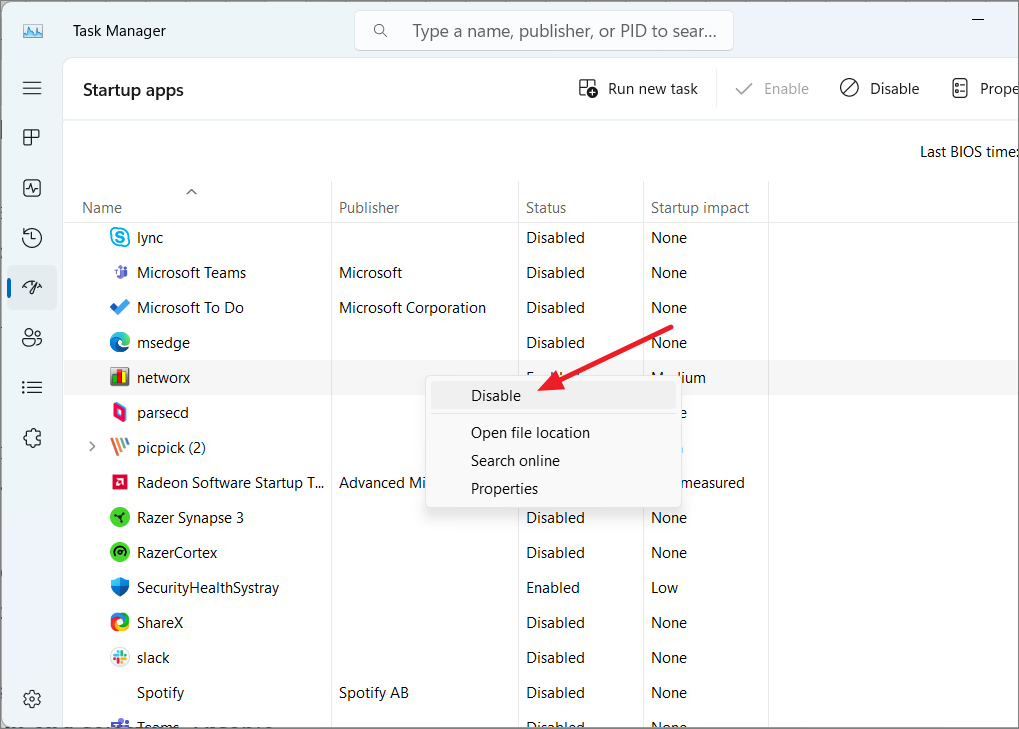
Remove the Windows Update Registry Entry
Deleting certain registry entries related to Windows Update can resolve update errors. Caution is advised, and it’s recommended to back up the registry before making changes.
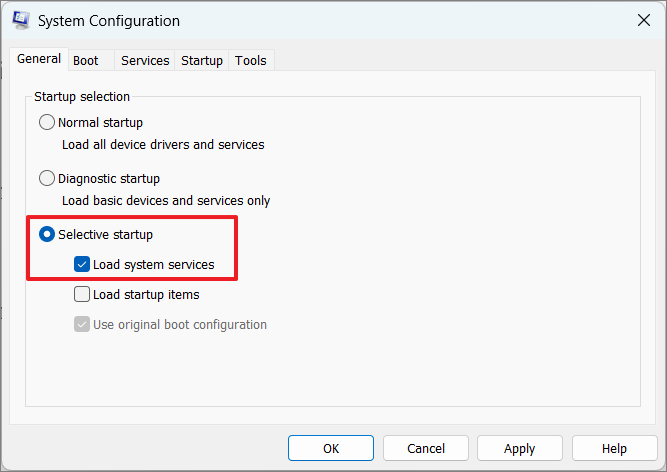
To return to normal startup, open System Configuration again, select ‘Normal startup’ in the ‘General’ tab, click ‘Apply’, ‘OK’, and restart your computer.
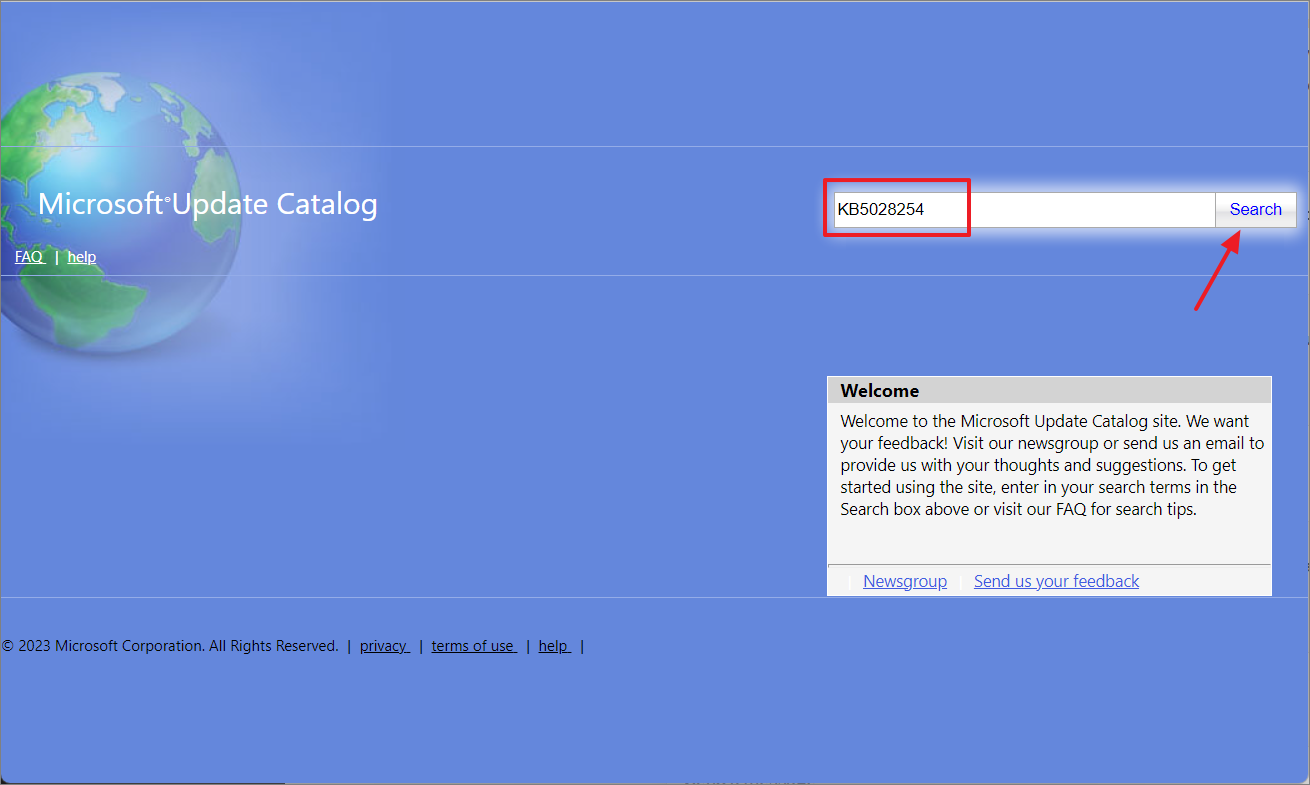
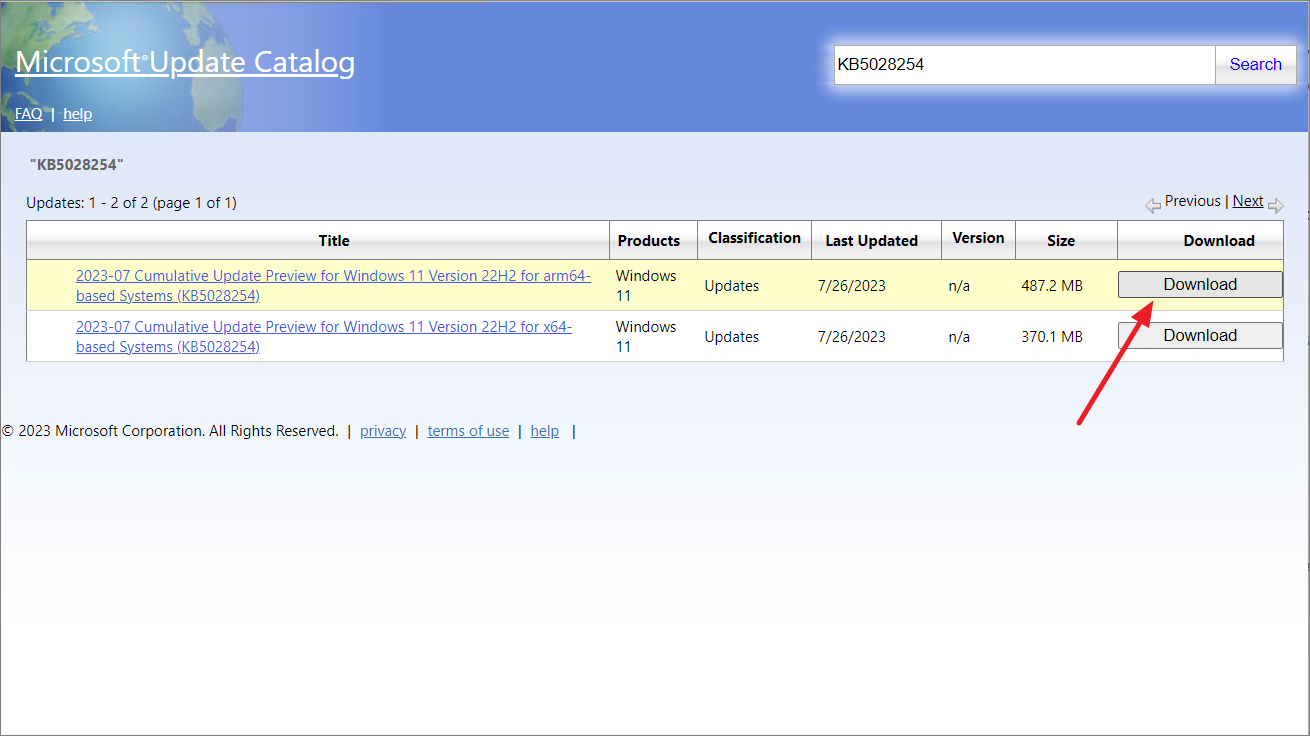
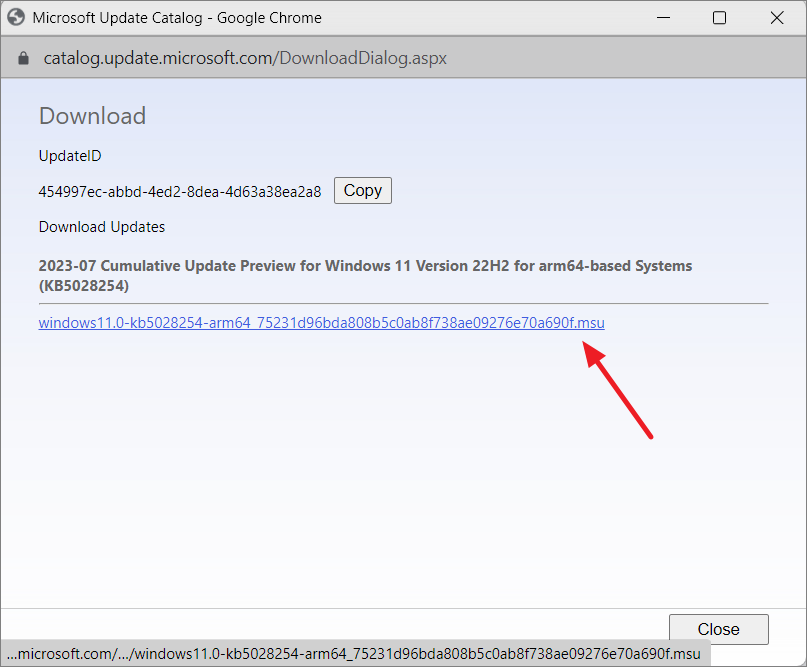
Manually Download Updates from Microsoft Update Catalog
If automatic updates fail, you can manually download and install updates from the Microsoft Update Catalog.
In the search box, enter the KB number of the update you wish to install and click ‘Search’. If you’re unsure of the KB number, you can search for ‘Windows 11 updates’.
Once downloaded, run the installer and follow the on-screen instructions to install the update. Restart your computer if prompted.
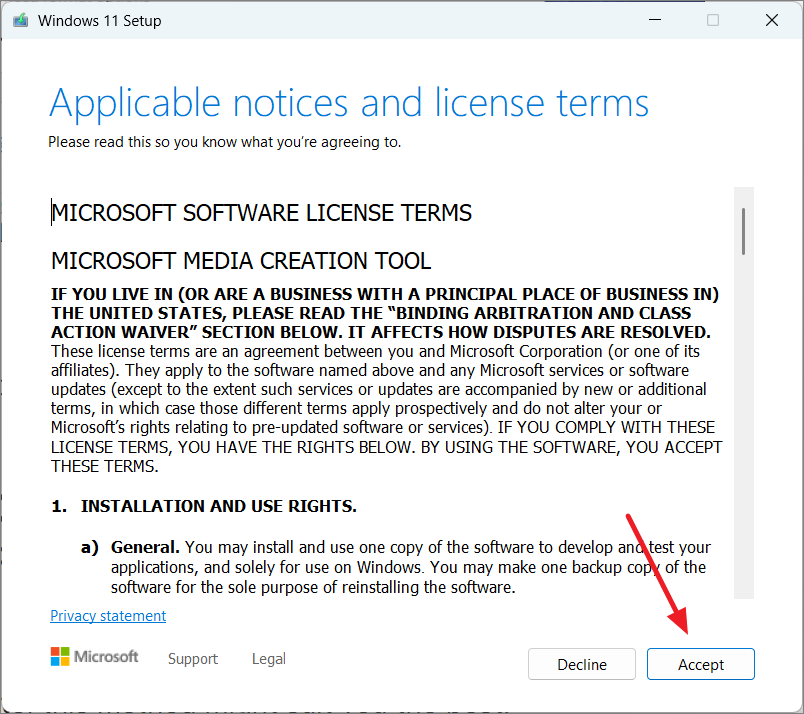
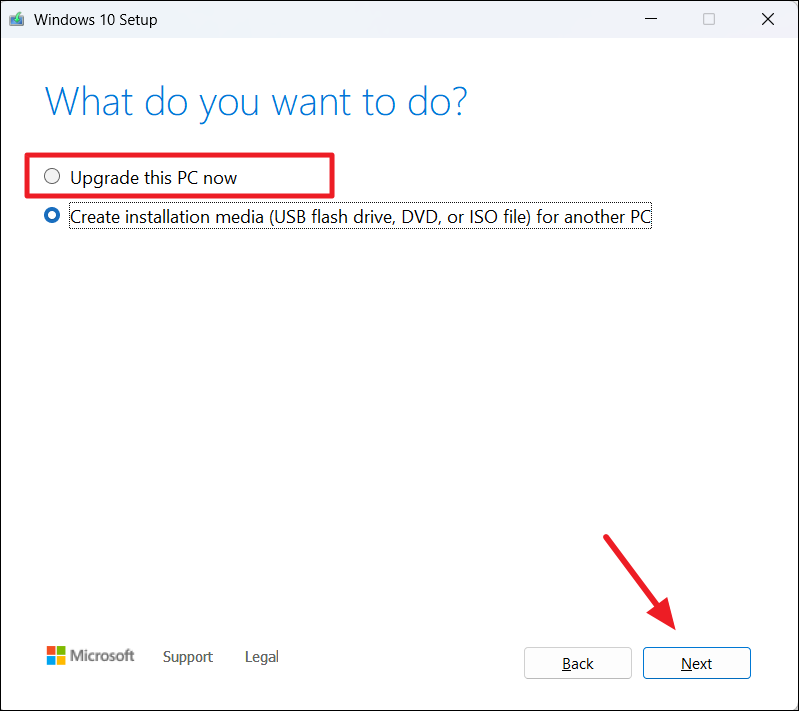
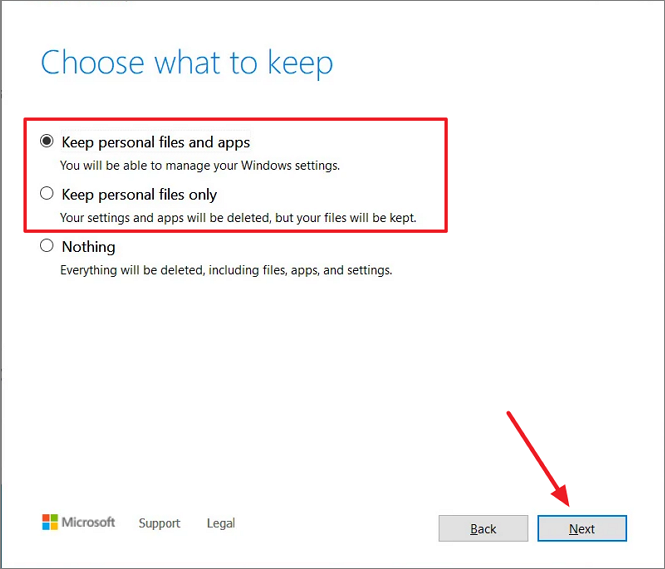
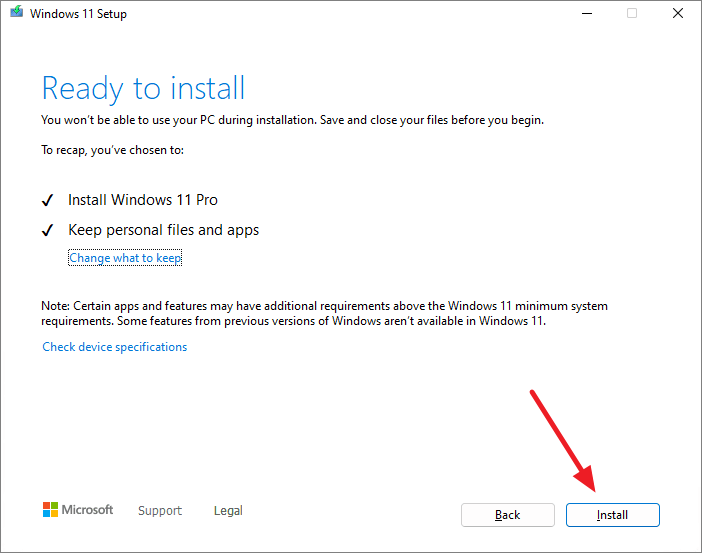
Perform an In-Place Windows Upgrade
If none of the previous methods work, performing an in-place upgrade reinstalls Windows without deleting your personal files. This can fix deeper system issues causing the update error.
Once the upgrade is complete, your system should be updated, and the error should be resolved.
By following these methods, you should be able to fix the Windows 11 Update Error 0x800b0109 and ensure your system stays up-to-date with the latest features and security patches.