
Windows 11 systems sometimes fail to update or install applications due to error code 0x80070057. This issue typically points to problems with system storage, corrupted files, or update components, and can prevent critical updates or even disrupt normal system operations.
Scan for Malware
Malware infections can damage system files and interfere with Windows Update, leading to error 0x80070057. Running a thorough malware scan in Safe Mode can help you identify and remove threats that standard scans might miss.
Step 1: At the Windows sign-in screen, hold down the Shift key and select Power > Restart. This will reboot your PC into the Windows Recovery Environment.
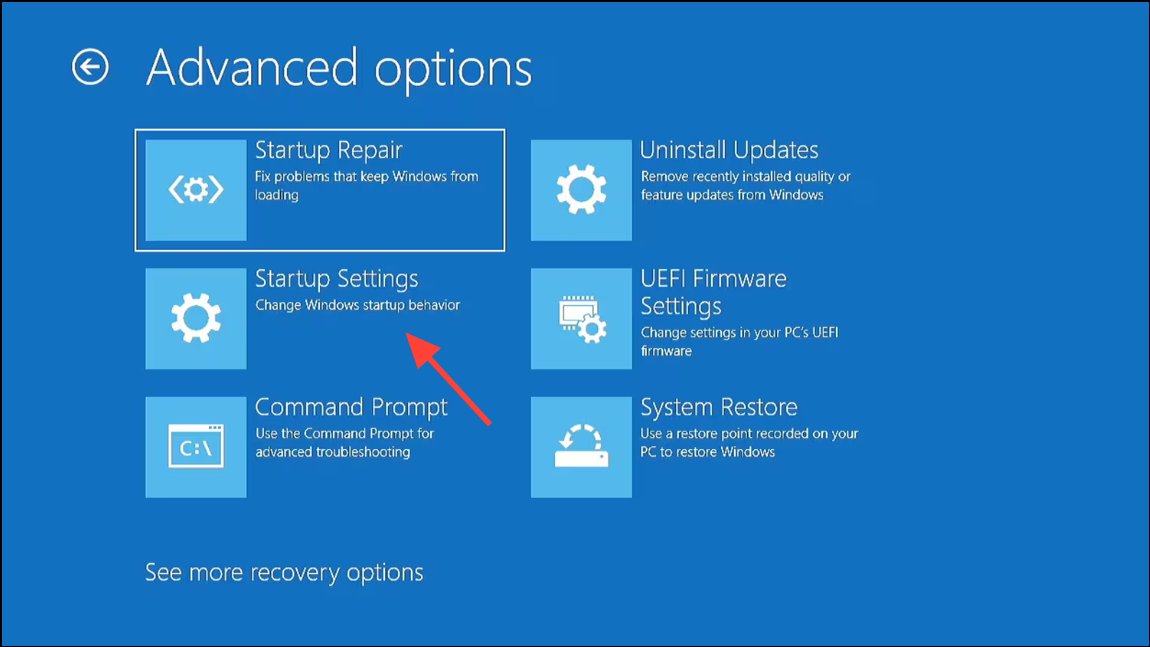
Step 2: Navigate to Troubleshoot > Advanced options > Startup Settings > Restart. When prompted, select 4 or F4 to start in Safe Mode, or 5 or F5 for Safe Mode with Networking.
Step 3: Install or update your antivirus software, then run a full system scan. Remove any threats found, then restart your computer normally.
Run System File Checker (SFC)
Corrupted or missing system files often trigger error 0x80070057. The System File Checker tool scans and repairs these files automatically.
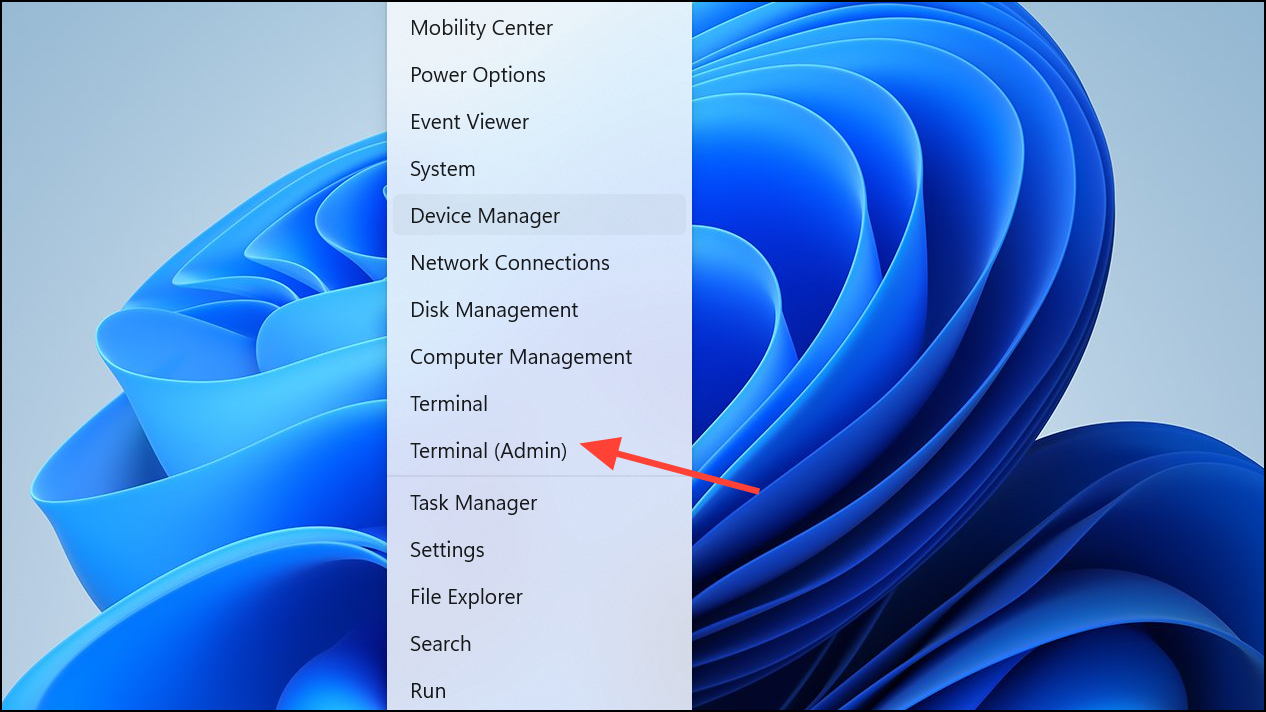
Step 1: Press Windows + X and select Windows Terminal (Admin) or Command Prompt (Admin).
Step 2: Type sfc /scannow and press Enter.
sfc /scannow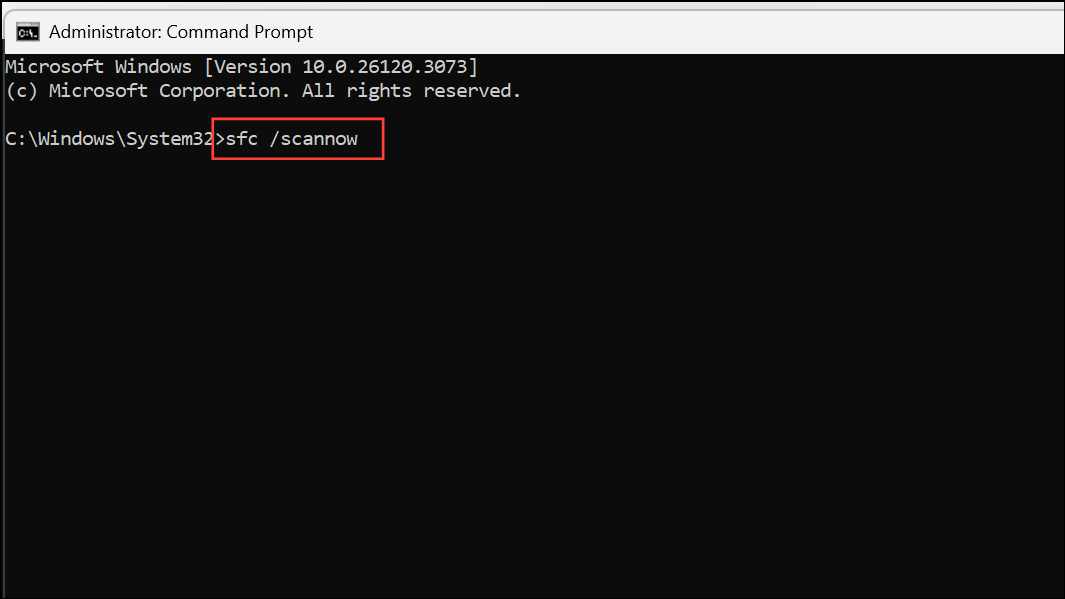
Step 3: Wait for the scan to finish. If issues are found and repaired, restart your computer and check if updates install successfully.
Check and Free Up Disk Space
Insufficient disk space is a common cause of update failures. Windows requires adequate free space on the system drive to download and install updates or applications.
Step 1: Open File Explorer with Windows + E and select This PC.
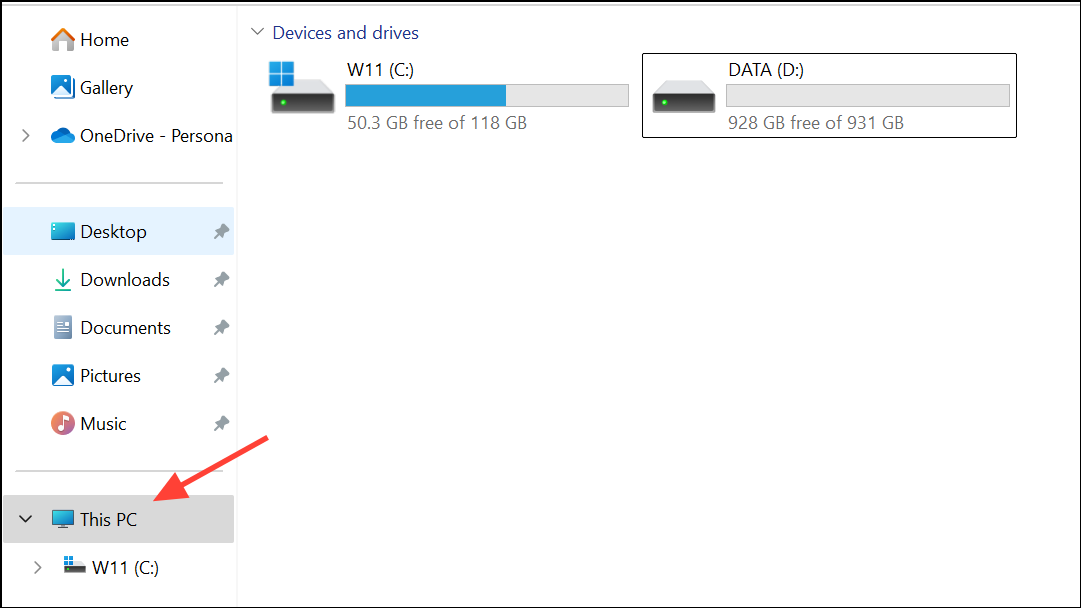
Step 2: Right-click your system drive (usually C:) and choose Properties to view available space.
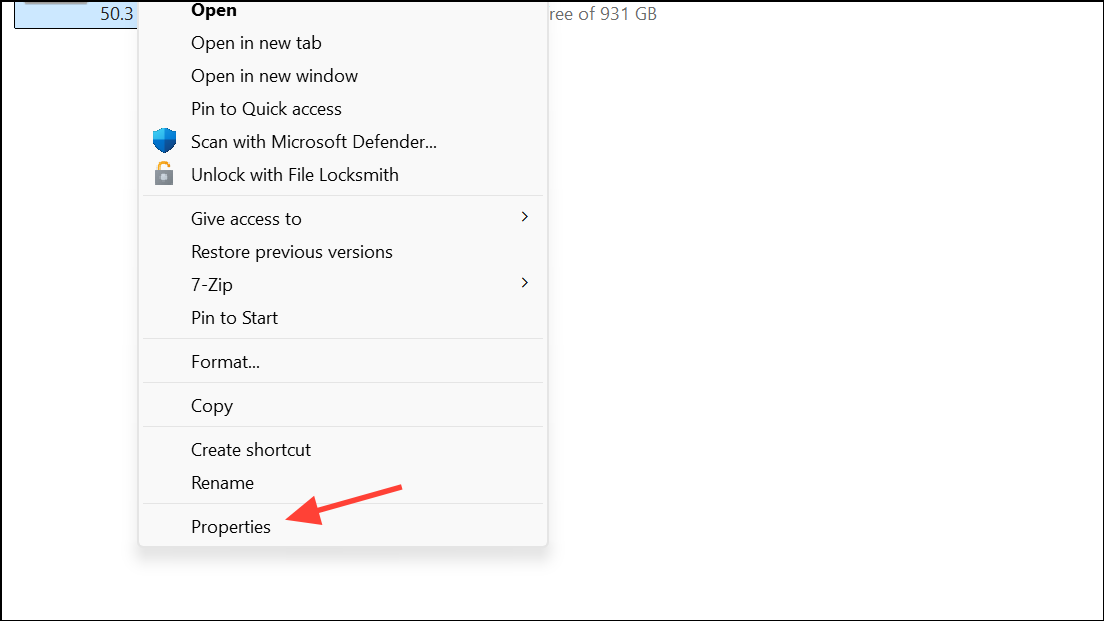
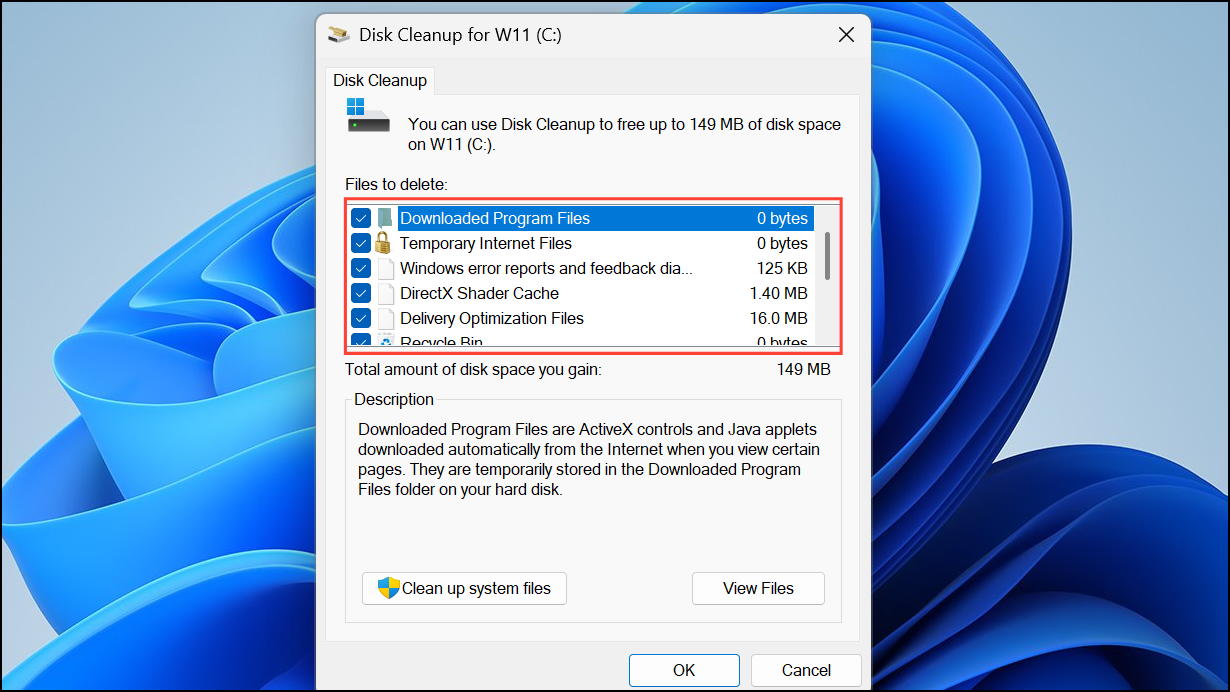
Step 3: To remove unnecessary files, click Disk Cleanup in the Properties window. Select file types to delete, such as Windows Update Cleanup and Recycle Bin, then confirm deletion.
Step 4: Uninstall unused applications or move large files to external storage if more space is needed.
Run Windows Update Troubleshooter
The built-in Windows Update Troubleshooter diagnoses and fixes common update errors, including 0x80070057.
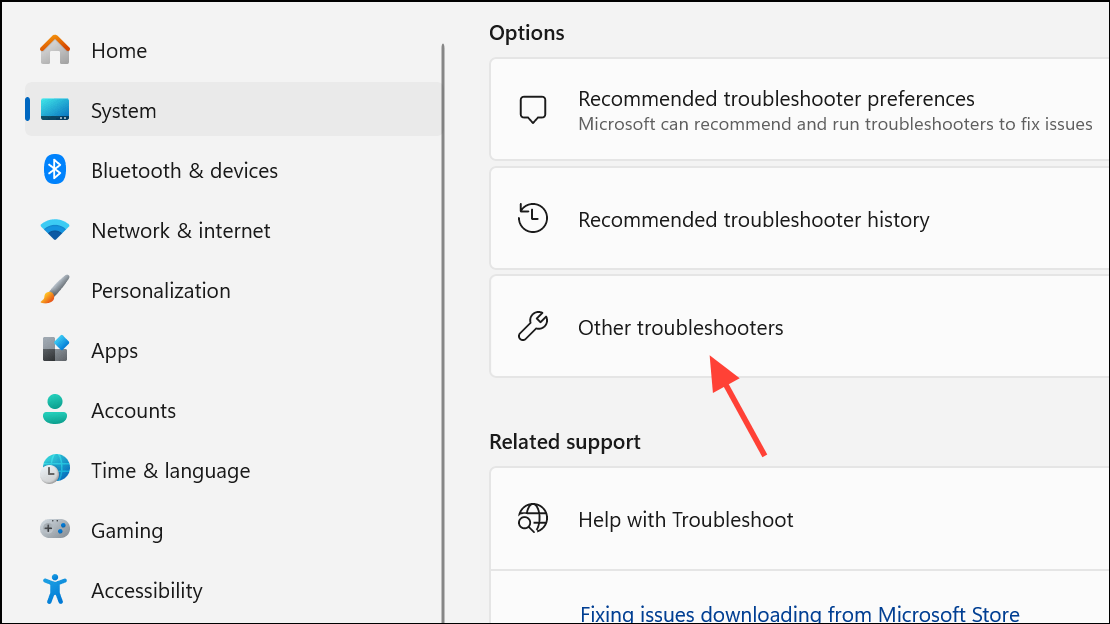
Step 1: Open Settings with Windows + I, then go to System > Troubleshoot > Other troubleshooters.
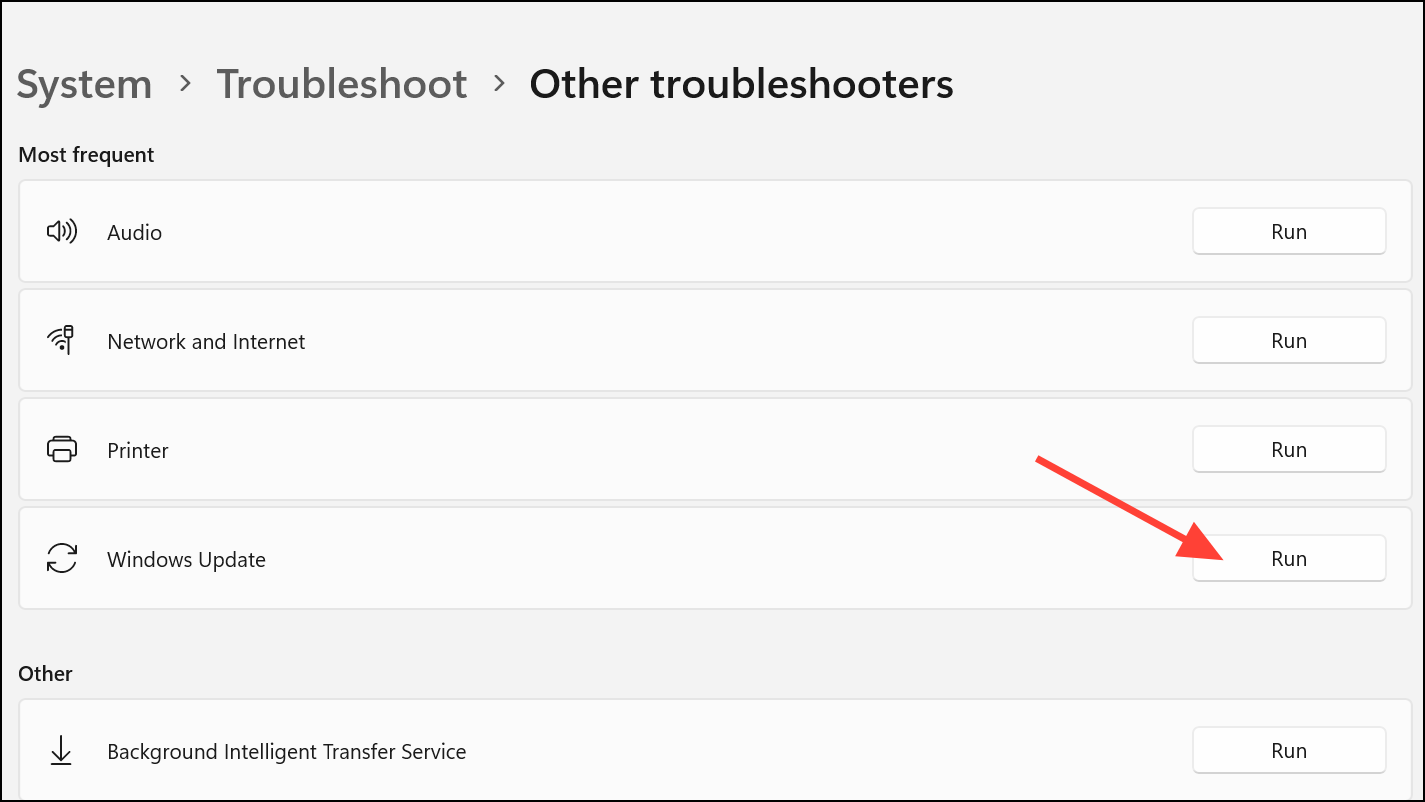
Step 2: Find Windows Update and click Run.
Step 3: Follow the on-screen instructions. After the tool completes, restart your PC and try updating again.
Reset Windows Update Components
Corrupted update components or cache files can block updates and produce error 0x80070057. Resetting these components often resolves persistent issues.
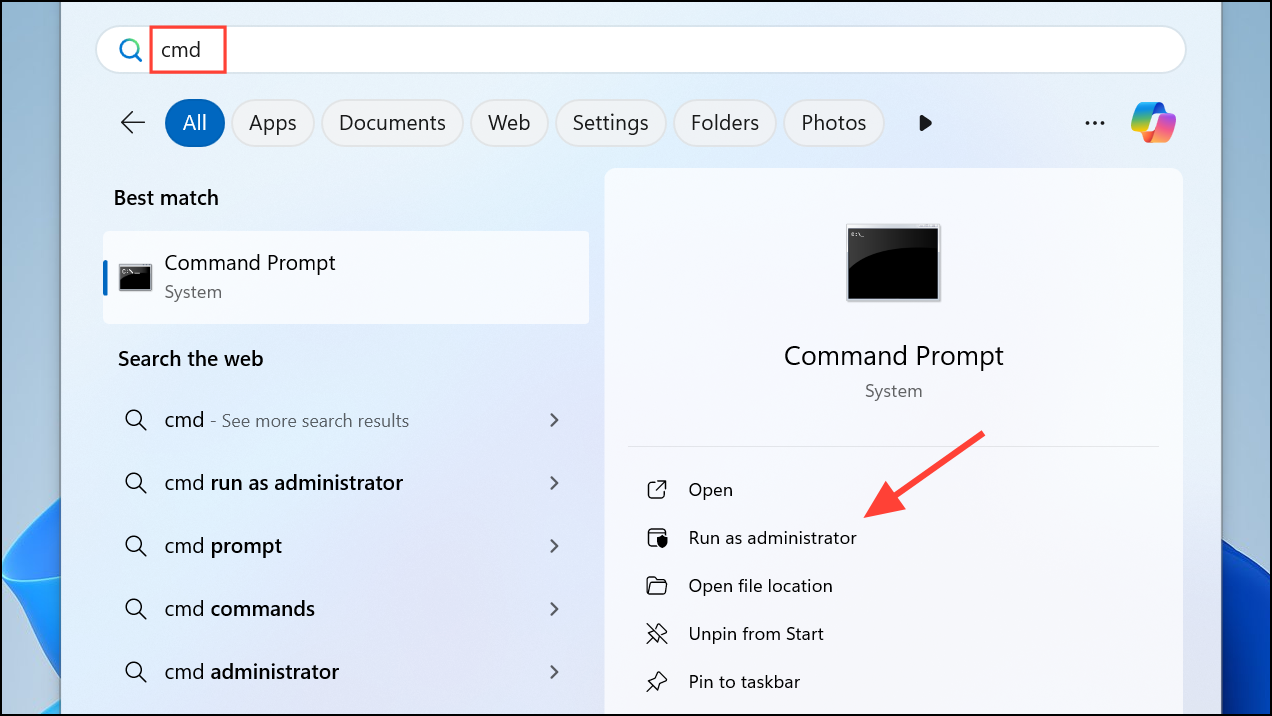
Step 1: Open Command Prompt as administrator.
Step 2: Stop update services by entering the following commands one at a time, pressing Enter after each:
net stop wuauserv
net stop cryptSvc
net stop bits
net stop msiserver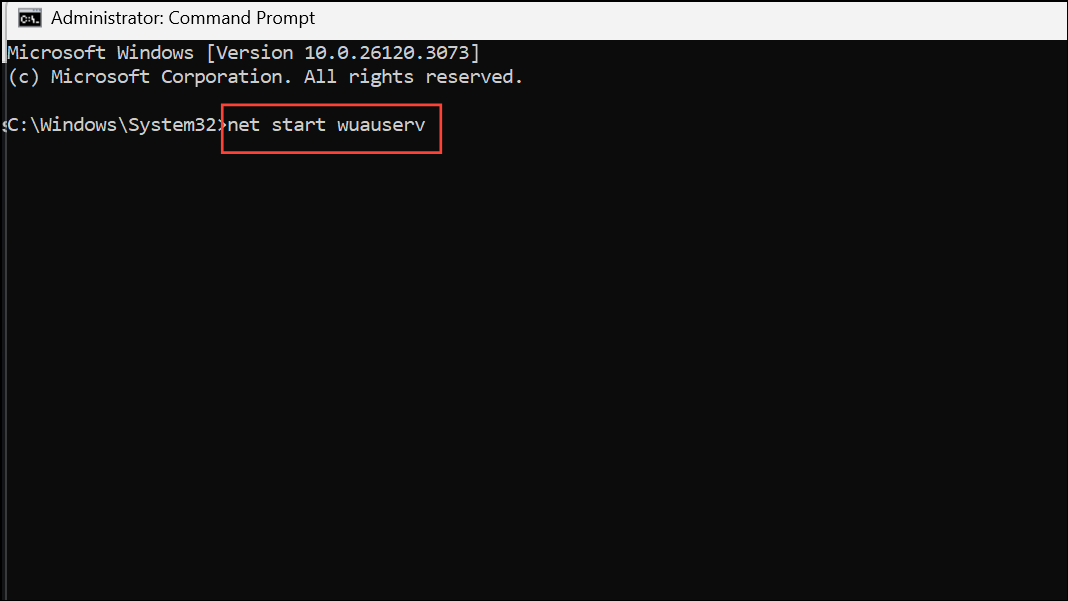
Step 3: Rename the update cache folders:
Ren C:\Windows\SoftwareDistribution SoftwareDistribution.old
Ren C:\Windows\System32\catroot2 Catroot2.old
Step 4: Restart the services:
net start wuauserv
net start cryptSvc
net start bits
net start msiserver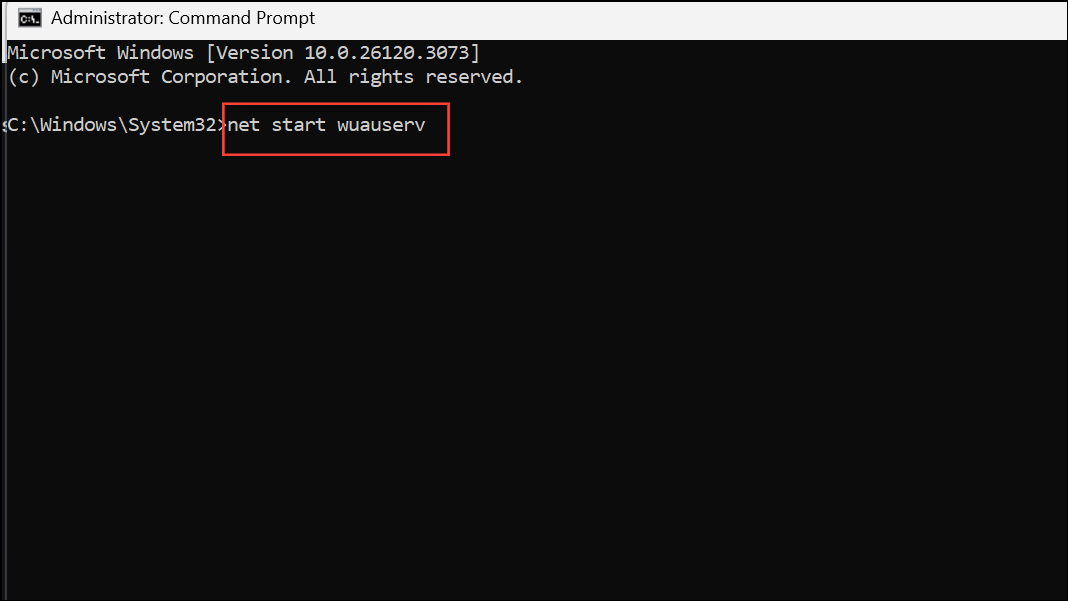
Step 5: Close Command Prompt and reboot your PC. Attempt to update Windows again.
Run CHKDSK to Check for Disk Errors
Disk errors or bad sectors can interrupt update processes and cause error 0x80070057. CHKDSK scans and repairs file system problems on your drive.
Step 1: Open Command Prompt as administrator.
Step 2: Type chkdsk /f and press Enter.
chkdsk /f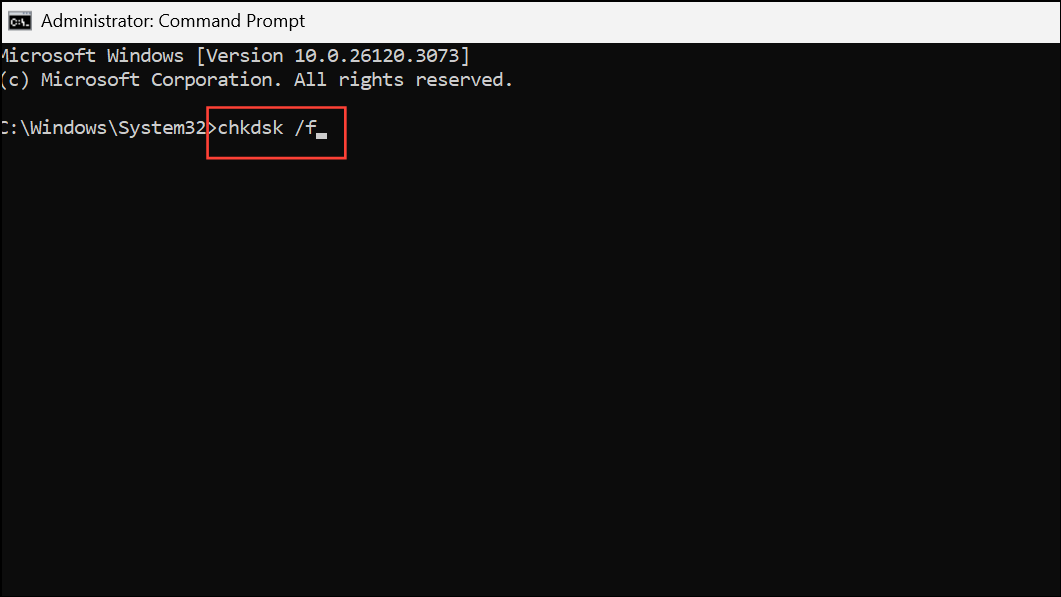
Step 3: If prompted, type Y to schedule the scan for the next restart. Reboot your computer to allow CHKDSK to run and repair any detected issues.
Use DISM to Repair Windows Image
The Deployment Image Servicing and Management (DISM) tool repairs the Windows system image, correcting deeper corruption that SFC cannot fix.
Step 1: Open Command Prompt as administrator.
Step 2: Enter the following command and press Enter:
dism /Online /Cleanup-Image /RestoreHealth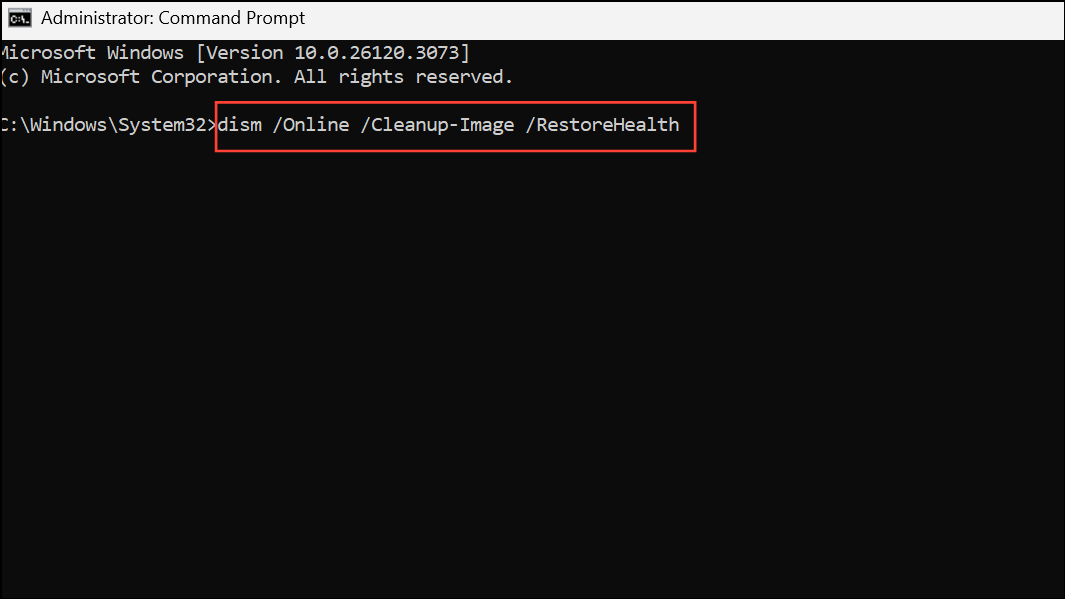
Step 3: Wait until the operation completes. This may take several minutes. Afterward, restart your PC and run sfc /scannow again to ensure all issues are resolved.
Correct Date and Time Settings
Incorrect system date and time can cause update authentication failures and trigger error 0x80070057. Synchronizing your clock resolves this issue quickly.
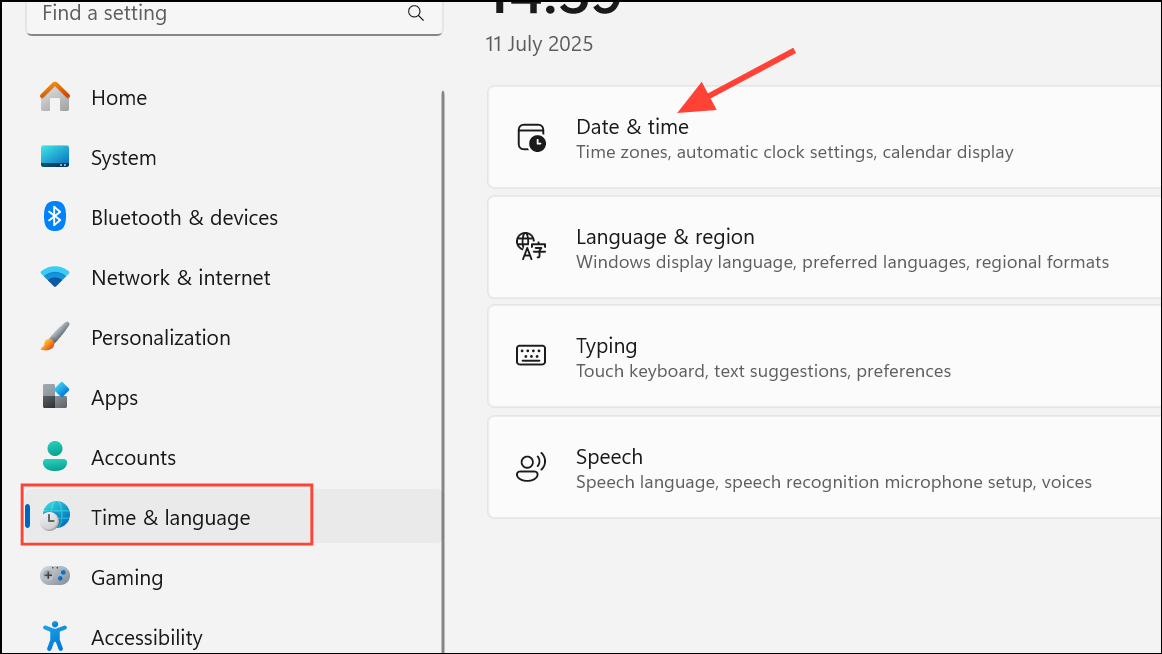
Step 1: Open Settings with Windows + I and go to Time & language > Date & time.
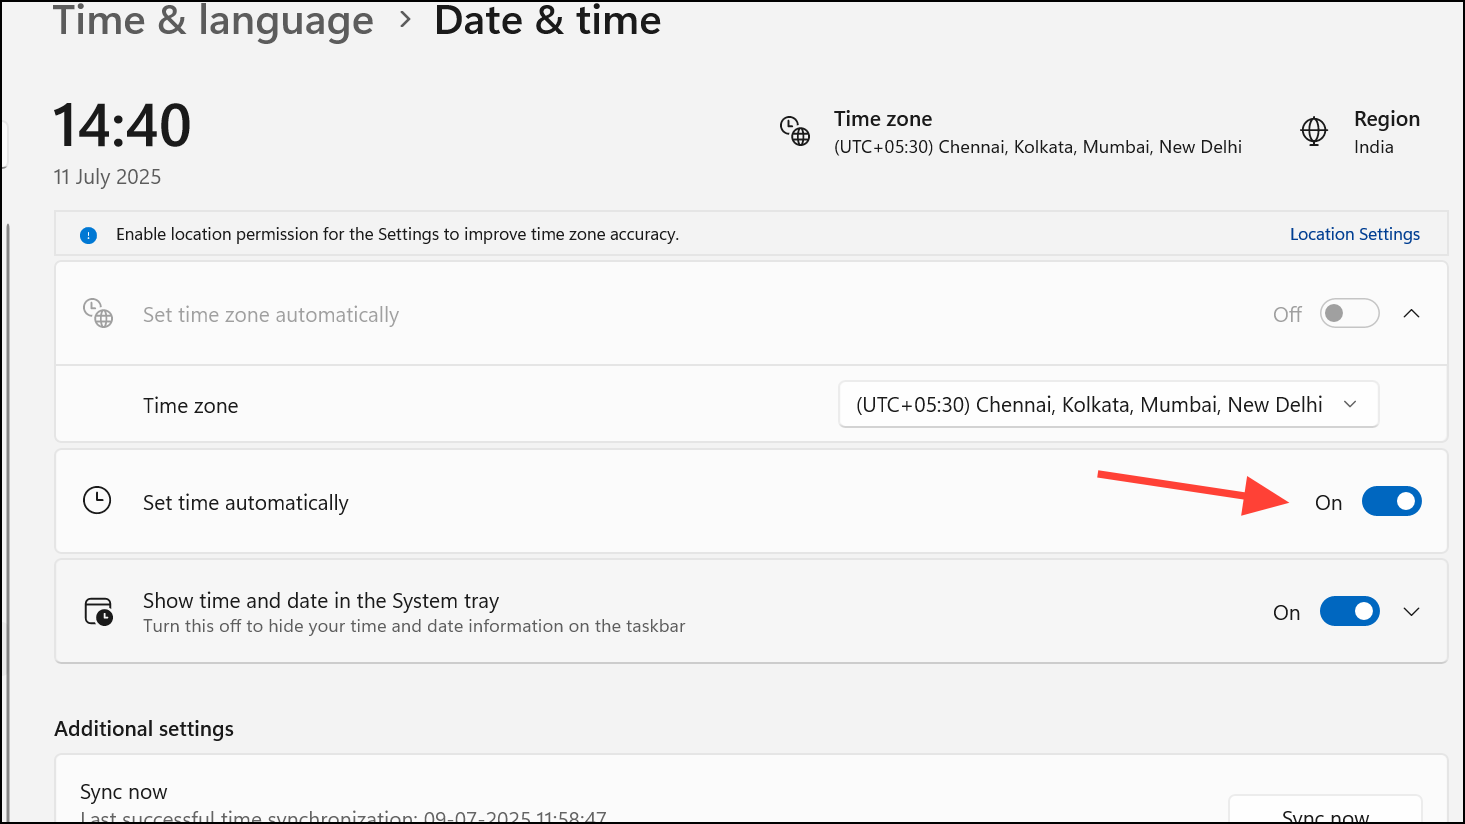
Step 2: Enable Set time automatically and Set time zone automatically. Click Sync now to update your clock immediately.
Restore or Reset Windows 11
If previous methods fail, a System Restore or Reset can return your system to a working state without error 0x80070057. System Restore reverts system settings and files to a chosen restore point, while Reset reinstalls Windows and removes problematic configurations or applications.
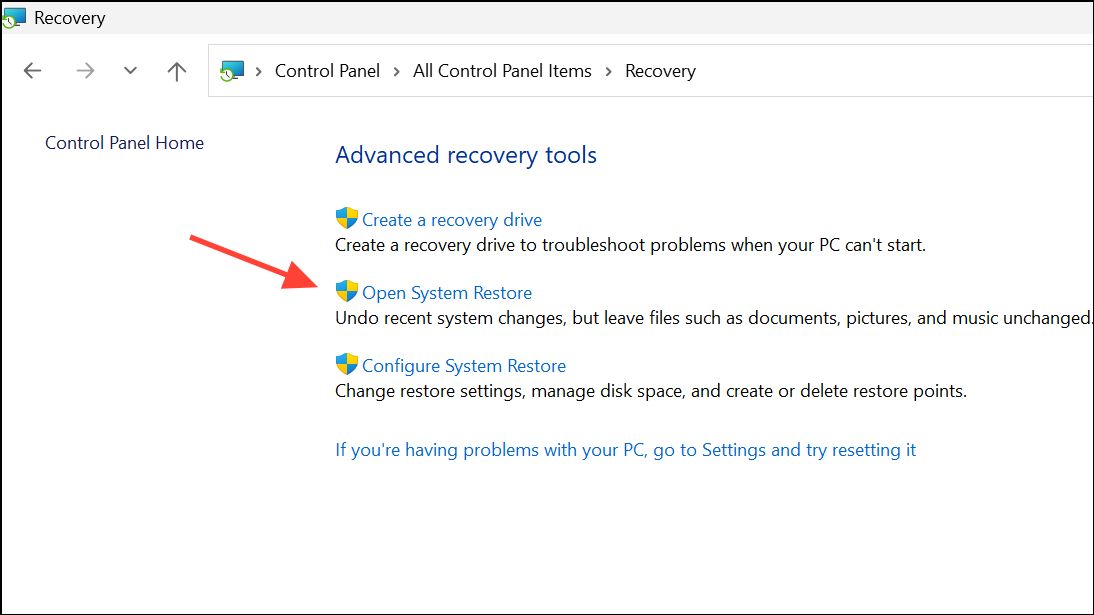
Step 1: For System Restore, search for Control Panel, select Recovery > Open System Restore, and follow the prompts to select a restore point from before the error appeared.
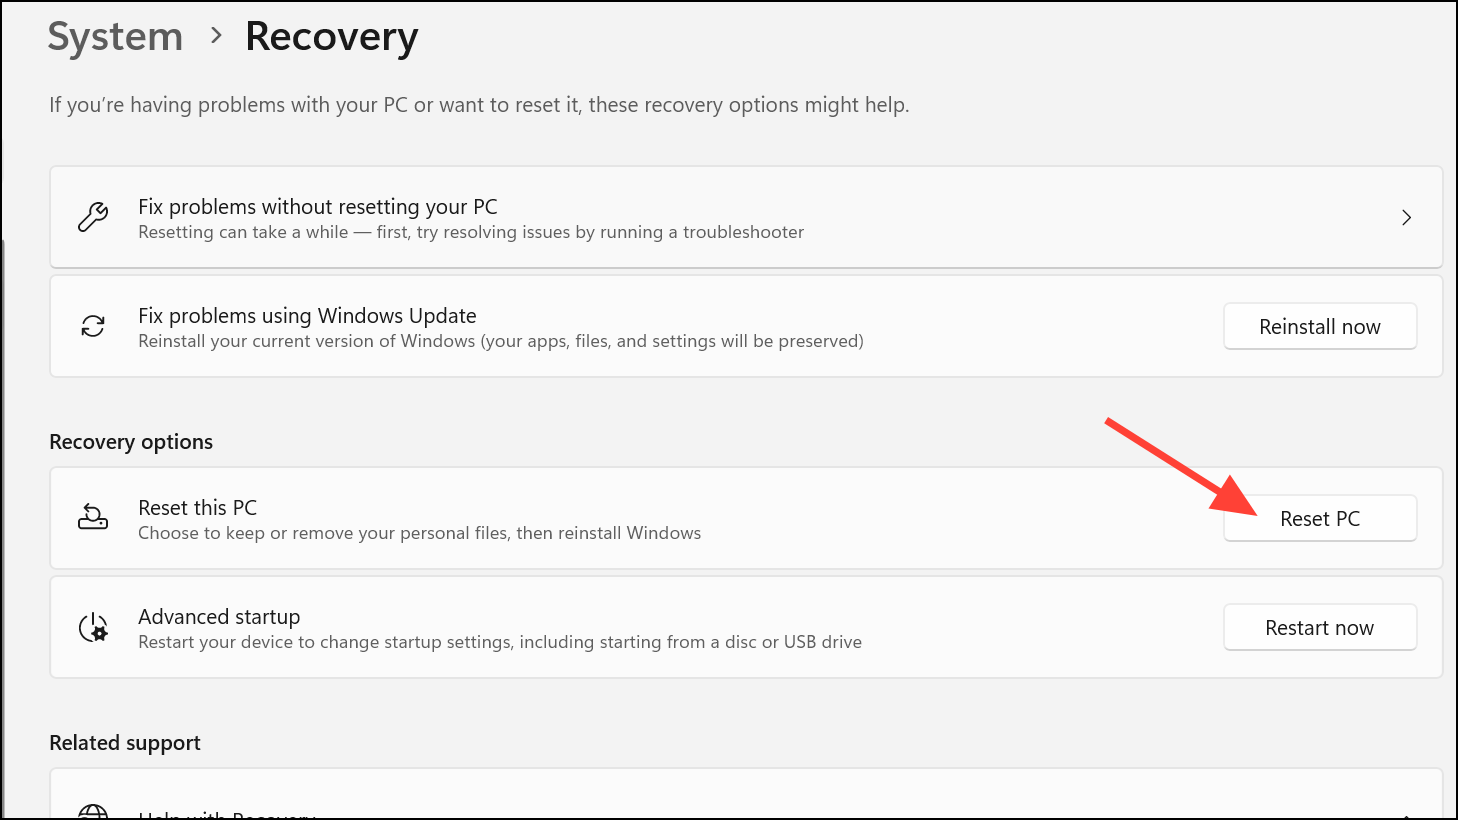
Step 2: For Reset, go to Settings > System > Recovery and choose Reset this PC. Select whether to keep your personal files or remove everything, then follow the on-screen instructions.
Resolving error 0x80070057 on Windows 11 usually restores update functionality and system stability. If problems continue after these steps, consider professional help to diagnose potential hardware faults or persistent software corruption.