
Transferring files between drives in Windows 11 can sometimes trigger error code 0x80070079, displaying the message “The semaphore timeout period has expired.” This issue interrupts file copies or moves, especially when working with external USB drives, network shares, or large files. The error typically signals that Windows waited for a response from a storage device or network resource but did not receive it in time. Addressing this problem requires identifying whether the root cause is hardware, network, or system-related. Here are the most effective ways to resolve error 0x80070079 in Windows 11.
Check and Replace USB or Network Cables
Low-quality or damaged cables are a frequent cause of this error during local file transfers. A faulty USB or SATA cable can introduce delays or errors, causing Windows to abort the operation.
Step 1: Disconnect the external drive or network cable from your PC.
Step 2: Inspect the cable for visible damage. If you notice fraying, bent connectors, or kinks, replace the cable with a new, short, shielded USB 3.x or SATA cable.
Step 3: Connect the drive or network cable directly to a port on the motherboard’s rear panel, avoiding front-panel or unpowered USB hubs.
Step 4: Attempt the file transfer again to check if the error persists.
Disable USB Selective Suspend
Windows 11’s power management settings can sometimes suspend USB ports to save energy, interrupting data transfers to external drives. Disabling this feature can prevent unexpected disconnects.
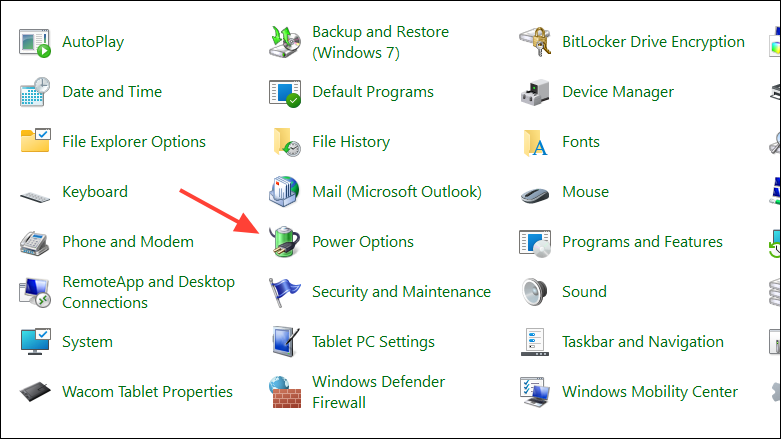
Step 1: Open the Control Panel and select Power Options.
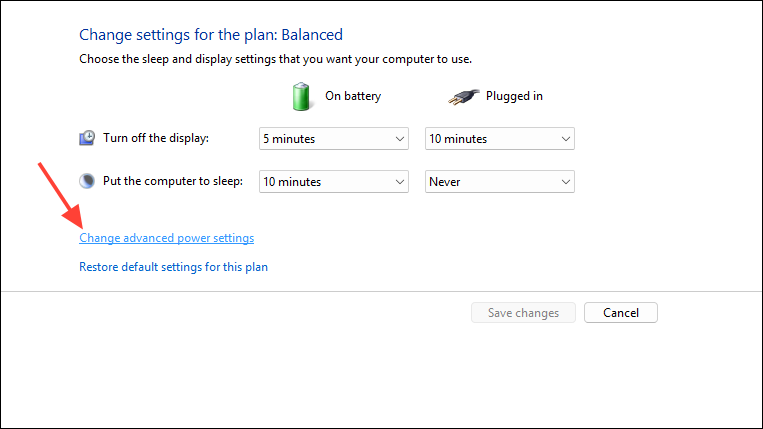
Step 2: Click Change plan settings next to your active power plan, then choose Change advanced power settings.
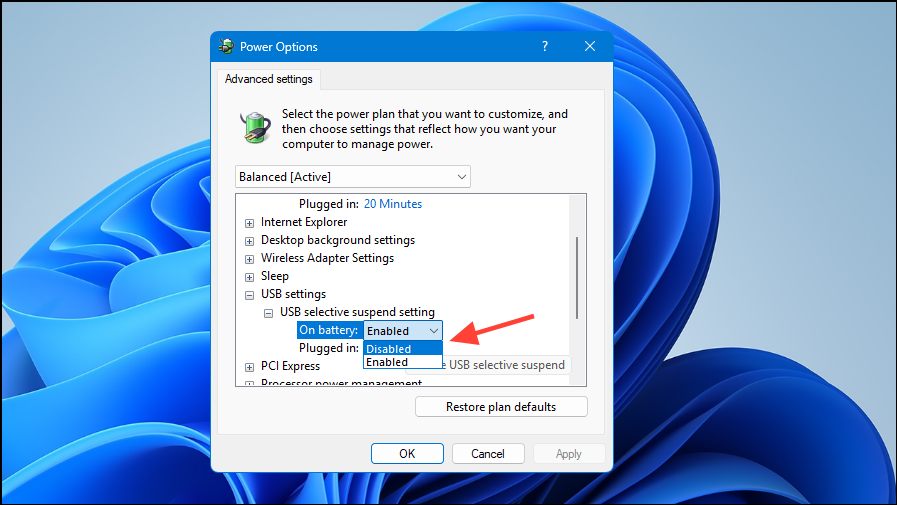
Step 3: Expand USB settings, then USB selective suspend setting. Set both On battery and Plugged in to Disabled. Click Apply and OK.
Step 4: Reconnect your USB drive and retry the file transfer.
Run CHKDSK on Both Drives
File-system corruption or bad sectors on either the source or target drive can cause timeouts. Using CHKDSK helps repair these issues.
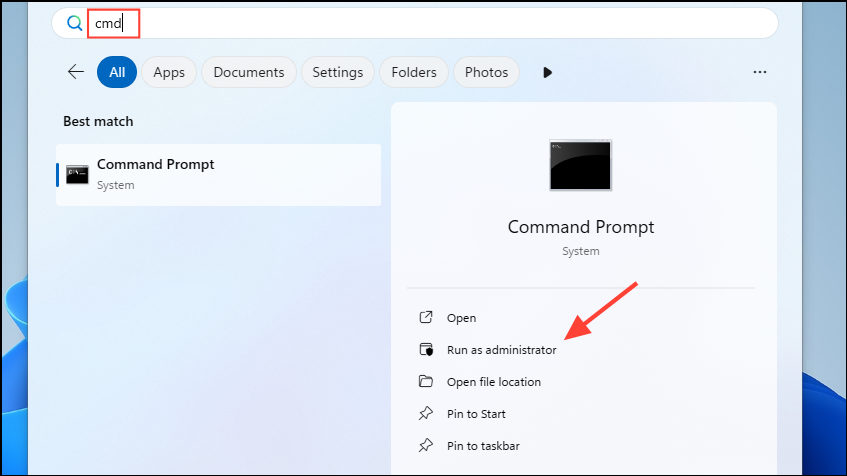
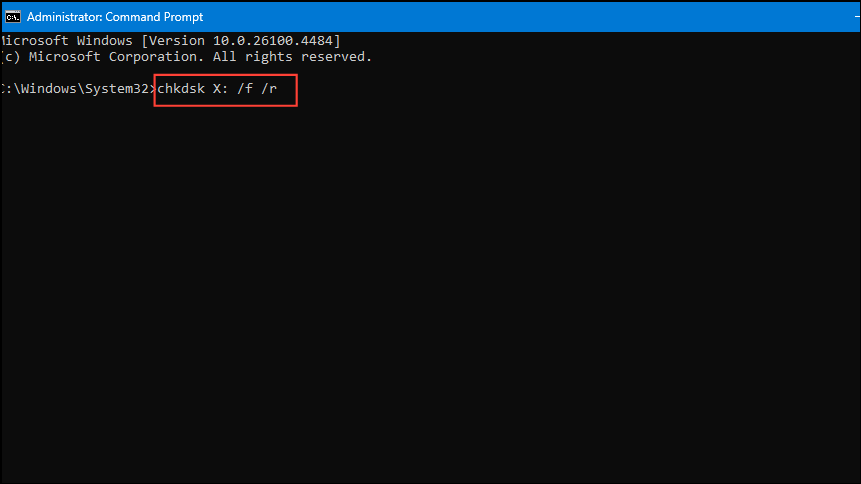
Step 1: Open Command Prompt as an administrator by searching for cmd, right-clicking the result, and selecting Run as administrator.
Step 2: Type chkdsk X: /f /r (replace X: with the drive letter for the external or target drive) and press Enter. If prompted to schedule the scan at reboot, type Y and restart your computer.
Step 3: Repeat the process for the other drive involved in the transfer.
Step 4: After both scans complete, retry your file transfer.
Convert FAT32 Drives to NTFS for Large Files
FAT32-formatted drives cannot store single files larger than 4 GB. Attempting to transfer larger files will cause the process to fail with a timeout error.
Step 1: Back up any important data from your external drive, as formatting or converting file systems can risk data loss.
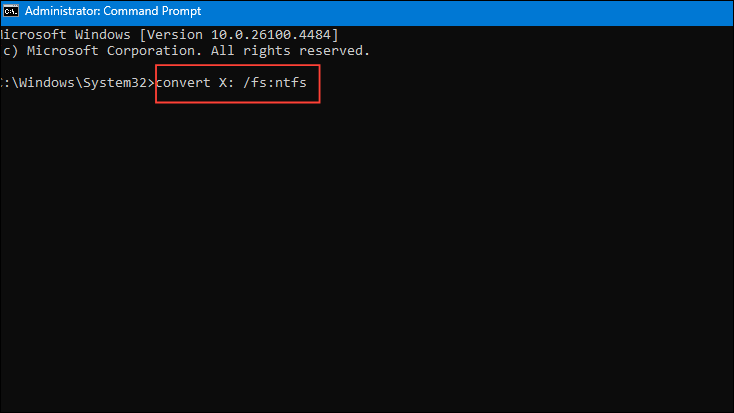
Step 2: Open Command Prompt as an administrator.
Step 3: Enter convert X: /fs:ntfs(replace X: with your drive letter) and press Enter.
Step 4: Wait for the process to finish, then attempt your file transfer again.
Update Device Drivers and Firmware
Outdated or faulty drivers for your USB controller, network adapter, or storage device can cause communication errors and timeouts.
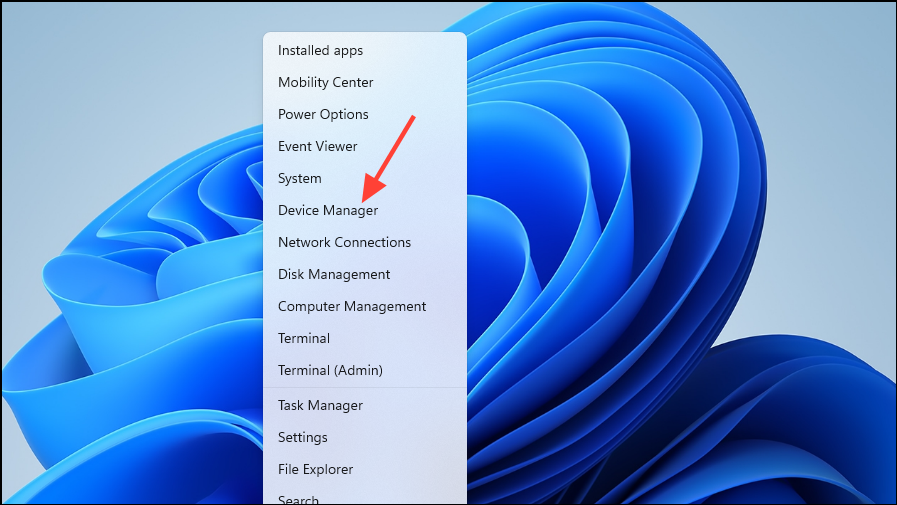
Step 1: Press Windows + X and select Device Manager.
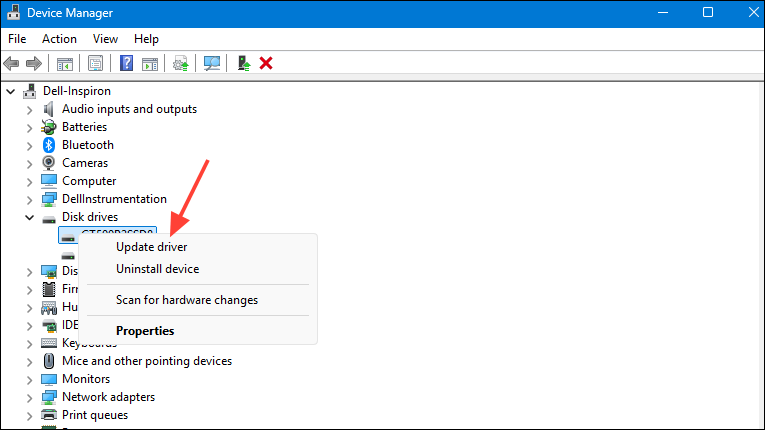
Step 2: Expand sections such as Disk drives and Network adapters. Right-click your device, select Update driver, and choose Search automatically for drivers.
Step 3: If available, visit the manufacturer’s website to check for firmware updates for your external enclosure or network adapter and follow their instructions to install updates.
Step 4: Restart your computer and test the file transfer.
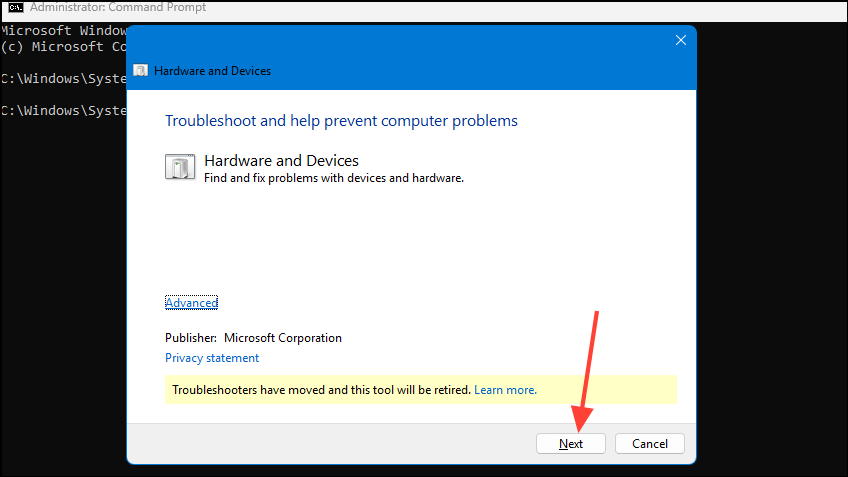
Run the Hardware and Devices Troubleshooter
Windows 11 includes troubleshooters that can automatically detect and fix hardware-related issues, including those affecting external drives and network adapters.
Step 1: Press Windows + S, type cmd, and open Command Prompt as an administrator.
Step 2: Enter msdt.exe -id DeviceDiagnostic and press Enter.

Step 3: In the troubleshooter window, click Next and follow the prompts to apply suggested fixes.
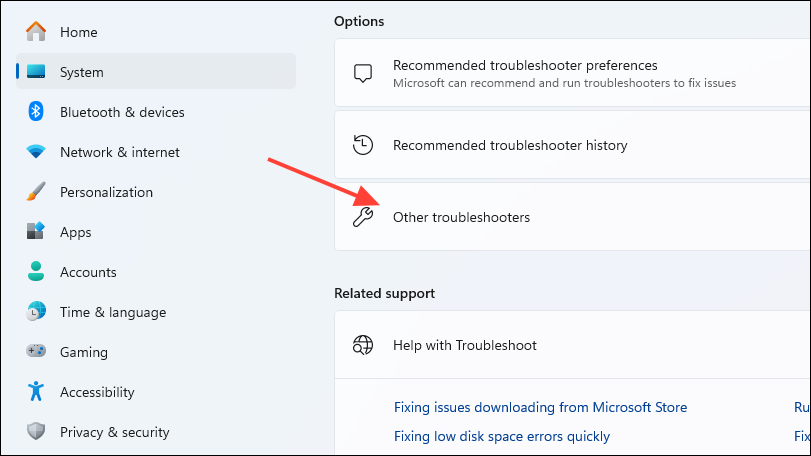
Step 4: For network-related errors, use the Network Adapter troubleshooter by navigating to Settings > System > Troubleshoot > Other troubleshooters and running the appropriate tool.
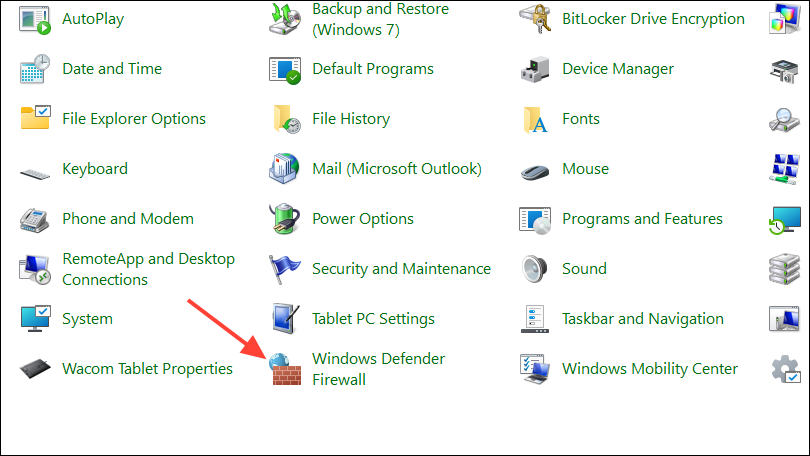
Temporarily Disable Firewalls and Antivirus Software
Security software can sometimes block or slow down data transfers, especially over network shares or Wi-Fi, leading to timeouts.
Step 1: Open the Control Panel and go to Windows Defender Firewall.
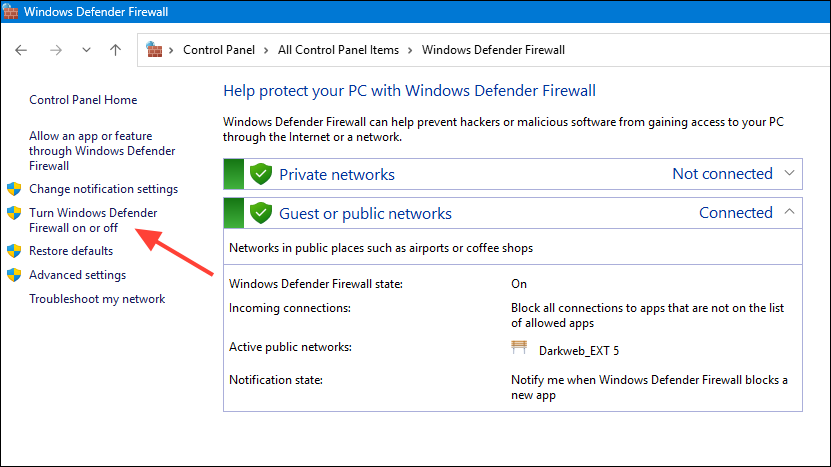
Step 2: Select Turn Windows Defender Firewall on or off and temporarily disable it for both Private and Public networks.
Step 3: If you have third-party antivirus software, right-click its icon in the system tray and choose to disable its shields or real-time protection.
Step 4: Attempt the file transfer. If successful, re-enable your firewall and antivirus immediately afterward.
Repair Windows System Files
Corrupted system files can disrupt both storage and network operations, causing errors like 0x80070079.
Step 1: Open Command Prompt as an administrator.
Step 2: Run the following command to repair Windows images:
DISM /Online /Cleanup-image /Restorehealth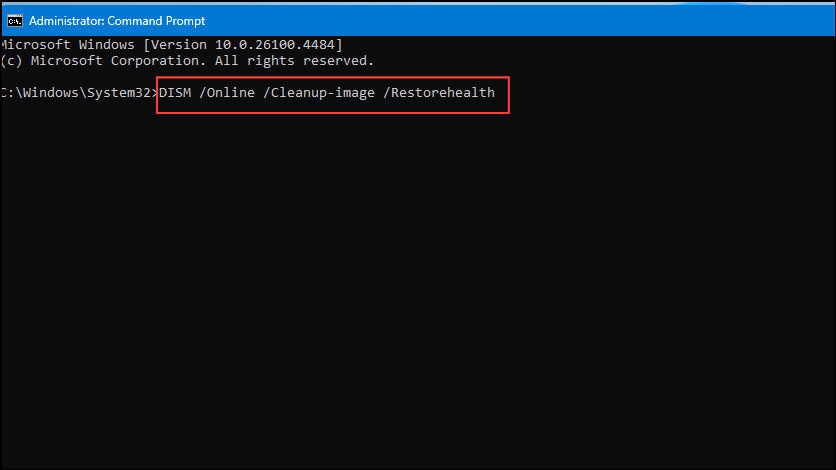
Step 3: After the DISM scan completes, run the System File Checker:
sfc /scannow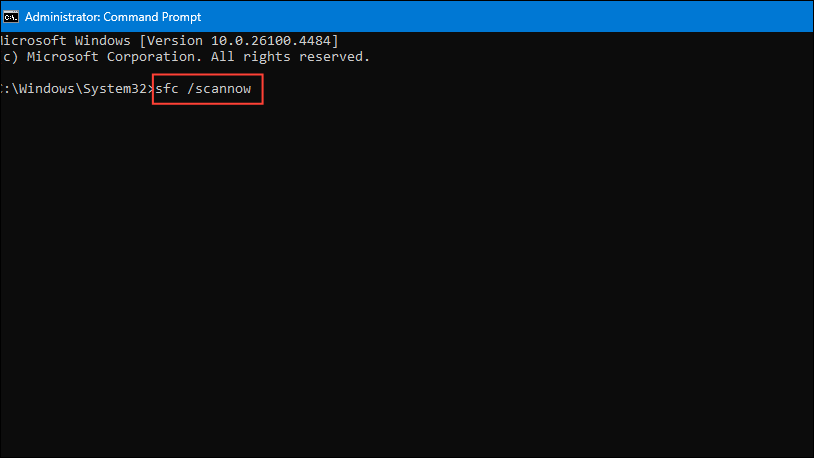
Step 4: Restart your computer after repairs are completed, then try your file transfer again.
Reset Network Settings
Corrupted network configuration or outdated settings can prevent successful file transfers over the network.
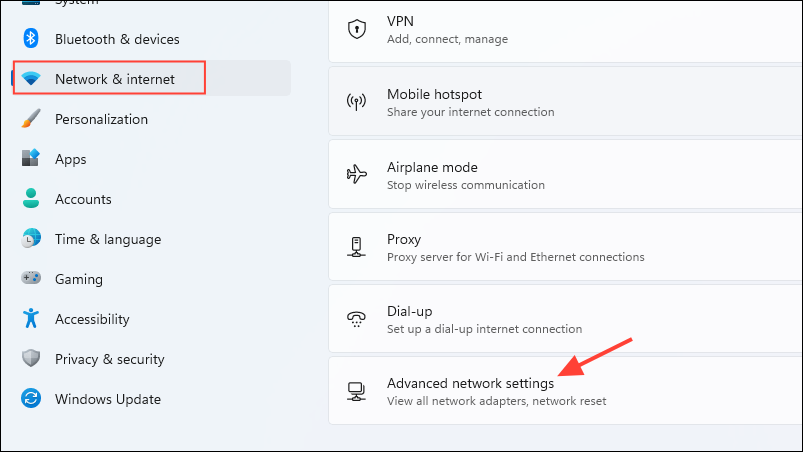
Step 1: Go to Settings > Network & Internet > Advanced network settings.
Step 2: Scroll down and select Network reset, then click Reset now.
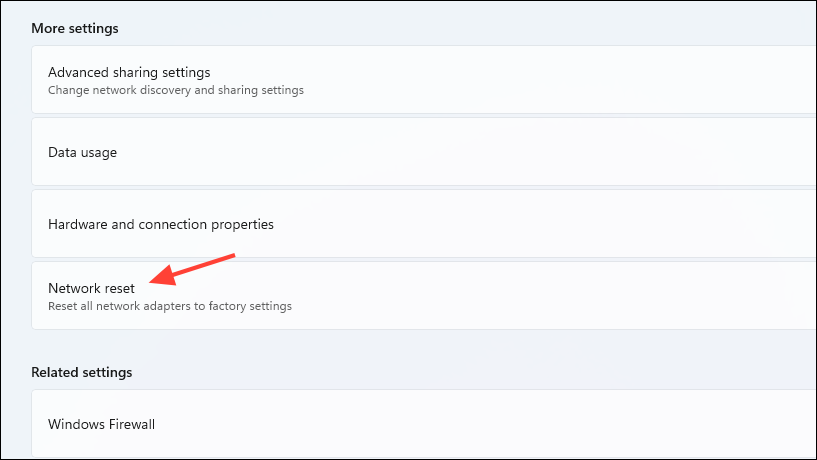
Step 3: After your PC restarts, reconnect to your Wi-Fi or Ethernet network and test the transfer process.
Perform a Clean Boot
Third-party applications or services running in the background can interfere with file transfers, causing unexpected delays or errors.
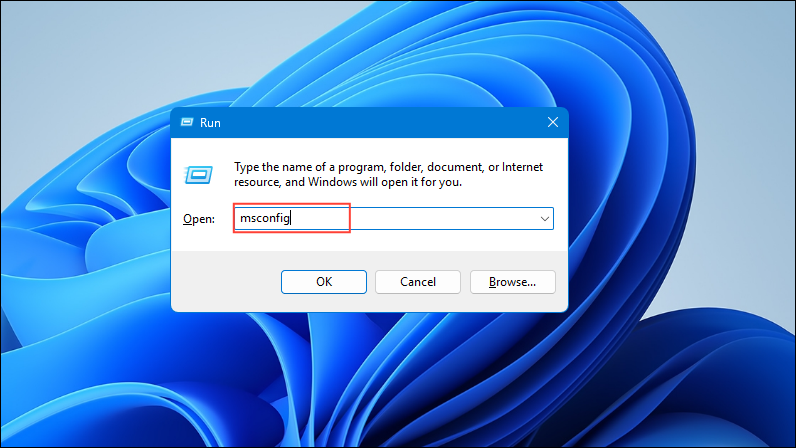
Step 1: Press Windows + R, enter msconfig, and press Enter.
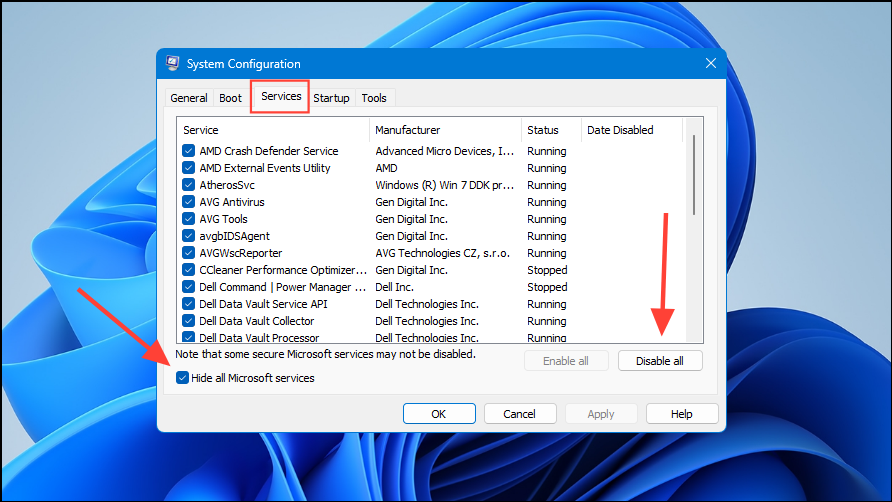
Step 2: In the System Configuration window, go to the Services tab, check Hide all Microsoft services, and click Disable all.
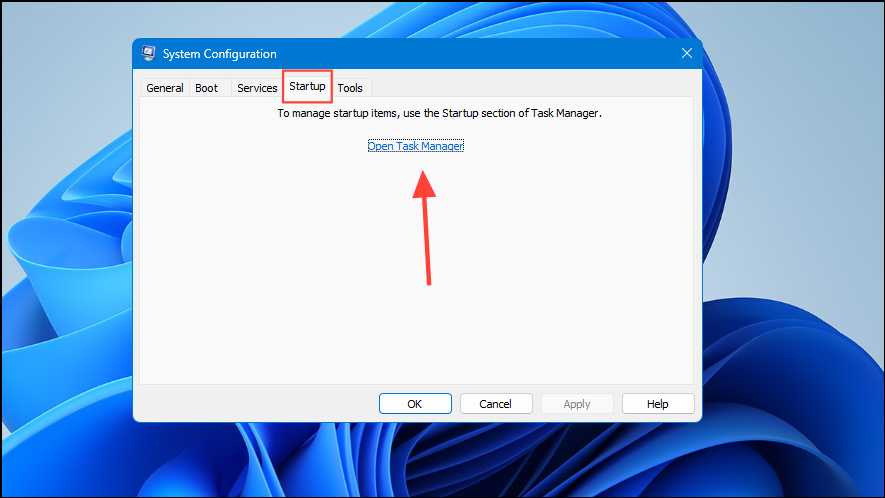
Step 3: Switch to the Startup tab and click Open Task Manager. Disable all startup items.
Step 4: Restart your computer and try the file transfer. If the transfer succeeds, gradually re-enable services and startup items to identify the conflicting program.
Additional Tips and When to Seek Professional Help
If none of the above methods resolve the error, the issue may be due to failing hardware, such as a degraded hard drive or SSD. Drives with mechanical or electronic faults may intermittently fail to respond, even if diagnostic tools like SMART report no problems. In these cases, copying your data off the affected drive as soon as possible is recommended. If the drive continues to fail or becomes inaccessible, consider consulting a professional data recovery service to avoid permanent data loss.
Solving error 0x80070079 in Windows 11 involves checking hardware connections, updating drivers, repairing file systems, and adjusting system settings. Applying these fixes improves the reliability of file transfers and reduces the risk of future interruptions.